
There are a few craft supplies I grab at the dollar store almost automatically, and clear pony beads are one of them. They do not look like much in the bag, but with a little heat and a simple mold, they turn into something that catches light in the prettiest way. This is one of those projects that feels a little bit like a kitchen experiment and a holiday craft rolled into one, which is probably why I enjoy it so much after a long workday.
If you want a project that is easy to assemble, budget-friendly, and still gives you that wow moment at the end, this one is perfect. It is especially good for anyone who likes polished home decor without needing a giant list of tools or a whole free afternoon. The process is straightforward, and the finished piece looks far more special than the humble materials would suggest.
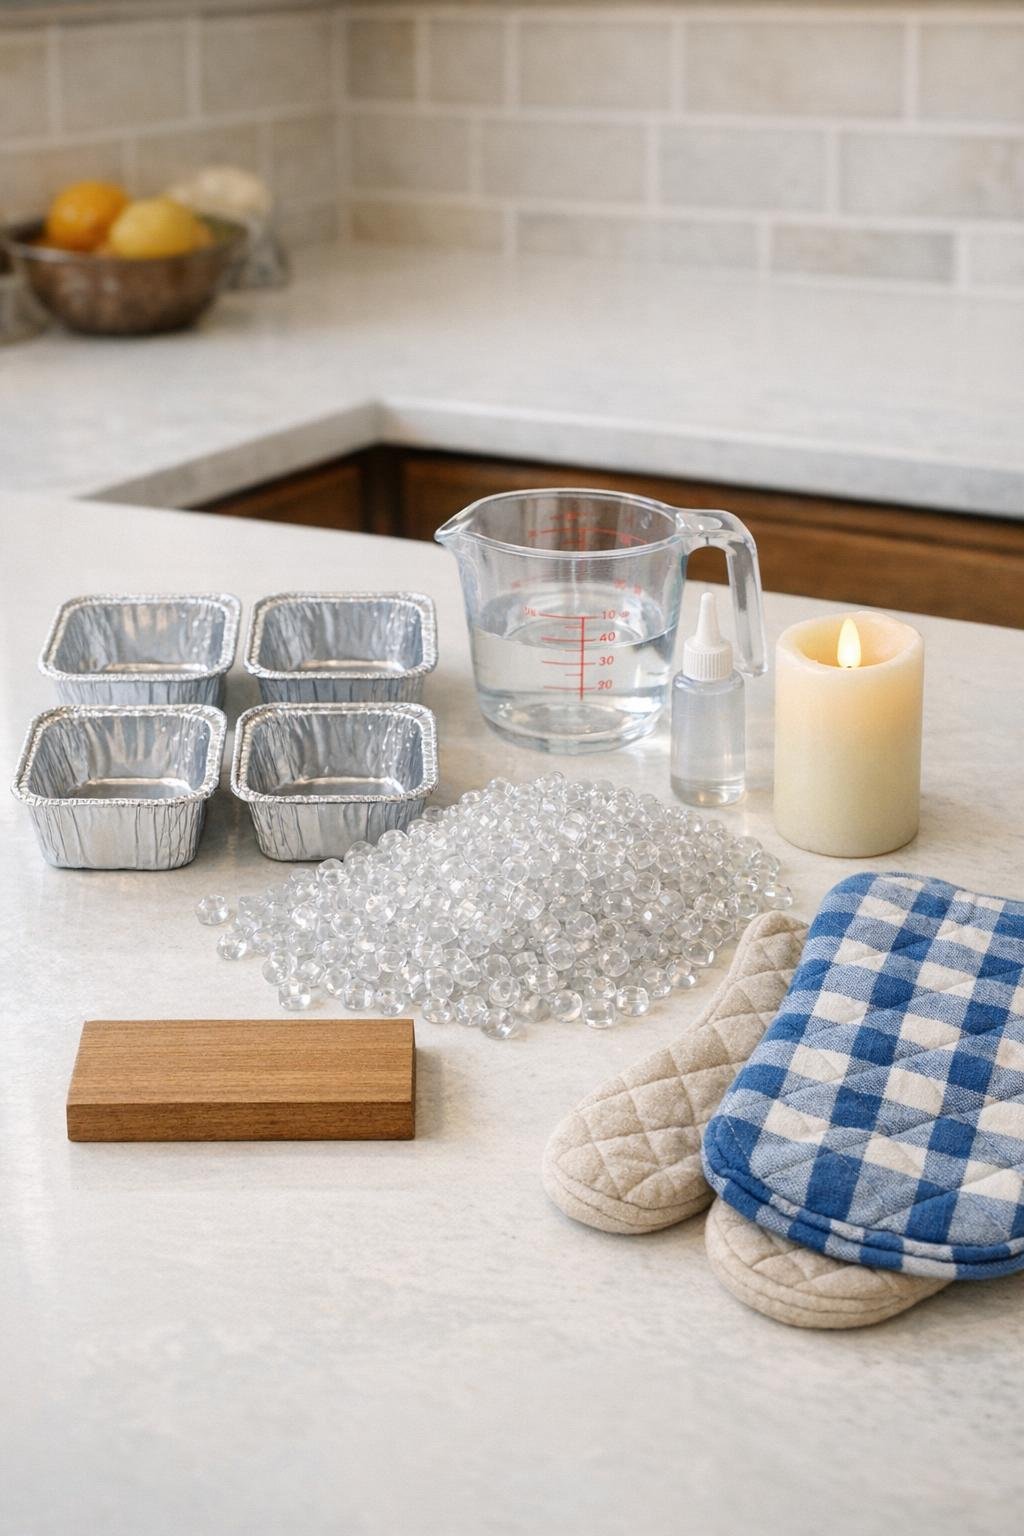
Materials
4 dollar store foil mini loaf pans, each about 5 3/4 x 3 x 2 inches
Instructions
1. Preheat your oven to 400 degrees Fahrenheit and place the four foil mini loaf pans on a baking sheet so they are easy to move in and out together.
2. Fill each pan with a single, full layer of clear pony beads, using about 2 1/4 cups per pan, and shake the pans gently so the beads settle into an even flat layer from corner to corner.
3. Bake the pans for 18 to 22 minutes, just until the beads melt together into solid translucent panels with open centers still visible in some spots; do not let them slump into a completely flattened sheet.
4. Remove the baking sheet carefully with oven mitts and let the pans cool for 20 to 30 minutes, until the plastic is fully firm and no longer warm to the touch.
5. Gently peel or tear away the foil pans to release the four bead panels, working slowly so the edges stay intact.
6. Stand the panels upright to form a rectangle or square lantern shape, matching the long edges together first and then adjusting the shorter sides so the corners meet evenly.
7. Run a thin bead of E6000 or clear craft glue along each vertical seam, press the edges together, and use binder clips or clothespins to hold the corners steady if needed.
8. Let the glue cure fully according to the package directions, then test the structure gently and add a little more glue inside any corner that needs reinforcement.
9. Center the lantern on the wooden base and glue it down with a thin line of clear glue around the bottom edge, keeping the bead walls straight as you set it in place.
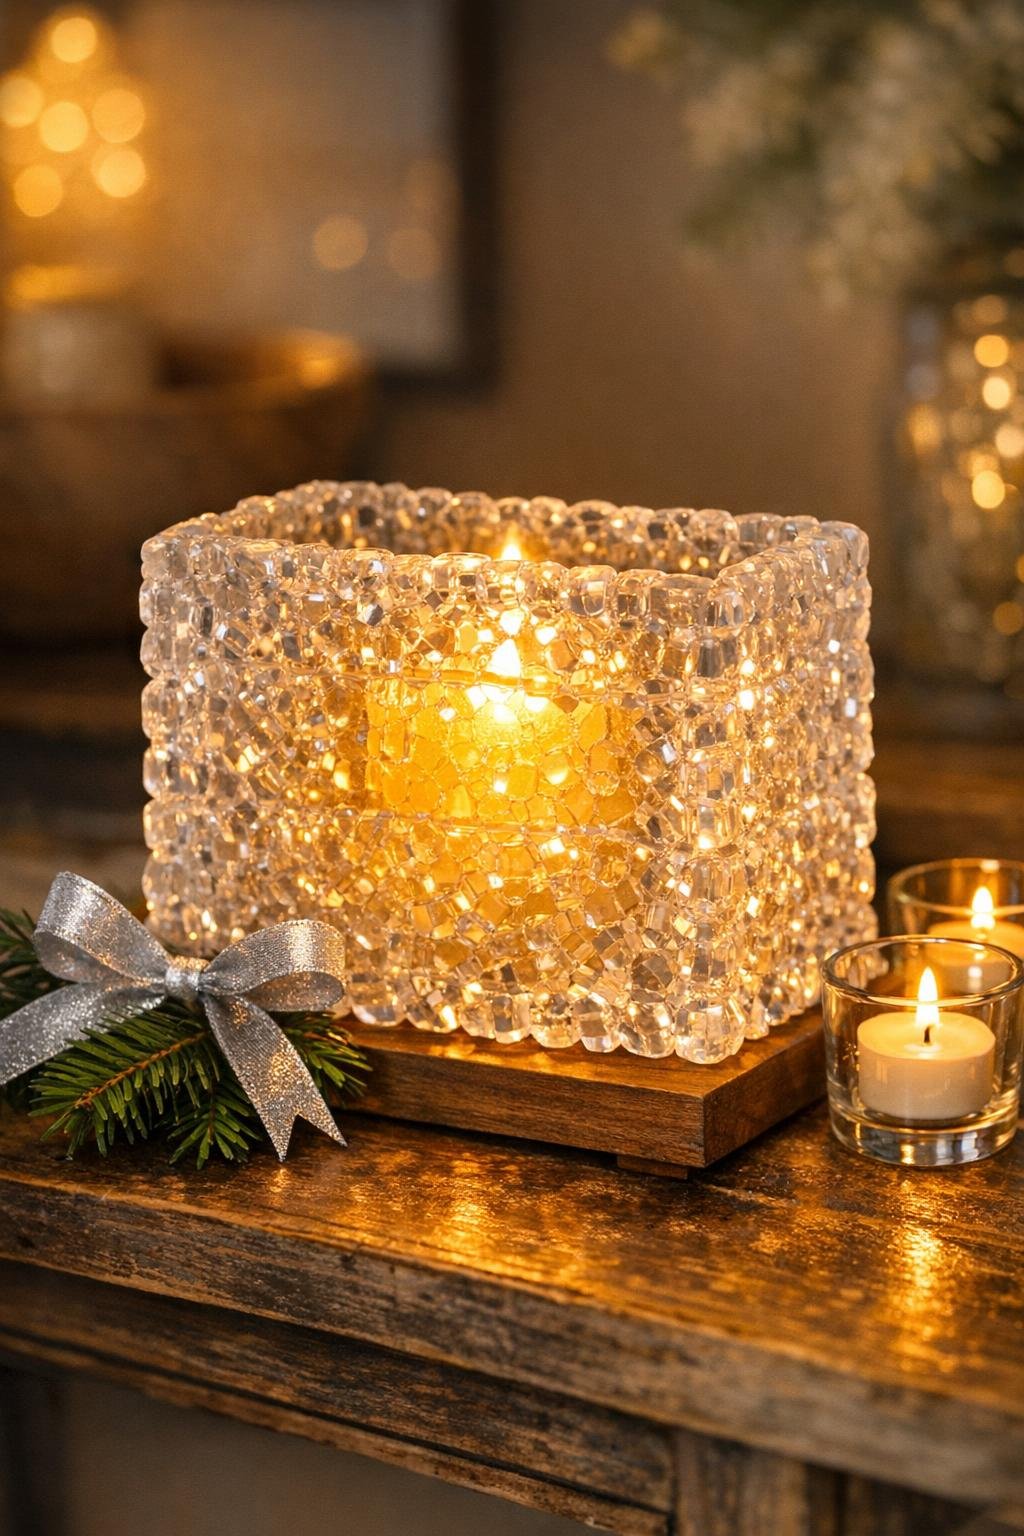
10. Place the battery pillar candle inside once the base is secure and all glue is dry, then switch it on to let the light bounce through the melted clear beads.
Variations & Tips
Add frosty sparkle: If you want a slightly icier look, brush a very light coat of clear-drying iridescent glitter glue on the outside corners after assembly. I would keep it subtle so the bead texture still does the heavy lifting.
Use warm or cool candlelight: A warm flicker candle makes this feel cozy on a console or mantel, while a cool white candle gives it more of that true ice-block effect. I have tried both, and the cool light is especially pretty in winter.
Keep the panels even: The prettiest result comes from filling each loaf pan with a level layer of beads, not a mound. If one section is too thick, it can bulge and make assembly harder later.
Work in a ventilated space: Melting plastic beads can create an odor, so I always turn on the kitchen vent and crack a window. It makes the whole process much more pleasant.
Try a polished base: If your wooden base looks unfinished, paint it white, soft gray, or metallic silver before attaching the lantern. That little extra touch makes the project look much more intentional.
Display safely: Use only a battery-operated candle in this lantern. The melted bead panels are sturdy for decor, but they are still plastic and should never be used with a real flame.