
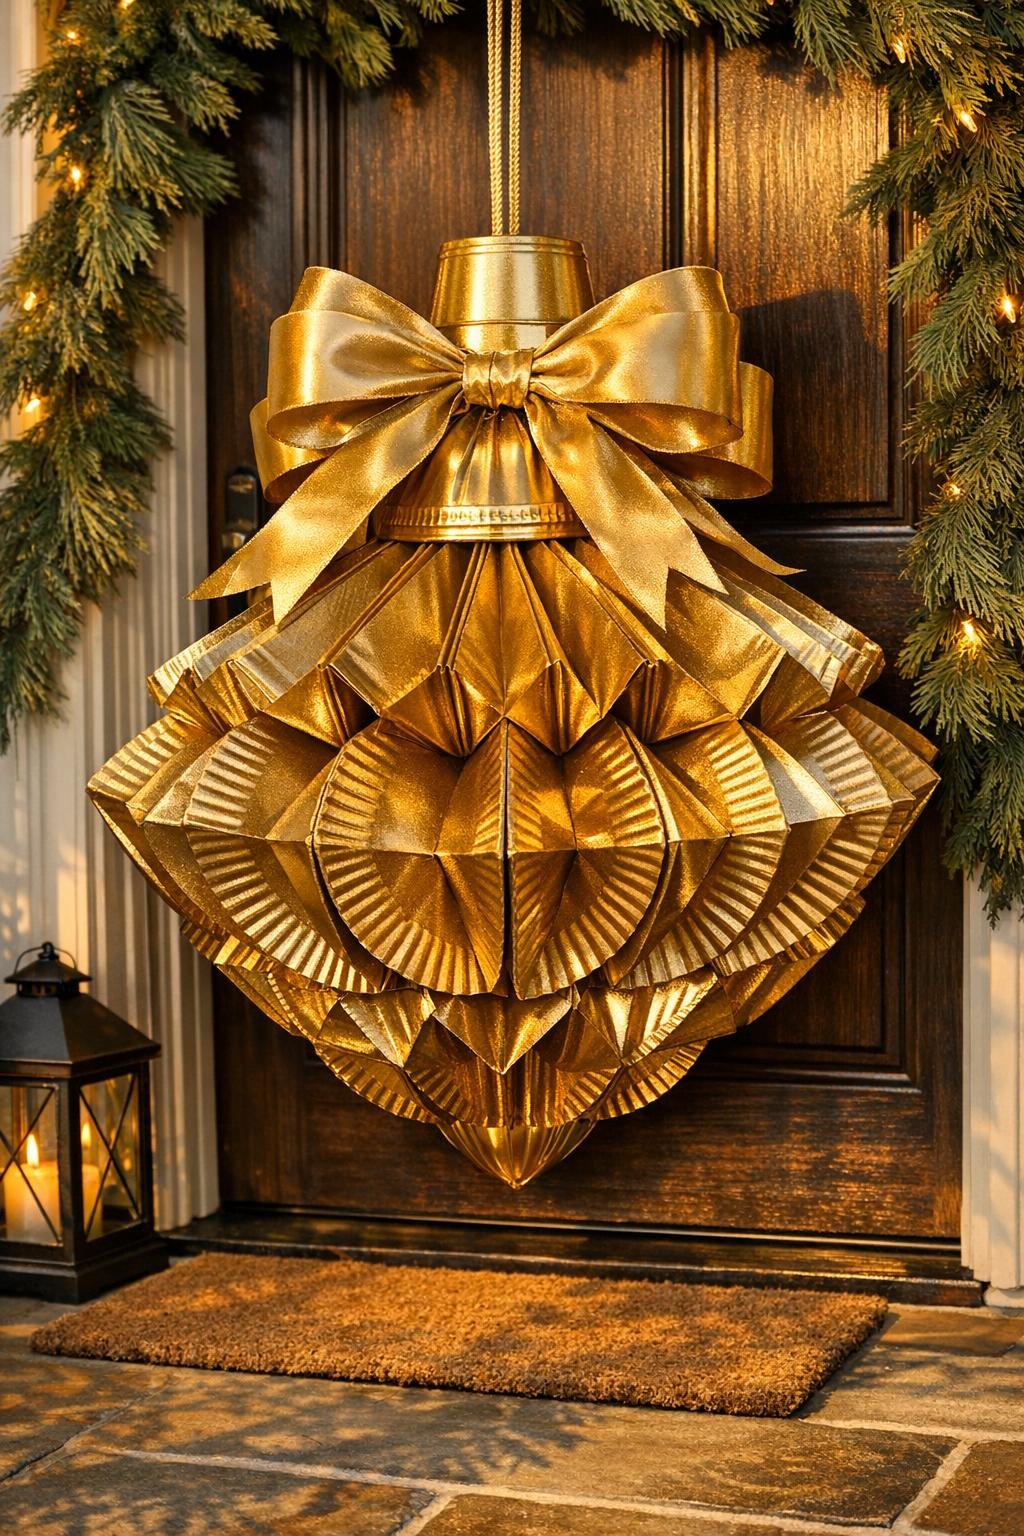
There are a few crafts that make me stop in the middle of a busy week and think, “Well, that was absolutely worth the mess on my table,” and this is one of them. With a stack of inexpensive paper plates and a little folding, you can turn the simplest supplies into something oversized, festive, and surprisingly elegant for a porch or entryway.
I love projects like this because they give you a big visual payoff without needing fancy tools or complicated skills. If you can draw a line, make a crease, and work in a repeatable pattern, you can pull this off. It’s especially nice if you want holiday decor that looks full and dramatic from the street but still fits a dollar-store budget.
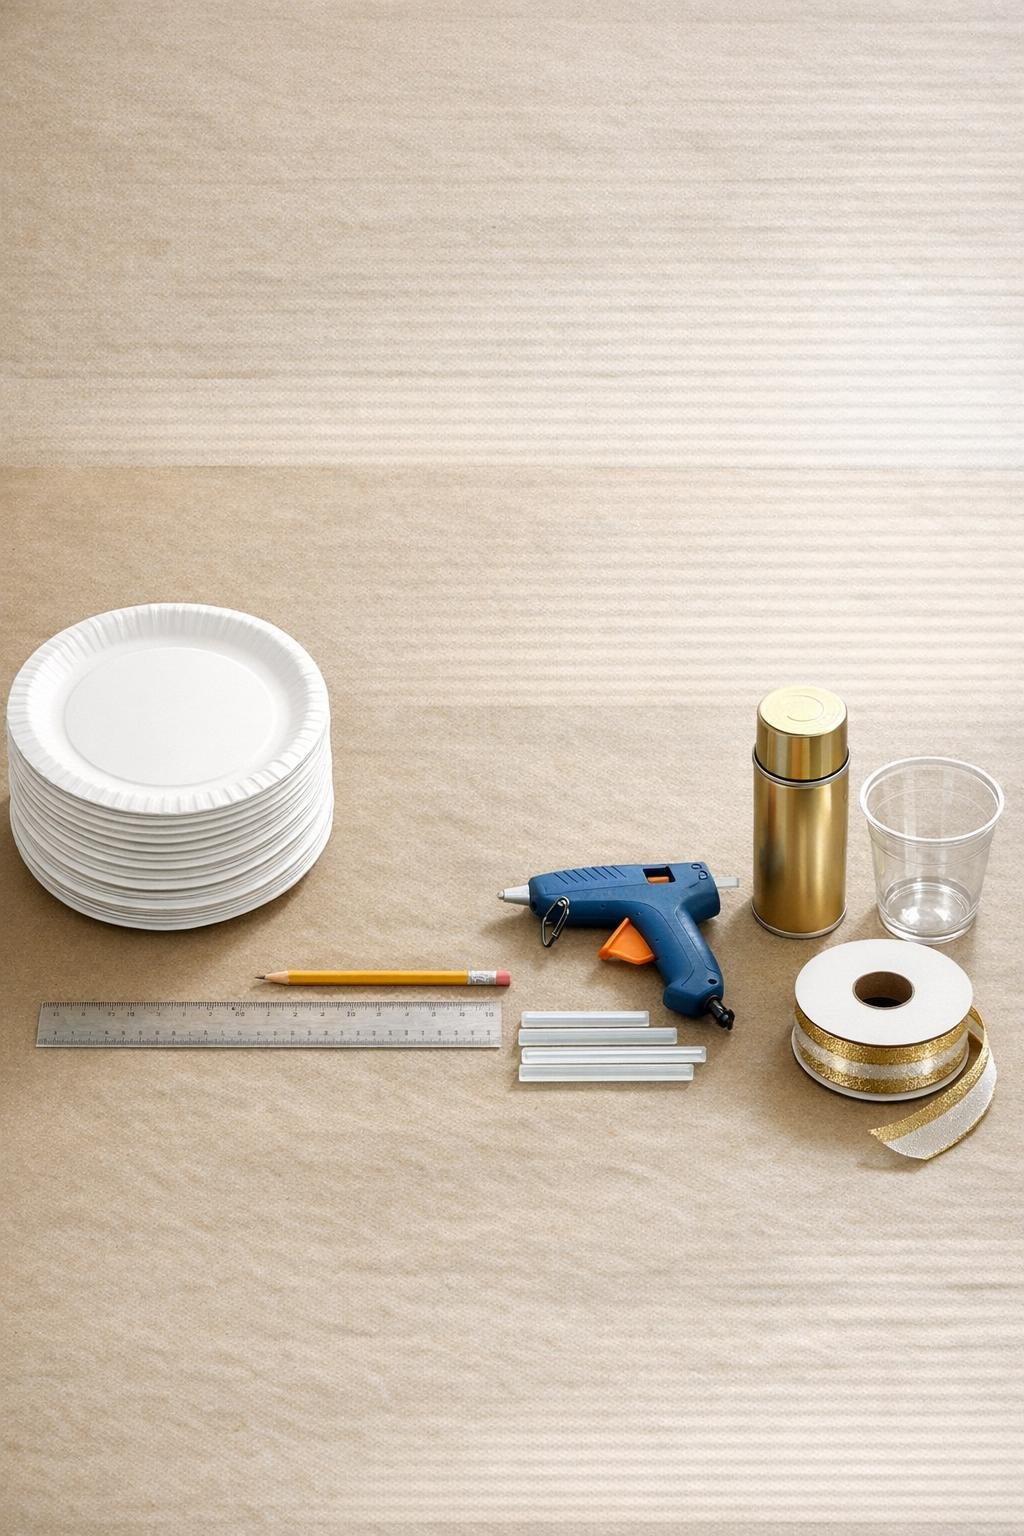
Materials
Instructions
1. Set 10 paper plates aside for the front layer and 10 for the back layer, then place one plate face down and use the ruler to lightly mark a centered triangle shape with three evenly spaced fold lines from rim to rim.
2. Fold the plate up along each pencil line so the round plate becomes a soft triangle with raised points, then flatten the creases firmly with your fingers; use this plate as your template for the other 19 plates.
3. Repeat the same folding on all 20 plates, keeping the points and creases as even as you can so the finished ornament looks full and balanced.
4. Arrange 5 folded plates in a circle with their pointed ends facing outward and their side edges overlapping slightly, then hot glue the overlaps together to create the first starburst section.
5. Make a second 5-plate starburst the same way, then glue those two sections together, offsetting the points so the top layer lands between the points of the bottom layer for a fuller front side.
6. Repeat the process with the remaining 10 folded plates to create the back side, again using 5 plates for the first layer and 5 more offset on top for a dense, rounded ornament shape.
7. Cut the rim off the clear plastic cup to make a shallow cap about 2 inches tall, then trim the cut edge neatly with scissors.
8. Hot glue the open side of the cup cap to the center of the front starburst, and glue the hanging loop to the back center of the second starburst.
9. Glue the front and back starburst sections together, matching the center points so you create one large double-sided ornament with dimension all the way around.
10. Take the ornament and cup cap outside, place them on cardboard, and spray paint the entire piece gold using light even coats, making sure to reach into the folded seams and edges.
11. Let the first side dry completely, flip it carefully, and spray the back and any missed spots until the finish looks rich and uniform.
12. Tie a generous bow with the ribbon and hot glue it just above the cup cap or directly at the top of the ornament, then hang the piece from a porch hook, wreath hanger, or sturdy nail.
Variations & Tips
Color option: If gold isn’t your style, use silver, red, pearl white, or champagne spray paint. I think metallic finishes work best here because they catch porch light so beautifully in the evening.
For a sturdier ornament: Add a small cardboard circle, about 4 inches wide, between the front and back sections before final assembly. It gives the center a little more support without changing the look.
For extra sparkle: Dust the wet final coat lightly with fine glitter spray or add a thin line of glitter glue along a few folded edges after painting. I’d keep it subtle so the sculpted shape still does the talking.
Kid helper tip: If little hands want to help, let them trace lines and make creases while an adult handles the hot glue and spray paint. In my house, dividing jobs like that keeps everybody happy and the project moving.
Hanging tip: If your porch gets windy, use a longer loop and anchor the bottom with a small removable adhesive hook or a bit of clear fishing line. That keeps the ornament facing forward instead of spinning around.
Make a matching set: These look especially magical in a group of two or three at different heights. If you’re decorating for a gathering, I’d make one with a gold bow, one with velvet ribbon, and one with a little greenery tucked behind the bow for a fuller, layered look.