
I love a project that looks a little odd in the middle and then suddenly makes perfect sense by the end, and this crochet basket is exactly that. We’re taking a plain white dollar store drawer organizer tray and using the built-in grid openings as the structure for a chunky yarn basket, crocheting right through the plastic so the tray becomes a sturdy base and frame instead of ending up in the donate pile.
This is a great weekend project if you want the cozy look of crochet without having to freehand an entire basket from scratch. I’ve made versions of these for onions and potatoes in the pantry, for rolled dish towels, and even for all the random snack packets that seem to multiply on my kitchen counter during a busy workweek. If you can do basic single crochet, you can absolutely make this.
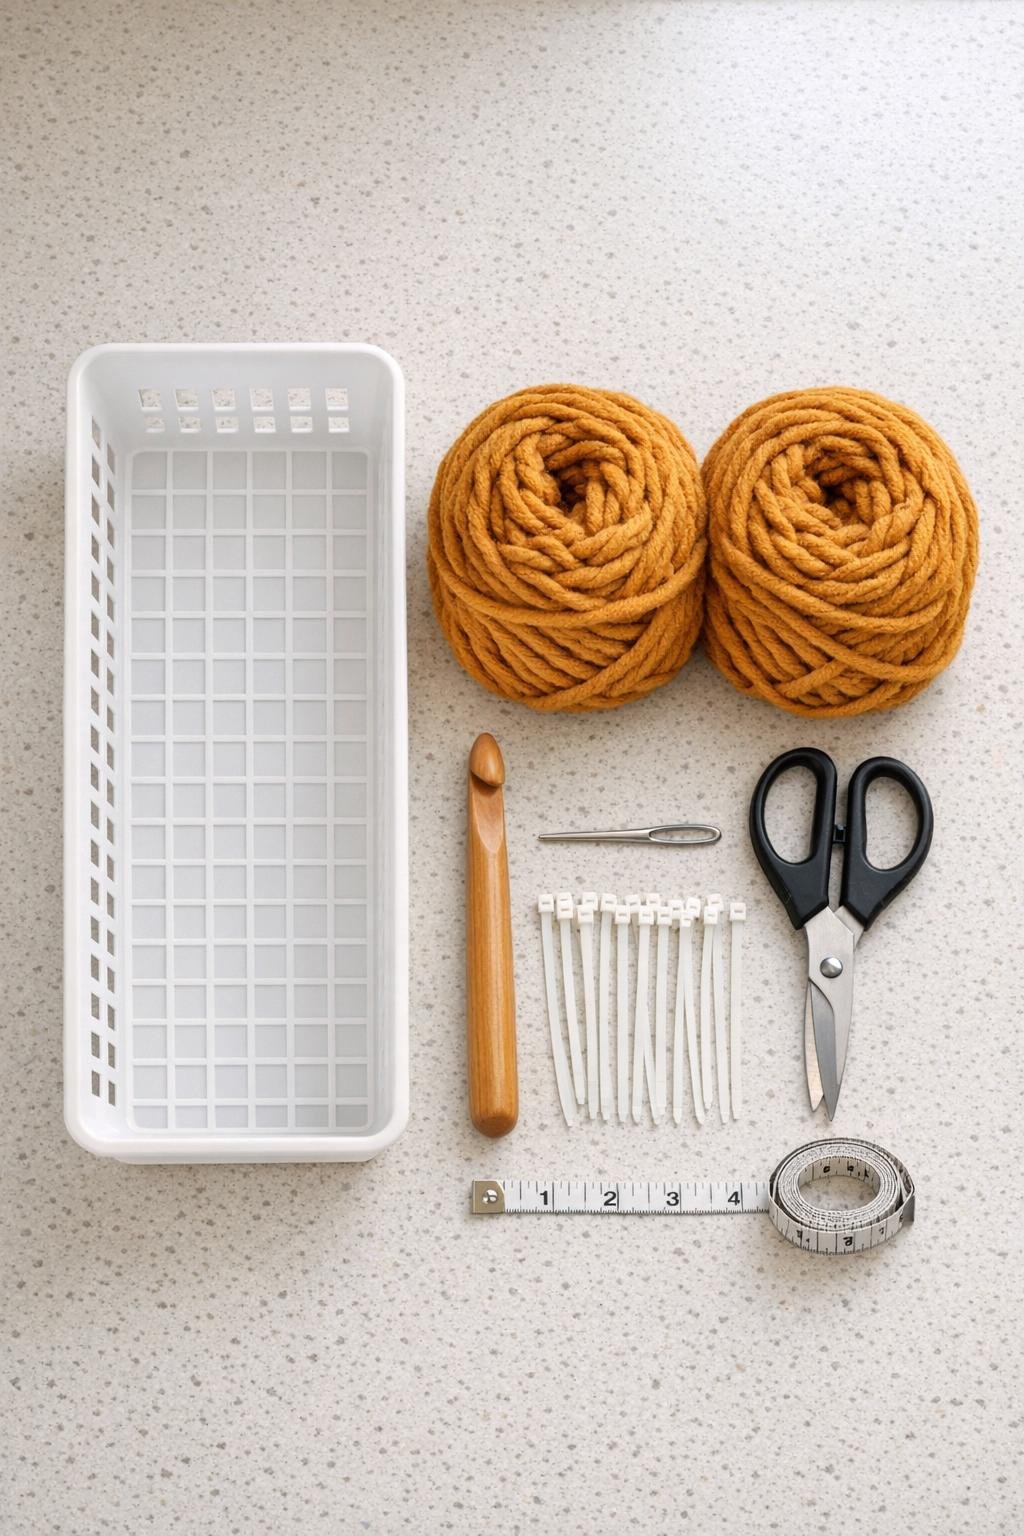
Materials
Instructions
1. Clean the drawer organizer tray with warm soapy water, dry it well, and trim away any plastic tags or rough edges so the yarn won’t snag as you work.
2. If your tray feels flimsy, loop one zip tie around each corner and one at the midpoint of each long side, then trim the tails flush; this gives the basket a sturdier shape once the crochet is added.
3. Tie the yarn securely around one corner opening near the top rim, leaving a 4-inch tail, and weave that tail through nearby grid openings so it stays tucked inside the wall.
4. Insert your crochet hook through a grid opening from outside to inside, pull up a loop, and begin working single crochet stitches through each opening all the way around the top rim of the tray.
5. Keep the stitches snug but not overly tight, placing one single crochet in each grid opening and two single crochets in each corner opening so the yarn wraps the plastic evenly without pulling the tray out of shape.
6. Join the round with a slip stitch into the first stitch, then chain 1 and work a second round of single crochet into the stitches you just made, not through the plastic this time.
7. Continue adding 3 to 5 more rounds of single crochet around the upper edge, depending on how much of the white tray you want covered; I like about 4 rounds because it softens the organizer and gives it a finished basket look without hiding the grid completely.
8. To add body to the sides, fasten off after the top edge is covered, then rejoin the yarn at the lower side openings and single crochet directly through each vertical row of grid openings, working from the bottom upward in columns.
9. Fill every side opening with one tall, snug single crochet or elongated stitch so the yarn forms thick vertical bars across the grid; this fuller coverage is what makes the tray read as a real basket instead of just a lined organizer.
10. When you reach the corners, wrap the yarn through the corner openings twice and anchor with a slip stitch so those high-stress spots look neat and feel reinforced.
11. If you want a softer interior finish, crochet a simple base liner by working one single crochet through every other opening across the bottom grid, then weave the yarn back the opposite direction through the skipped openings to create a woven, cushioned center.
12. Fasten off the yarn, thread the tail onto a yarn needle, and weave all ends through the thick stitches on the inside so nothing shows from the outside.
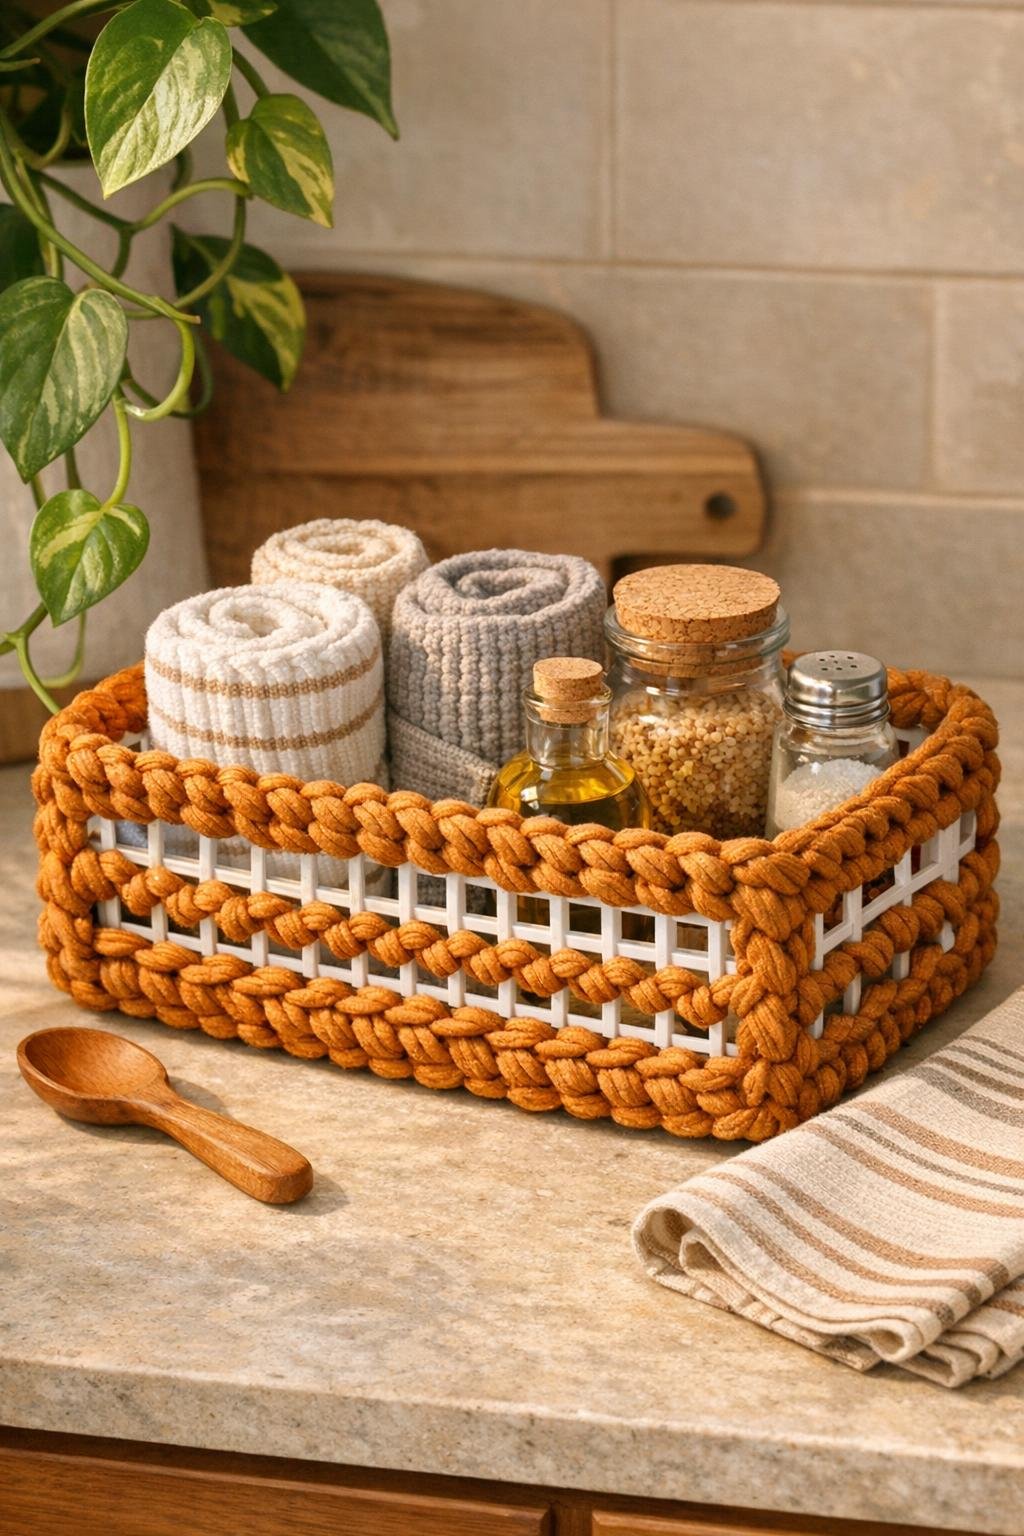
13. Gently shape the basket with your hands, pressing the corners square and evening out the stitch tension so the amber yarn sits smoothly against the white plastic frame.
Variations & Tips
For pantry storage: Use the finished basket for potatoes, onions, snack bags, or tea towels. The built-in structure of the organizer tray keeps it from sagging, which is especially nice when you’re loading it with heavier everyday items.
For fuller coverage: If you want less white plastic showing, add a second stitch into every third side opening and an extra round along the top rim. That gives the basket a thicker, cozier look without making the project much harder.
For a cleaner color palette: Cream, taupe, olive, or charcoal yarn all work beautifully, but chunky amber has that warm, slightly vintage look I always gravitate toward in my kitchen. It makes even a dollar store base feel intentional.
If you’re new to crochet: Don’t overthink perfect stitch height on the side walls. I treat this more like structured wrapping with a crochet hook than traditional precision crochet, and the texture actually looks better when it feels a little organic.
To make it extra polished: Add one final round of slip stitches along the top edge for a rope-like border. It takes just a few extra minutes and gives the basket that finished detail that makes it look much more custom.
Busy-week tip: I like to make the rim one evening and finish the side coverage the next night while dinner is in the oven. Breaking it into two short sessions makes it feel really manageable, especially if your weekdays are as packed as mine usually are.