
I love a craft that starts with the most ordinary thing on earth and somehow turns into something that looks like it came from a little boutique holiday display. This one is exactly that kind of project. If you’ve got a couple of dollar store muffin tins, a hot glue gun, and a little patience, you can make a whole pile of delicate, lacey pieces that feel surprisingly fancy once they’re finished.
This is a great project for anyone who wants big visual payoff without a complicated supply list or a full afternoon of measuring and cutting. It’s especially good for busy people like me who want something pretty and handmade but still realistic to finish after work or on a weekend afternoon. The steps are simple, and the final arrangement looks polished enough to dress up a blank wall for the season.
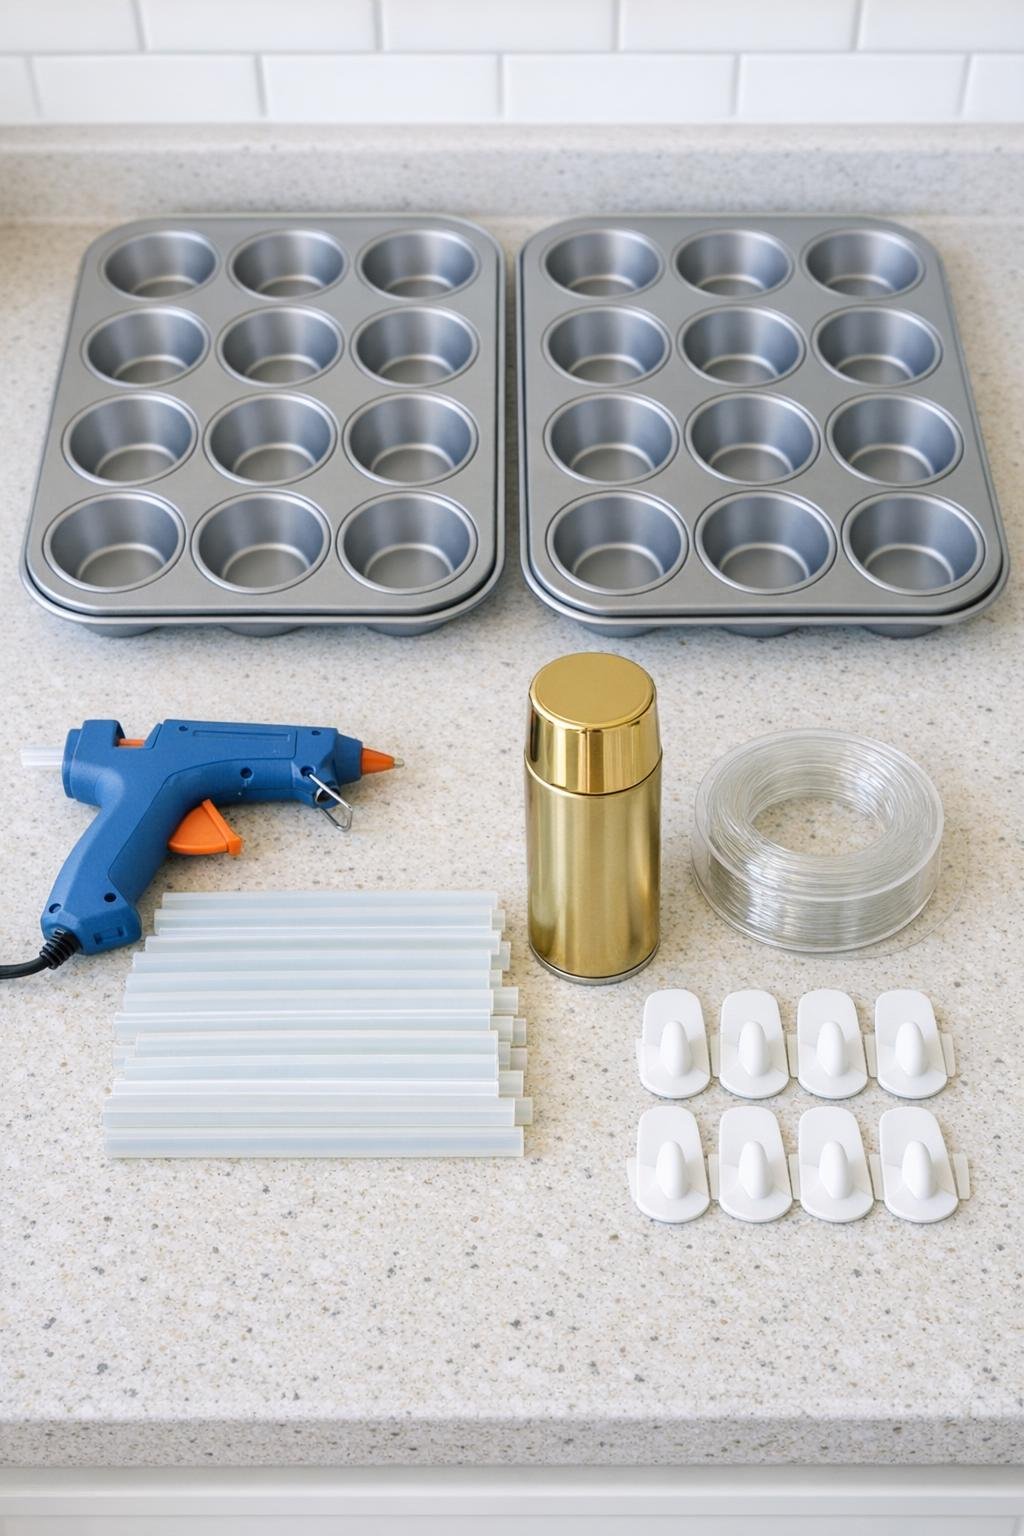
Materials
2 metal 12-cup muffin tins from the dollar store, 12 cups each
Instructions
1. Set the two muffin tins side by side on a flat counter and plug in the hot glue gun so it gets fully hot before you start. Keep your glue sticks within reach because this project goes faster when you can work continuously.
2. In one muffin cup, scribble the hot glue in loose looping lines from edge to edge, crisscrossing the strands until you have an airy web that fills the cup without becoming a solid puddle. Make 4 large rounds this way in the widest top cups, aiming for pieces about 3 inches across.
3. Continue filling more cups with the same looping technique, making 8 medium rounds about 2 1/2 inches across and 12 smaller rounds about 2 inches across. Vary the density a little so each piece looks organic, but make sure every circle has enough overlap to hold together when peeled out.
4. For the tiniest filler pieces, drizzle quick swirls of hot glue onto the parchment paper or silicone mat to make 10 to 12 freeform mini rosettes about 1 to 1 1/2 inches wide. These little extras help fill gaps later and give the design a fuller, more layered look.
5. Let all the glue cool completely for 10 minutes, then gently peel each lace round out of the muffin tin cups by flexing the pan slightly. If any piece looks too thin or has a weak spot, lay it flat and reinforce it with 2 or 3 extra glue lines, then let it cool again.
6. Take the pieces outside or to a well-ventilated area, place them on cardboard, and spray them with a light coat of gold paint. Let that dry for 15 minutes, flip them over, and add a second light coat on the back so the finish looks rich and even from every angle.
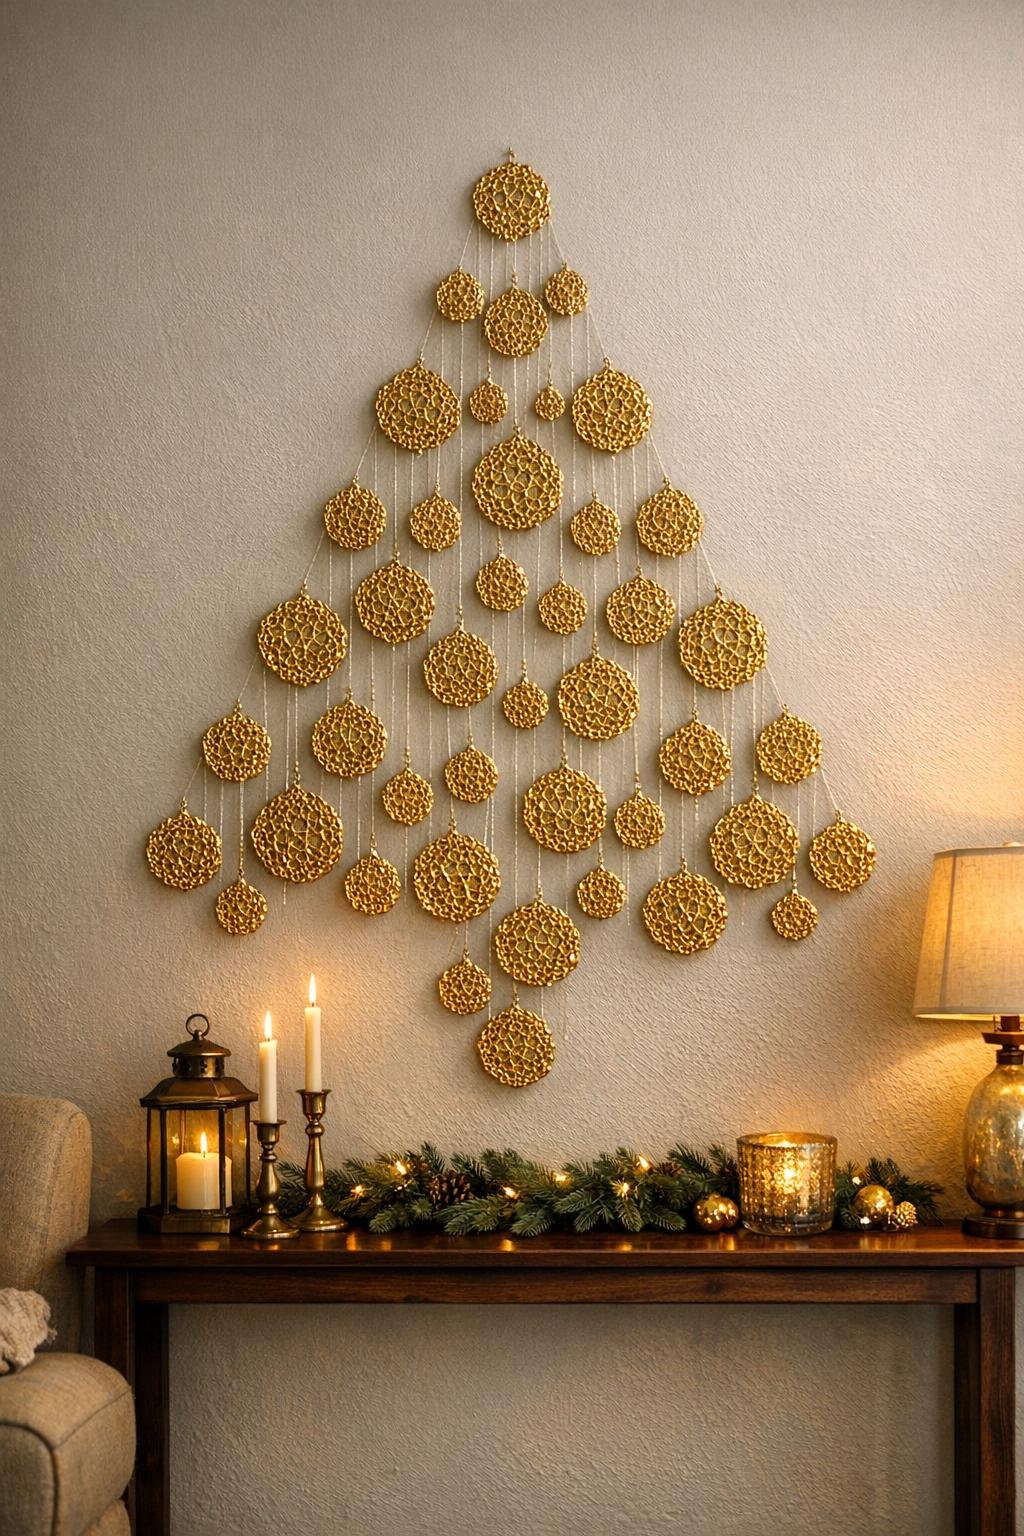
7. Once the gold pieces are dry, arrange them on the floor or a large table in the shape of a wall tree before hanging anything. Place the 4 largest pieces across the bottom row, the medium pieces in narrowing rows above them, and the smallest rounds and mini rosettes toward the top to create a full triangular outline.
8. Cut 11 lengths of fishing line from 10 to 24 inches long so the rows can taper upward like a tree. Tie or hot glue 2 to 4 gold lace pieces onto each line, spacing them 1 to 3 inches apart and keeping the longest, fullest strands for the bottom of the design.
9. Add 6 command hooks to the wall in a wide bottom row that starts the tree shape, then place 3 hooks above that, then 2, creating a centered triangle. Press firmly and follow the package directions for a secure hold before hanging the strands.
10. Hang the fishing-line strands from the hooks, adjusting the spacing so the gold rounds overlap slightly and the overall silhouette looks lush and balanced. Use the mini rosettes to fill any sparse spots by tying or gluing them directly onto the hanging lines.
11. Step back and fine-tune the shape until the outline reads clearly as a tree, with a broad base and a crisp top point. Trim any visible extra fishing line, and rotate a few pieces forward so the metallic finish catches the light nicely.
Variations & Tips
Change the finish: Silver, champagne, or soft white spray paint gives this project a totally different mood. I especially love champagne gold if your holiday decor leans warm and neutral.
Make it fuller: If you want a more dramatic wall piece, simply add another 6 to 10 small glue rounds and cluster them more tightly along the fishing line. A dense arrangement looks much more intentional and high-end than a sparse one.
Use glue wisely: I’ve learned the hard way that the prettiest pieces happen when I keep the glue moving in quick loose loops instead of squeezing too much in one spot. Thin overlapping strands look lacey; heavy blobs just look clunky.
Test paint first: Give one extra piece a quick test coat before spraying the whole batch if you’re using a new brand of paint. Most hot glue takes spray paint well, but a light first coat always gives the smoothest finish.
Try a mantel version: If you don’t want to hang it on the wall, tape or glue the finished strands to the front edge of a mantel or shelf in the same triangular shape. It creates the same effect with even less commitment.
Store it simply: Lay the strands flat between sheets of tissue paper in a shallow box so the lace pieces don’t tangle. Because they’re lightweight, they store much more easily than a bulky decor piece, which I always appreciate when holiday bins are already overflowing.