
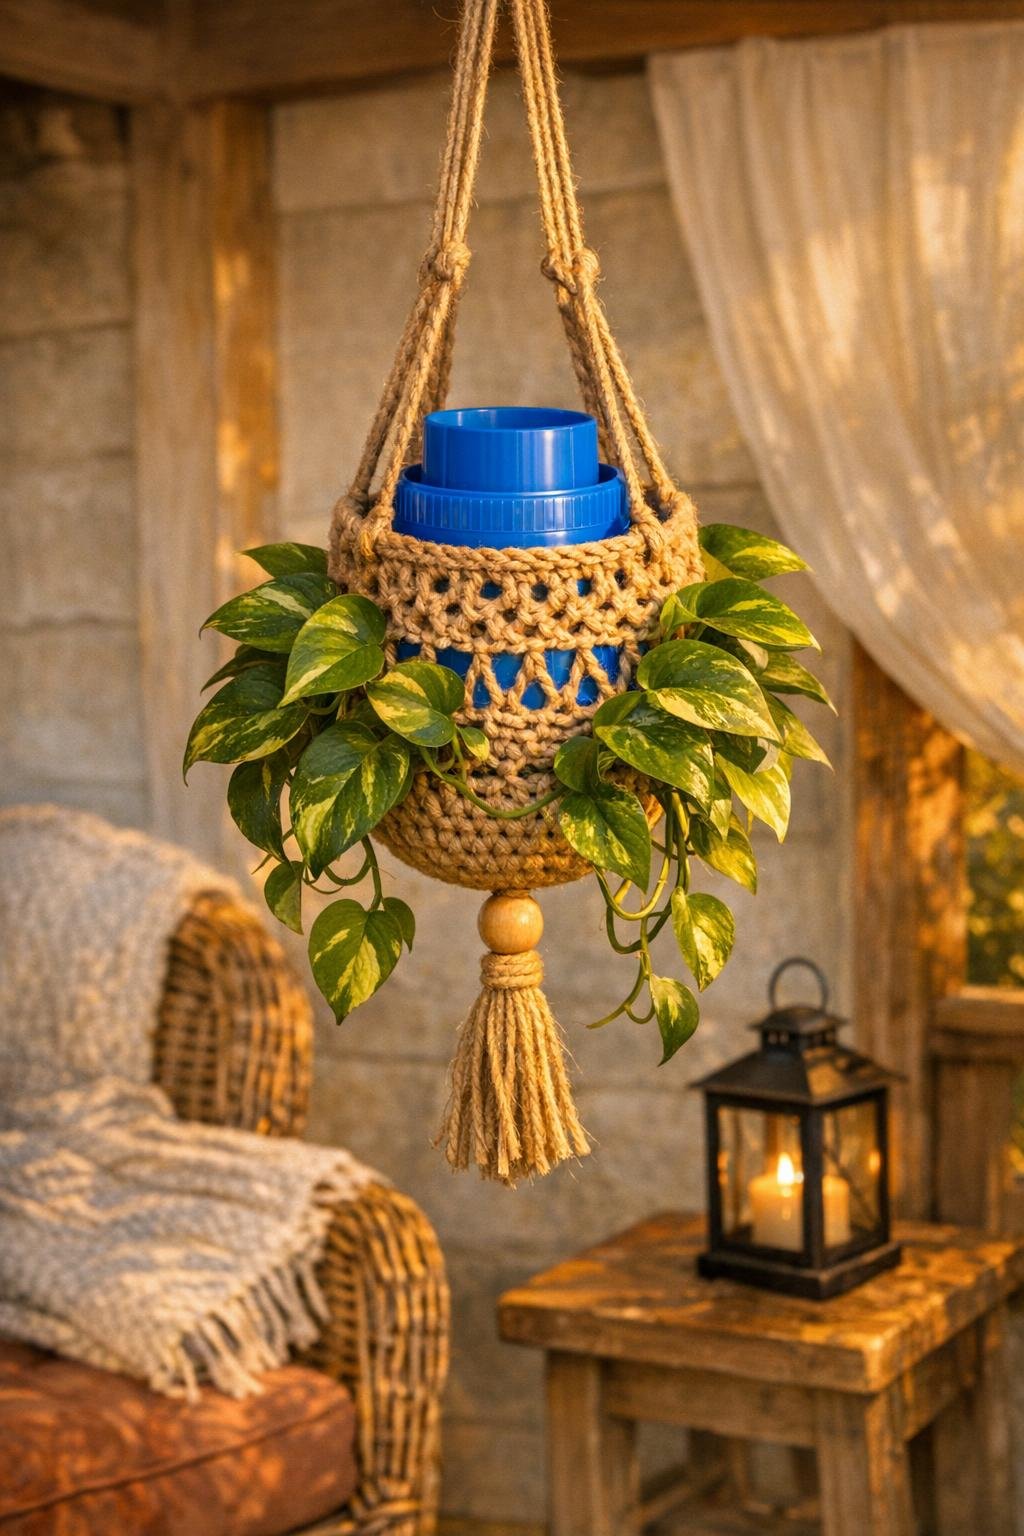
I love a project that turns one odd little household item into something people genuinely stop and ask about, and this one absolutely does that. We’re taking a large plastic laundry detergent cap, cutting 12 evenly spaced slots around it, and using jute yarn to crochet right through the cap to create a rustic hanging planter with tons of texture and personality. The cap stays visible enough that you can tell it’s an upcycled piece, but the finished planter looks surprisingly polished once the crochet sides, hanger, and simple finishing details are added.
This is a great weekend craft if you already know a few basic crochet stitches, or if you’re comfortable learning as you go. I’m always looking for projects that feel creative without taking over my whole kitchen table for days, and this one checks that box. It gives you a sturdy little hanging planter that looks lovely with trailing greenery, and it’s a fun way to make something useful out of plastic that would normally get tossed.
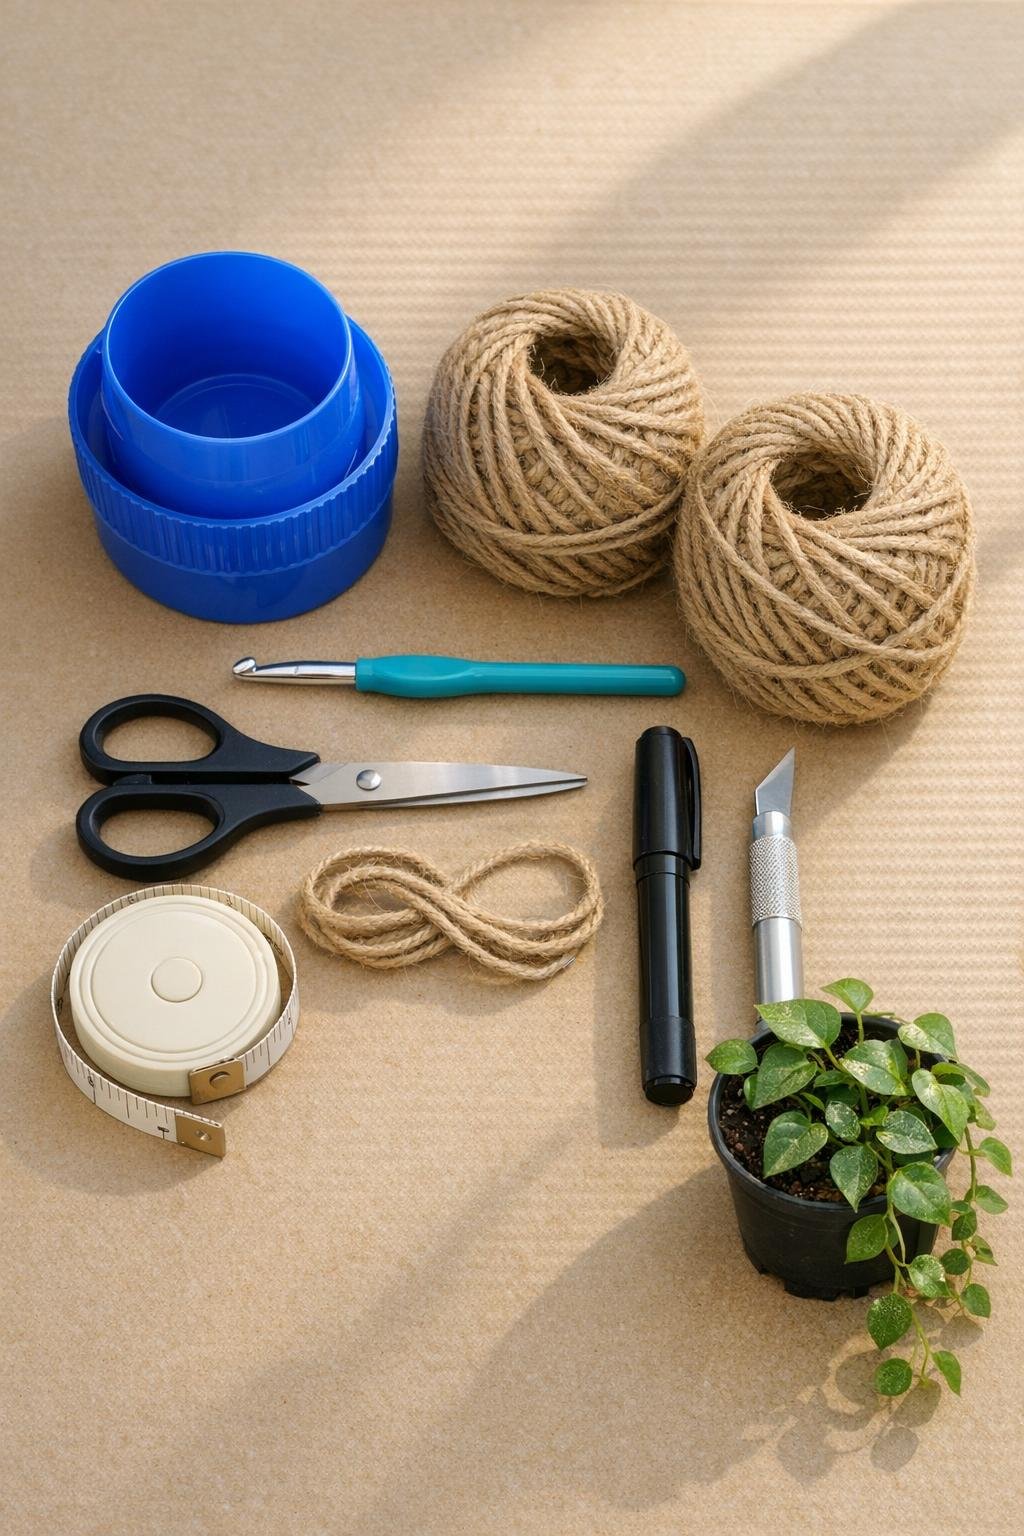
Materials
1 large blue plastic laundry detergent cap, about 3 1/2 to 4 inches wide and 3 to 4 inches tall
Instructions
1. Wash and dry the detergent cap thoroughly, then remove any inner residue so the yarn stays clean and the planter is pleasant to work with. If the cap has a pouring lip or rough molded edge, trim it neatly with the craft knife.
2. Measure the rim of the cap and mark 12 evenly spaced slot lines around the upper edge, keeping them about 1/2 inch apart. Cut each slot about 3/8 inch deep and just wide enough for the jute yarn to pass through easily.
3. Smooth every cut edge with sandpaper so the plastic won’t snag the jute. Run a short piece of yarn through a few slots to test that it slides without fraying.
4. Make a slip knot and join the jute through one slot, then work 2 single crochet stitches into each slot all the way around for a total of 24 stitches. Join with a slip stitch to the first stitch to create a firm crocheted starter round anchored to the cap.
5. Crochet 1 round of single crochet in each stitch with no increases to pull the work snugly against the cap. On the next round, work 1 single crochet in the first stitch and 2 single crochet in the next stitch all the way around to increase to 36 stitches.
6. Continue building the basket by working 5 to 7 more rounds of single crochet, keeping even tension so the sides form a sturdy cup below the cap. Stop when the crocheted body is deep enough to cradle the nursery pot with the top third of the pot still visible.
7. Test-fit the nursery pot, then crochet 1 final tightening round by slip stitching every third stitch and single crocheting the others if you want the planter to hug the pot more securely. Fasten off and weave the tail tightly through the inside stitches.
8. Cut 3 lengths of jute yarn, 48 inches each, for the hanger cords. Thread them evenly through 6 opposite points around the top crochet round or through sturdy spaces near the slotted cap rim, then knot each pair securely so the weight is distributed evenly.
9. Gather the 6 strands about 14 to 16 inches above the planter and tie a large overhand knot to form the hanging point. Slide on a wooden bead above the knot or wrap extra jute around the gathered cords for a cleaner finished look.
10. Add a small dot of hot glue over the inside attachment knots if you want extra hold, keeping glue away from any area where the pot needs to sit flat. If desired, lightly mist only the jute exterior with a matte sealer to reduce fuzz and let it dry completely.
11. Set the nursery saucer inside first if you’re using one, then place the plant into the crocheted holder and adjust the cords until it hangs level. Tie on a small jute tassel under the bottom center or at the top knot for a simple finished accent.
Variations & Tips
For a fuller look: Use a slightly wider cap and add one extra increase round before working the sides. That gives you more room for a fuller plant and creates a more dramatic basket shape.
Plant choice: Trailing pothos, string of hearts, ivy, and small philodendron varieties all work beautifully here. I like using a plant that spills over the sides because it softens the plastic cap and really shows off the handmade texture.
If jute feels too stiff: Swap in a cotton macramé cord or a cotton-blend yarn in a similar thickness. Jute gives the nicest rustic look, but cotton is easier on the hands if you’re crocheting after a long workday like I usually am.
Make the cap look more intentional: If you want a softer finish, lightly scuff and spray-paint the cap before crocheting. Just be sure that color change is fully dry and sealed before the yarn goes on.
Watering tip: I always recommend taking the nursery pot out for watering if possible, then letting it drain before placing it back inside. That keeps the jute looking better longer and helps avoid drips indoors.
Keep it balanced: Before hanging it in its final spot, hold the top knot and check whether the pot sits level. Adjusting the cords by even half an inch can make the whole planter look much more polished.
Batch-making idea: Once you’ve cut one cap successfully, it’s easy to prep two or three more at the same time. This is the kind of project I’d make assembly-line style on a quiet afternoon, especially if I wanted a matching set for a sunroom or kitchen window.