
When I want to stretch my raised-bed season without hauling out complicated covers or spending money on specialty garden products, this is one of the simplest little tricks I come back to. By slicing open foam pool noodles and pairing them with wire garden hoops, you can create a quick insulation layer and support system that helps protect tender fall and early winter crops from light frost while keeping your bed ready for row cover, frost cloth, or plastic sheeting.
I like this project because it uses easy-to-find materials, takes less than an hour, and gives a raised bed a much more finished, useful setup before cold weather settles in. If you grow lettuce, spinach, kale, herbs, or late-season seedlings, this is a very worthwhile prep step.
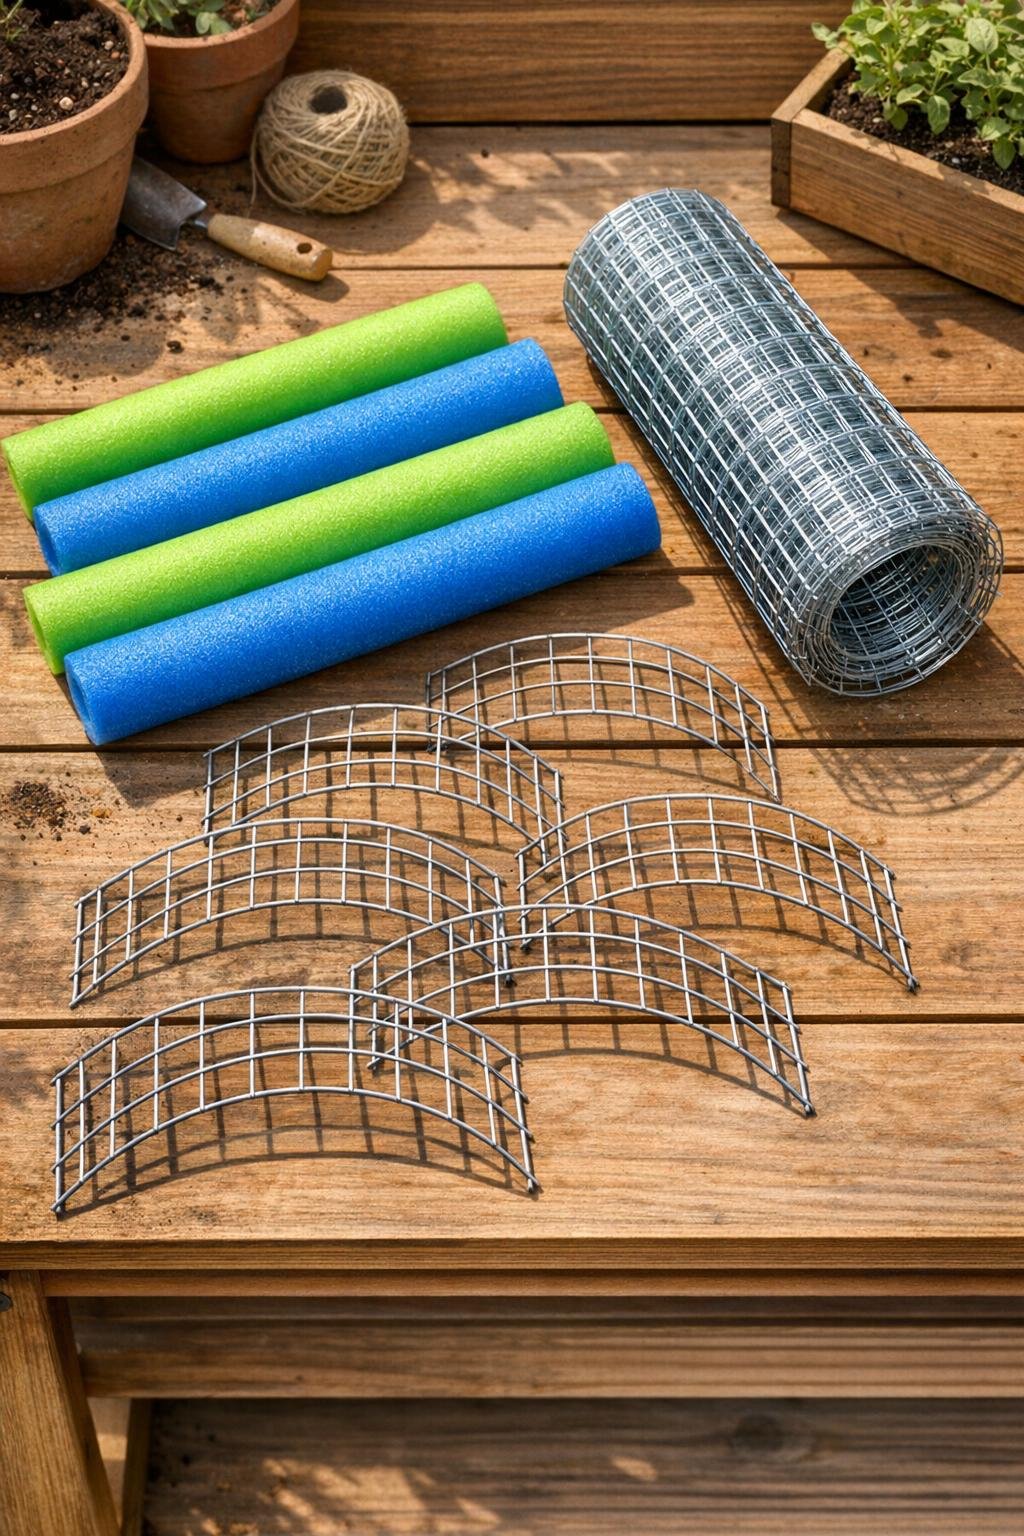
Materials
Instructions
1. Measure the width of your raised bed so you know how wide to make each hoop; for most 4-foot-wide beds, hoops that span 48 to 54 inches work nicely and still give you good height in the center.
2. Cut the welded wire fencing into 6 equal sections, each 32 inches wide, trimming so there are no dangerously long wire ends sticking out. Each section will become one hoop, which gives a full row of support across a standard 6- to 8-foot raised bed.
3. Slice each pool noodle lengthwise from end to end with a utility knife, following one side in a straight line so the noodle can open like a clamp. Cut carefully and keep the slit just deep enough to reach the center hole.
4. Cut the slit noodles into 16-inch lengths, which are long enough to cushion the top edges of several hoops while still being easy to position. From four noodles, you should get about 12 to 13 padded sections total.
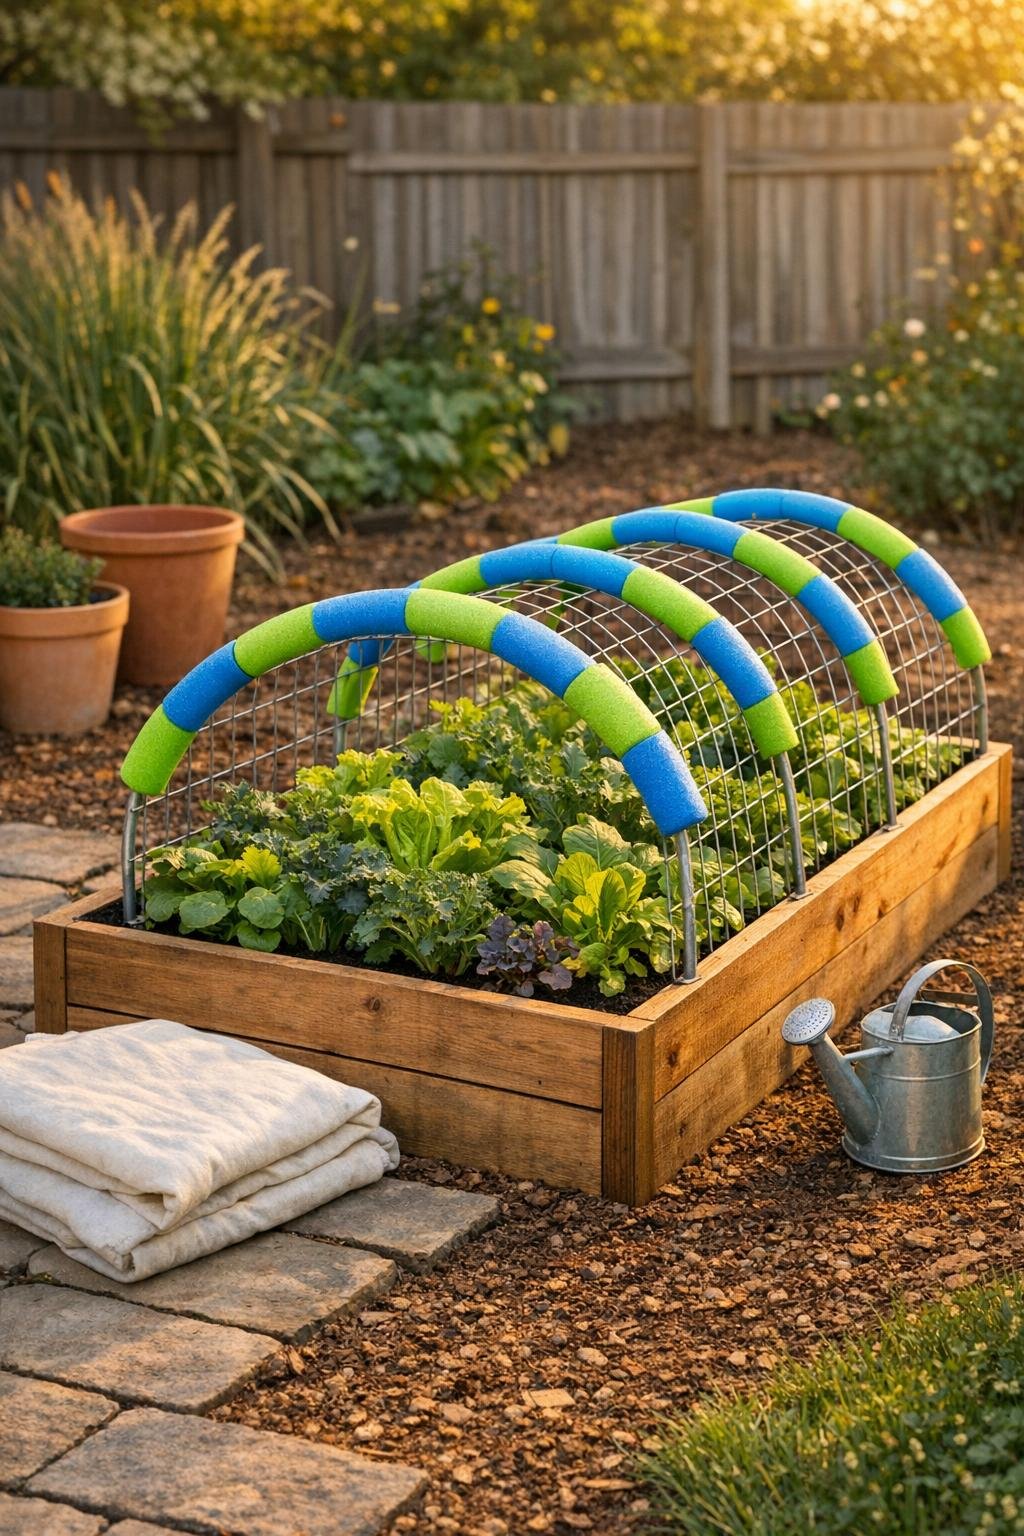
5. Bend each fencing section into a smooth arch and push the wire ends 6 to 8 inches into the soil on opposite sides of the bed. Space the hoops evenly, about 14 to 16 inches apart, so the cover will not sag between them.
6. Press a sliced pool noodle section onto the top curve of each hoop wherever a cover will rest, centering the foam on the crown of the arch. The slit should grip the wire firmly and create a soft buffer between the metal and your future frost cover.
7. Add additional noodle sections to any sharp shoulder points or side contact spots if your arch shape has corners from the wire grid. This extra foam layer prevents tearing and adds a little insulating dead air space right where cold usually bites first.
8. Check that all foam pieces are snug, the hoops feel stable, and the bed has a continuous padded line from one end to the other. Once that is in place, the insulation layer is ready for frost cloth, old sheets, or greenhouse plastic whenever the forecast drops.
Variations & Tips
For wider beds: Use wider fencing cuts so the arches stand taller and still sink securely into the soil. I like giving myself a little extra height because greens always seem to grow more overnight when frost is coming.
For colder nights: Drape frost cloth over the padded hoops in late afternoon and secure the edges with boards, bricks, or soil. The noodle layer helps reduce abrasion, which matters if covers stay on for days.
For a cleaner fit: Round off any rough cut wire ends before installing the hoops. This small step makes the whole setup easier to handle and much kinder to both gloves and garden fabric.
Color-coding tip: I sometimes use one noodle color for the center hoops and another for the end hoops, just so setup is faster when I am rushing before a cold snap.
Best crops for this method: This works especially well over lettuce, arugula, spinach, chard, bok choy, cilantro, parsley, and young brassicas. It is a protective layer, not deep-winter heating, but it absolutely buys you useful garden time.
Storage tip: At the end of the season, pull off the noodle pieces and stack them in a dry shed or garage bin away from sun exposure. Foam lasts much longer when it is not left outside all year.