
There’s something so satisfying about taking the simplest little household items and turning them into something that looks straight out of winter storybook décor. This project starts with plain glass jars and a fluffy, snowy coating that gives them a soft frosted texture I absolutely adore. It’s inexpensive, messy in the best way, and easy enough to make in one relaxed afternoon.
I especially love crafts like this when I want a cozy seasonal touch without pulling out a ton of supplies or asking for perfection. If you like handmade decorations that feel charming and a little magical, this one is for you. It’s also a fun project to make assembly-line style, so you can finish a whole trio that looks full and generous on a mantel, entry table, or holiday centerpiece.
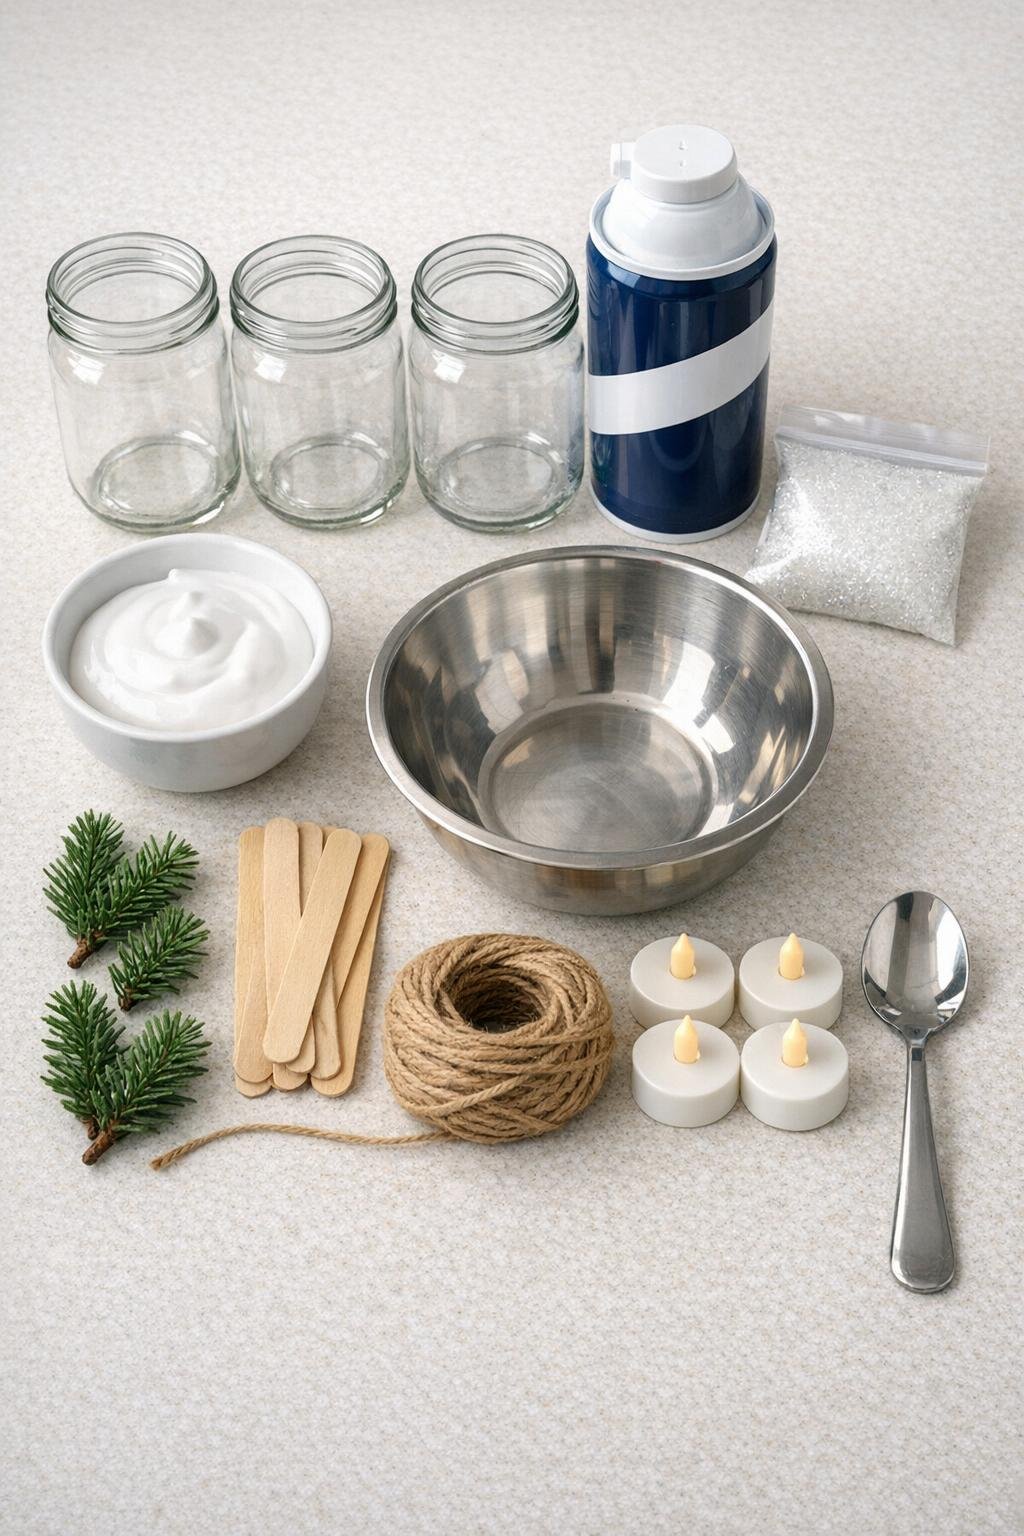
1. Wash the jars well and dry them completely, then make sure the outside glass is free of dust or fingerprints so the snowy coating will stick evenly.
2. In the mixing bowl, stir together 2 heaping cups of shaving cream and 1/2 cup of white school glue until the mixture looks fluffy, spreadable, and holds soft peaks like frosting.
3. Use a craft stick to spread the mixture over the outside of the first jar, starting at the bottom and working upward, leaving the rim and top 1 inch mostly clear so the jar still looks polished and the opening stays neat.
4. Dab and lift the craft stick as you go to build little ridges, swirls, and puffy drifts instead of smoothing everything flat; this texture is what makes the finished jars look snowy and full.
5. Coat the second and third jars the same way, using a little extra mixture near the lower half of each jar so they look lush and frosted rather than skimpy.
6. While the coating is still wet, sprinkle fine iridescent glitter or Epsom salt all over each jar, turning the glass as you work so the sparkle or crystal texture catches in every ridge.
7. Let the jars dry upright for 8 to 12 hours, or overnight, until the outside feels set and no longer tacky to a light touch.
8. Wrap a 24-inch length of twine around the neck of each jar two or three times and tie a snug bow or knot in front for a simple finished edge.
9. Tuck one small faux evergreen sprig into each twine tie so the greenery angles off to one side and softens the snowy white texture.
10. Place one battery tea light inside each jar, switch them on, and group the three together so the glow shines through the clear glass top and flickers warmly under the snowy coating.
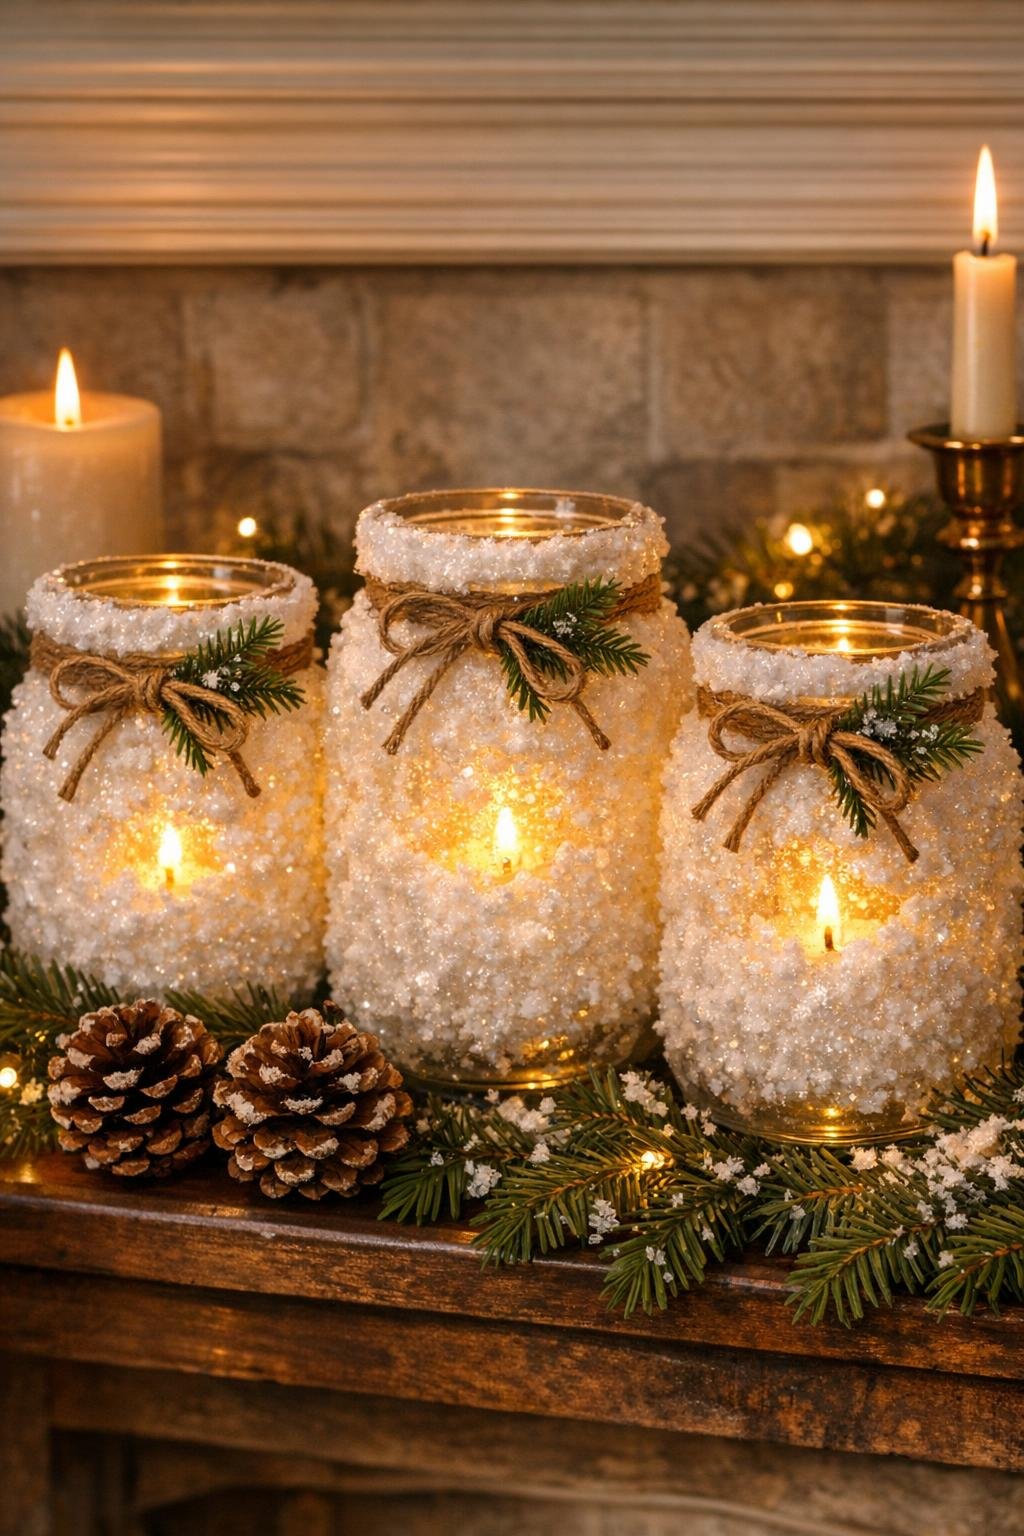
For extra sparkle: I like using iridescent glitter when I want a more magical snowy shimmer, but Epsom salt gives a prettier chunky frost if you prefer a natural snowy look.
For picky decorators: In my house, everybody has an opinion about holiday décor, so making one jar with just sparkle, one with greenery, and one with a fuller twine bow is an easy way to please different tastes while keeping the set coordinated.
Jar size tip: Pint-size or 16-ounce jars are easiest to handle and look nicely substantial in a group, but you can mix slightly different heights for a more collected centerpiece feel.
Texture tip: Don’t overmix the shaving cream and glue until it turns flat; a fluffier mixture makes a puffier finish and gives you those soft snowy ridges that look so pretty lit up.
Drying tip: If your house is humid, give the jars a full 24 hours before styling them, and keep them in one place while they dry so the coating doesn’t get dented.
Display idea: These look especially cozy clustered on a tray with pinecones or tucked into the center of a winter table, where the trio creates a fuller glow than a single jar ever could.
Safety note: Use only battery tea lights in these jars, since the shaving cream-and-glue finish is decorative and not meant for real flame.