
There is something so satisfying about taking the simplest pantry-and-craft-cabinet ingredients and turning them into something you would never guess they came from. This little project starts with plain white sandwich bread and a bowl, and from there it becomes a soft, moldable clay that is wonderfully easy to shape by hand.
I love projects like this because they feel special without being fussy. If you enjoy easy handmade keepsakes, holiday crafting, or making ornaments with kids nearby at the table, this one is such a treat. The finished pieces have that sweet heirloom look that makes a tree, package, or wreath feel a little more personal.
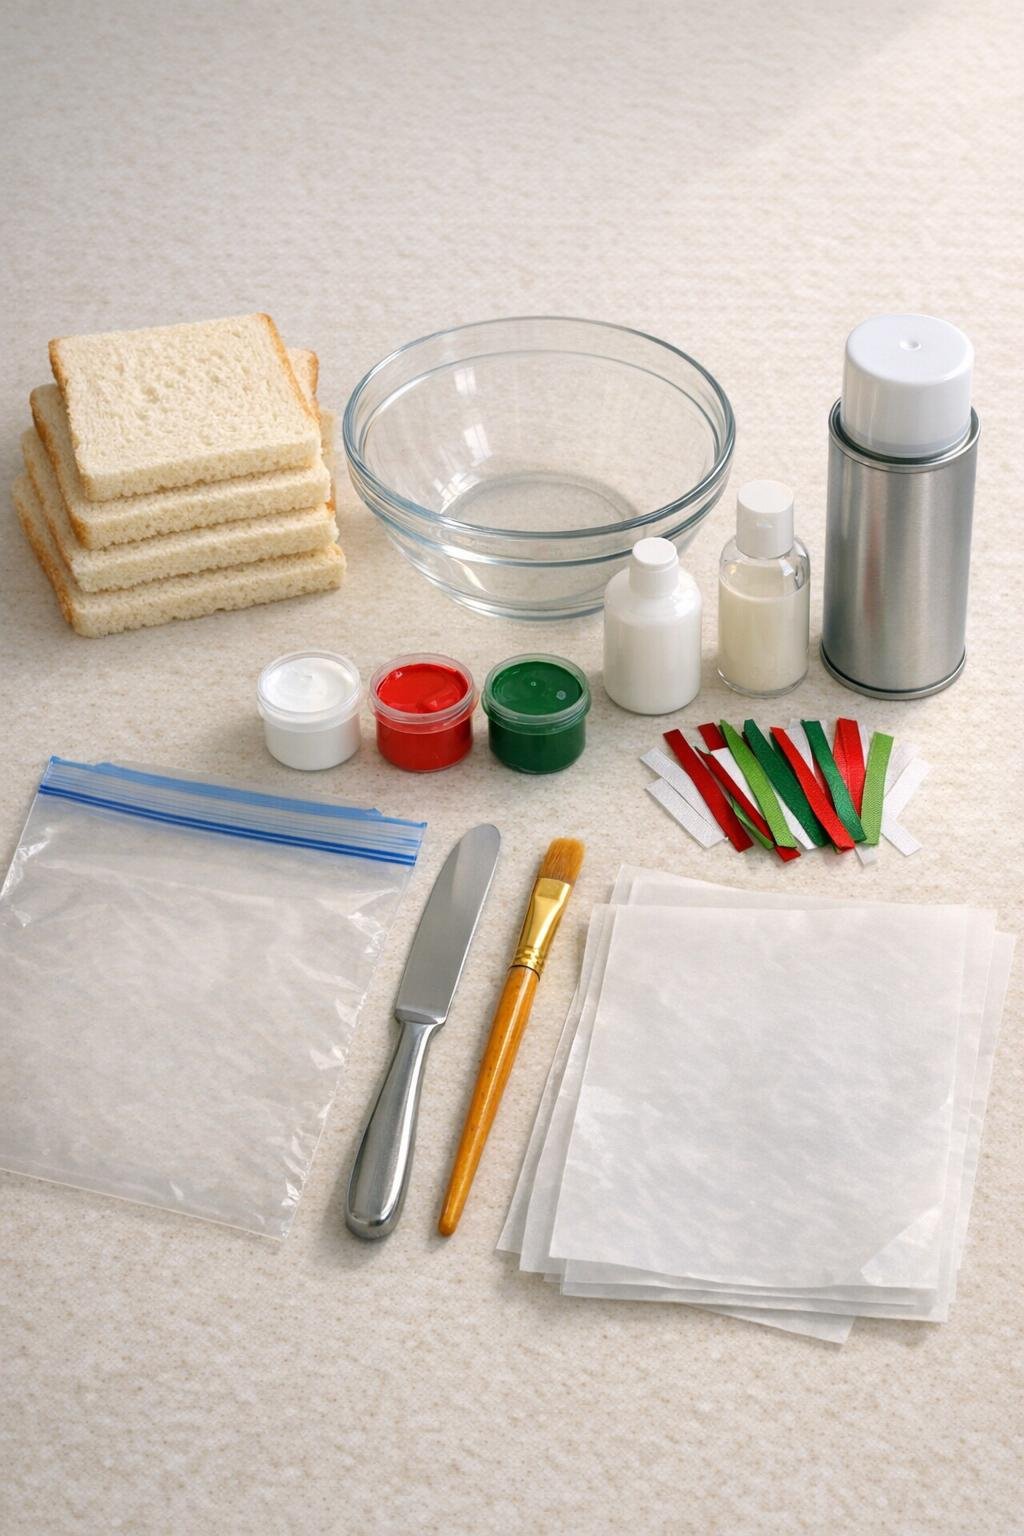
Materials
Instructions
1. Tear the crustless bread into very small pieces and drop them into the mixing bowl until all 6 slices are broken up.
2. Add the school glue, lotion or glycerin, and white acrylic paint, then mash and mix everything together with clean hands until a soft dough begins to form.
3. Knead the mixture for 3 to 4 minutes until it feels smooth like soft modeling clay; if it is sticky, let it sit for 2 minutes and knead again until it firms up.
4. Divide the clay into 12 equal pieces, then pinch off a marble-size bit from each piece for rose centers and set those small pieces aside under a sheet of wax paper.
5. Flatten one larger piece into a rough circle about 2 inches wide on wax paper, then use the butter knife to cut it into 5 petal shapes with rounded tops.
6. Roll one small reserved piece into a tight little log for the center bud, then wrap the first petal around it and overlap the remaining petals one at a time to make a full rose.
7. Gently curl the petal edges outward with your fingertips and pinch the base so the rose holds its shape and looks full rather than flat.
8. Repeat with the remaining clay pieces until you have 12 roses, placing each one on fresh wax paper as you finish it.
9. Tuck one ribbon piece into the back of each rose by pressing the ribbon ends into a small flattened bit of leftover clay, then smoothing that clay patch over the ends to lock in a hanger loop.
10. Let the roses dry on wax paper for 24 hours, then turn them over and dry them for another 12 to 24 hours until they feel firm and lightweight.
11. Paint the roses with red acrylic paint, working the brush into the petal folds and leaving no white spots on the front or sides.
12. Paint the backs green, including the clay patch that holds the ribbon, to give each ornament a finished leaf-like backing and a polished look.
13. Let the paint dry completely, then spray both sides with a light coat of clear sealer and allow them to dry as directed on the can.
14. Add a second light coat of sealer for durability, then hang the finished ornaments on a tree, wreath, garland, or gift package.

Variations & Tips
For a fuller rose: If you want a more dramatic ornament, cut 6 or 7 petals instead of 5 for each flower and overlap them tightly. I love a generous bloom because it looks so pretty once it is painted and hung up.
For picky little helpers: If kids want to join in but get frustrated by shaping petals, let them roll the center buds or paint the backs green. It keeps the project fun and still gives them a real part in making something beautiful.
For softer color: Use a tiny bit of white paint mixed into the red for a dusty rose look. That softer shade gives the ornaments a vintage feel that is lovely on a wreath or wrapped around gifts.
For smoother clay: Knead longer than you think you need to. In my kitchen, that extra minute or two is usually what takes the mixture from lumpy bread paste to a clay that actually behaves.
For better drying: Dry the roses on wax paper in a single layer with a little space between them. If the room is humid, give them the full 48 hours before painting.
For lasting keepsakes: These are best used as decorative ornaments rather than rough-play items. A good double coat of sealer helps a lot, but I still store them in a small box lined with tissue paper so the petals stay pretty from year to year.
For gift giving: Tie one ornament onto a wrapped loaf cake, cookie tin, or holiday present. It is such a sweet homemade extra, and it makes even a simple gift feel thoughtful and dressed up.