
There’s something deeply satisfying about taking a very ordinary ingredient and coaxing it into something that feels festive, fragrant, and far more special than the effort suggests. Thin apple slices are one of those kitchen-to-craft transformations I never get tired of, especially in cooler weather when I already have cinnamon on the counter and the oven doing half the work for me.
This project is ideal if you like simple seasonal makes that look charming without requiring specialty supplies or advanced crafting skills. You’re really just slicing, seasoning, baking, and threading — but the finished result has that warm, old-fashioned handmade character that always reminds me of the best kind of holiday decorating: natural, cozy, and beautifully unfussy.
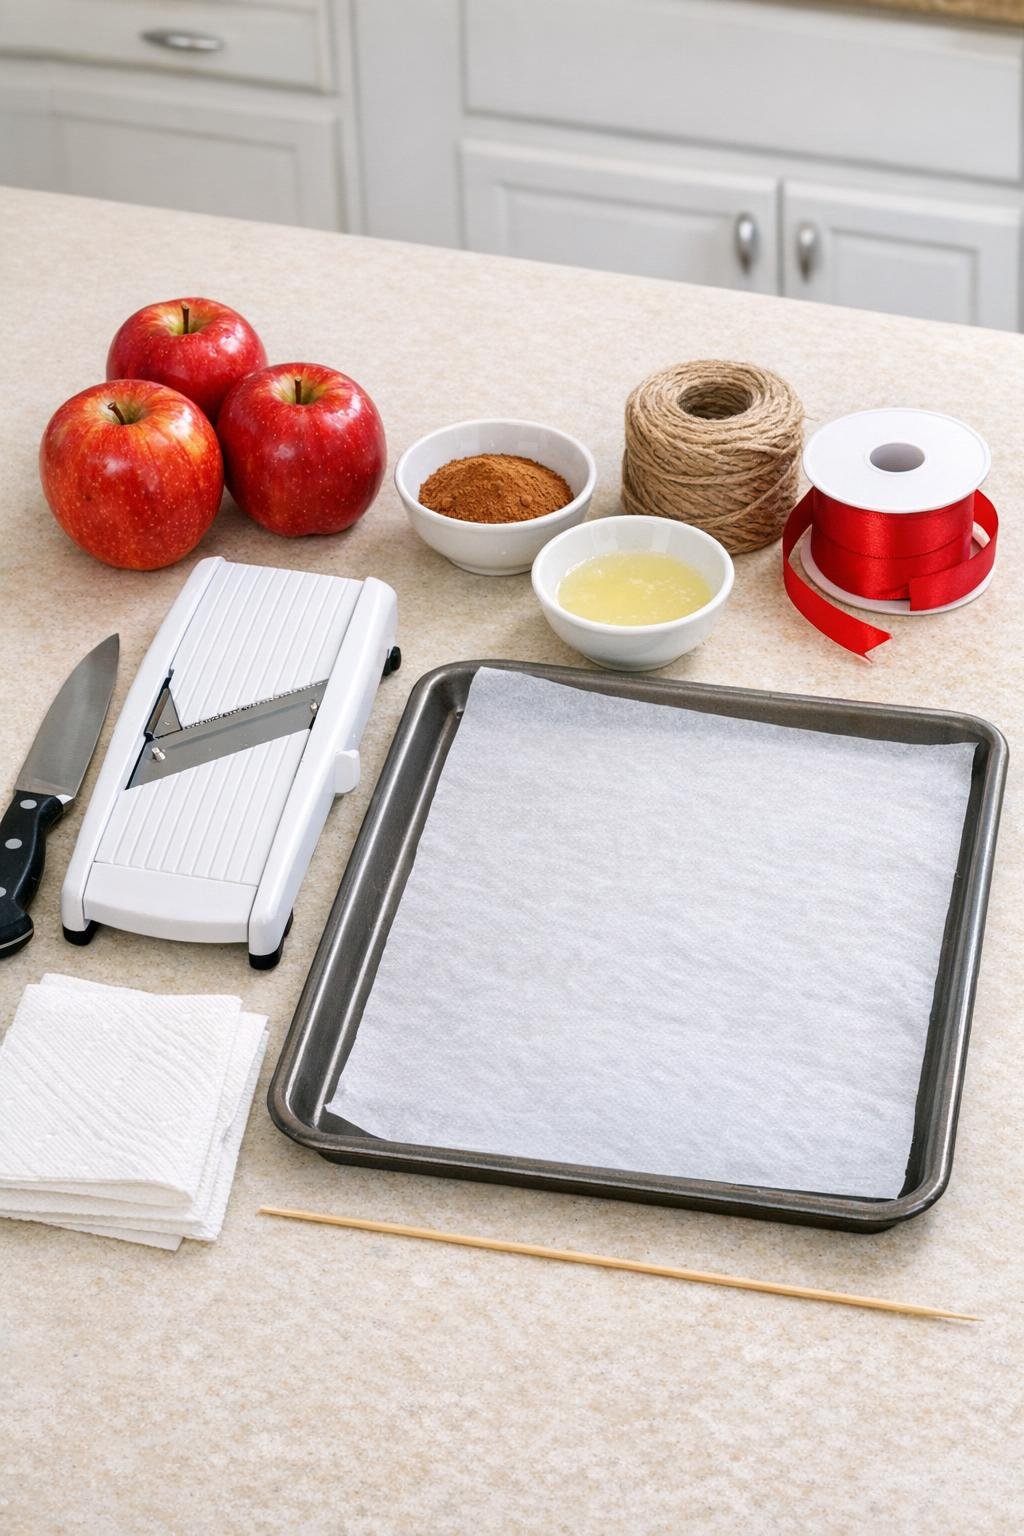
Materials
3 medium red apples, washed and dried
Instructions
1. Preheat your oven to 200°F and line the baking sheet with parchment paper.
2. Stir the lemon juice into the cool water in a shallow bowl or dish; this quick soak helps the slices keep a prettier color as they dry.
3. Slice the apples crosswise into thin rounds about 1/8 inch thick, using a mandoline for the most even results or a sharp knife if that’s what you have.
4. Drop the slices into the lemon water for 1 minute, then lift them out and blot both sides very well with paper towels so they dry instead of steam.
5. Arrange the slices in a single layer on the baking sheet, fitting them closely but not overlapping, and dust the tops evenly with the cinnamon.
6. Bake for 1 1/2 hours, then carefully flip each slice and return the pan to the oven for 1 to 1 1/2 hours more, until the slices look dry, lightly curled at the edges, and no longer juicy in the center.
7. Let the slices cool completely on the baking sheet; as they cool, they firm up and become easier to thread without tearing.
8. Use the skewer to poke a small hole near the top edge of each slice, staying about 1/4 inch in from the rim so the hole won’t rip out.
9. Thread each slice with a piece of jute twine or red ribbon and knot or tie a loop for hanging.
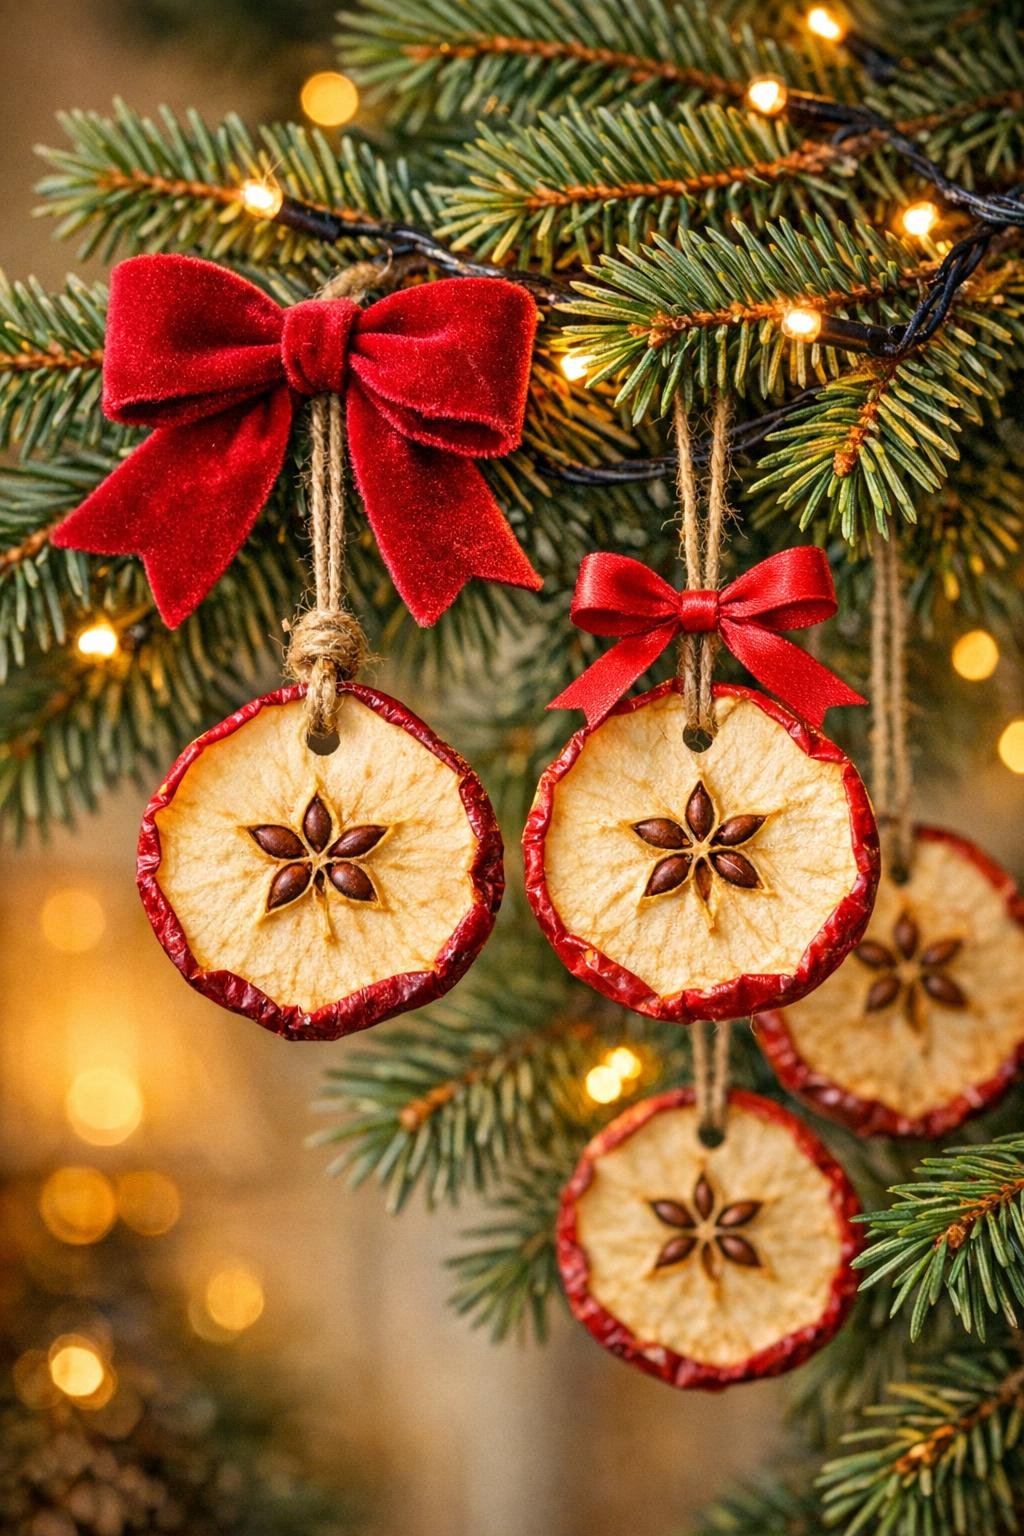
10. Choose the prettiest slices with the clearest seed-star centers and hang them where their color, shape, and cinnamon scent can really be appreciated.
Variations & Tips
For the best star shape: Slice through the equator of the apple, not from stem to bottom. That crosswise cut is what reveals the seed pattern that gives these ornaments their little star centers.
Choose apples wisely: Red-skinned apples give the prettiest contrast after drying because the ruby edge stays visible. I like medium apples best because they make ornaments large enough to notice on a tree or garland.
Keep slices even: If some slices are much thicker than others, the thin ones will finish long before the thick ones. In my kitchen, a mandoline makes this project much more reliable, especially when I want a full batch that all dries at about the same pace.
For stronger scent: Add a very light second dusting of cinnamon right after flipping the slices. Don’t overdo it, though, or the surface can look muddy instead of clean and jewel-like.
To use them beyond the tree: These look lovely tied onto a wreath, strung into a garland, attached to wrapped gifts, or looped over napkin rings for a holiday table. They’re simple, but when you use several together, the effect is wonderfully generous.
Storage tip: Keep fully dried slices in an airtight container with a paper towel between layers in a cool, dry spot. If any slice feels soft after a few days, return it to a low oven briefly so it doesn’t spoil.
Pretty finishing touch: Mix jute and red ribbon instead of choosing only one. That little variation gives the batch a more collected, layered look — the kind of detail that makes handmade decorations feel especially thoughtful.