
If you’ve ever tried to test garden soil with one of those quick sprinkle-and-guess methods, you already know how easy it is to end up with a muddy mess and not much useful information. This little fall cleanup project turns three old metal coffee cans and a couple of basic shed staples into a simple garden bed pH testing station that helps you pull cleaner, more consistent soil samples bed by bed.
I love projects like this because they solve a real problem without asking me to buy another gadget. In my yard, fall is when I’m already cleaning out tired tomato vines, emptying containers, and making notes for next spring, so it’s the perfect time to set up a dedicated soil-testing station I can stash in the shed and reuse every season. If you have raised beds, vegetable rows, or even just one hardworking flower border, this is an easy build that pays off right away.
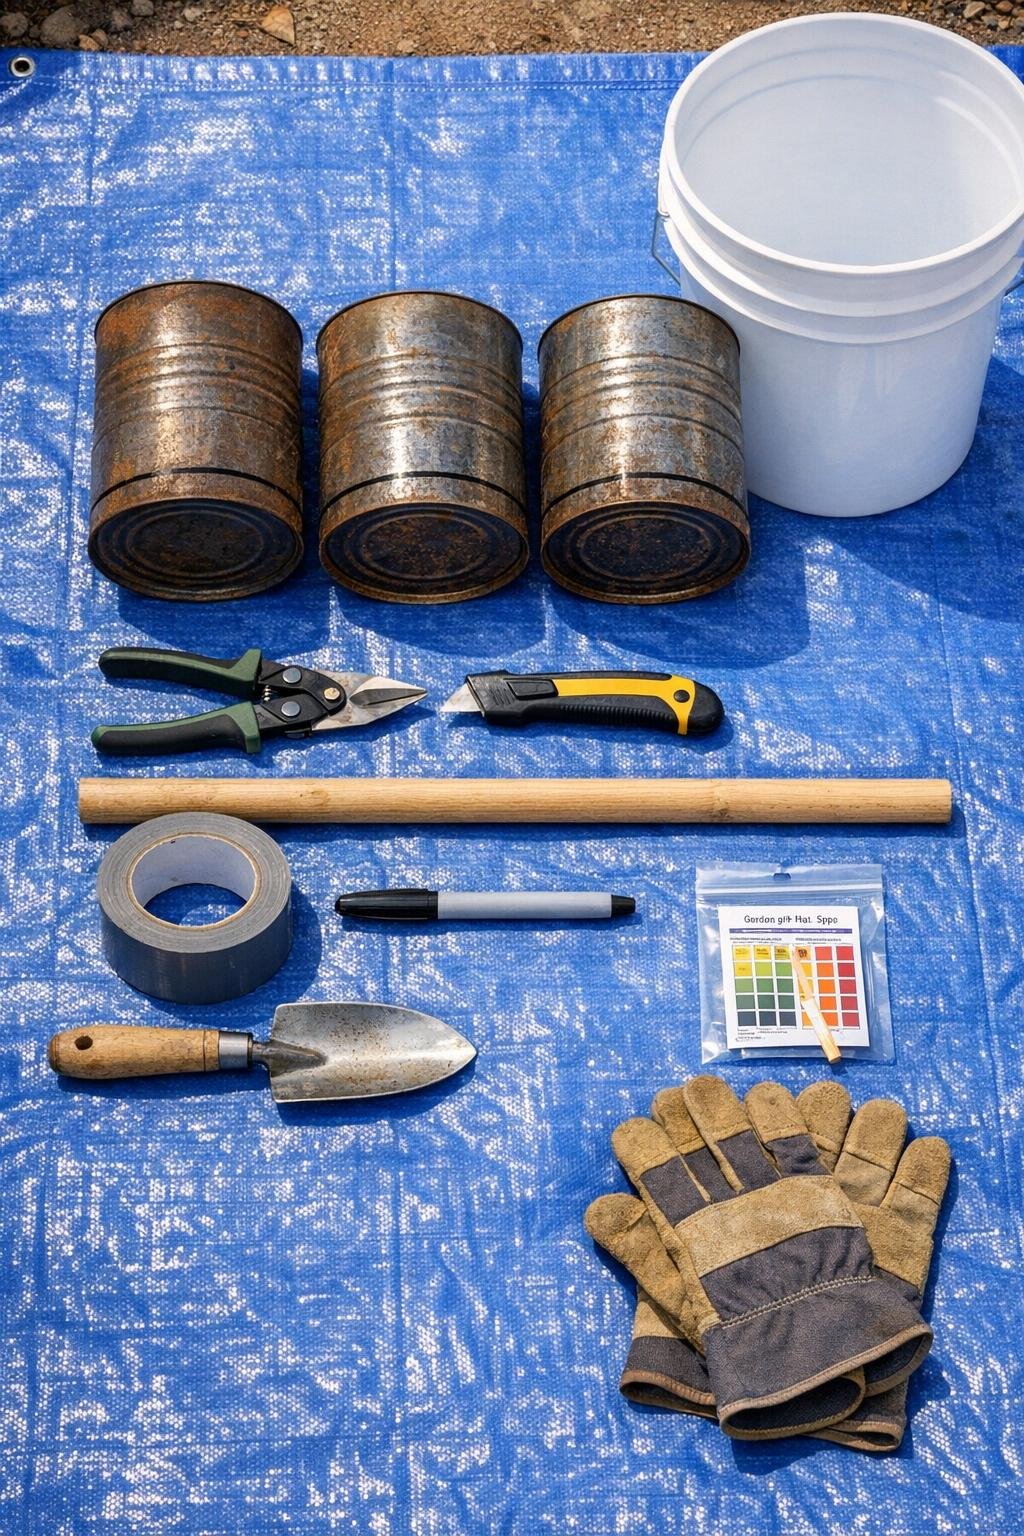
Materials
Instructions
1. Wash out the three metal coffee cans and let them dry completely, then put on work gloves and check that the sides are not badly split or crushed. A little rust is fine, but the cans should still hold their shape so they press into the soil evenly.
2. Use tin snips to cut the bottom out of each coffee can, then trim away any loose jagged points. Wrap a band of duct tape around both cut edges of each can so the rims are safer to handle and less likely to scrape your hands.
3. Cut the broom handle into three equal 8-inch pieces, then tape one piece vertically to the outside of each can as a hand grip. Place the handle piece along the side seam if possible and use several tight wraps of duct tape at the top, middle, and bottom so it feels solid in your hand.
4. Label the three cans with the permanent marker for the areas you want to test, such as Bed 1, Bed 2, and Bed 3. This sounds simple, but it keeps mixed samples from getting confusing once you start moving quickly around the yard.
5. Set the bucket beside your first garden bed and bring the can labeled for that bed, along with the hand trowel and pH strips. Having one bucket as your mixing station keeps the process tidy and makes the sample more uniform.
6. Press the first can straight down into slightly moist soil 4 to 5 inches deep, using the taped handle to twist gently if needed. Pull it up and tap the captured soil core into the bucket, then repeat in 4 to 6 spots across the same bed.
7. Break up the clumps in the bucket with your trowel and remove mulch, roots, stones, and obvious debris. Mix the soil well so your pH reading reflects the whole bed instead of one random corner.
8. Take a small portion of the mixed soil and test it with your garden pH strips according to the package directions. Record the result right away on the can or in your garden notebook so you can compare all three beds before adding lime or sulfur.
9. Dump the used sample back into the same bed or onto a compost area, then rinse or wipe out the bucket and trowel before moving to the next bed. Clean tools between beds matter here because even a little leftover soil can throw off the next reading.
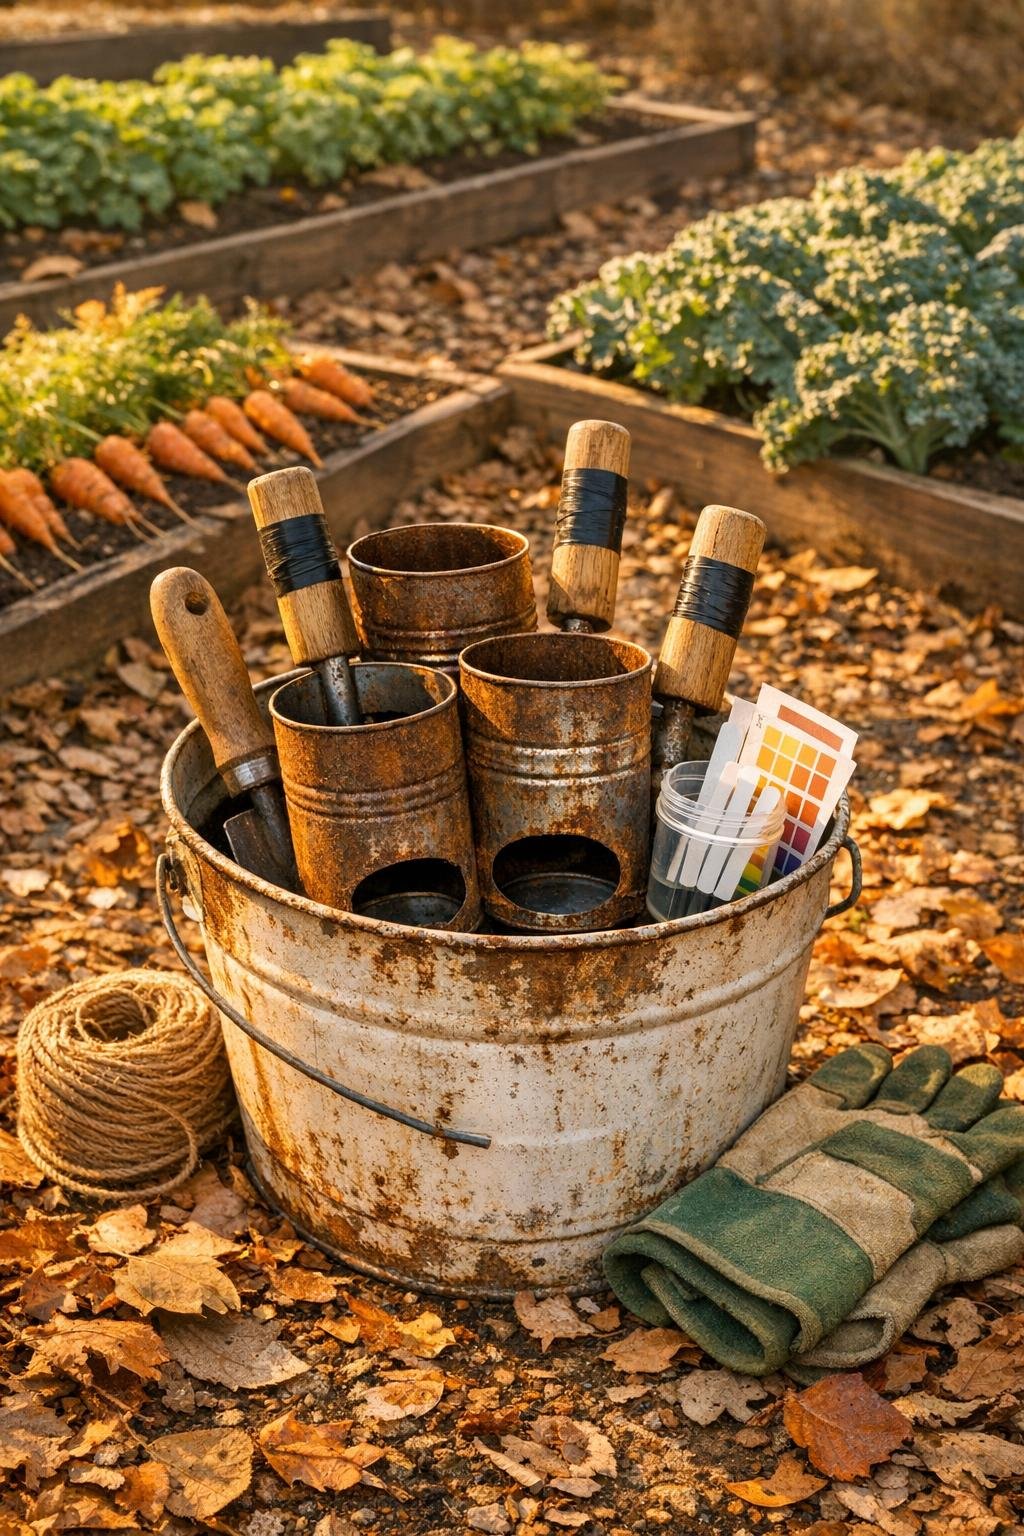
10. Repeat the sampling and mixing process with the other two labeled cans, keeping each bed’s soil separate from start to finish. When you’re done, store the three samplers nested inside the bucket with the trowel and test strips so your whole pH station is ready for spring checks too.
Variations & Tips
For raised beds: If your beds are small, take 3 to 4 cores per bed instead of 6, but still mix them together before testing so you get a balanced reading.
For hard clay soil: Water the bed lightly the day before sampling if the ground is brick-hard. Slightly moist soil cuts much more cleanly with the coffee can rings.
If your can edges feel too sharp: Add a second wrap of duct tape or lightly crimp the cut edge inward with pliers before taping. I never skip this because rushed fall projects and sharp metal are not a fun combination.
To make results easier to track: Use one can per permanent bed every season instead of relabeling them each time. It’s a small thing, but it makes my spring garden notes so much less chaotic.
For cleaner pH readings: Always scrape away mulch before taking cores and avoid sampling right after fertilizing. Fresh amendments can temporarily skew what the strips are telling you.
Storage tip: Tuck the strips into a zip-top bag before storing them in the bucket so fall moisture in the shed doesn’t ruin them before your next round of testing.