
There’s something weirdly satisfying about taking the most ordinary kitchen-supply item and turning it into something that looks soft, expensive, and way more special than it has any right to be. This project starts with coffee filters and school glue, but after a little drying time and some patient layering, you get a full, romantic door decoration with gorgeous ruffled texture.
I love this kind of craft on a busy week because the supplies are inexpensive, the steps are easy to batch, and most of the “work” is really just repetition you can do while listening to a podcast. If you want a project that feels creative without needing advanced crafting skills, this one is such a good pick.
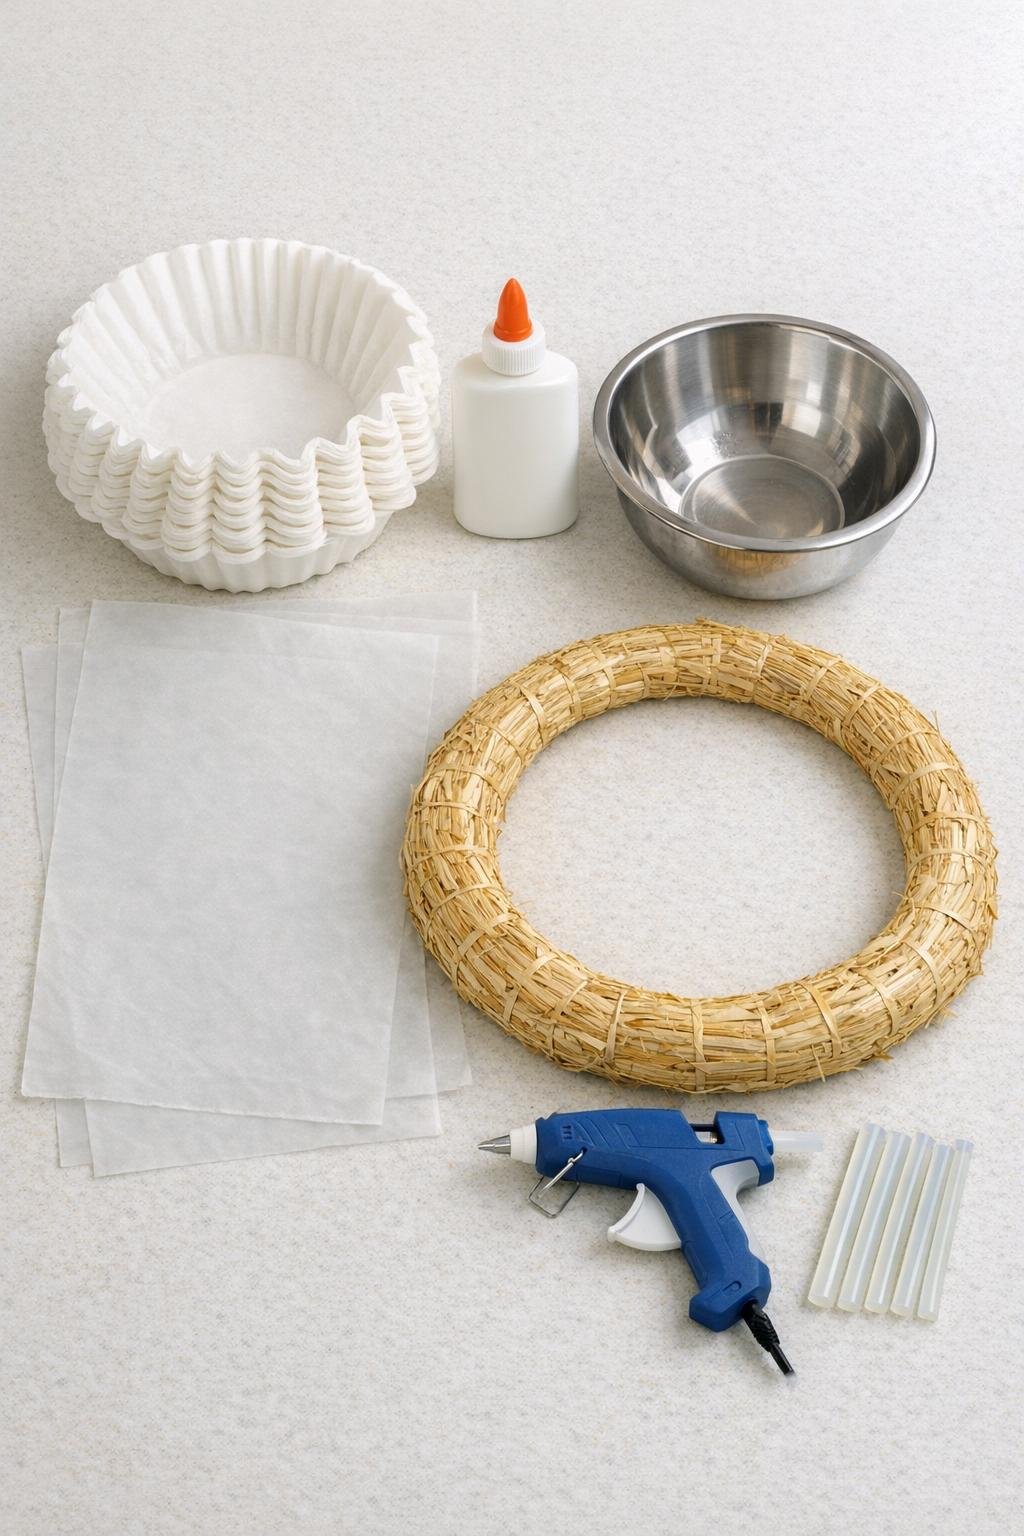
Materials
Instructions
1. Cover your work surface with the wax paper and set the straw wreath form nearby so everything is ready before you start dipping. Pour the white school glue and water into the bowl, then stir until smooth and evenly milky.
2. Dip one coffee filter into the glue mixture, turning it so the whole filter is saturated. Lift it out, gently squeeze off the excess with your fingers, and open it back up loosely so the ruffles will dry with texture instead of as a flat wad.
3. Lay the dipped filter on the wax paper and scrunch the edges lightly with your fingertips to create soft folds. Repeat with all 80 filters, arranging them in rows so they can dry without sticking together.
4. Let the filters dry completely until they feel stiff and papery again, which usually takes overnight. If any dry too flat, pinch and fluff them gently once they are almost dry to bring the ruffles back.
5. Cut the ribbon and tie it around the top of the wreath form to create a hanging loop before you start attaching the filters. I like to do this first so I’m not crushing all the finished ruffles later.
6. Take one dried filter, pinch the center of the flat side, and gather it into a loose flower-like tuft. Add a generous dot of hot glue to the pinched center and press it onto the straw wreath form, aiming the ruffled edges outward.
7. Continue gluing the filters around the outer edge of the wreath, placing them close enough that the straw barely shows. Overlap each piece slightly so the wreath starts looking full instead of spotty.
8. Fill the inner edge next, again gluing the filters by their pinched centers and angling the ruffles toward the front. Keep rotating the wreath as you work so the shape stays even all the way around.
9. Cover the front center area last, tucking filters into any open spaces until the entire face of the wreath looks dense and softly rippled. Use the remaining filters to fill thin spots and build a plush, cloudlike surface.
10. Once all the filters are attached, fluff and separate the ruffles with your fingers so the wreath looks balanced and full. Trim away any obvious glue strings, then hang it up and make one last pass to adjust the shape from the front.

Variations & Tips
For a brighter white finish: If your filters dry slightly off-white, that actually adds to the porcelain look, but you can also use ultra-white coffee filters for a crisper result.
For easier drying: If you’re short on counter space, dry the dipped filters in batches and start gluing the first batch while the rest finish drying. I’ve done this on a weeknight, and it makes the project feel much more manageable.
For extra fullness: If you want an even more lush wreath, pinch some filters tighter at the center and some looser so you get more dimension. That little mix of shapes makes the finished wreath look richer and less uniform.
For glue control: Don’t oversoak the filters to the point they tear; you want them saturated, not falling apart. A gentle squeeze before drying keeps the texture crisp instead of gummy.
For seasonal styling: This wreath is beautiful plain, but you can tuck in a velvet bow, a few faux pearl pins, or a subtle sprig of winter greenery if you want a dressier look without covering up the ruffles.
For storage: Store the wreath in a large box so the ruffles don’t get crushed. If it flattens a bit, a quick fluff with your fingers brings it right back.