
There’s something so charming about turning the plainest household castoffs into decor that looks warm, nostalgic, and a little bit magical once the lights get low. This project starts with six empty paper towel rolls and a few basic supplies, and with one simple technique, they begin to take on that old-fashioned, timeworn look that feels special during the darker months of the year.
I especially love projects like this because they’re budget-friendly, quick enough to finish in an afternoon, and easy to make look truly impressive as a group instead of just one at a time. If you enjoy cozy decorating, window displays, or family-friendly crafts that don’t require a giant mess, this one is a lovely little maker’s project with a beautiful payoff.
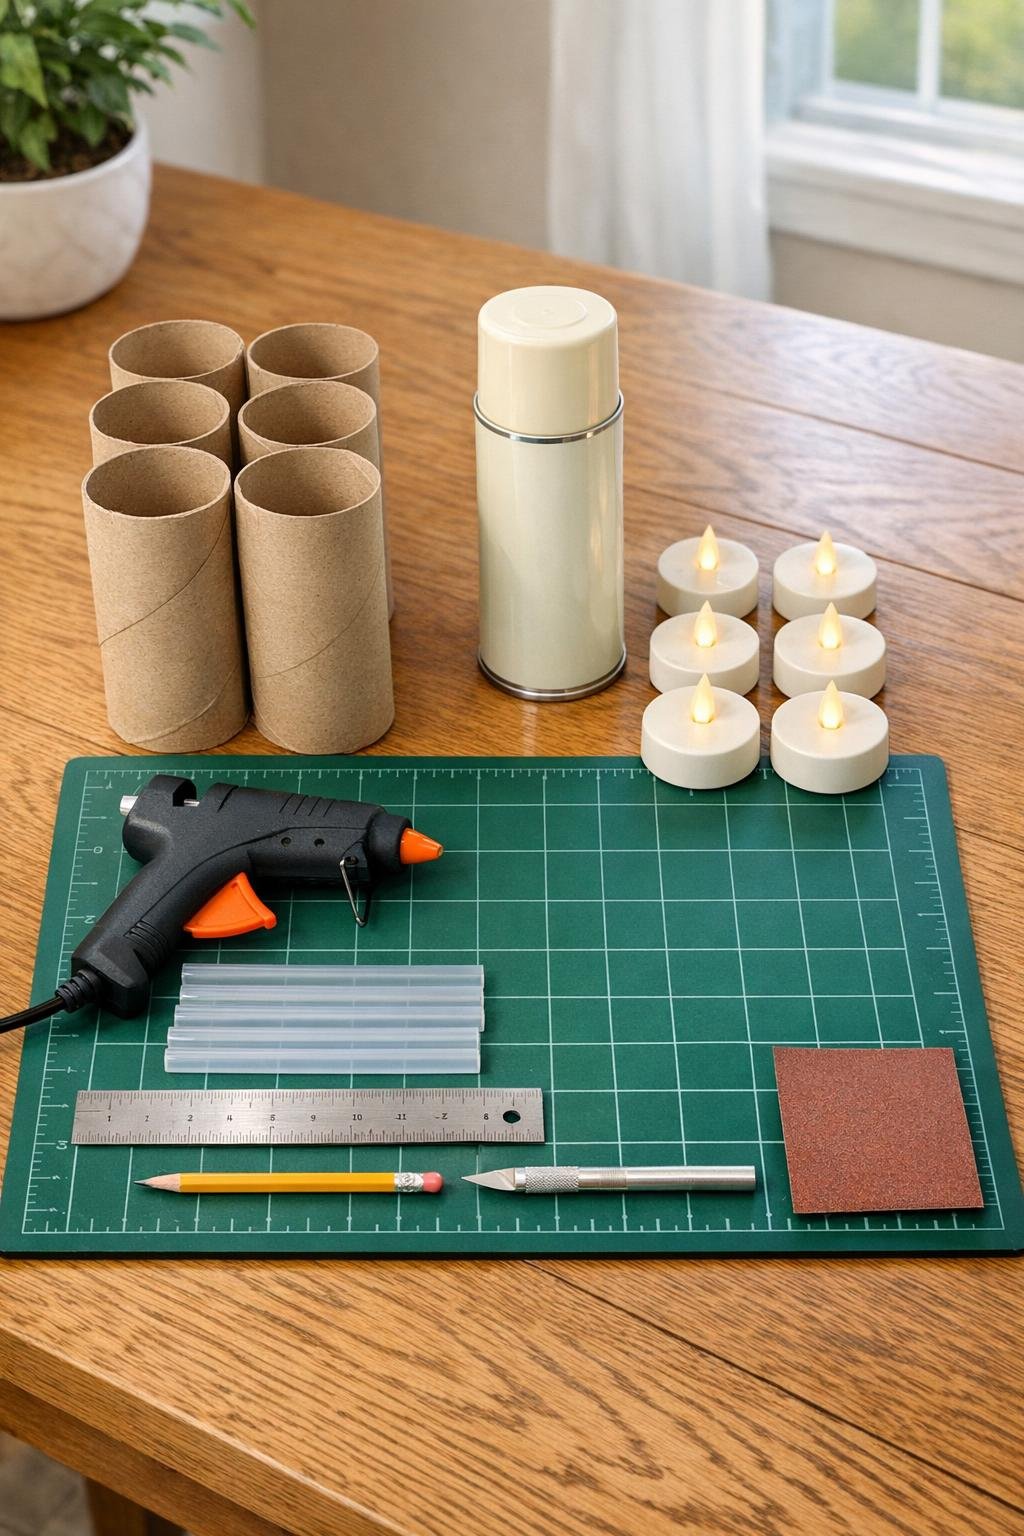
Materials
Instructions
1. Flatten any bent spots in the paper towel rolls with your hands, then trim each roll to 8 inches tall so the set looks polished and even in a window.
2. Lightly sand the cut rims and any fuzzy cardboard edges so the paint goes on more smoothly and the finished pieces look cleaner.
3. Stand all 6 rolls upright on your work surface and warm up the glue gun fully; starting at the top rim of one roll, squeeze a generous bead of hot glue around the edge and let it spill over in uneven drips.
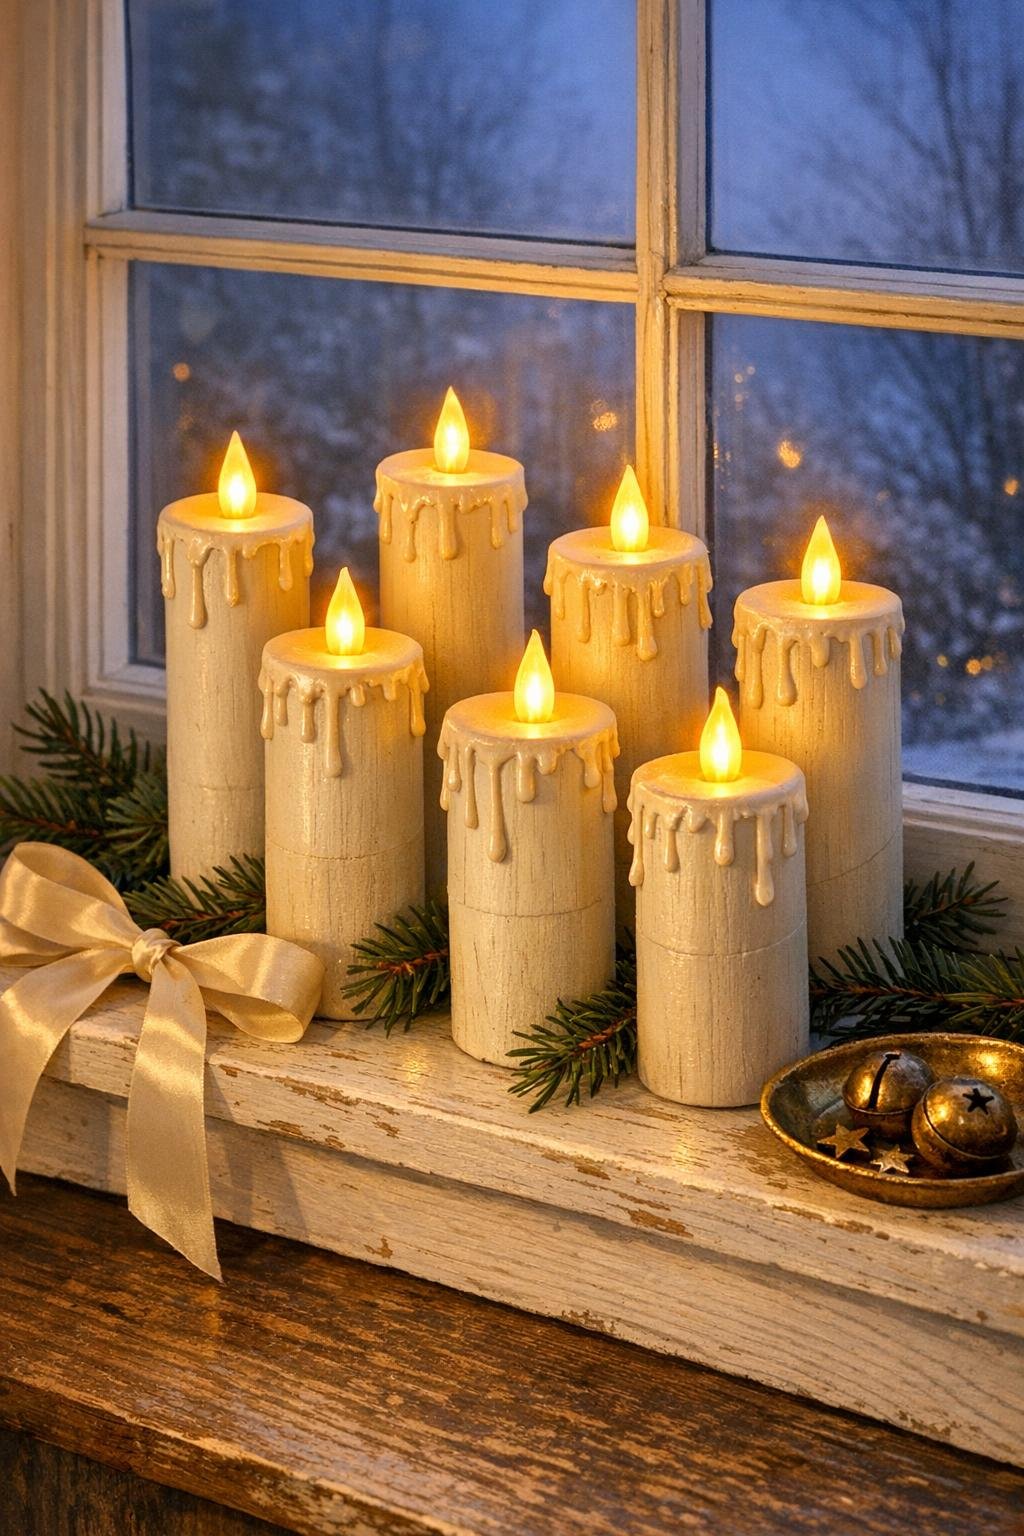
4. Add more glue in layers around the top 2 inches of each roll, varying the drip lengths so some stop short and others run 2 to 3 inches down the sides for a realistic melted-candle look.
5. Build up the top edge with an extra ring of glue in a few spots to create soft lumpy ridges, then let all 6 rolls cool completely for 10 to 15 minutes.
6. If any glue strings are hanging off, pull them away gently and trim any overly sharp glue points so the drips look soft instead of spiky.
7. Move the rolls onto a large scrap of cardboard in a well-ventilated area, then spray them with light coats of ivory paint, turning between coats until the cardboard and glue are fully covered.
8. Let the paint dry, then check for thin spots and add one final coat so the finish looks rich and consistent from top to bottom.
9. Optional but worthwhile: mist on a matte clear sealer once the paint is dry to help protect the finish and cut any plastic shine from the dried glue.
10. Turn on the LED flicker tea lights and place one on top of each roll, centering it inside the rim of glue; if a light shifts, secure it with a tiny dot of poster putty.
11. Arrange the finished pieces as a set in a window, spacing the heights evenly and turning the prettiest drips forward so the whole display glows beautifully from across the room.
Variations & Tips
For a more antique look: After the ivory paint dries, lightly brush a tiny bit of watered-down tan or light brown craft paint into some of the drip creases, then wipe most of it away so the candles look gently aged.
If you want taller candles: Use full paper towel roll height instead of trimming to 8 inches, but keep all 6 the same height for the most polished window display.
For picky decorators in the family: If someone in your house prefers less “vintage melt,” keep the glue drips shorter and neater so the candles still feel classic without looking overly dramatic.
Make them sturdier: If a roll feels too lightweight, tuck a little crumpled paper or dry beans in the bottom before displaying, especially if the candles will sit near a drafty window.
Choose the right light color: Warm white flicker tea lights give the most convincing candle effect; cool white can look too stark against the soft ivory finish.
Keep the grouping full: These really shine as a set of six rather than scattered singly, so cluster them together across one windowsill or down the center of a mantel for that generous, glowing look.
Add simple finishing touches: A narrow cream ribbon, a bit of winter greenery, or a few brass accents nearby make the display feel thoughtfully styled without taking attention away from the candles themselves.