
There are a few crafts I come back to every holiday season because they give that big, cheerful payoff without demanding a whole free weekend, and this is absolutely one of them. If you have an old puzzle missing a few pieces, a shipping box headed for the recycling bin, and a can of spray paint, you can turn those scraps into something that looks surprisingly polished once it’s all pulled together.
I love projects like this because they fit real life. I can spread everything out on the table after dinner, work in short bursts, and still end up with décor that feels festive and special. This one is especially good for anyone who likes easy holiday crafts, upcycled decorating, or making something full and detailed without needing fancy supplies.
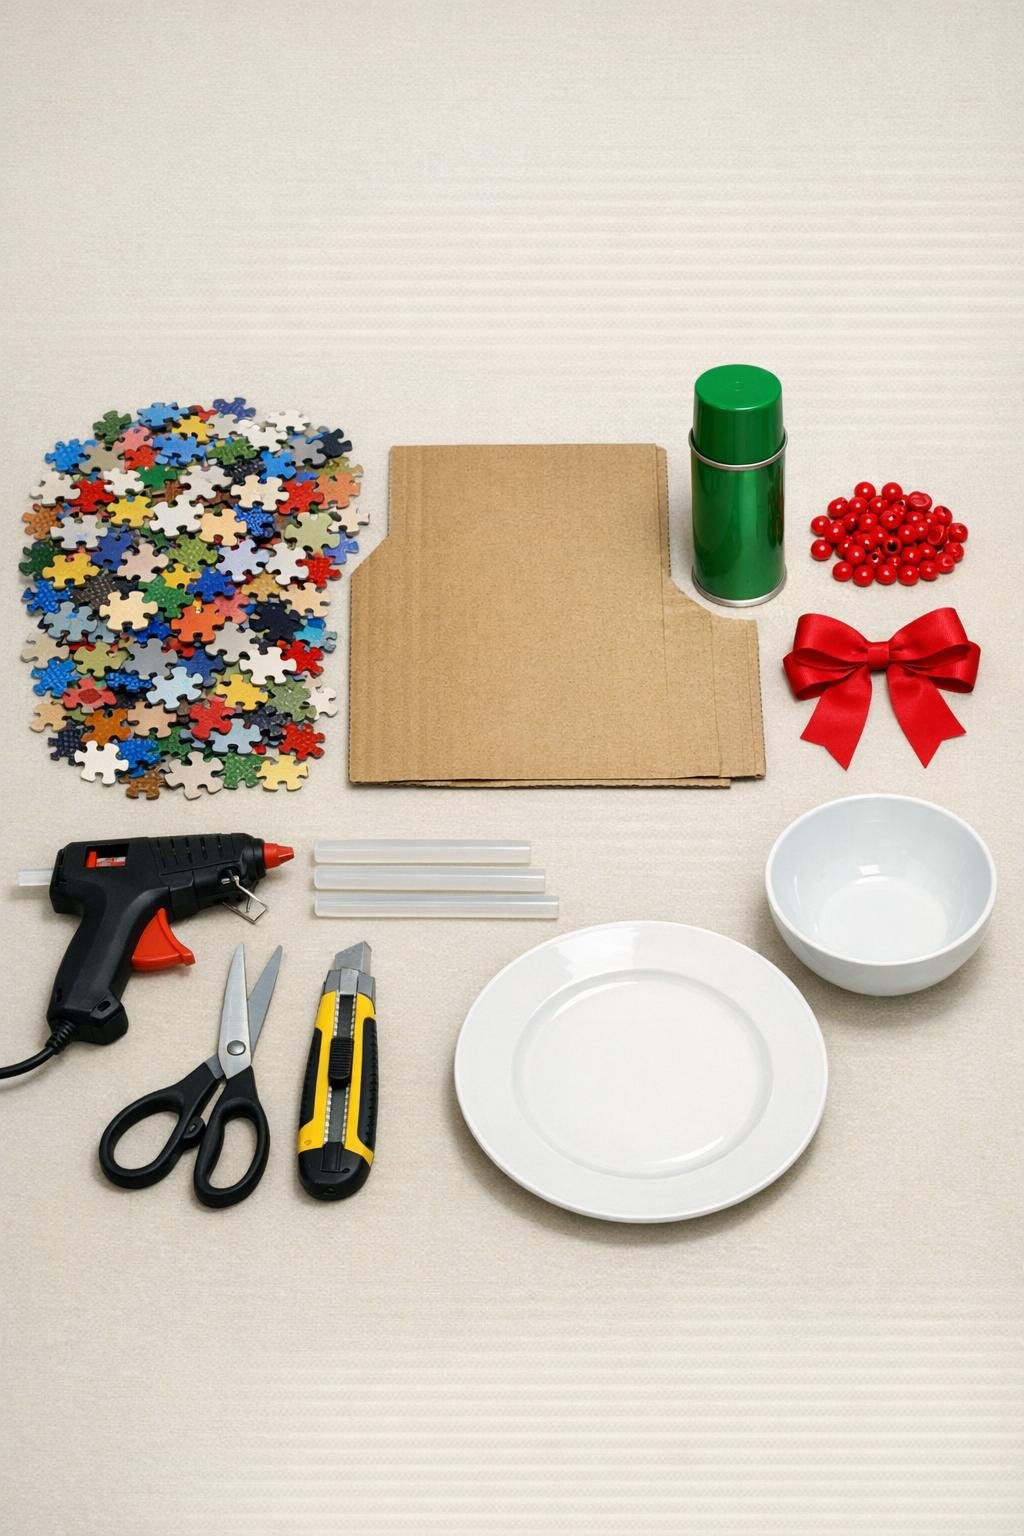
Materials
Instructions
1. Lay the cardboard flat and trace around the dinner plate, then center the bowl inside that circle and trace the middle opening to make a ring shape.
2. Cut out the outer circle with scissors or a box cutter, then cut out the center circle so you have a sturdy cardboard wreath base.
3. Sort your puzzle pieces into a loose pile and set aside the most interesting edge shapes and pieces with strong knobs and cutouts for the top layer.
4. Start gluing puzzle pieces onto the cardboard ring, overlapping them slightly and letting some pieces angle outward to soften the plain circle.
5. Keep covering the entire ring until no cardboard shows on top, using around half the pieces for this base layer and filling both the inner and outer edges well.
6. Glue on a second layer of puzzle pieces, concentrating on gaps and flat spots so the wreath looks thick, full, and nicely dimensional instead of sparse.
7. Check the wreath for thin areas and add the remaining puzzle pieces anywhere it needs more fullness, especially around the bottom half and sides.
8. Move the wreath to a protected, well-ventilated area and spray it with an even coat of green paint, holding the can about 8 to 10 inches away.
9. Let the first coat dry, then add a second light coat so the mixed puzzle colors disappear and the whole piece looks rich and uniform.
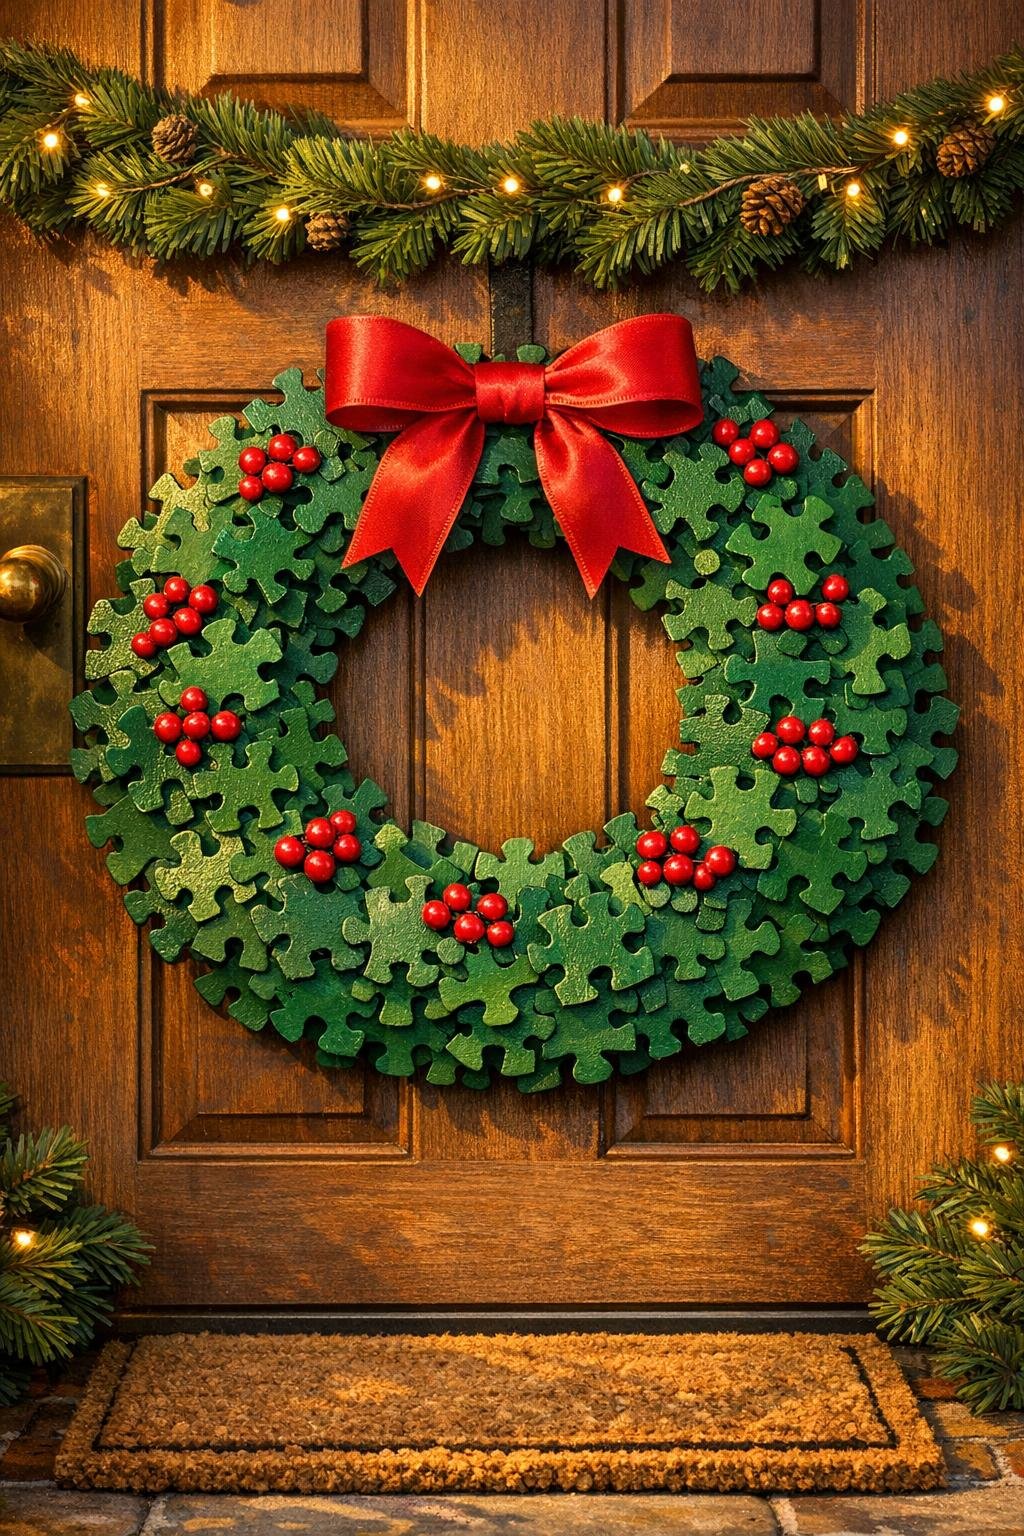
10. Once the paint is fully dry, hot glue the red pony beads or buttons in small clusters around the wreath to look like bright holiday berries.
11. Attach the red ribbon bow at the top or slightly off-center near the top, pressing firmly until the glue grabs.
12. If needed, add a few final dabs of glue to secure loose pieces, then let everything cool completely before hanging or displaying it.
Variations & Tips
Make it fuller: If your puzzle pieces are on the smaller side, overlap them more heavily and let a few extend past the ring edges for a fluffier, more substantial look.
Try a different finish: I love classic green for Christmas, but white, gold, or even a soft frosted silver also look beautiful if you want something a little less traditional.
Use what you have: Red buttons tend to give a slightly chunkier berry look, while pony beads make the wreath feel a little more crisp and playful; both work well.
Work in stages: When I’m squeezing in crafts between work and dinner, I do the gluing one night, the spray painting the next day, and the embellishments at the end so nothing feels rushed.
Add a hanger: If your bow is lightweight, glue a small loop of ribbon to the back before hanging so the wreath sits evenly on a hook.
Protect your table: Hot glue strings and spray paint overspray travel farther than I expect every single time, so I always put down scrap paper or an old box before I start.