
A tiny entryway can work a whole lot harder than folks give it credit for. One of my favorite tricks is to turn that sliver of wall under a mirror into a pretty little landing spot for the things you reach for every day, and in this case that means hand cream right where you need it. This simple wall-mounted dish creates a tidy, polished place to hold a tube or pump bottle without asking for a table, shelf, or extra floor space.
I like projects like this because they solve a real household nuisance with almost no fuss. If you have a small foyer, apartment entry, mudroom nook, or narrow hallway, this one is especially handy. It has that old-house practicality I’ve always loved, but it still looks neat and intentional, especially tucked under a vintage brass mirror.
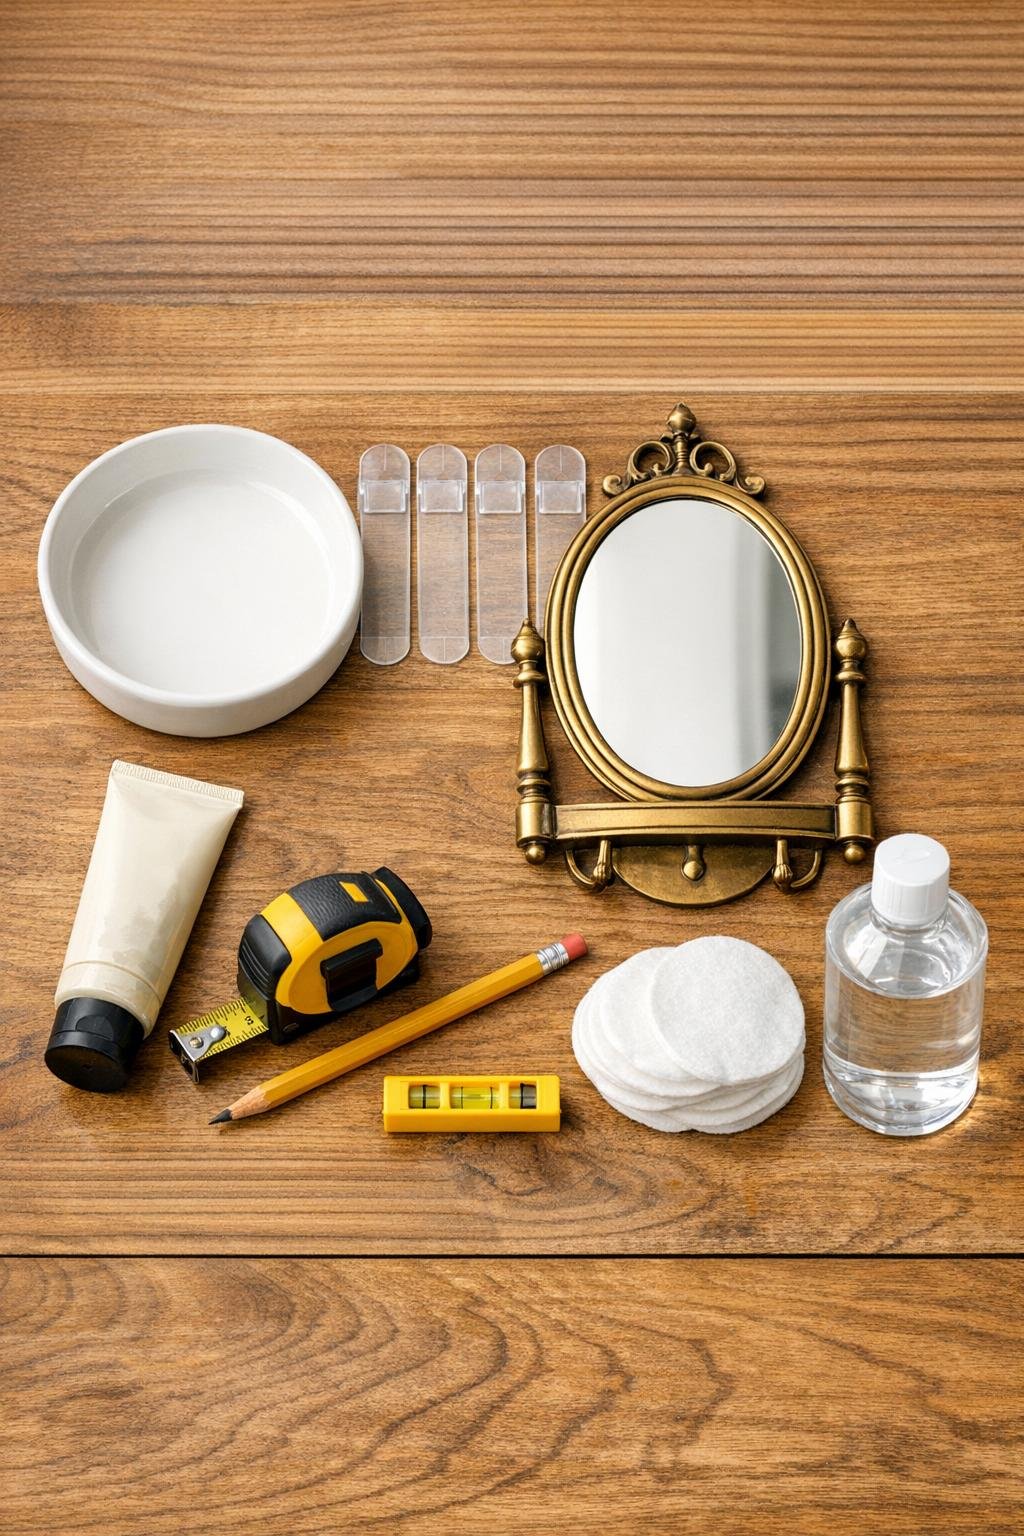
Materials
1 round white ceramic dish, 5 to 6 inches wide, with a flat back or flat rim contact points
Instructions
1. Choose the wall space directly under your brass vintage mirror and decide the dish height; I like to place it 6 to 8 inches below the mirror so it feels connected but not crowded.
2. Hold the round white ceramic dish against the wall and check that it leaves enough room to set in and remove the hand cream easily. Mark the left, right, and bottom edges lightly with pencil.
3. Clean the wall area inside those marks with rubbing alcohol and let it dry fully. Wipe the back contact points of the ceramic dish the same way so the adhesive grips clean surfaces.
4. If your mirror is not hung yet, install it first and make sure it is level before adding the dish below. This keeps the whole arrangement centered and prevents the dish from looking crooked later.
5. Apply the clear adhesive strips to the back of the ceramic dish, spacing them evenly around the flattest parts of the back or rim. Press each strip firmly for 30 seconds so it bonds well to the ceramic.
6. Peel the backing from the exposed side of the adhesive strips, line the dish up with your pencil marks, and press it onto the wall under the mirror. Hold it in place with steady pressure for 60 seconds.
7. Set a small level across the top edge of the dish or visually compare it to the bottom of the mirror, then make any quick adjustment before the adhesive fully sets. Once it looks straight, press again along all contact points.
8. Let the adhesive cure according to the package directions before adding weight; for most strips, I wait at least 1 hour, and overnight is even better if your wall tends to be cool or humid.
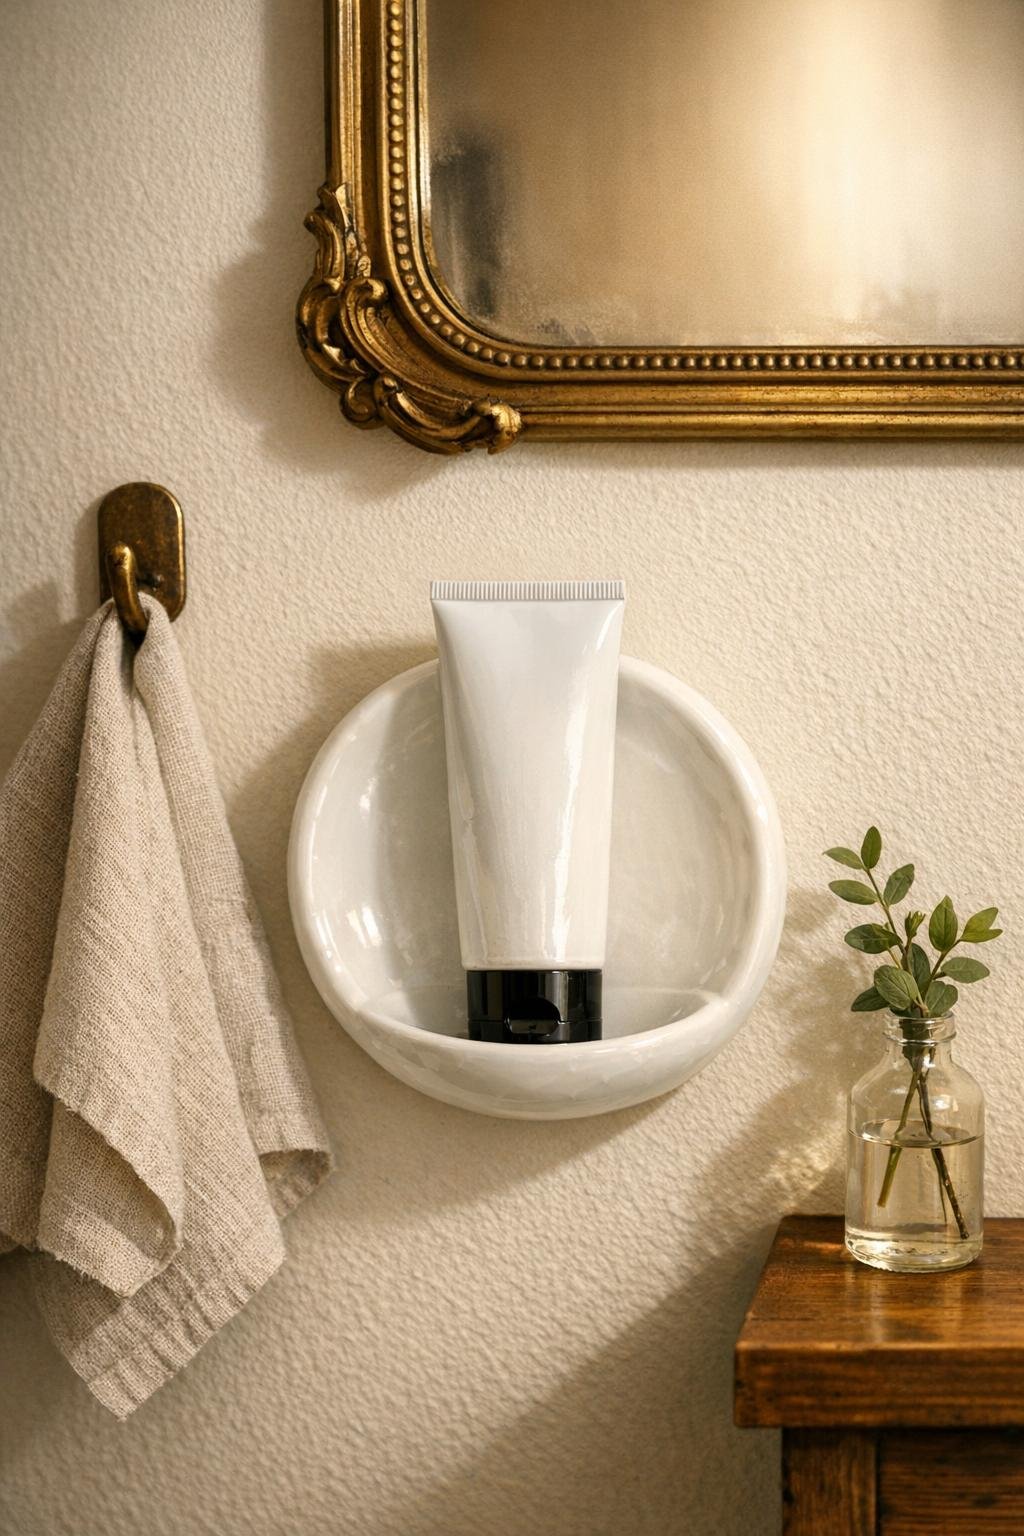
9. Place your hand cream in the dish and test it by lifting the cream in and out a few times. If you want the setup to feel finished, tuck a small folded linen or a single faux greenery sprig in the dish beside the cream, but keep it light.
Variations & Tips
For renters: Use removable clear picture-hanging or mounting strips rated for the full weight of the dish plus the hand cream, and always test them on an unseen spot first if your wall paint is delicate.
Best dish shape: A shallow round dish is the easiest choice because it looks soft under a vintage mirror and keeps the cream from tipping, but a small oval soap dish works nicely too if it has enough flat contact area.
Keep it practical: I prefer a soft hand cream tube over a heavy glass bottle in a project like this. It’s lighter, safer, and kinder to the adhesive over time.
Make it look intentional: Center the dish to the mirror rather than to the whole wall. That little bit of alignment is what makes it read as a finished entryway feature instead of a dish stuck on in a hurry.
Add a polished touch: If your ceramic dish has a glossy white finish and your mirror has warm brass tones, you already have a lovely contrast. A cream-colored hand towel on a nearby hook or a small woven basket below will tie it all together beautifully.
Know the limits: This is meant for lightweight essentials only, such as hand cream, lip balm, or a small key dish insert. I would not use this method for heavy bottles, stacked items, or anything breakable in a busy family hallway.