
I’m always a little suspicious when I hear “just cut it up” as a decorating idea, but this is one of those rare projects that really delivers. If you’ve got an old artificial Christmas tree with decent branches left on it, you can turn it into a tall, full porch accent that looks custom and expensive instead of destined for the curb.
What I love most is that this project is practical for real life: it uses bulky things many of us already have tucked away in the garage, it comes together fast, and it gives you a big visual payoff without power tools or a complicated build. If you like seasonal decorating but don’t want another fragile, fussy project on your list, this one is a great weekend win.
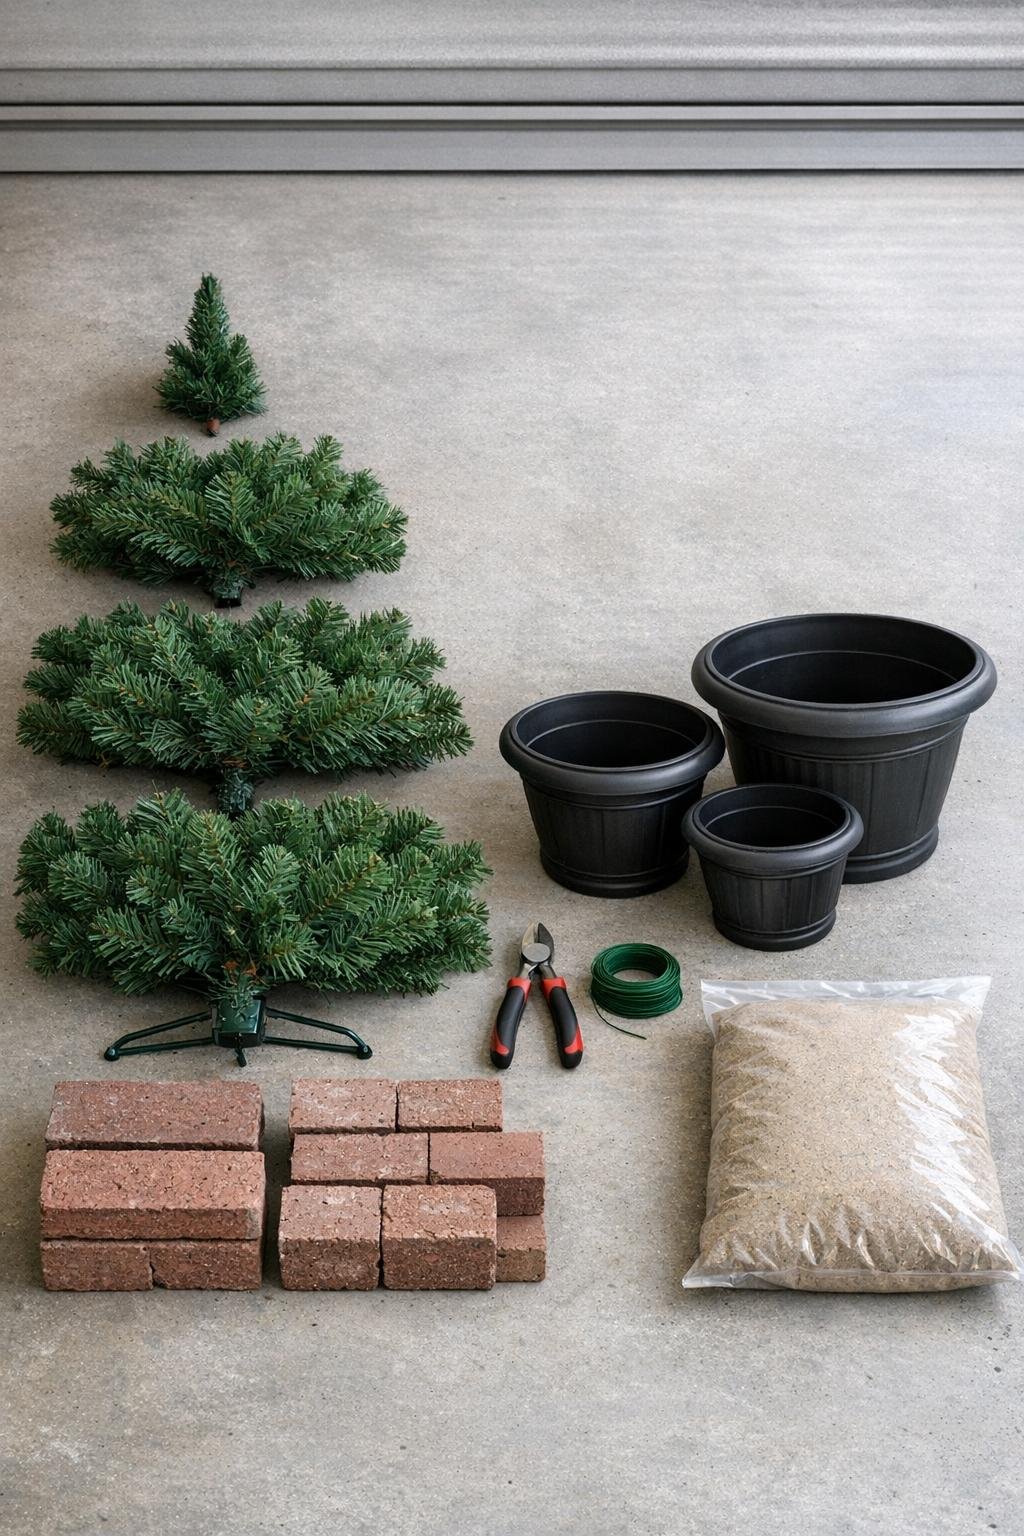
Materials
1 old artificial Christmas tree, 6 to 7 feet tall, with a center pole and flexible branches
Instructions
1. Open up the old tree and inspect it before cutting so you can see where the natural fullness is. Choose the best-looking top section for the smallest tree, the middle section for the medium tree, and the bottom section for the tallest, fullest porch tree.
2. Put on gloves and separate the tree into three graduated sections by cutting the center pole with wire cutters at two points. Aim for one tall section around 36 to 42 inches, one medium section around 28 to 34 inches, and one small section around 20 to 26 inches, keeping each piece tapered like a tree.
3. Fluff every branch on each section before you place them in pots, spreading the tips outward and slightly upward to fill gaps. This is the part that makes them look lush instead of scrappy, so I always spend a few extra minutes here.
4. Add 2 or 3 bricks to the bottom of each porch pot to create weight, then pour in enough sand to level and stabilize the base. Leave room at the top so the tree section can sit down into the pot without wobbling.
5. Set one tree section into each pot, pressing the center pole down into the sand between the bricks. Nestle the pole deep enough that each section stands straight on its own with the tallest in the largest pot and the smallest in the smallest pot.
6. Use floral wire to anchor each center pole to the pot or to the bricks inside the pot if needed. Twist the wire tightly in two places so the tree can’t spin or tip in wind.
7. Fluff the lowest branches outward to hide the pot opening and cover the mechanics. If a section looks uneven, bend a few branches forward and trim only the most obvious stray tips with pruning shears.
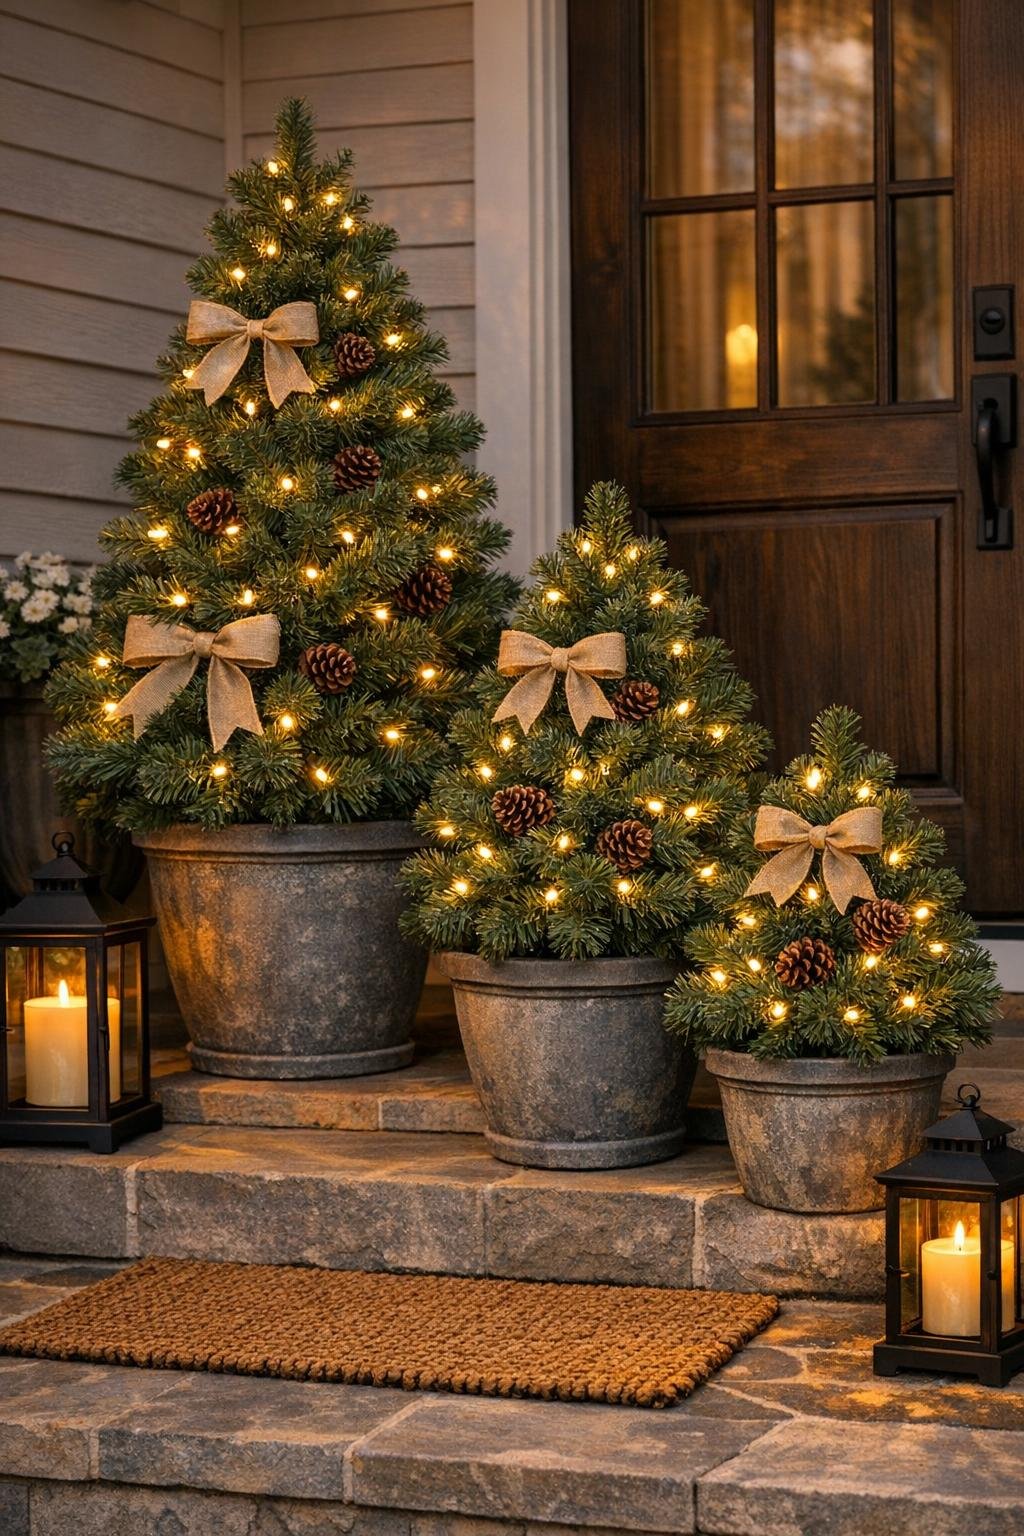
8. Add simple finishing touches if you want a dressed-up look: wrap a soft ribbon bow around each pot or tuck in a few pinecones or weather-safe picks near the front. Keep the accents light so the tree shapes stay the star.
9. For evening curb appeal, weave a short strand of weatherproof lights through each tree, starting near the top and spiraling down loosely. Tuck the battery packs low and hidden inside the branches near the back.
10. Arrange the three pots together on the porch with a little stagger in height and spacing so they read as a collected set. Step back and do one final fluffing pass, especially on the front-facing sides, to make the trio look full from the street.
Variations & Tips
For extra fullness: If one section looks thin, borrow a few loose branches from the least visible back side of another section and wire them into gaps. I do this whenever an older tree has that one sad patch you can’t unsee.
For windy porches: Use more sand than you think you need and choose the heaviest pots you have. A pretty porch project is only fun until the first gust sends it skidding across the concrete.
For a winter-long look: Skip ornaments and use just ribbon, pinecones, and warm white lights so the trees work from November through early spring. That’s usually my favorite approach because I don’t have to redo the whole porch right after the holidays.
For mismatched pots: Wrap all three pots with the same ribbon or paint them one color before assembling to make the set feel intentional. Even basic black planters suddenly look coordinated when the finish matches.
For a cleaner shape: Keep the tallest tree fullest at the bottom, the medium one evenly tapered, and the smallest one slightly narrower overall. That little bit of shaping makes the trio look custom instead of like random leftovers.
For storage later: Leave each section wired into its own pot if you have room in the garage or shed. It saves so much setup time next season, which is exactly the kind of shortcut I appreciate once life gets busy again.