
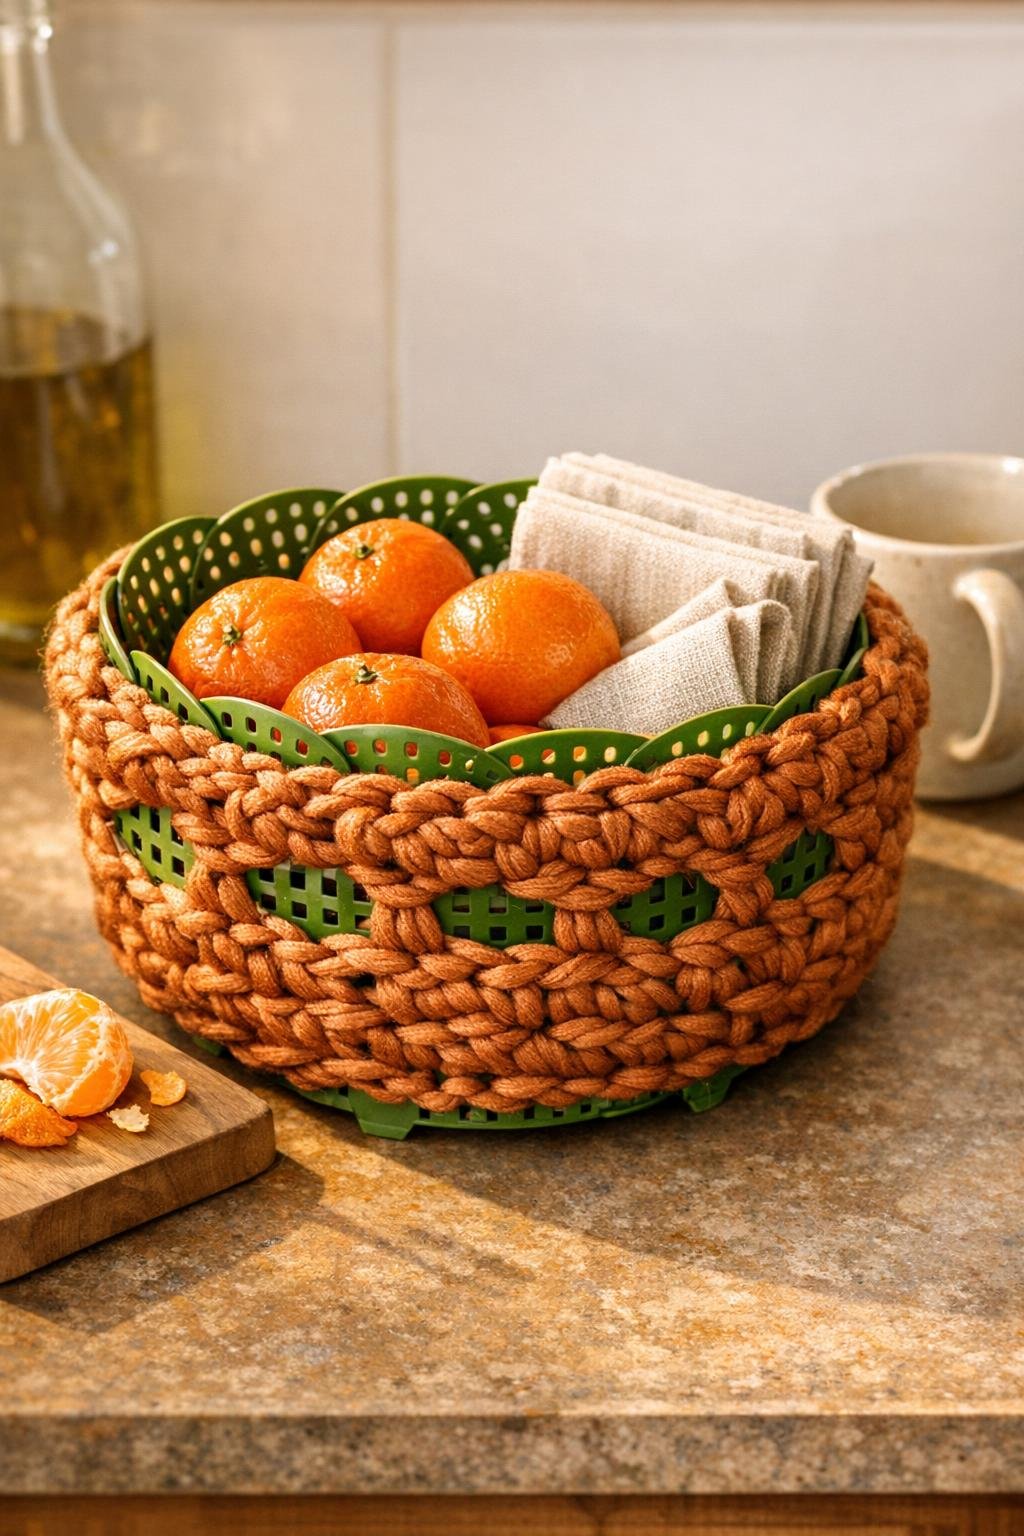
There is something so satisfying about turning a flimsy little dollar store find into a basket that looks useful, sturdy, and honestly kind of charming sitting out on the counter. This crochet storage basket starts with a plastic vegetable steamer basket, and instead of hiding it, I use those ready-made grid openings as the base for chunky crochet stitches. The result is a roomy basket with structure built right in, which makes it perfect for fruit, snack packs, napkins, mail, craft supplies, or all those little kitchen bits that seem to wander.
I especially love this project for anyone who wants the look of crochet without having to build a basket entirely from scratch. If you can make simple stitches and work your yarn through a hole, you can do this. It is quick, forgiving, and one of those projects that looks a lot more impressive than the effort it takes, which is my favorite kind when the house is already busy.
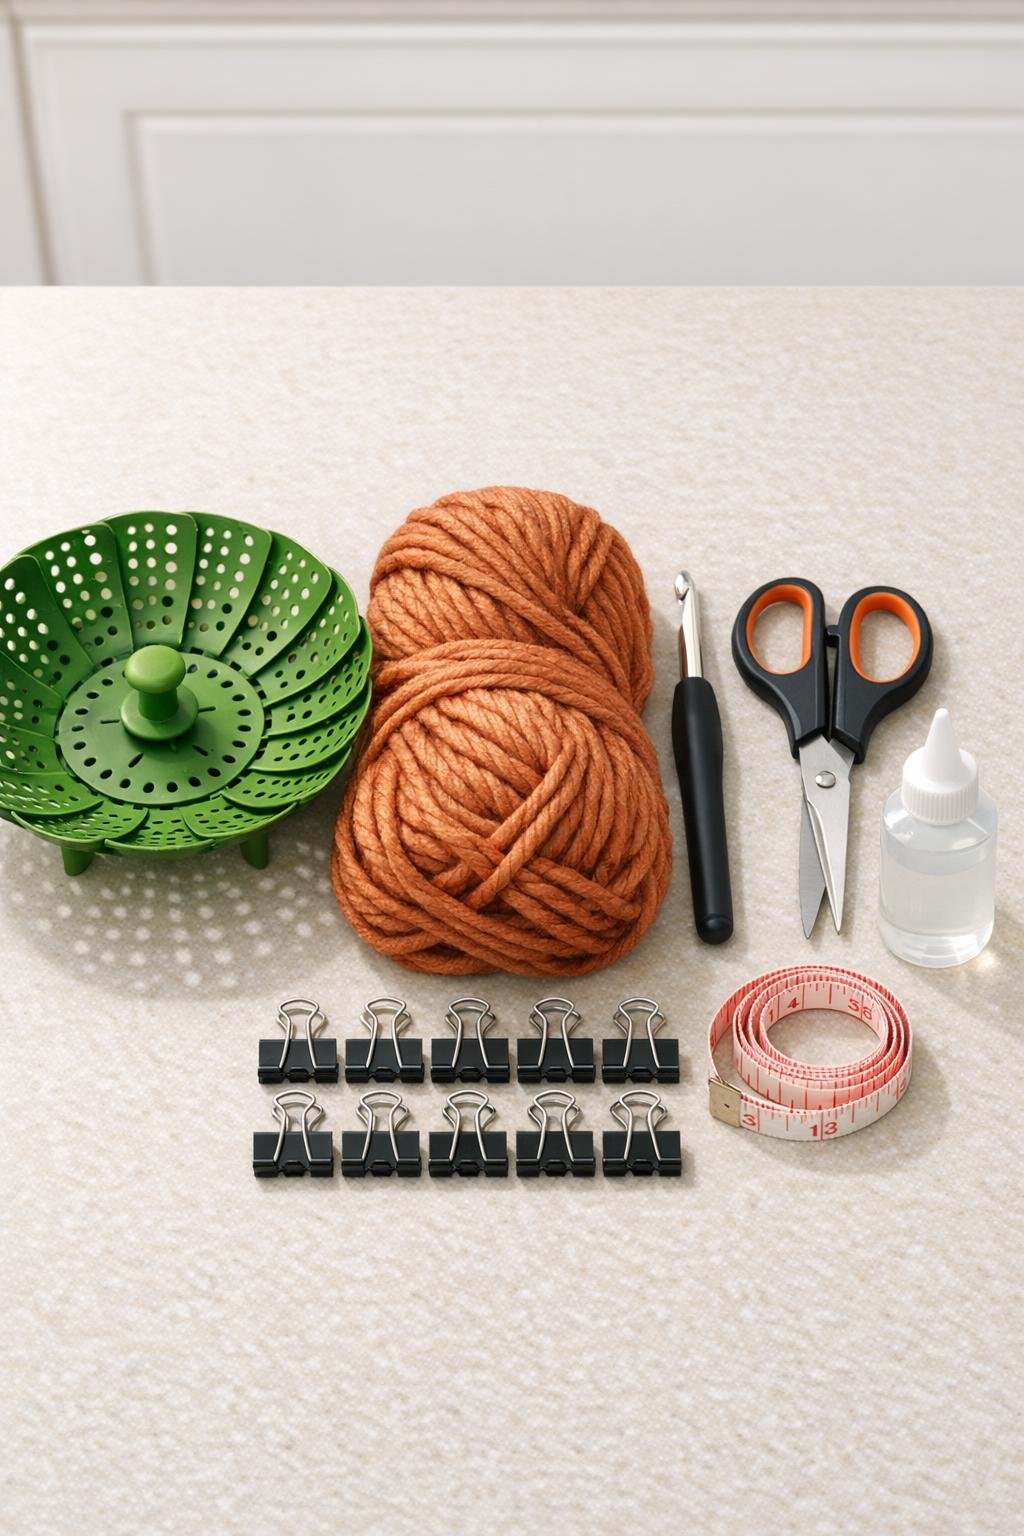
Materials
Instructions
1. Wash and dry the plastic steamer basket so the yarn stays clean and the stitches grip the surface better. Open the basket fully and press it into its bowl shape on the counter so you can see all the grid openings clearly.
2. Check the edges for any rough plastic points and trim them carefully with scissors if needed. This small step keeps the chunky yarn from snagging while you crochet.
3. Tie the yarn securely through one opening near the outer rim, leaving a 4-inch tail on the inside. Clip that tail in place so it does not slip while you begin the first round.
4. Work 1 single crochet through each opening all the way around the outer rim, inserting the hook from outside to inside and drawing the yarn up through the plastic grid. Keep the stitches snug but not tight so the rim starts to look evenly wrapped instead of wavy.
5. Join the round with a slip stitch into the first stitch, then chain 1. Work a second round of single crochet into each stitch all the way around to build a thicker, softer top edge.
6. Begin the basket sides by working 1 half double crochet into each stitch around for 3 full rounds. Let the stitches stack naturally upward so the yarn creates a tall fabric wall while the plastic steamer supports the shape underneath.
7. If you want a taller basket, add 1 or 2 more rounds of half double crochet before shaping the top. For a full-looking storage basket that still feels balanced, I like a finished height of about 5 inches above the original rim.
8. Make the upper edge look polished by working 1 final round of single crochet, then a slip stitch into every second stitch around. This firms up the top and gives the basket a neat finished line.
9. Fasten off the yarn with an 8-inch tail and weave the tail down through several stitches and a few plastic openings on the inside. Add a tiny dot of clear-drying craft glue where the tail ends if you want extra hold for everyday use.
10. Tuck in the starting tail the same way, then gently shape the basket with your hands so the sides stand evenly and the opening looks round. If any area looks sparse, slide the stitches closer together with your fingers to get that thick, generous coverage.
11. Fill the basket lightly at first and check that it sits flat on the counter. Once you see the shape is stable, use it for produce, bread rolls, tea towels, snack bags, or little odds and ends that need a home.
Variations & Tips
For picky-color crafters: If copper is not your favorite, this same basket looks lovely in cream, oatmeal, sage, or charcoal chunky yarn. Just keep the yarn thick enough to cover the plastic grid generously.
For a softer rim: Add one extra round of single crochet at the top if you want a plusher edge that feels nice when little hands reach in for snacks.
For bathroom storage: Use the finished basket for rolled washcloths, extra soap, or hair accessories. I would skip setting it in very damp spots unless your yarn is labeled washable and durable.
For a handle look: Leave two 3-inch gaps on opposite sides during the final round, then chain across each gap and secure into the next stitch to make simple built-in handles. It gives the basket a market-tote feel without much extra work.
For cleaner stitching: Binder clips really help hold the yarn where you want it on the plastic rim, especially in the first round. I use them the same way I keep things pinned in the kitchen when I am trying to keep dinner and a project moving at once.
For gifting: Fill the basket with muffins, tea, wrapped cookies, or a packet of soup mix and a towel. A handmade container that is actually useful always feels extra thoughtful to me, especially for a neighbor, teacher, or friend who could use a small pick-me-up.
For easy care: Spot clean first, and if your yarn allows hand washing, wash gently and reshape while damp. Because the plastic steamer is inside, the basket usually pops right back into shape nicely.