
There is something so satisfying about turning the simplest little kitchen-store find into something that looks straight out of a winter storybook. In this project, I use three inexpensive dollar store loaf pans and a steady drizzle of clear hot glue to make delicate, lacy panels that look far fancier than the supplies would ever suggest. It is one of those crafts that feels almost like a magic trick once you peel the pieces free.
I especially love this kind of project when I want a big holiday payoff without dragging out complicated tools or a mountain of materials. If you enjoy easy seasonal crafts, cozy candlelight, and projects that look lovely on a mantel, entry table, or dessert buffet, this one is a treat to make.
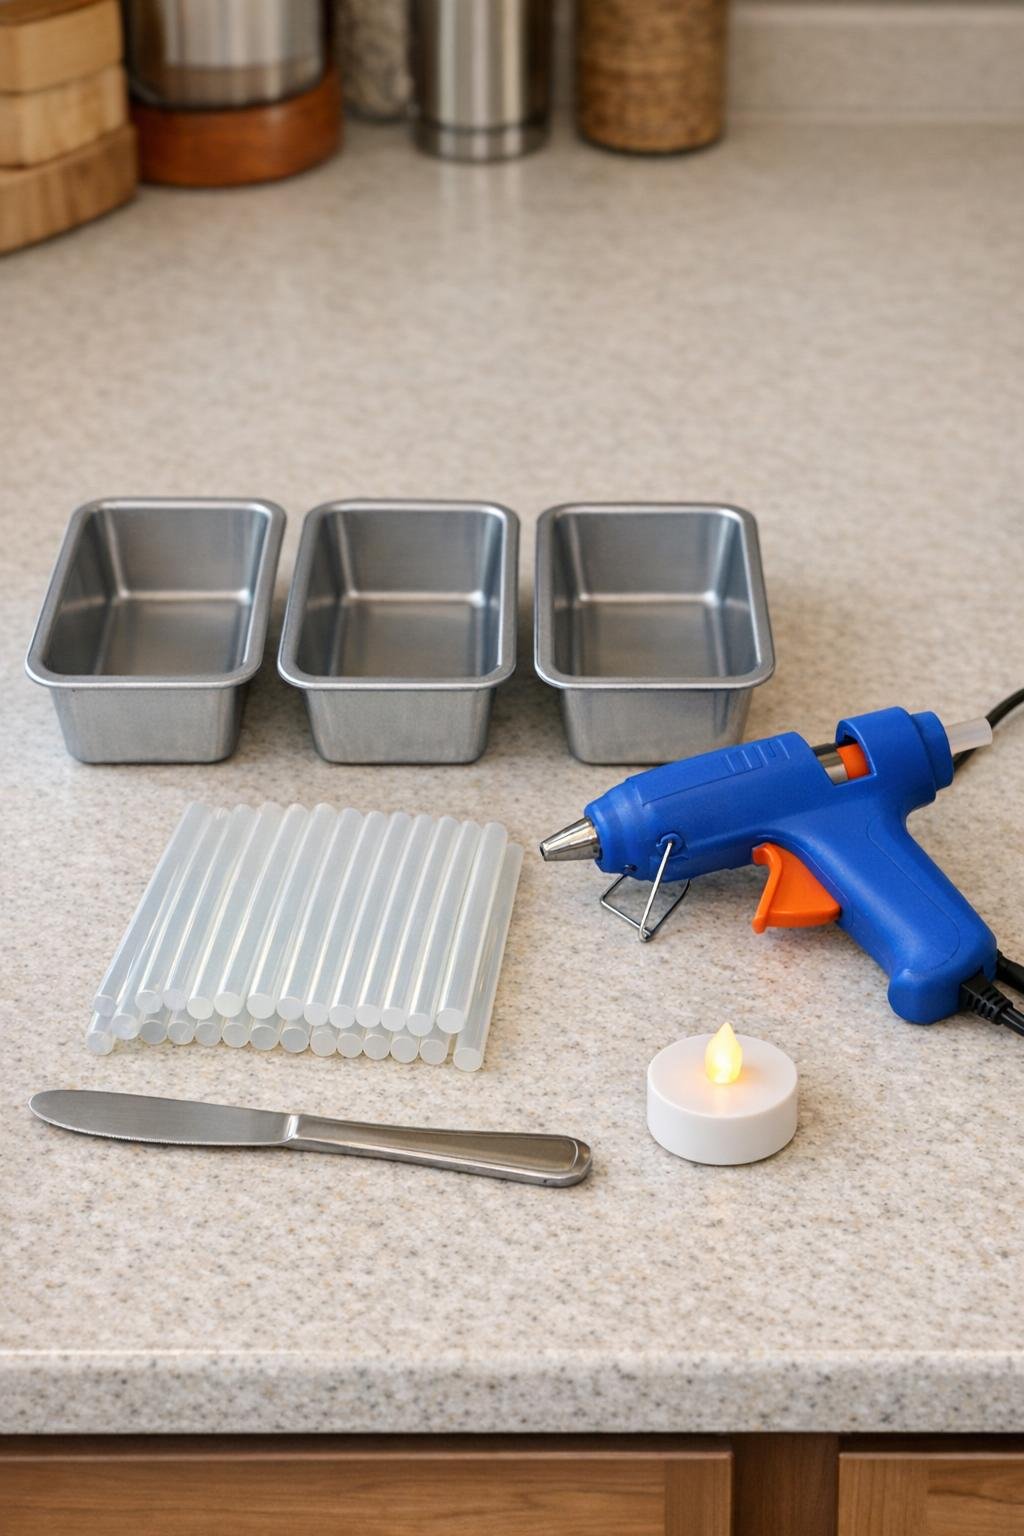
Materials
Instructions
1. Set the three loaf pans side by side on a flat kitchen counter and plug in the glue gun until the glue flows easily. Make sure the pans are clean and fully dry so the glue can set into smooth, crisp lines.
2. In the first loaf pan, scribble hot glue all across the inside bottom in looping, overlapping lines, covering the full rectangle from edge to edge. Keep the pattern open and lacy, but connect the lines often so the panel will peel out as one sturdy piece.
3. Repeat the same scribbled glue pattern in the second and third loaf pans, making each panel about equally dense. Add a little extra glue around the edges and corners of each pan so those areas do not crack when removed.
4. Let the glue cool completely for 5 to 8 minutes until each panel looks firm and no longer feels warm. If a panel looks too airy or fragile, add a few more crossing lines of glue and let it cool again.
5. Slip the dull edge of the butter knife gently under one corner of the first glue panel and ease it free from the pan. Work slowly around the edges, then lift the whole rectangle out in one piece.
6. Remove the other two glue panels the same way and lay all three flat on the counter. Trim away any long glue strings with your fingers once the pieces are fully cool.
7. Stand the three panels upright to form a simple house shape with one panel as the back wall and two panels angled inward like a peaked front. Use fresh hot glue along the touching side edges and hold each seam for 20 to 30 seconds until it firms up.
8. Build the roofline by gluing the top long edges together so the two front-leaning panels meet in a neat peak, then attach the third panel at the back to close the structure into a little glowing house form. Add a bead of glue along every inside seam to strengthen the shape.
9. Let the house sit untouched for 3 to 5 minutes so all the seams harden well. Check for any wobbly spots and reinforce them with another thin line of hot glue.
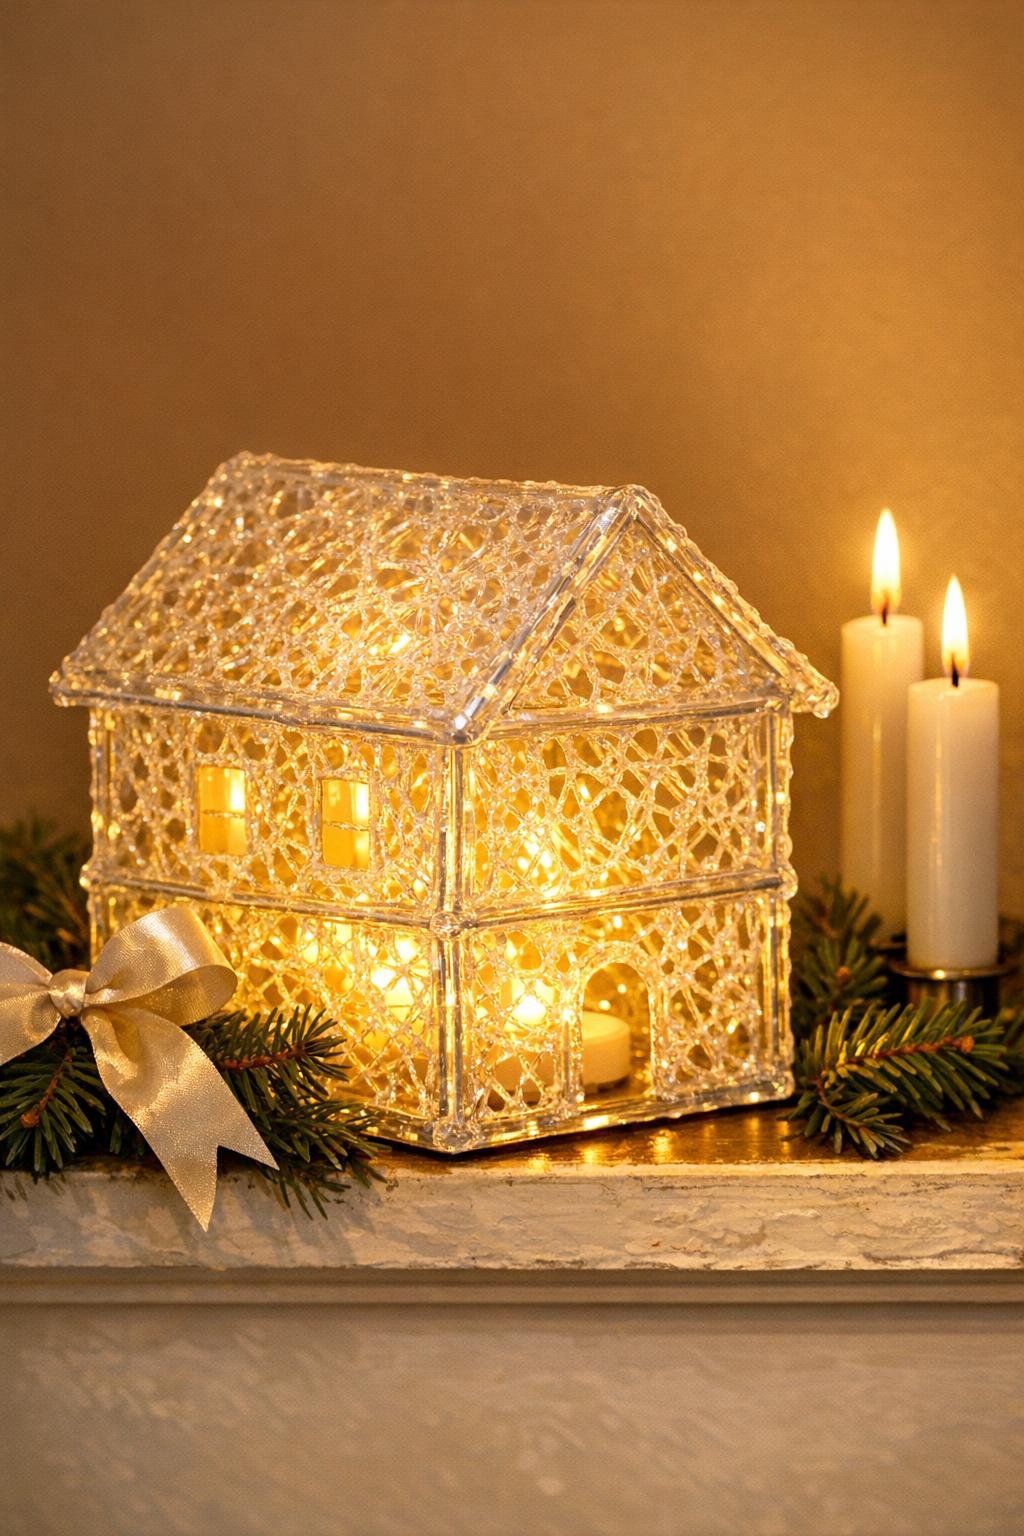
10. Place the finished lace structure over a warm white LED tea light so the glow shines through all the scribbled openings. Turn it slightly until the prettiest side faces forward and the whole piece looks balanced and bright.
Variations & Tips
Make it sturdier: If your glue lines are very thin, go back and add a second layer of overlapping scribbles before removing the panels from the pans. I like the finished piece best when the pattern is airy but still well connected.
For a fuller glow: Try using two LED tea lights side by side under the house if your structure is a little wider at the base. The extra light makes all those glue lines shimmer beautifully in the evening.
Create a snowy look: After assembly, lightly dry-brush a touch of white craft paint along a few raised glue lines for a frosty finish. Keep it subtle so the lace effect still shows through.
Add simple holiday polish: Set the house on a small tray with faux pine clippings, a bit of baby’s breath, or a narrow ribbon underneath. Those little finishing touches make it look styled without making the project any harder.
For families crafting together: I would keep the hot glue work for the grown-up and let kids help choose the display spot and decorative extras. It gives them ownership of the project while keeping the process safe.
If you want a village set: Make two or three more houses and vary the glue density slightly so each one glows a little differently. Grouped together on a mantel or buffet, they look especially charming at dinnertime.