
When I want to stretch my garden season without dragging out a whole stack of supplies, this is one of the smartest little tricks I come back to. These sliced milk jugs become simple cold-sink vents at the corners of a raised bed, helping trap a bit of daytime warmth low in the soil while still giving tender seedlings some airflow before a frost. It’s a wonderfully practical use for something most of us already have in the recycling bin, and once they’re tucked neatly into the bed, they really do look like one of those “where did you buy that?” garden gadgets.
I especially love this project for busy gardeners, beginners, and anyone trying to protect cool-weather crops on a budget. It only takes two main items, goes together fast, and gives a raised bed a more intentional, polished look than loose row cover hoops and plastic draped everywhere. Around my house, I’m always looking for the sort of fix that works hard without making more work later, and this one absolutely earns its place.
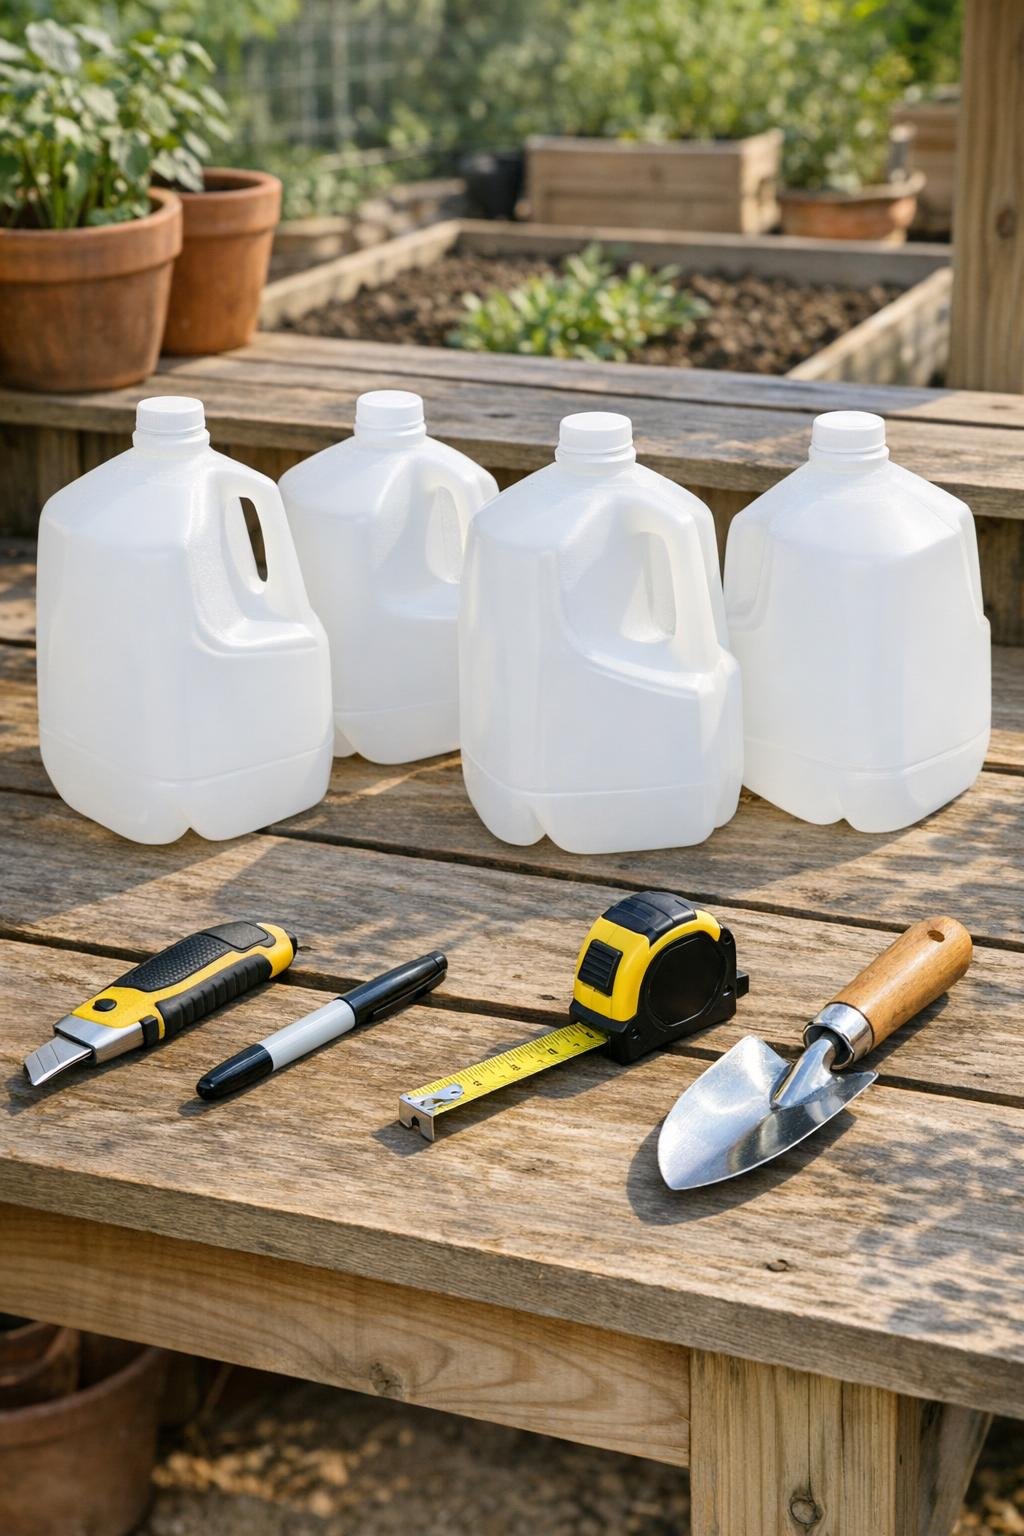
Materials
Instructions
1. Wash and dry the milk jugs well, then screw the caps on tightly so the jugs hold their shape while you cut and bury them.
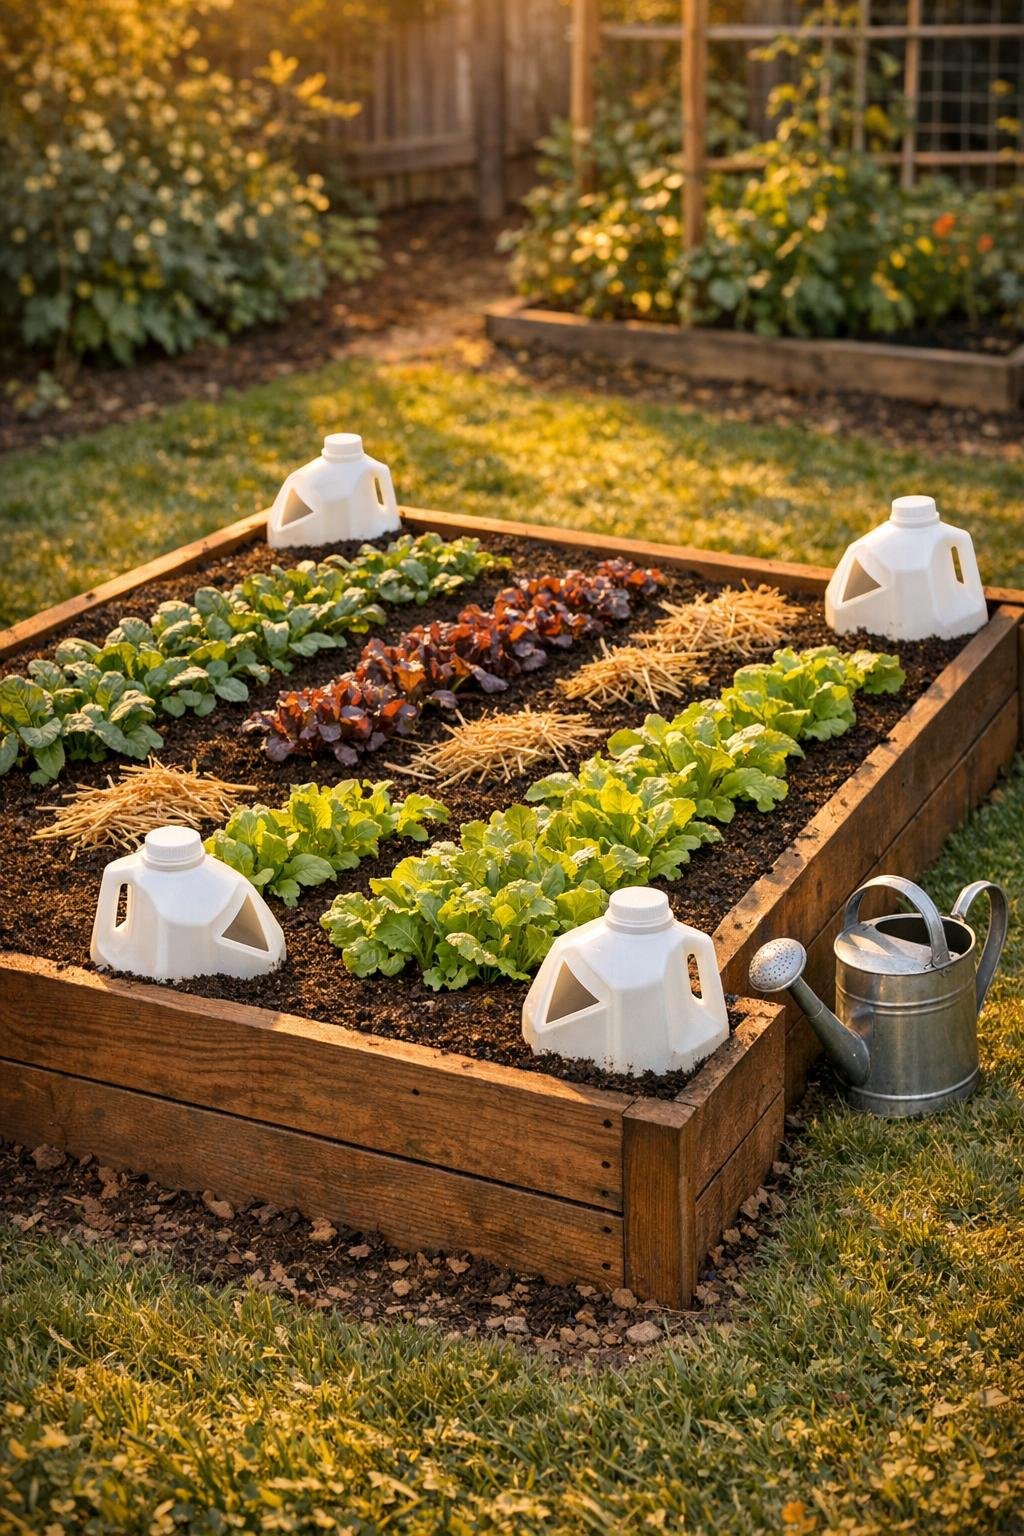
2. Use the marker to draw one long diagonal opening on each jug, starting about 2 inches above the bottom on one side and ending about 2 inches below the shoulder on the other side. Keep the handle and the back side of each jug uncut so the jug stays sturdy in the soil.
3. Carefully cut along the marked line on each jug with the utility knife, then remove the cut-out flap completely so each jug has one large diagonal side opening. Smooth any sharp plastic burrs with the knife edge so the opening is clean and safe to handle.
4. At each corner of the raised bed, dig a hole about 7 inches deep and slightly wider than the lower half of a milk jug. If your bed catches a lot of water, sprinkle a small handful of pea gravel into each hole first.
5. Set one jug into each hole with the uncut side facing outward toward the bed wall and the diagonal opening facing inward toward the planting area. Leave 4 to 5 inches of the top of each jug above the soil line so air can move through the opening while the buried body of the jug buffers temperature changes.
6. Backfill around each jug firmly, pressing the soil in with your hands so the jugs stand straight and do not wobble. If your bed is windy, push one landscape staple over the lower shoulder area on each exposed jug side to anchor it.
7. Plant your cool-weather seedlings or direct-sow seeds between the corner vents, keeping the first row about 4 to 6 inches away from each opening. This gives you the warming benefit without crowding the plants right against the plastic.
8. Water the bed as usual, aiming the stream at the soil rather than directly into the jug openings. The soil around the buried jugs will collect and release warmth more steadily overnight, which is especially helpful during those unpredictable pre-frost swings.
9. On especially chilly nights, turn each jug so the diagonal opening angles slightly away from the wind, and on milder days, rotate the openings back toward the bed center for better airflow. That little adjustment makes a bigger difference than people expect.
10. Check the jugs every few days for shifting, trapped leaves, or pooled water, and re-pack the soil if needed. Once everything settles in, the corners look tidy and intentional, and the whole bed reads like a clever built-in garden feature.
Variations & Tips
For extra-cold nights: Lay a lightweight frost cloth over the bed in the evening and let these buried jug vents work underneath it. I like this combination for lettuce, spinach, and early brassicas when the forecast gets a little dramatic.
For picky-looking garden spaces: If you want a more finished appearance, use matching jugs with labels removed completely and orient all handles the same direction. It gives the bed that neat, planned look that makes homemade solutions feel a bit more “store-bought.”
For wetter soil: Add the optional pea gravel under each jug and avoid burying them deeper than the lower third. You want contact with the cool soil, but not a puddle sitting inside the jug body after every rain.
Best crops to pair with this: I’ve had the nicest results using this setup with spring greens, radishes, baby kale, and sturdy herb starts. I would skip using it as the only frost protection for heat-lovers like basil or peppers unless you add a cover on top.
Easy seasonal adjustment: As the weather warms, simply pull the jugs up an inch or two or remove them completely and store them inside the shed. Because they are so light, I stack mine together and tuck the trowel right inside so everything is ready next season.
Safety tip: Always cut the jugs on a stable surface and with a fresh blade. Dull utility blades slip more easily, and this is one of those little chores that goes better when you don’t rush it.