
If you’ve ever wanted a holiday project that looks far more expensive than it actually is, this is exactly the kind of craft I reach for. It uses the simplest supplies imaginable, goes together fast once you get into a rhythm, and gives you that big, sparkly, “where did you buy that?” payoff I love when I’m decorating on a real-life budget.
I’m especially fond of projects like this during busy weeks, because I can spread everything out on the table after dinner, work in short bursts, and still end up with something dramatic enough to fill a blank wall or front-door area. If you’re comfortable using pliers and wire cutters and you don’t mind a little repetition, this one is very doable even if you don’t consider yourself especially crafty.
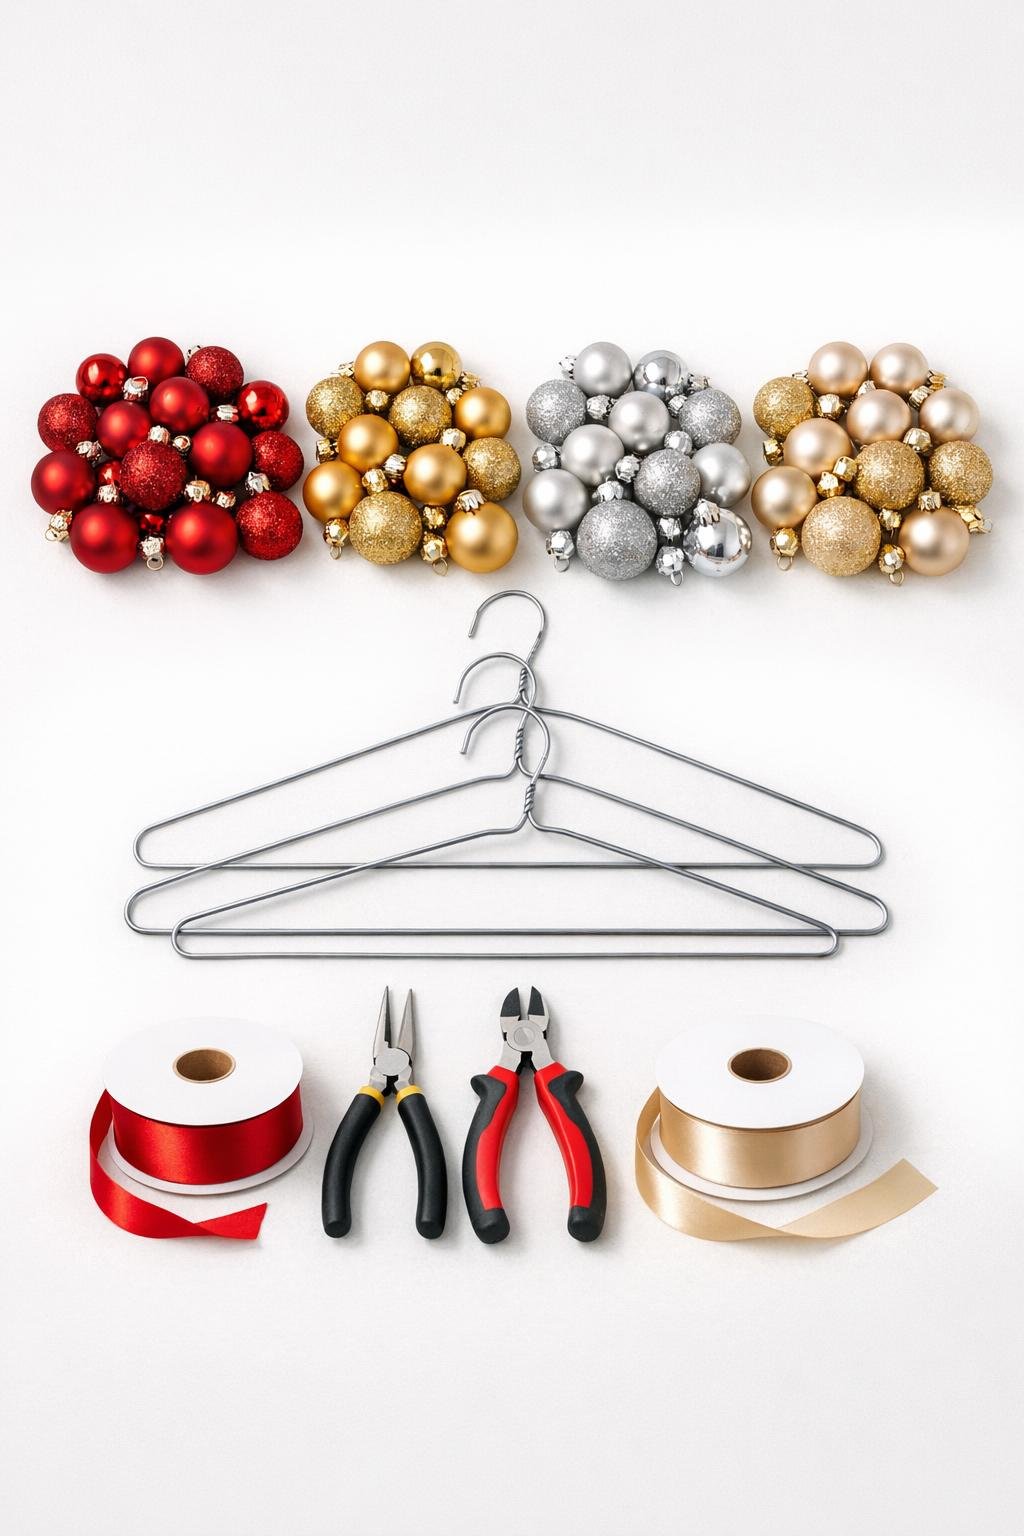
Materials
Instructions
1. Sort the ornaments by color and finish, then pop off all the metal caps and set the caps aside. I like to alternate shiny, matte, and glittered balls so the finished piece looks fuller and more layered.
2. Use pliers to untwist the hook neck of each wire hanger and straighten the bottom triangle into one long wire. Leave a small hook or bend at one end of each hanger so the ornaments can’t slide off while you load them.
3. Thread about 26 to 27 ornaments onto each straightened hanger wire through the ornament cap openings, pushing them tightly together as you go. Mix the colors evenly on all three wires so each section feels balanced once assembled.
4. When a wire is full, use pliers to bend the open end into a tight loop so the ornaments are trapped securely in place. Gently curve the loaded wire into a soft arc instead of leaving it perfectly straight.
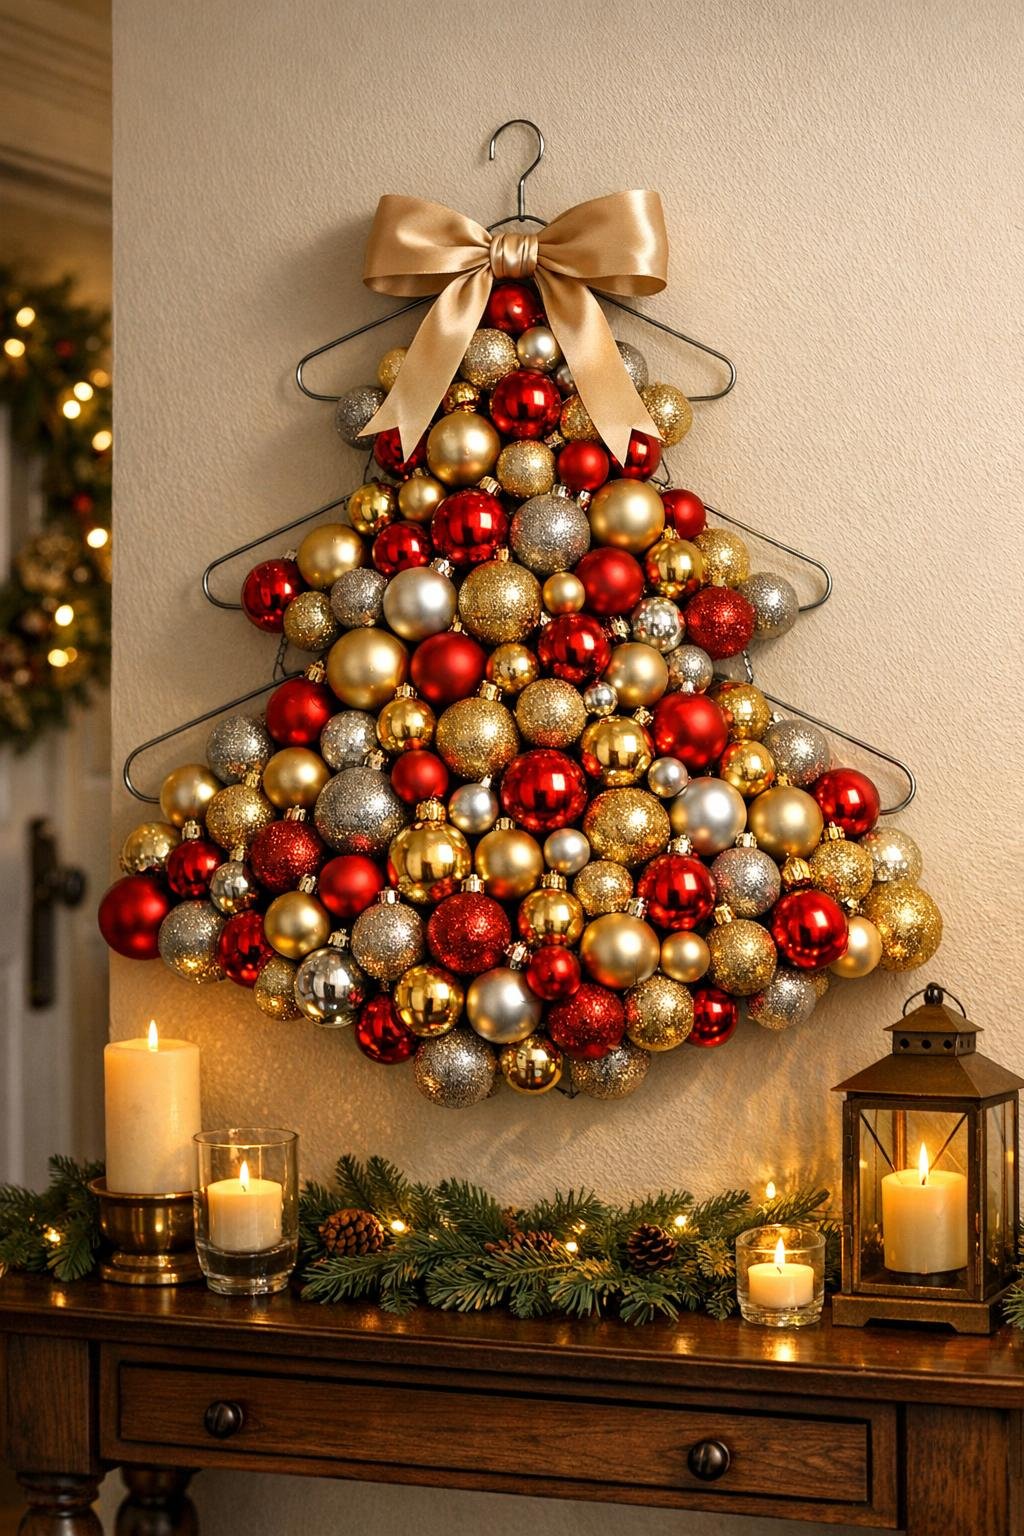
5. Repeat with the other two hanger wires, making one long section, one medium section, and one slightly shorter section by adjusting the curve and spacing. This is what helps the three pieces stack into a tree shape instead of looking like separate garlands.
6. Lay the three loaded sections on a flat surface and arrange them from shortest at the top to longest at the bottom, leaving 2 to 3 inches between each row. Step back and tweak the curves until the outline suggests a full Christmas tree shape.
7. Tie the sections together vertically with short lengths of narrow ribbon or floral wire at the left and right sides, keeping the rows evenly spaced. Make the connections snug enough to hold the shape but loose enough that you can still fine-tune the curve of each row.
8. Cut a long length of ribbon and tie it securely to the top section to create a hanger. If you want a more finished look, add a generous bow at the top center where the hanging ribbon is attached.
9. Fluff and rotate the ornaments so the prettiest sides face forward, then compress any gaps by pushing neighboring ornaments closer together. Reattach any loose ornament caps with a dot of hot glue if needed, although most shatterproof sets hold well once packed tightly.
10. Hang the piece on a wall, pantry door, or covered entry and make final adjustments so the rows sit level and the overall outline reads clearly from a distance. Add an extra ribbon tail or small bow between sections if you want a little more softness against all the shine.
Variations & Tips
Color palette: I love a mixed metallic look because it feels expensive, but this is also gorgeous in all red, all icy blue and silver, or classic green and gold. Just keep a blend of finishes so the surface doesn’t fall flat.
Best ornament size: Small ornaments in the 2- to 2.5-inch range work best here because they pack tightly and let you fit enough onto each hanger for a lush result. Larger ornaments can make the rows bulky and harder to shape.
Make it sturdier: If your hangers feel thin, double up two wires for the bottom row before threading ornaments. I’ve had the best luck with plain metal dry-cleaner hangers because they bend easily but still hold shape.
Where to hang it: This works best on a wall, over a small entry table, on a mudroom door, or inside a covered porch area. I would avoid windy outdoor spots since the sections can twist.
Gap control: The secret to that full designer look is packing the ornaments tighter than you think you need to. If you see wire showing in the front, slide the ornaments closer together and rotate them until the coverage looks dense.
Easy storage: Hang the whole piece from a closet rod or large command hook during the off-season, then slip a trash bag or garment bag over it to keep dust off. That way you don’t have to rebuild it next year.