
There’s something so satisfying about taking a very ordinary dollar store basic and turning it into something that looks far more special than it has any right to. This project starts with a simple foam wreath ring and a couple rolls of masking tape, and with a little layering and a rich brown finish, it becomes a warm, textured holiday decoration that feels cozy and collected instead of crafty.
I love projects like this because they’re inexpensive, low-pressure, and easy to do at the kitchen counter while dinner is in the oven. If you enjoy Christmas decorating but don’t want another glitter-covered project taking over the house, this one is wonderfully simple and forgiving, and the end result has that soft, aged look that works with farmhouse, rustic, and classic holiday décor.
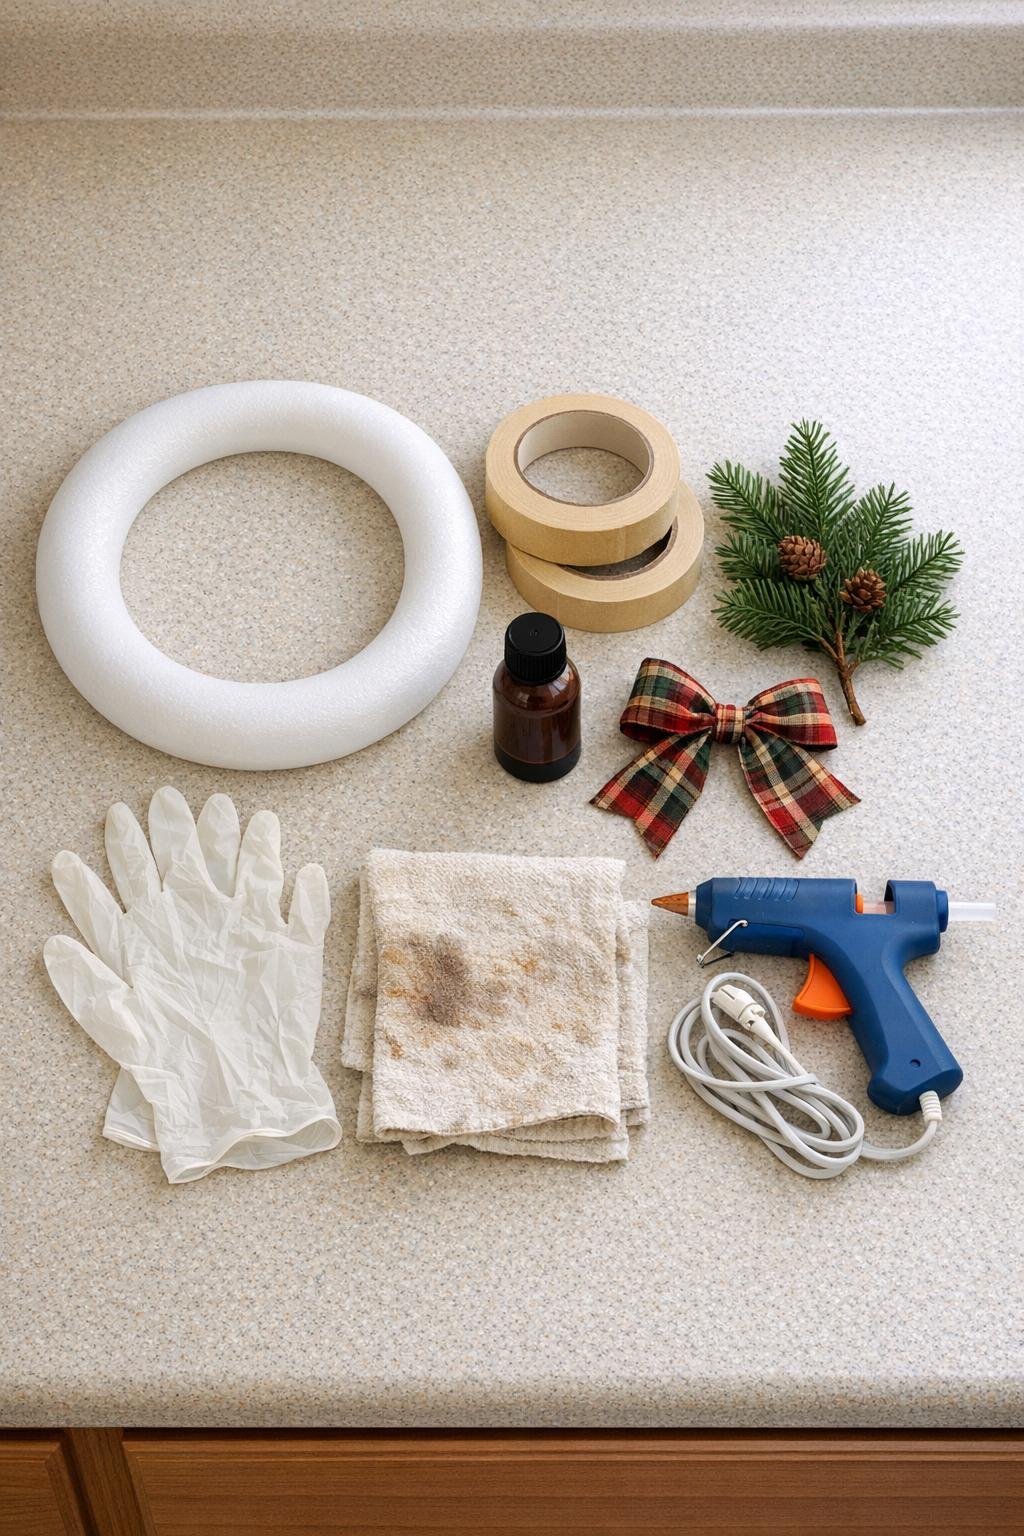
Materials
1 dollar store foam wreath ring, 12 inches
Instructions
1. Set your foam wreath ring on a clean counter and tear the masking tape into rough pieces about 2 to 4 inches long. Don’t cut perfect strips; the uneven torn edges are what create the soft, worn texture later.
2. Press the first torn pieces onto the wreath ring at a slight angle, smoothing them over the front and wrapping each piece just over the inner and outer edges. Leave a little overlap between pieces so no white foam shows through the seams.
3. Continue covering the entire ring with torn tape pieces, changing direction slightly as you go so it looks naturally pieced rather than striped. Smooth each piece firmly with your fingers to remove bubbles and help the tape follow the curve of the foam.
4. Add a second layer anywhere the ring looks too flat or too uniform, especially on the front face. This extra patchwork gives the finished wreath that thicker, weathered faux leather look instead of looking like plain tape.
5. Put on disposable gloves and apply the brown shoe polish or dark wood stain with an old rag, working in small sections. Rub color over the taped surface, then wipe back the excess so the torn edges and overlaps stay visible.
6. Keep building the color until the whole wreath is a rich medium-to-dark brown, with slightly deeper tones in the seams and creases. If one spot gets too dark, buff it right away with a clean part of the rag to soften it.
7. Let the wreath dry until the surface no longer feels tacky, usually about 20 to 30 minutes for shoe polish or a little longer for stain. Check the inner and outer edges and touch up any pale spots with a small bit of polish on the rag.
8. Glue a small faux greenery sprig or a plaid ribbon bow onto one side of the wreath, keeping the accent compact so the textured brown ring stays the star. Hold it in place for a few seconds until the glue grabs.
9. Fluff the greenery or straighten the bow, then give the wreath one last gentle buff with a clean rag if you want a softer sheen. Add a hanger to the back if needed, and it’s ready to display.

Variations & Tips
For a deeper leather look: Use two light coats of brown shoe polish instead of one heavy coat. I’ve found that building the color slowly gives the prettiest worn-in finish and keeps the tape texture from disappearing.
If you prefer a cleaner style: Skip the greenery and use only a plaid bow. That keeps the wreath simple and tailored, especially if you’re decorating a smaller space or mixing it in with other holiday pieces.
For a fuller holiday accent: Tuck in two or three small clipped stems instead of one single sprig. Pine, cedar, or eucalyptus all work nicely, and this is a great way to make the wreath feel a little more festive without covering too much of the brown surface.
For picky decorators in the family: If everybody in your house has strong opinions like mine do around Christmas, make the wreath plain first and hold up a few accent options before gluing anything down. A greenery sprig, bell, or bow can completely change the mood, and it’s easier to agree before the hot glue comes out.
To avoid visible foam at the edges: Wrap each tape piece slightly over both curved edges as you work. It takes an extra second, but it gives the wreath a finished look from every angle instead of just from straight on.
Best place to use it: This wreath is happiest indoors or on a covered door or porch. Since the finish is decorative rather than weatherproof, I’d keep it out of heavy rain and direct snow so it stays nice through the whole season.