
There’s something so satisfying about taking a plain little dollar store find and coaxing it into something that looks far more special than it has any right to. I’ve always loved projects like that—the kind where a few simple supplies, a bit of patience, and a kitchen-counter work session can turn everyday plastic into a centerpiece that catches the light like a January morning after an ice storm.
This one is especially good for anyone who wants a wintery decoration without fussing with paint, cutting tools, or complicated assembly. If you can slowly guide a bead of hot glue over an edge, you can make this, and the result has that sparkling, frosted charm that feels right at home on a mantel, buffet, entry table, or holiday dessert station.
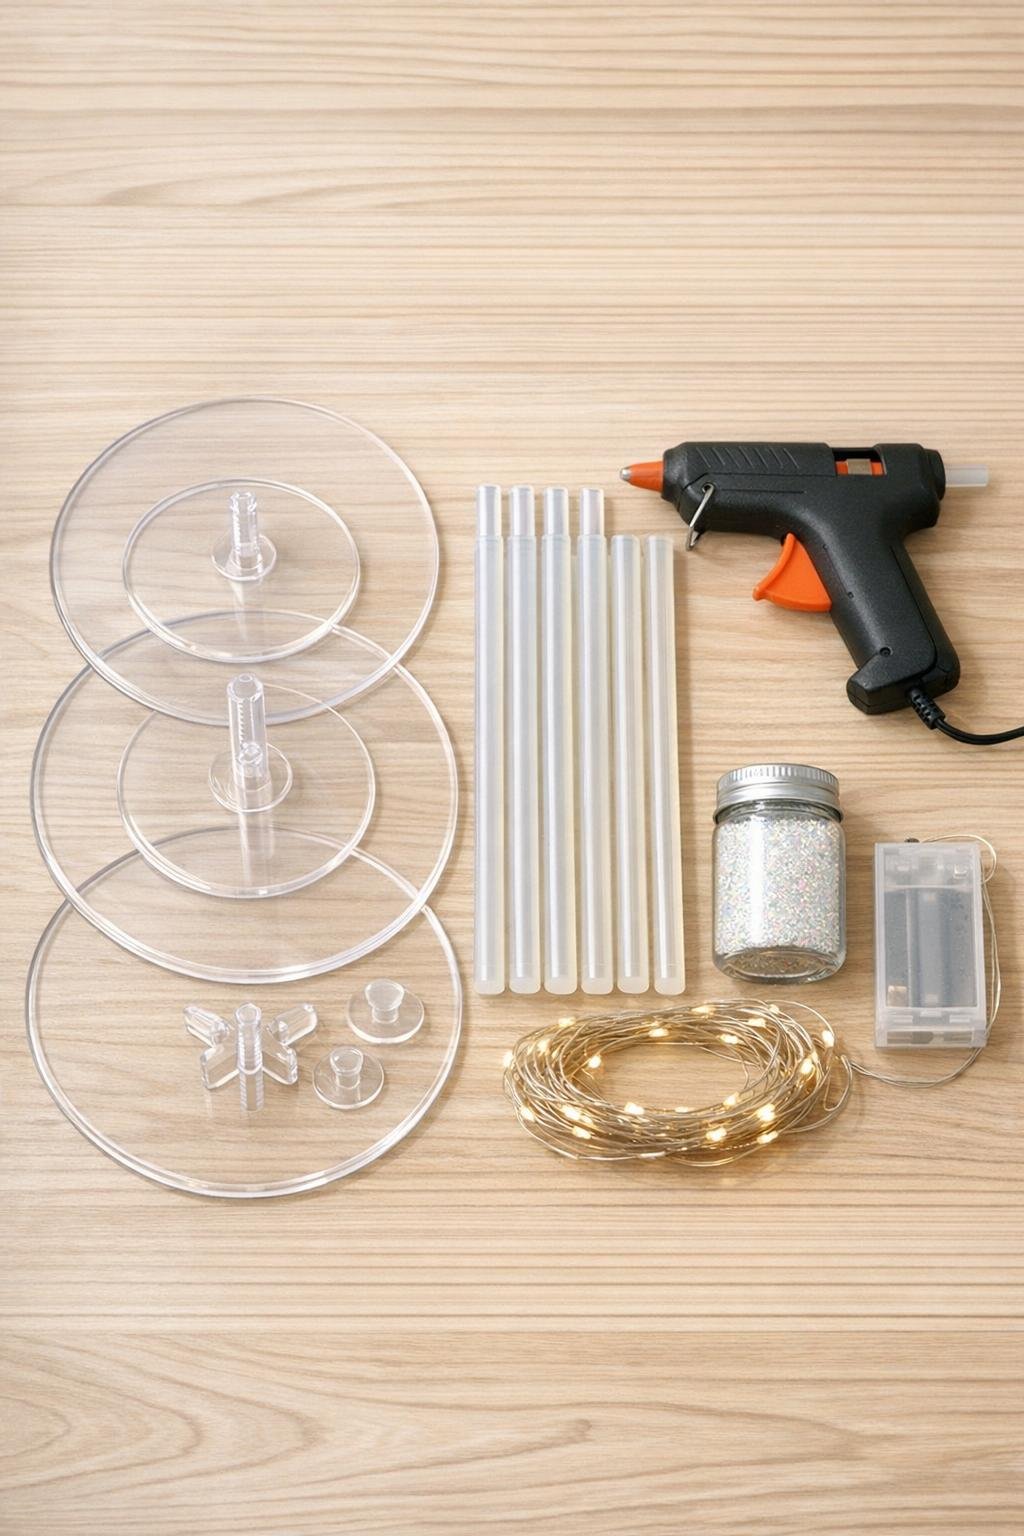
Materials
Instructions
1. Assemble the 3-tier cupcake stand according to the package directions, making sure all tiers are snug and level, then set it on parchment paper or a silicone mat on your counter.
2. Plug in your glue gun and let it heat fully so the glue flows smoothly; this makes longer, cleaner drips instead of short stubby ones.
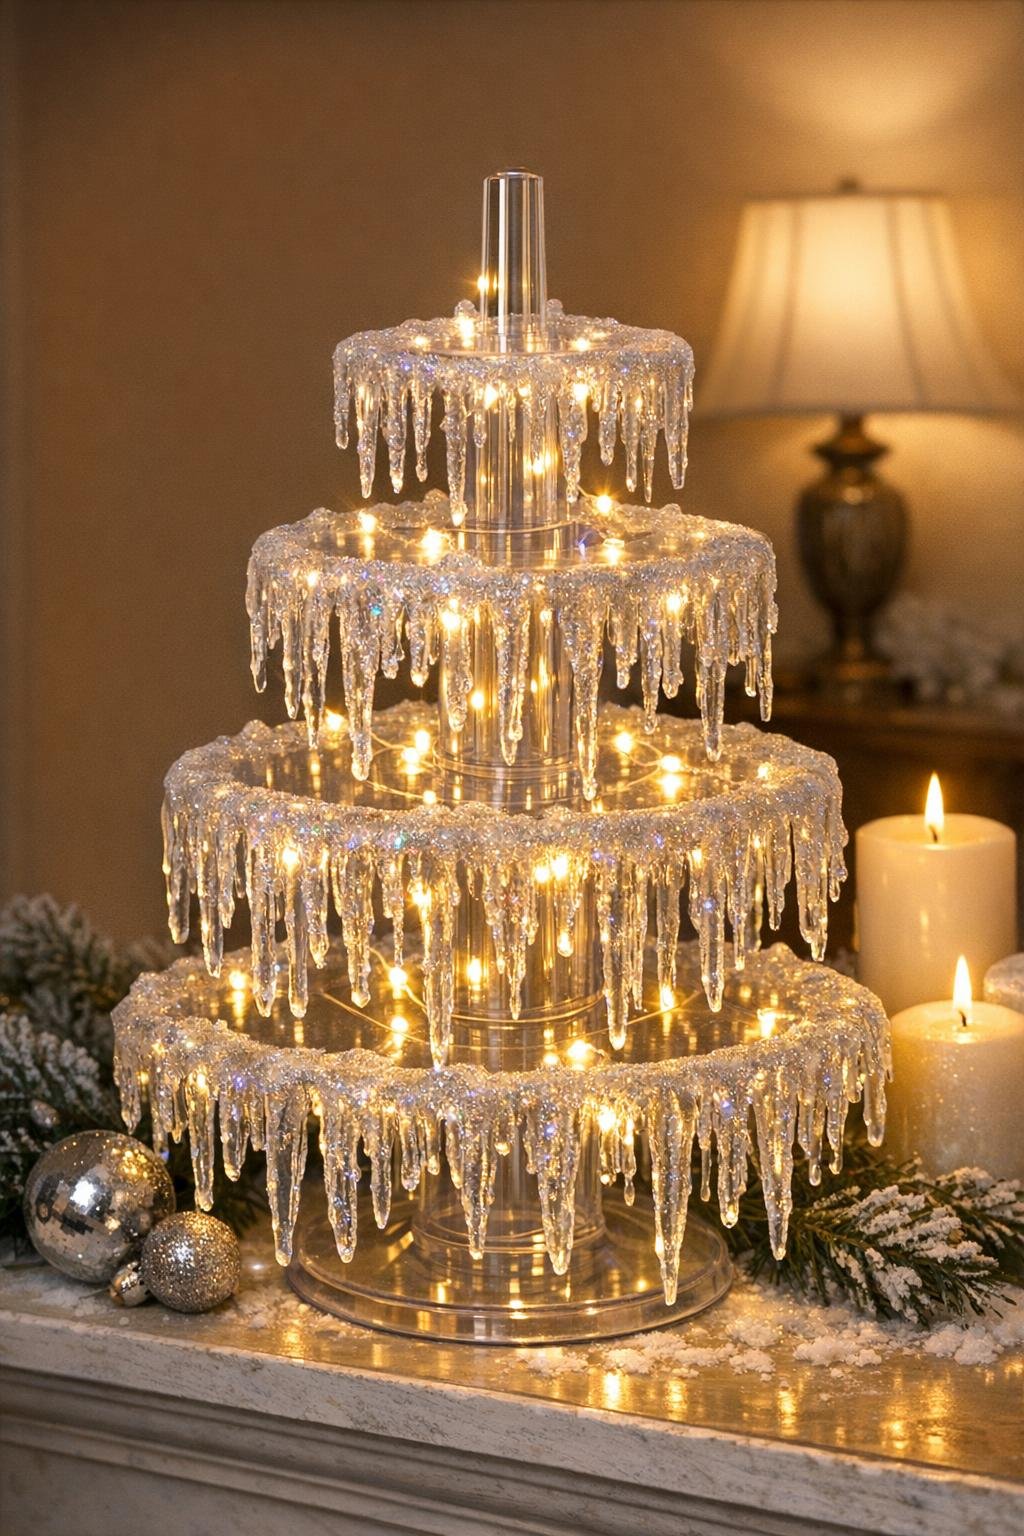
3. Start on the bottom tier and slowly pipe hot glue right over the outer rim, letting gravity pull each line downward into long tapered drips; make the drips different lengths, from about 1 inch to 4 inches, so it looks natural and icy.
4. Work all the way around the bottom tier, spacing some drips close together and leaving tiny gaps in between, then go back and add a few second layers over selected drips to make some thicker and more dramatic.
5. Repeat the same method on the middle tier, keeping the longest drips slightly shorter than the bottom tier so the layers stay distinct and you can still see the stepped shape of the stand.
6. Finish the top tier with the shortest, most delicate drips, adding a few little glue points around the rim between longer strands to give it that frozen, built-up look.
7. While the glue is still warm in small sections, sprinkle iridescent glitter lightly over the drips so it clings in a soft frosty shimmer; tap off any heavy excess so the finish stays icy rather than chunky.
8. Let the entire piece cool for 10 to 15 minutes, then check for thin spots and add a few extra drips anywhere that looks bare, especially around the front edges that will catch the light.
9. Tuck the mini battery lights around the center post and weave them loosely under each tier, letting the tiny bulbs peek through the glue drips without wrapping so tightly that the strand looks obvious.
10. Turn on the lights, adjust the strand so the glow is spread evenly from top to bottom, and tape the battery pack discreetly underneath the lowest tier or tuck it behind the display when you style it.
Variations & Tips
Cooler sparkle: Use cool white lights instead of warm white if you want more of a crisp blue-ice effect. It gives the piece a true frosted-evening glow.
Heavier icicles: If you like a fuller look, let the first layer cool, then add a second round of drips between the originals. I find that alternating thick and thin strands makes it look richest.
Glitter control: Sprinkle lightly with your fingers instead of dumping from the jar. A little iridescent glitter goes a long way, and too much can hide that pretty glassy glue finish.
Safer shaping: Rotate the stand as you work instead of reaching across hot glue. In my own kitchen, I set it on a lazy Susan when I have one handy, and it makes the dripping much easier.
Display idea: This looks lovely on an entry table, holiday buffet, or winter mantel where the lights can reflect off nearby mirrors or candleholders. Just keep it away from direct heat sources so the glue stays firm.
Make it fuller: Nestle a small ring of faux snow, white greenery, or a few silver baubles around the base when you display it. That little finishing touch makes the whole piece look intentional and polished without taking attention away from the shine.