
There’s something mighty satisfying about taking a box of mismatched old sparkle and turning it into something worth displaying every December. I’ve always had a soft spot for the bits and bobs that get tucked away in dresser drawers—single earrings, broken strands, brooches with missing pins, pearls that have seen better days. Projects like this let those little treasures have a second life, and in my book, that’s about as special as crafting gets.
This is an easy afternoon project for anyone who likes holiday decorating with a touch of family history and old-fashioned charm. You don’t need fancy tools or perfect jewelry pieces, just a good pile of interesting shapes, a sturdy backing, and a little patience while you layer everything together. The beauty is in the mix, and the finished piece looks far richer than the effort it takes.
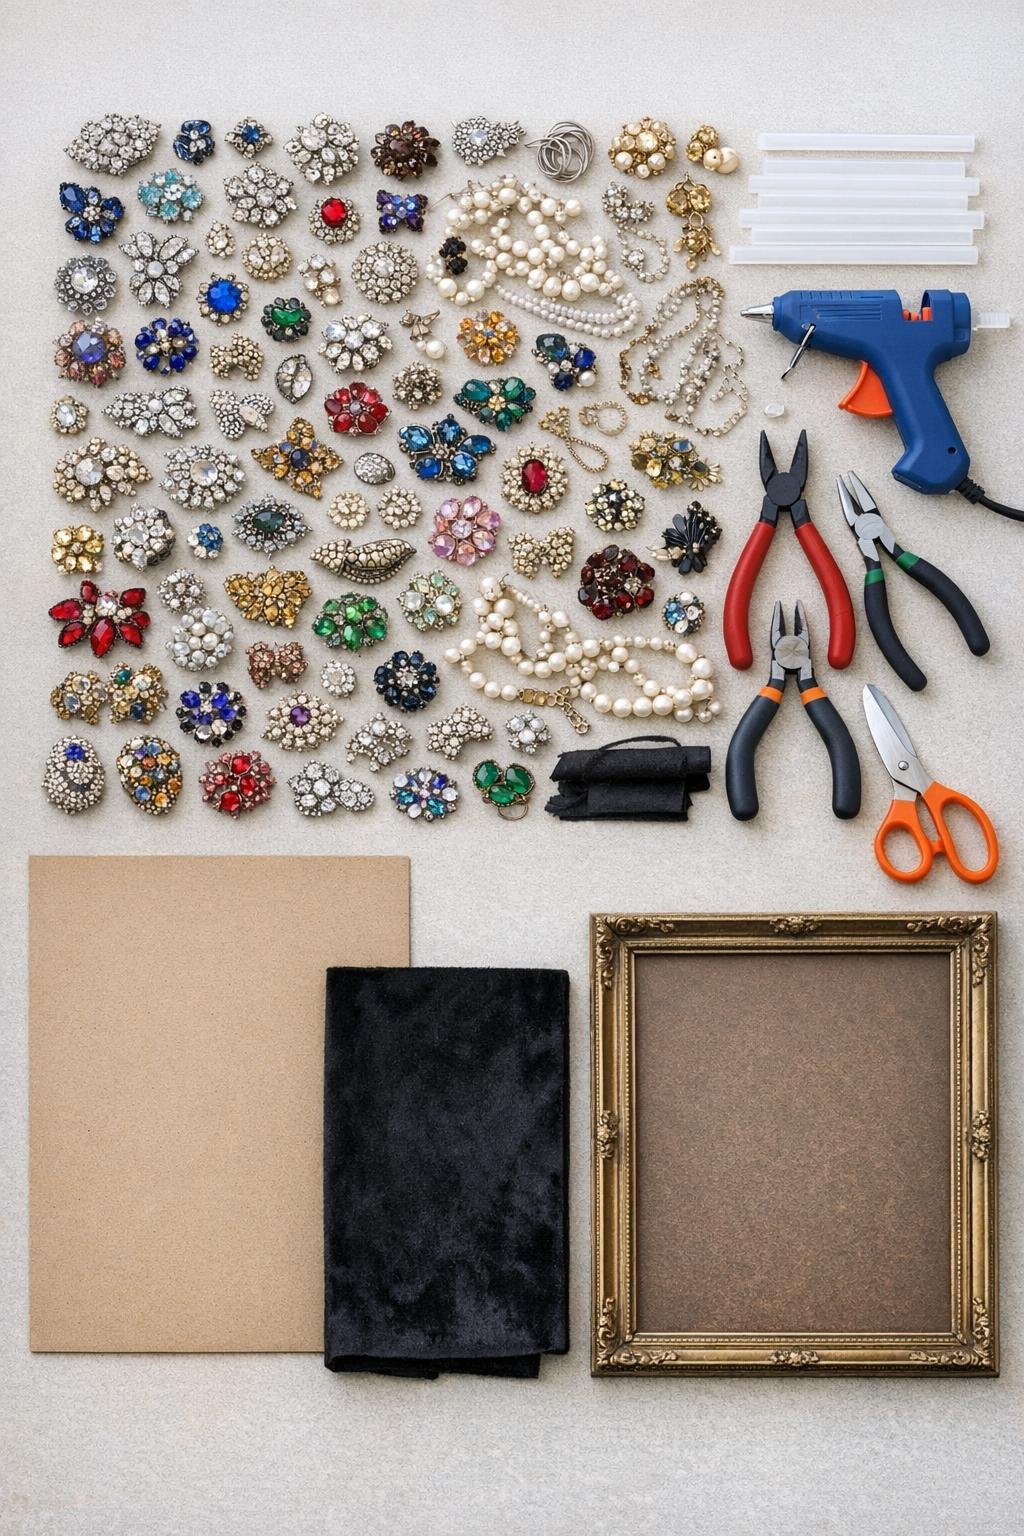
Materials
Instructions
1. Sort your jewelry into groups by size, color, and shape, then set aside your prettiest statement brooch for near the top. If any earrings have bulky backs or broken clips, remove them with pliers so they’ll sit flatter on the board.
2. Cut the cardboard to fit snugly inside your frame if needed, then cut the velvet or felt 2 inches larger on all sides. Center the cardboard on the fabric, wrap the edges around to the back, and glue them down tightly so the front is smooth and dark.
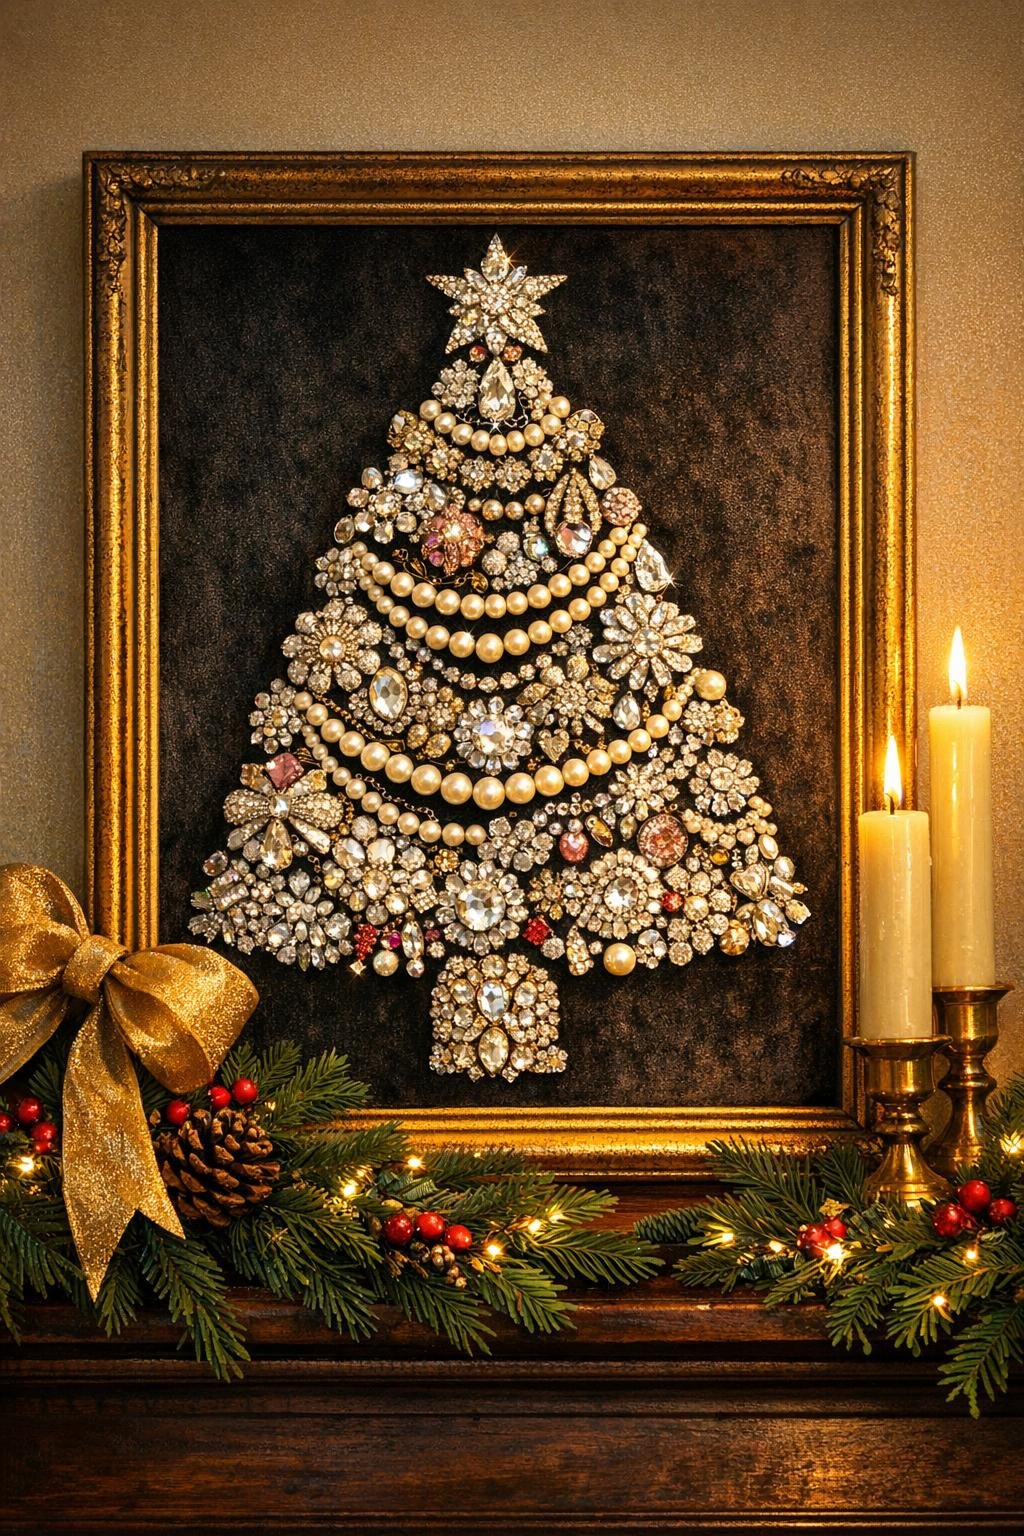
3. Lay the covered board flat and lightly arrange the jewelry into a Christmas tree shape before gluing anything down. Make the tree wide at the bottom, narrow at the top, and keep the edges full so the outline looks generous rather than skinny.
4. Start gluing from the bottom row upward, pressing each larger piece into a fresh dab of hot glue for a few seconds. Place your biggest brooches and chunky necklace sections first to build the main shape and give the tree a strong foundation.
5. Fill the middle section with medium-sized earrings, pins, and clustered beads, overlapping pieces slightly so the board doesn’t peek through. Tuck curved necklace bits and pearl strands between hard edges to soften the lines and create that lush, heirloom look.
6. Build the top section with your most eye-catching pieces, ending with one special brooch or earring cluster at the tip like a tree topper. Keep narrowing the rows as you go so the silhouette stays crisp and unmistakable.
7. Go back and fill every visible gap with the smallest beads, single earrings, rhinestone links, and short snippets of chain. This last layer is what makes the piece look abundant and polished instead of patchy.
8. Let the glue cool completely, then lift the panel and set it into the frame without glass. Secure the backing, fluff any loose strands into place, and wipe away any visible glue strings with your fingers once they’ve cooled.
Variations & Tips
Make it more personal: If you have family pieces that are too sentimental to glue down permanently, use them only in the center or topper area and attach them with a smaller dot of glue so they can be removed later with care.
Choose a background wisely: Dark velvet gives the richest look because it makes rhinestones, gold tones, and pearls stand out beautifully. Black felt works too and is often easier to wrap smoothly.
Use broken pieces creatively: Snipped necklace lengths, loose pearls, and orphan earrings are perfect gap-fillers. I often think those are the parts that make the whole thing sing, because they soften the arrangement and add that collected-over-time feeling.
Keep the tree full: If your outline starts looking sparse, tighten the shape and overlap more instead of stretching pieces apart. A smaller, denser tree always looks more luxurious than a large one with empty spaces.
Try a color story: For a more curated look, use all silver and clear stones, all gold and pearl tones, or even red and green accents mixed through the design. It’s still charmingly old-fashioned, just a little more coordinated.
Display it safely: Since hot glue can soften in very high heat, hang or prop the frame indoors away from direct sun, heater vents, or a fireplace mantle that gets too warm.