
There are a few projects that make people stop in their tracks when they see the finished result, and this is one of them. You start with the humblest little stack of brown paper lunch bags and a bottle of school glue, and somewhere along the way that plain pile turns into something festive, airy, and big enough to make a room feel dressed for winter.
I’m fond of decorations like this because they remind me of the old-fashioned holiday handiwork we used to make from whatever we had on hand at home. No fancy tools, no expensive supplies, just a bit of patience and a good pair of scissors. If you want a holiday craft that’s inexpensive, satisfying, and easy enough to make at the kitchen table, this one is a real joy.
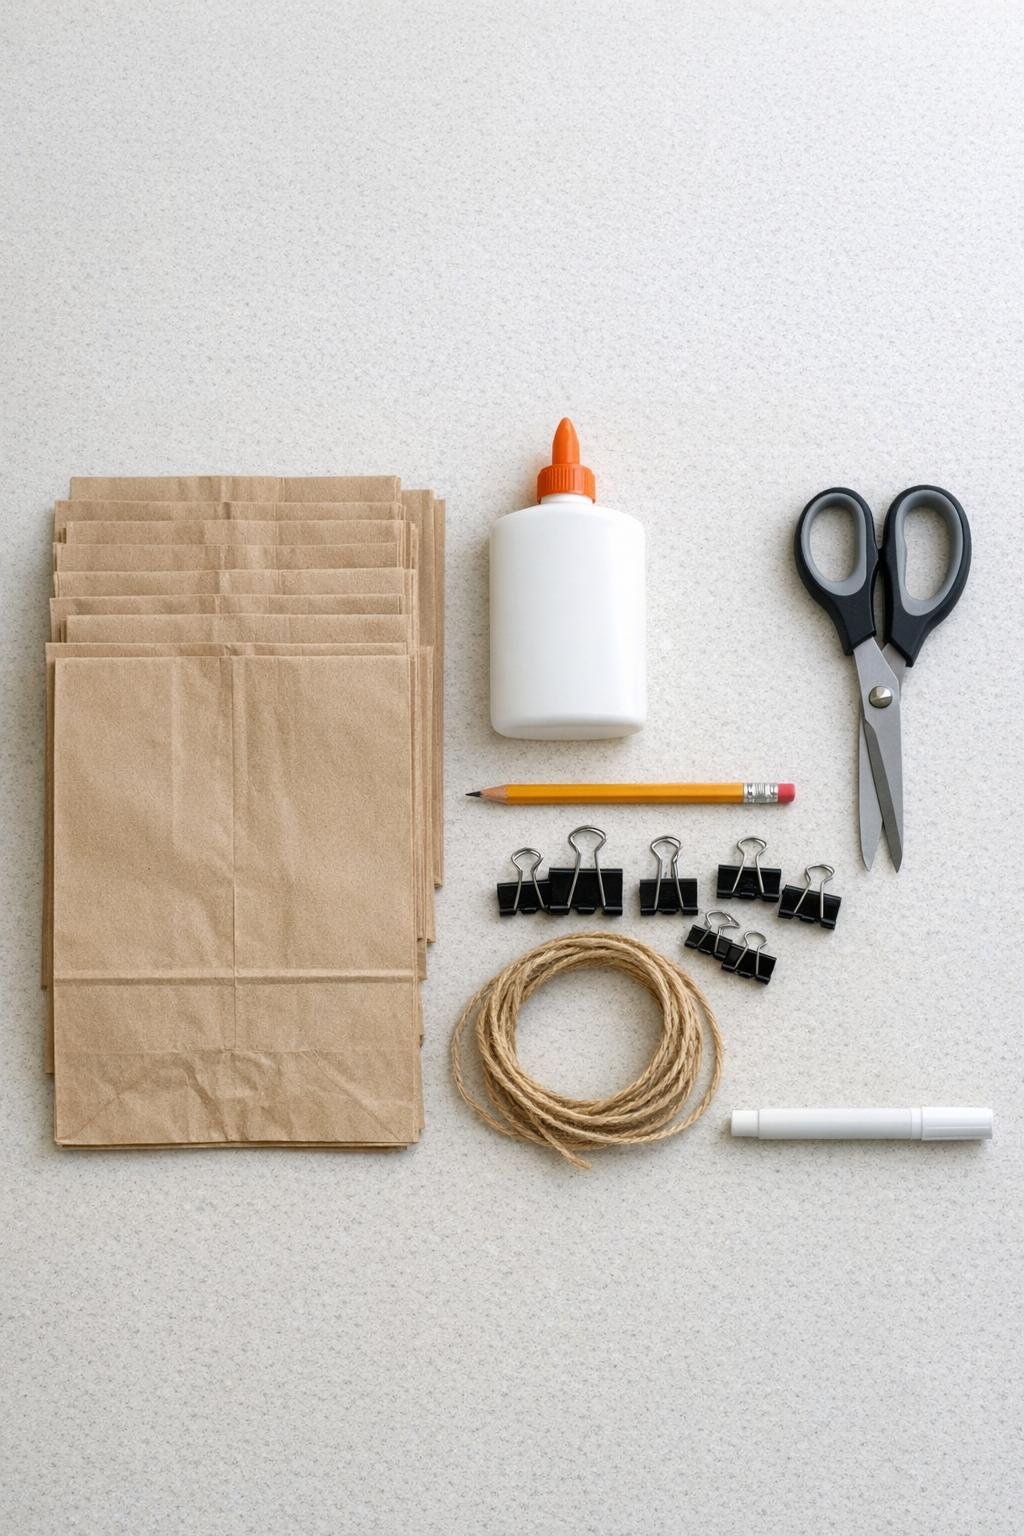
Materials
12 brown paper lunch bags, standard size 5 x 3 x 10 inches
Instructions
1. Flatten all 12 paper bags neatly and line them up so every bag faces the same direction, with the flap side down and the open ends all at the top.
2. Draw one straight line of glue from the bottom center of one bag up toward the opening, then add a line of glue across the entire bottom edge to make a tall T shape.
3. Place a second bag directly on top, matching all edges as closely as you can, and press it flat with your hands so the glue grabs evenly.
4. Repeat the same glue pattern and stacking method until all 12 bags are glued into one tidy stack, then clip the sides with clothespins or binder clips and let it sit for 10 to 15 minutes.
5. Fold the whole stack in half lengthwise just enough to find the center at the top, and lightly mark your cutting guide with pencil so both sides stay balanced.
6. Cut the top of the stack into a pointed, rounded, or scalloped shape, then snip small triangles, half-moons, or narrow wedges from both side edges to create the decorative pattern.
7. Punch or snip a small hole near the top center of one outer bag, thread through a 12-inch loop of twine or ribbon, and knot it securely for hanging.
8. Run a thin line of glue down the outer face of the top bag in the same tall center line, adding glue across the bottom edge again so the final seam will match the others.
9. Open the stack slowly like a fan until the first and last bags meet to form a full round snowflake, then press those two outer bags together and clip the seam until dry.
10. Once the seam is dry, remove the clips and fluff the layers gently with your fingers so the cut edges separate and the design looks full and even.
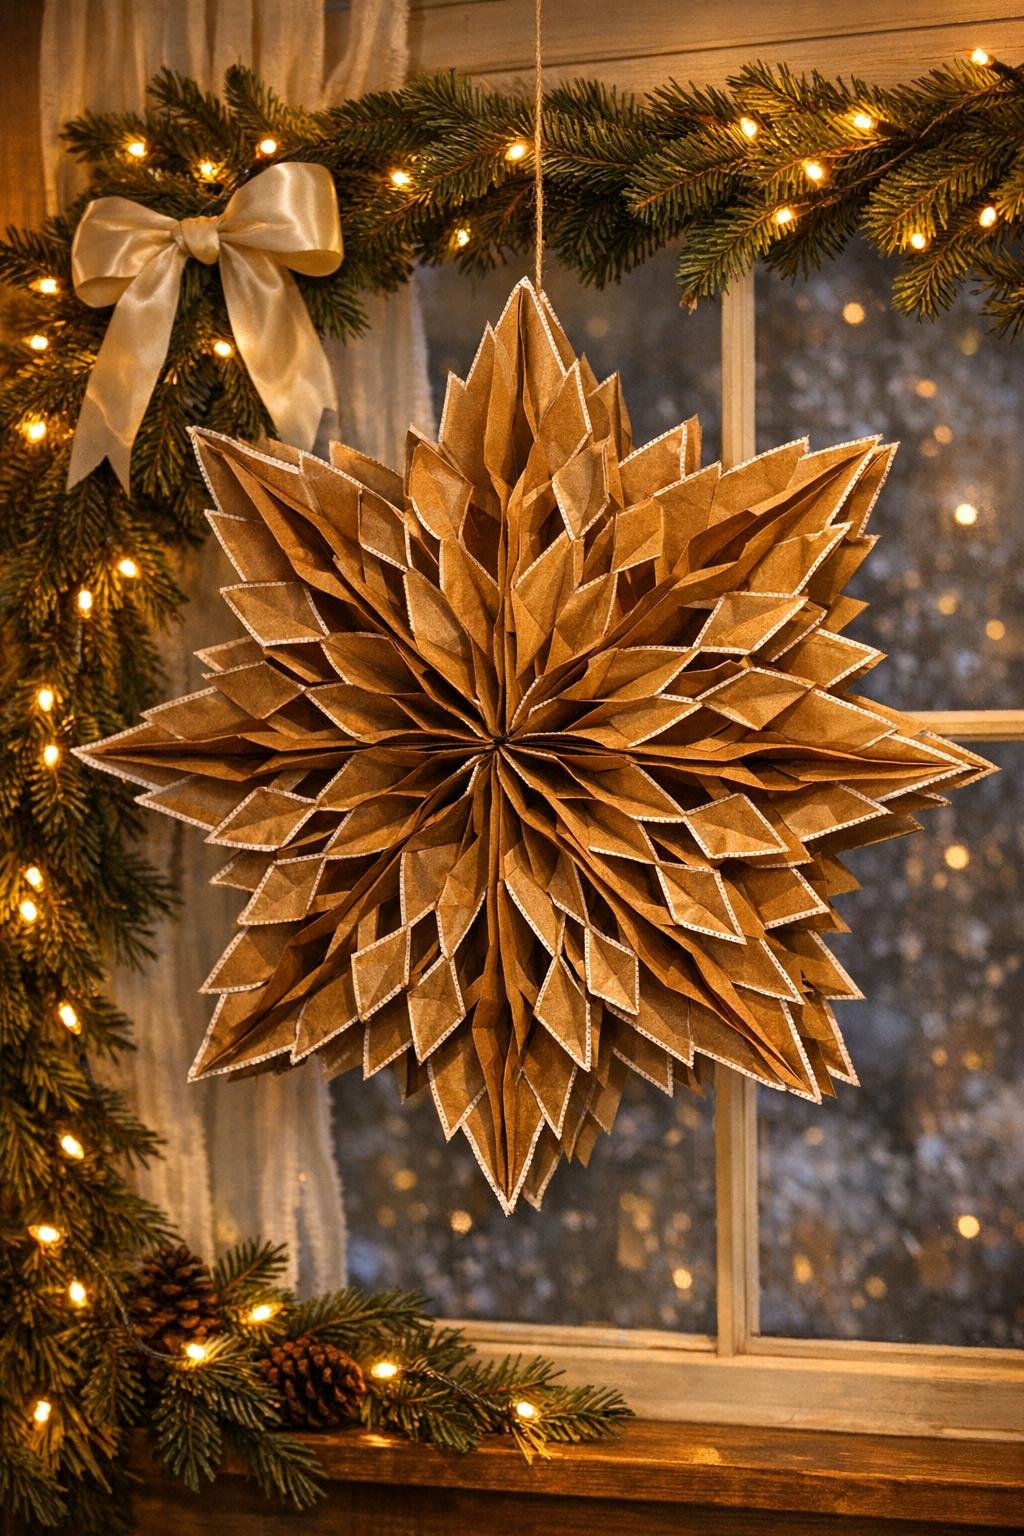
11. If you want a frosty finish, trace the cut edges lightly with a white paint pen or mist just the outer edges with spray snow, then let it dry completely.
12. Hang the finished piece where it can open fully and catch the light, adjusting the points and openings until the shape looks generous and symmetrical.
Variations & Tips
Try a sharper look: Cut deep narrow V-shapes and pointed tops if you want a crisp, starry snowflake with more drama.
Go softer and lacy: Use rounded cuts, little half-circles, and shallow side notches for a fuller, gentler pattern that feels old-fashioned and delicate.
Keep the stack straight: If the bags slide while you work, add clips to both sides after every few bags; that little step saves a lot of fuss later.
Use less glue than you think: A thin line holds better than big blobs, and it dries faster without making the paper buckle.
Make a bigger display: Hang three finished snowflakes at different heights in a window or over a dining table for a really beautiful winter arrangement.
Choose twine for rustic charm: Natural twine keeps the farmhouse look of the brown paper, while white ribbon makes the whole piece feel a touch dressier.
Store it flat: If you carefully open the final seam instead of tearing it, you can stack the snowflake flat between sheets of tissue paper and make it again next winter with very little trouble.