
I keep a box of Epsom salt on a shelf in my laundry room, and honestly, it pulls double duty in my house more than almost anything else. In the garden, it’s one of those simple, inexpensive helpers that can make a visible difference fast because magnesium sulfate gives plants two nutrients many standard fertilizers don’t provide in big enough amounts: magnesium for chlorophyll production and sulfur for healthy growth.
Over the years, I’ve used it on everything from sad tomatoes to tired houseplants, and I’ve learned that the trick is using the right amount in the right place instead of treating it like a cure-all. Here are 20 practical ways I use Epsom salt in my yard and home garden, with exact amounts, timing, and a few cautions so you can get the benefits without overdoing it.
1. Produce abundant nightshades
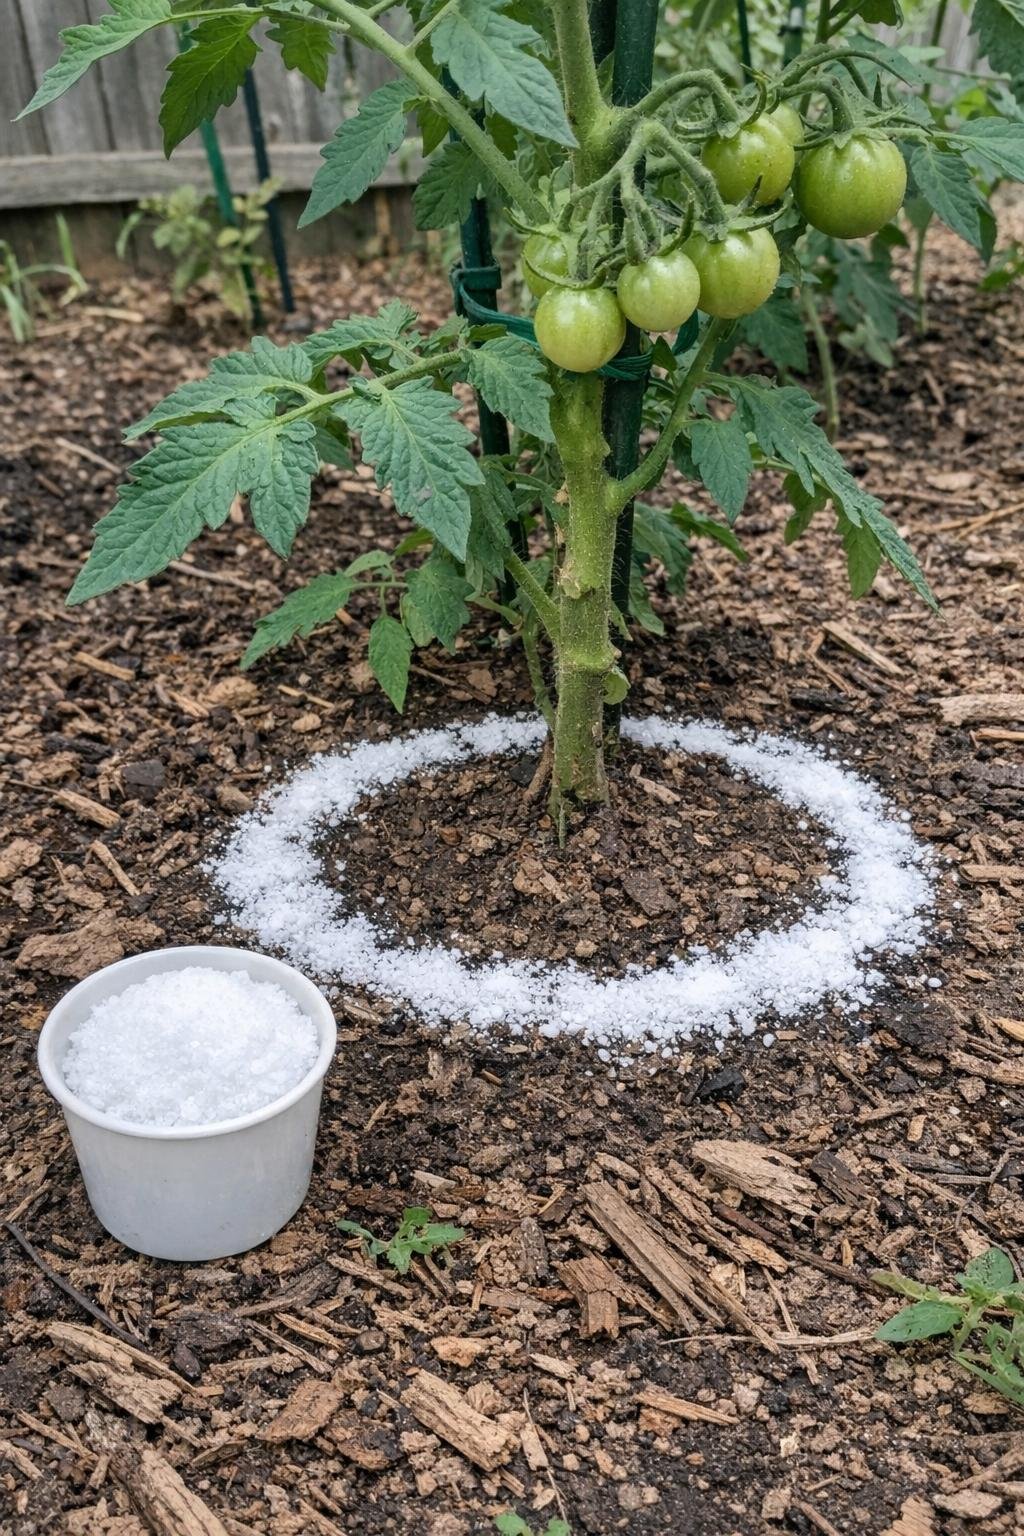
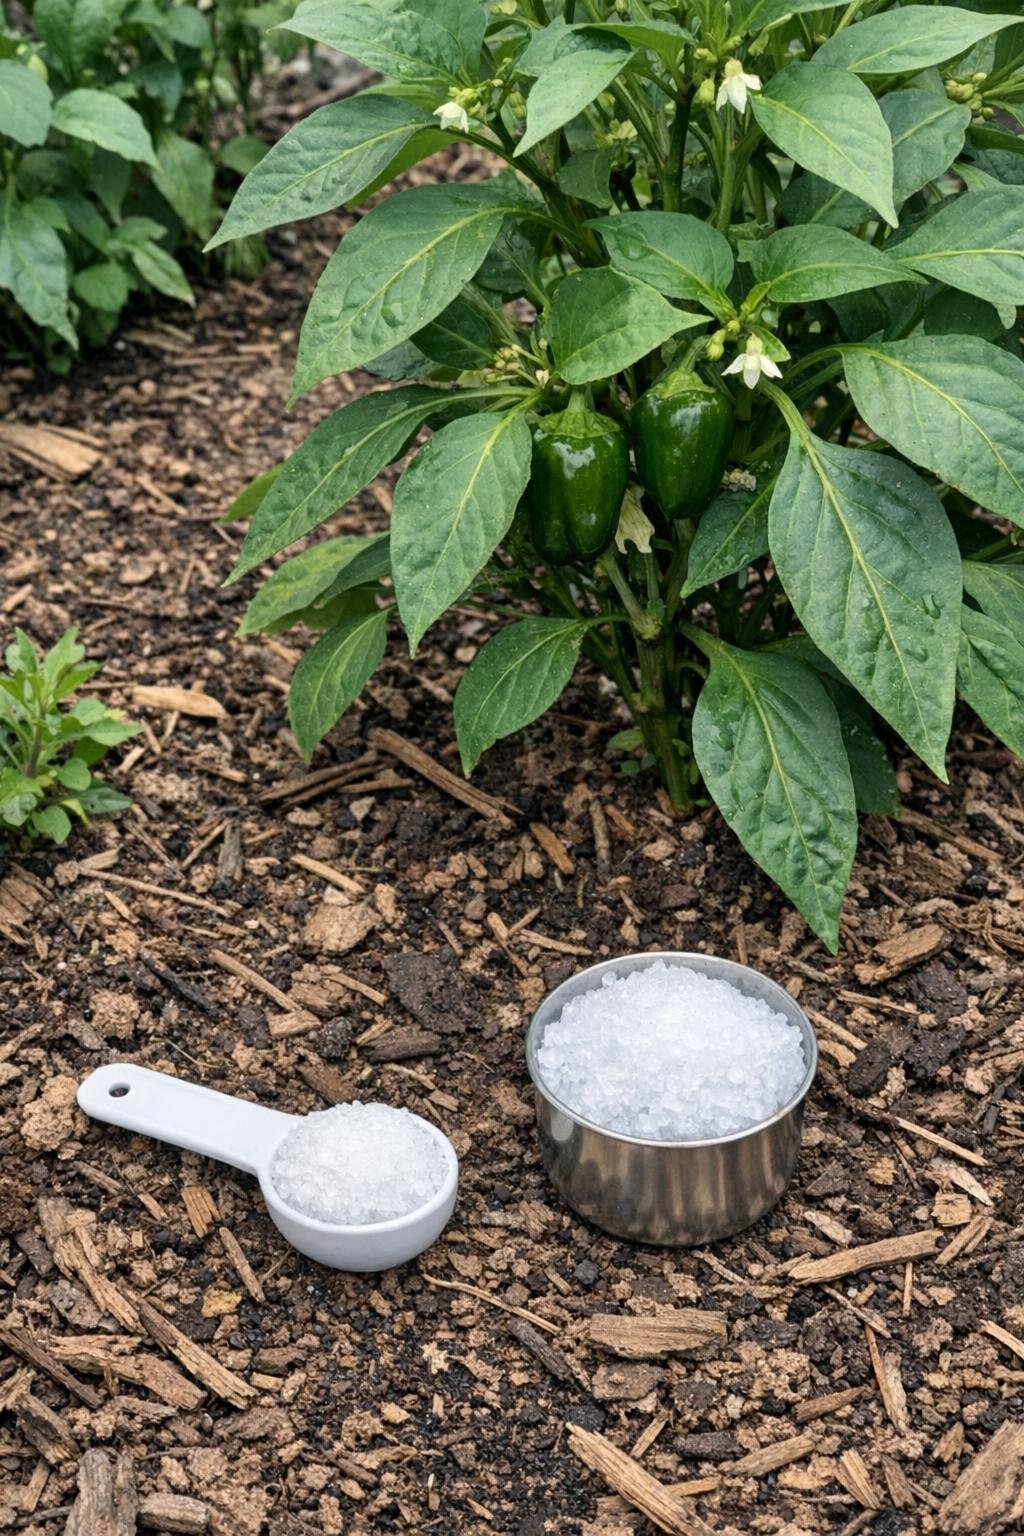
Tomatoes and peppers are where I notice the biggest payoff. I sprinkle 1 tablespoon of Epsom salt around each plant every two weeks, keeping it about 3 to 4 inches away from the stem, then water it in well. I start once the plants are established and continue through peak fruiting, especially on container-grown plants that burn through nutrients quickly.
Magnesium helps the plants photosynthesize more efficiently, which usually means deeper green leaves, steadier growth, and better fruit set. I still use a balanced tomato fertilizer too, because Epsom salt is a supplement, not a complete feed.
2. Nix garden pests
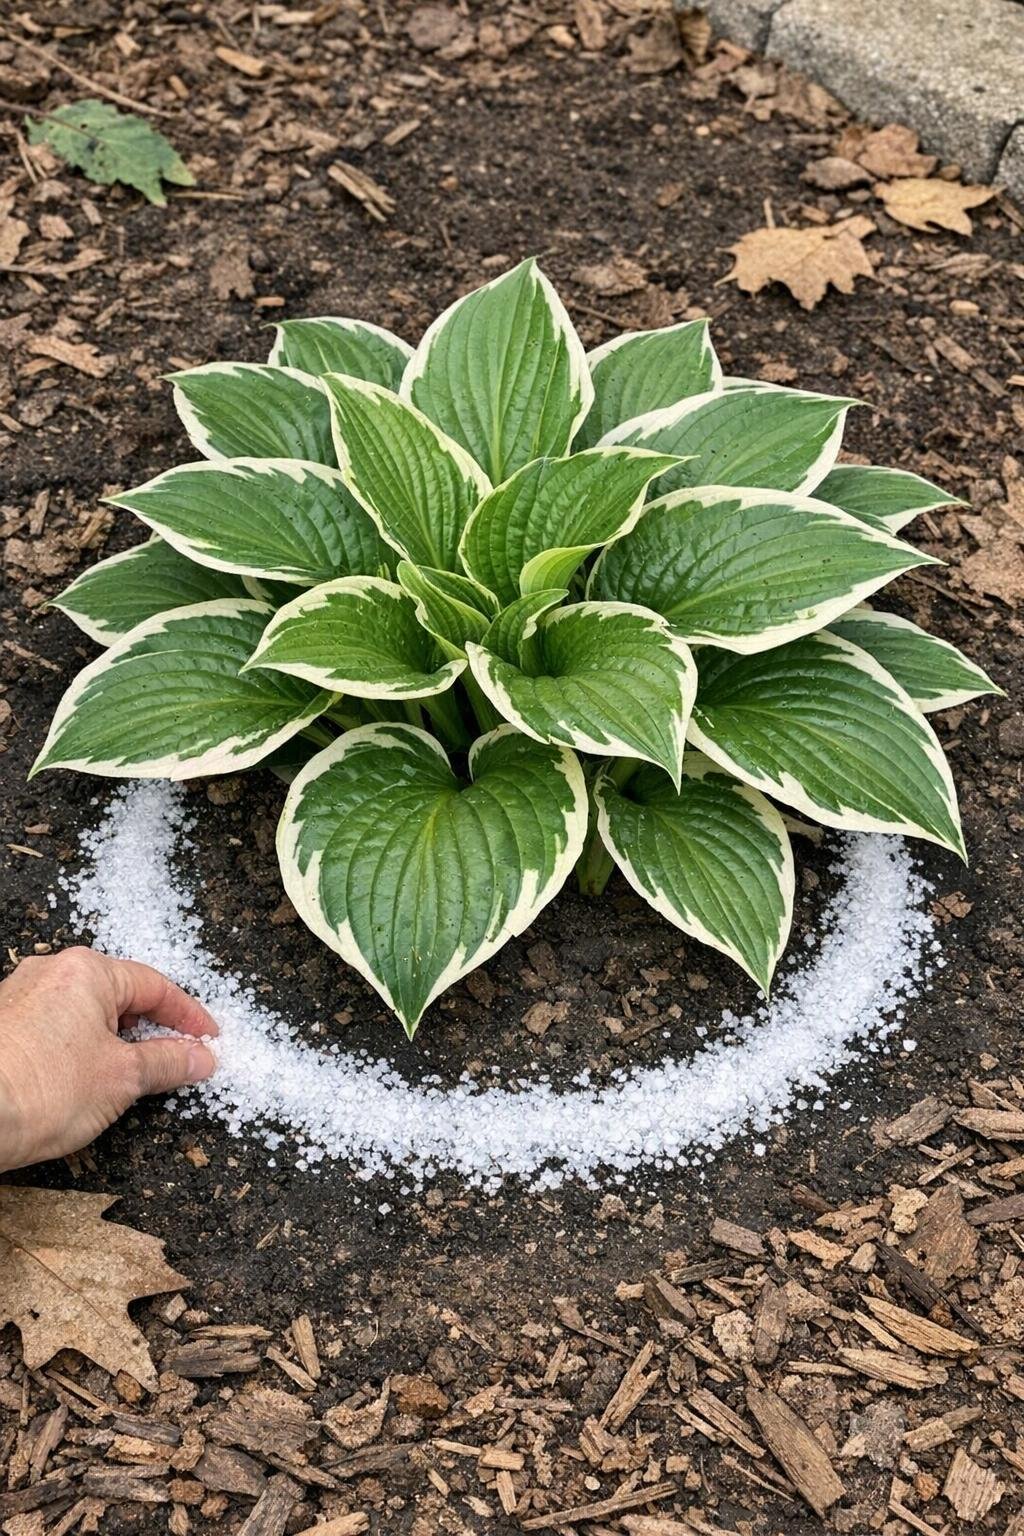
For slugs and snails, I use a dry ring of Epsom salt around the plants they love most, like hostas, lettuce, and young marigolds. Make the ring about 1 inch wide and complete all the way around the plant or the edge of a pot, and reapply after rain or heavy watering because moisture breaks it down.
The crystals can irritate soft-bodied pests enough to discourage them, especially overnight when they’re most active. I only use this in targeted spots rather than all over the bed, and I avoid piling it directly against plant crowns.
3. Make fruit sweeter
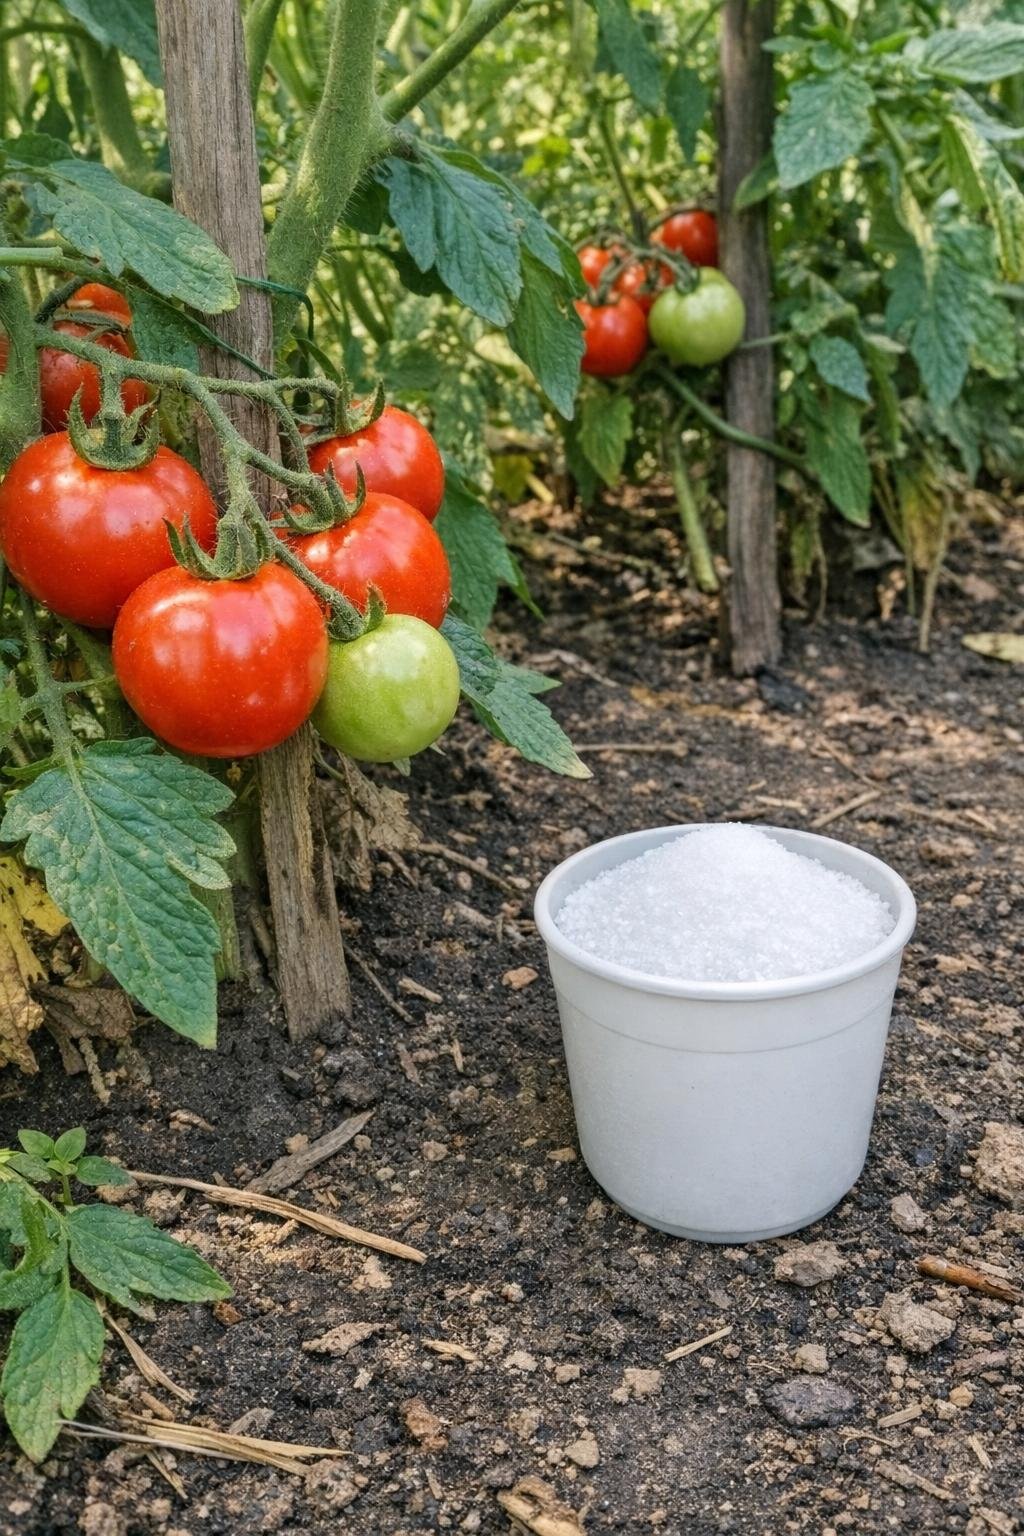
When plants have enough magnesium, they make chlorophyll more effectively, and more chlorophyll means stronger photosynthesis and more sugar production in the fruit. I’ve seen this most noticeably in tomatoes, peppers, and even some melons when the plants were otherwise healthy but a little pale midseason.
This isn’t instant, but regular measured use can improve flavor over several weeks. I stick to a light feeding schedule, such as 1 tablespoon around each fruiting plant every two weeks, because too much can throw off calcium uptake and cause other problems.
4. Stop transplant shock
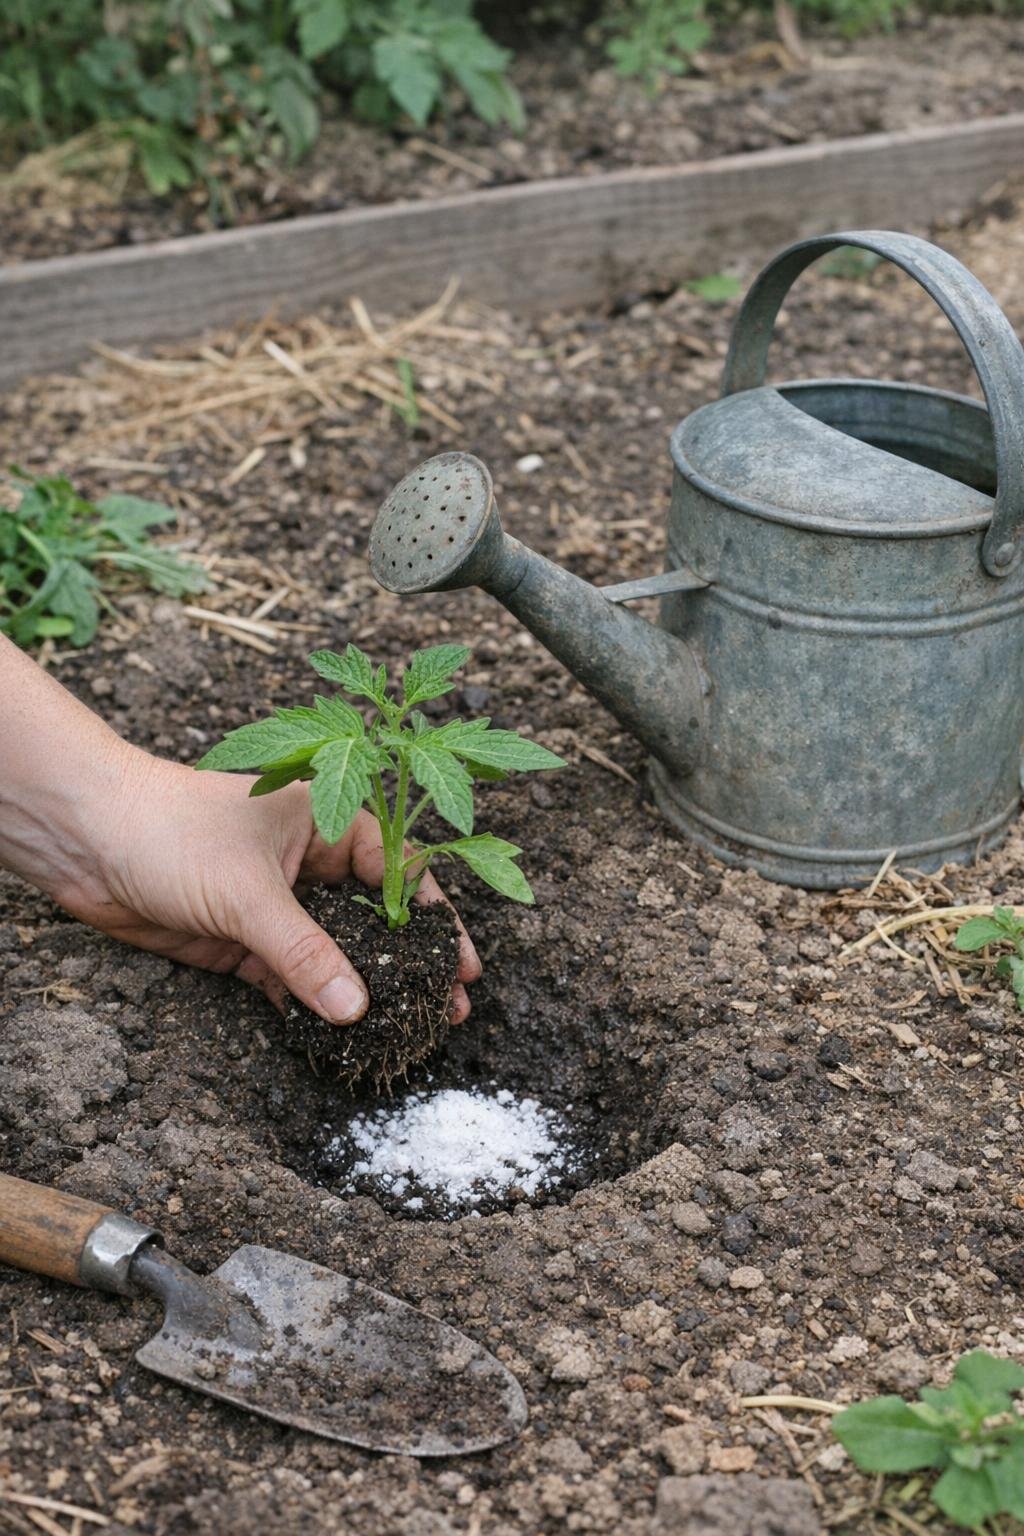
When I’m moving tomatoes, peppers, annuals, or vegetable starts into the garden, I add 1 tablespoon of Epsom salt into the planting hole, mix it lightly with the surrounding soil, set the plant in place, and then water thoroughly. That watering step matters because it helps dissolve the magnesium sulfate into the root zone right away.
This can ease the transition and support quick root recovery, especially during warm spring weather when transplants tend to sulk for a few days. I never let the crystals sit directly against bare roots in a concentrated pocket; mixing it in first is the safer approach.
5. Keep leaves green
If a shrub or vegetable is showing yellowing leaves and you suspect magnesium deficiency, I use 1 tablespoon of Epsom salt per foot of plant height once a month. For a 2-foot pepper plant, that’s 2 tablespoons; for a 4-foot tomato, 4 tablespoons. I scatter it around the drip area, not against the stem, and water deeply afterward.
This is one of those old-school fixes that can work beautifully when yellowing is actually tied to low magnesium. If the leaves keep yellowing after one or two monthly applications, I test the soil or look for another cause like overwatering, nitrogen deficiency, or root stress.
6. Annihilate pesky weeds
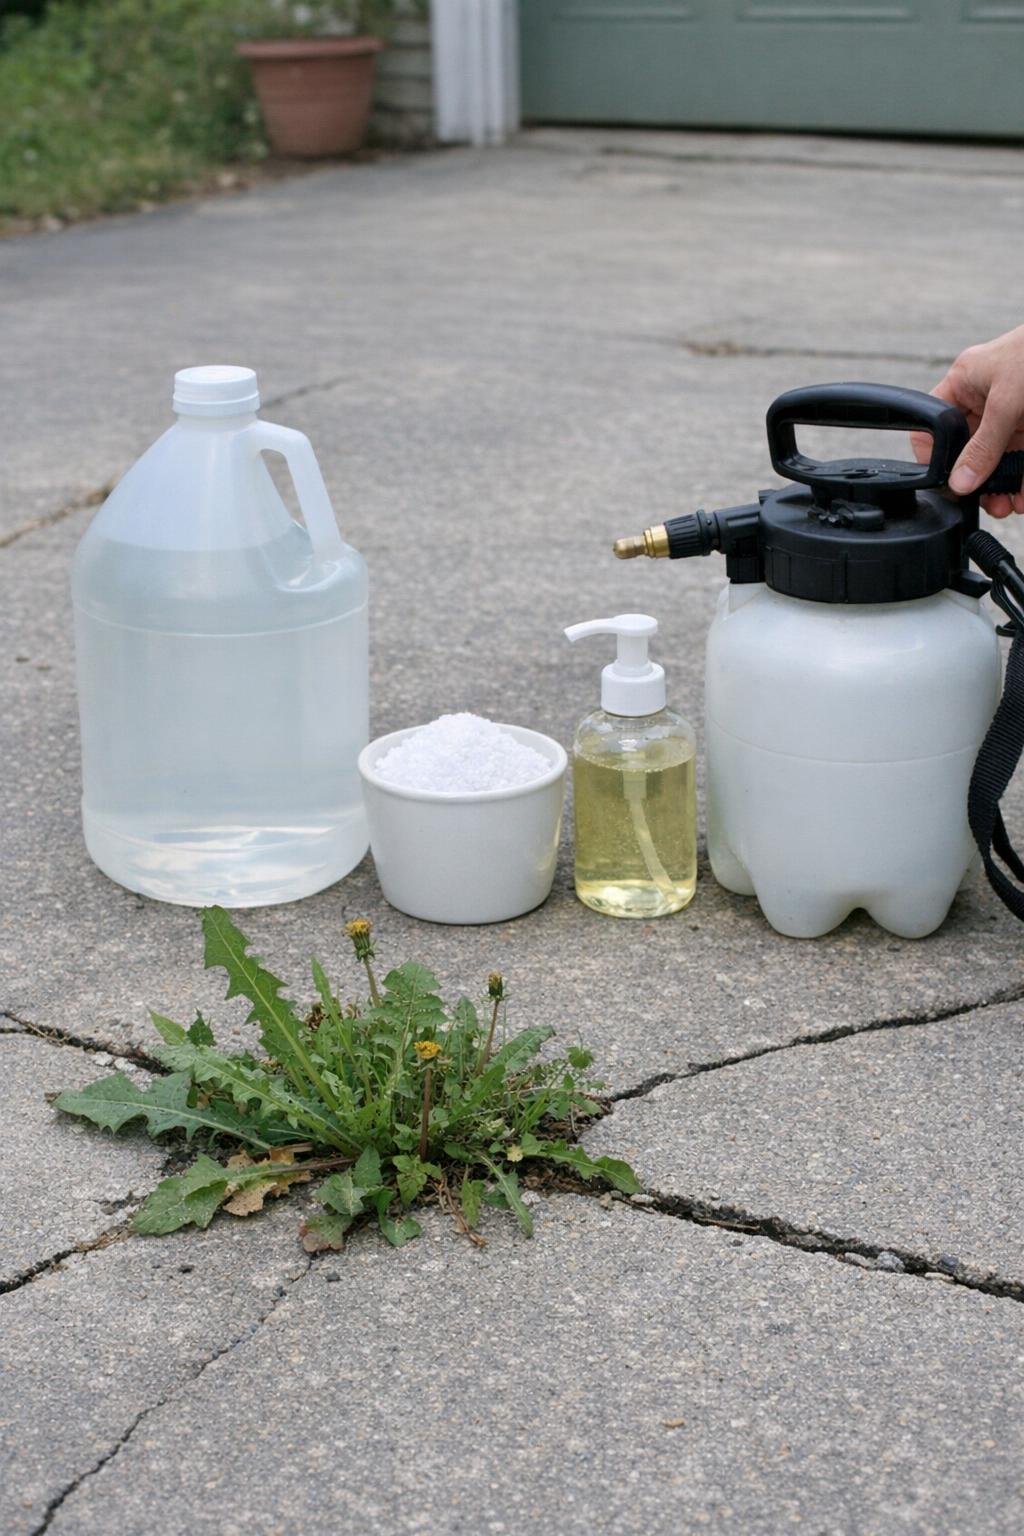
For cracks in the driveway or weedy spots I’m clearing by hand, I mix 2 cups of Epsom salt with 1 gallon of white vinegar and add a small squirt, about 1 teaspoon, of dish soap. I shake it well in a garden sprayer and spray the leaves on a dry, sunny day when no rain is expected for at least 24 hours.
This is a nonselective spray, so I’m very careful to keep it off grass, flowers, and vegetables I want to keep. It works best on young weeds and top growth, and I usually need a second application 5 to 7 days later for stubborn patches.
7. Lush lawn fertilizer
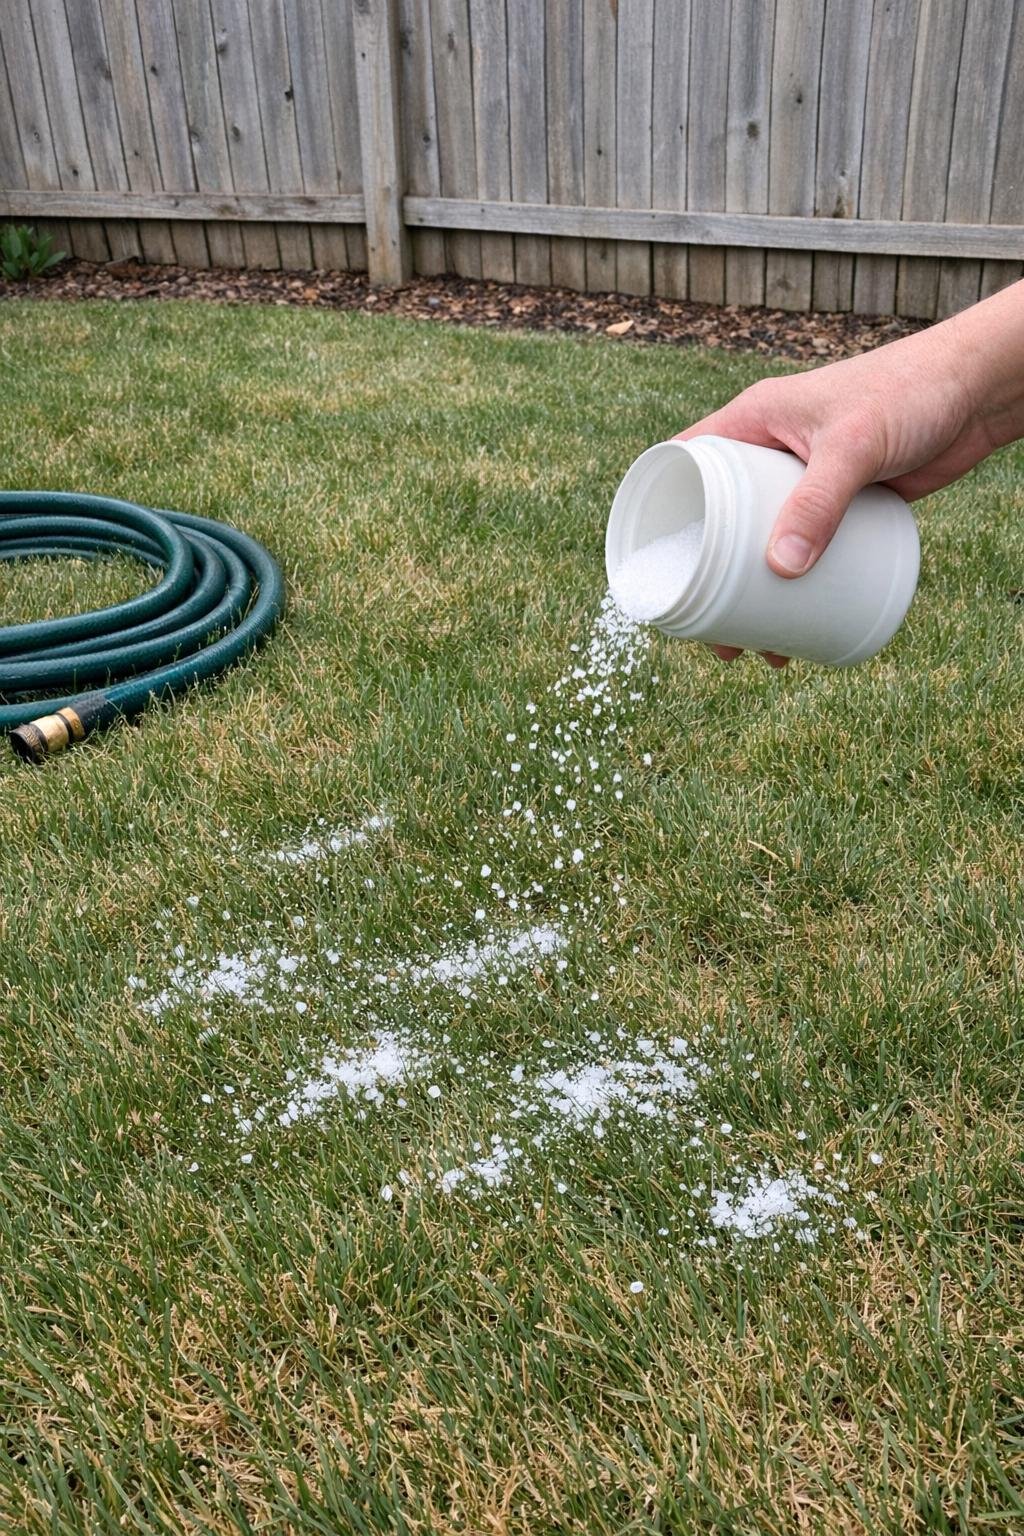
When my lawn looks a little tired but not truly in need of a full fertilizer treatment, I spread 3 pounds of Epsom salt per 1,250 square feet. For a small 625-square-foot patch, I cut that in half to 1.5 pounds. After spreading, I water the lawn deeply so the granules dissolve into the root zone.
I do this during active growth in spring or early fall, not in the heat of a drought-stressed summer. It can deepen color when magnesium is lacking, but I don’t use it as my only lawn feeding plan because turf still needs nitrogen and other nutrients too.
8. Tree stump remover
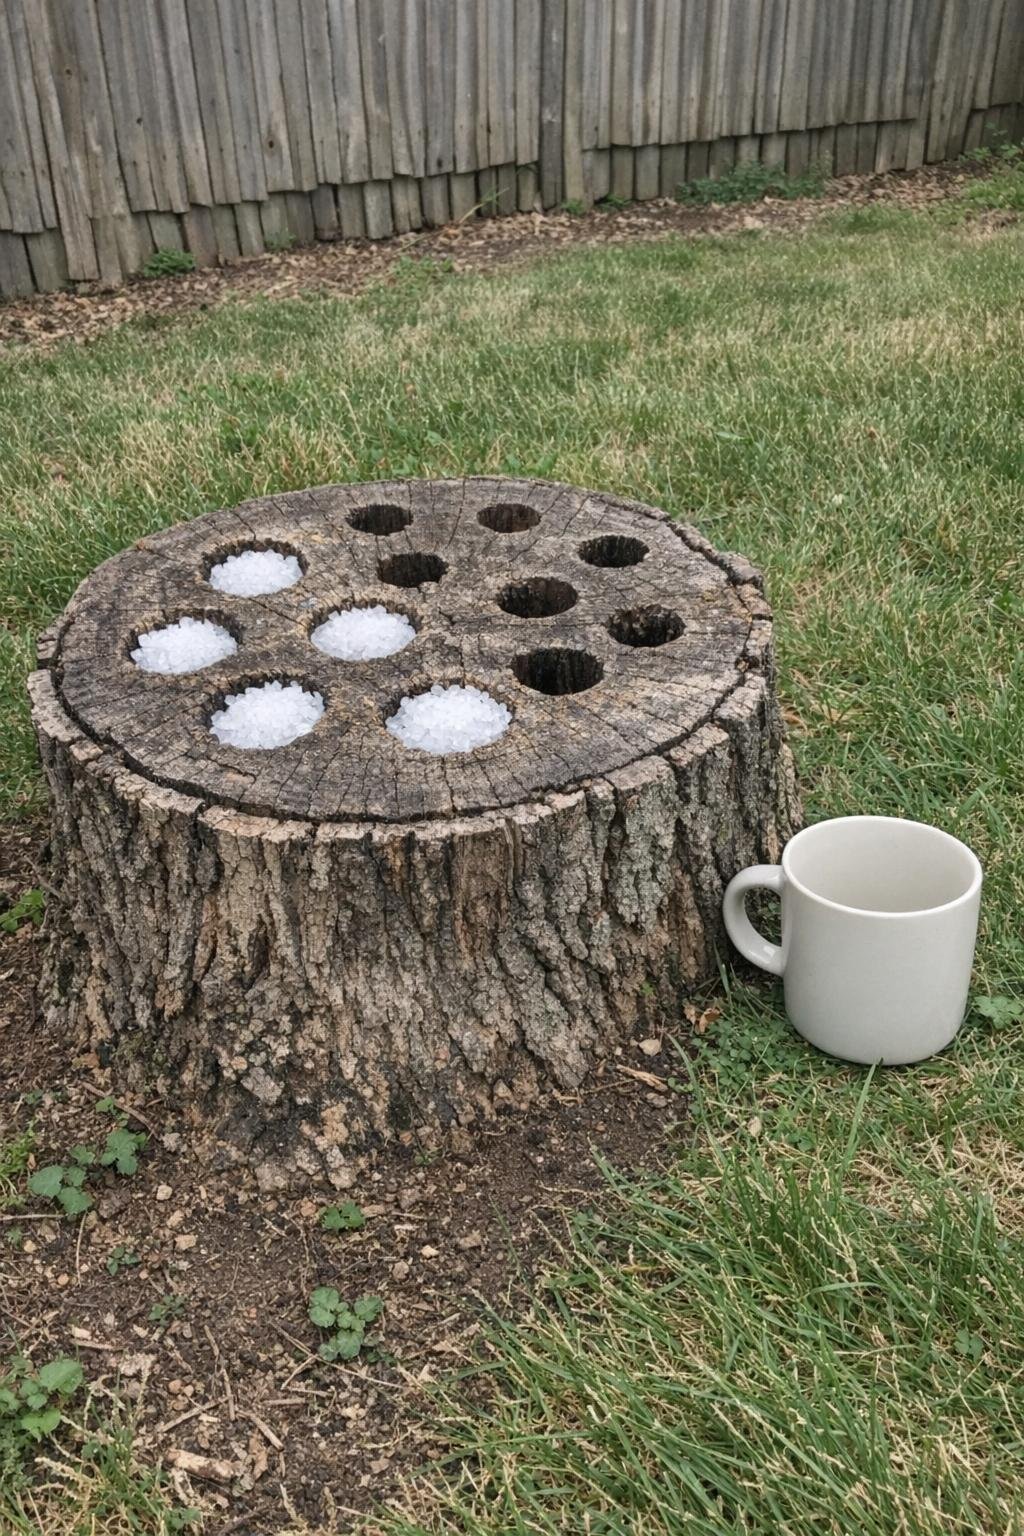
I’ve used Epsom salt to help dry out old stumps that were too awkward to grind right away. Drill several holes 8 to 10 inches deep and about 1/2 inch wide across the top of the stump, plus a few angled holes around the sides. Fill each hole with Epsom salt, add a little water to moisten it, then cover the stump with a tarp to keep rain from washing it out.
After a few weeks, sometimes 4 to 8 depending on stump size, the wood starts to dry and soften, making it easier to break apart or burn where local rules allow. This is a slow method, but for an old stump tucked behind a shed, slow can still be worth it.
9. Beautiful blooming roses
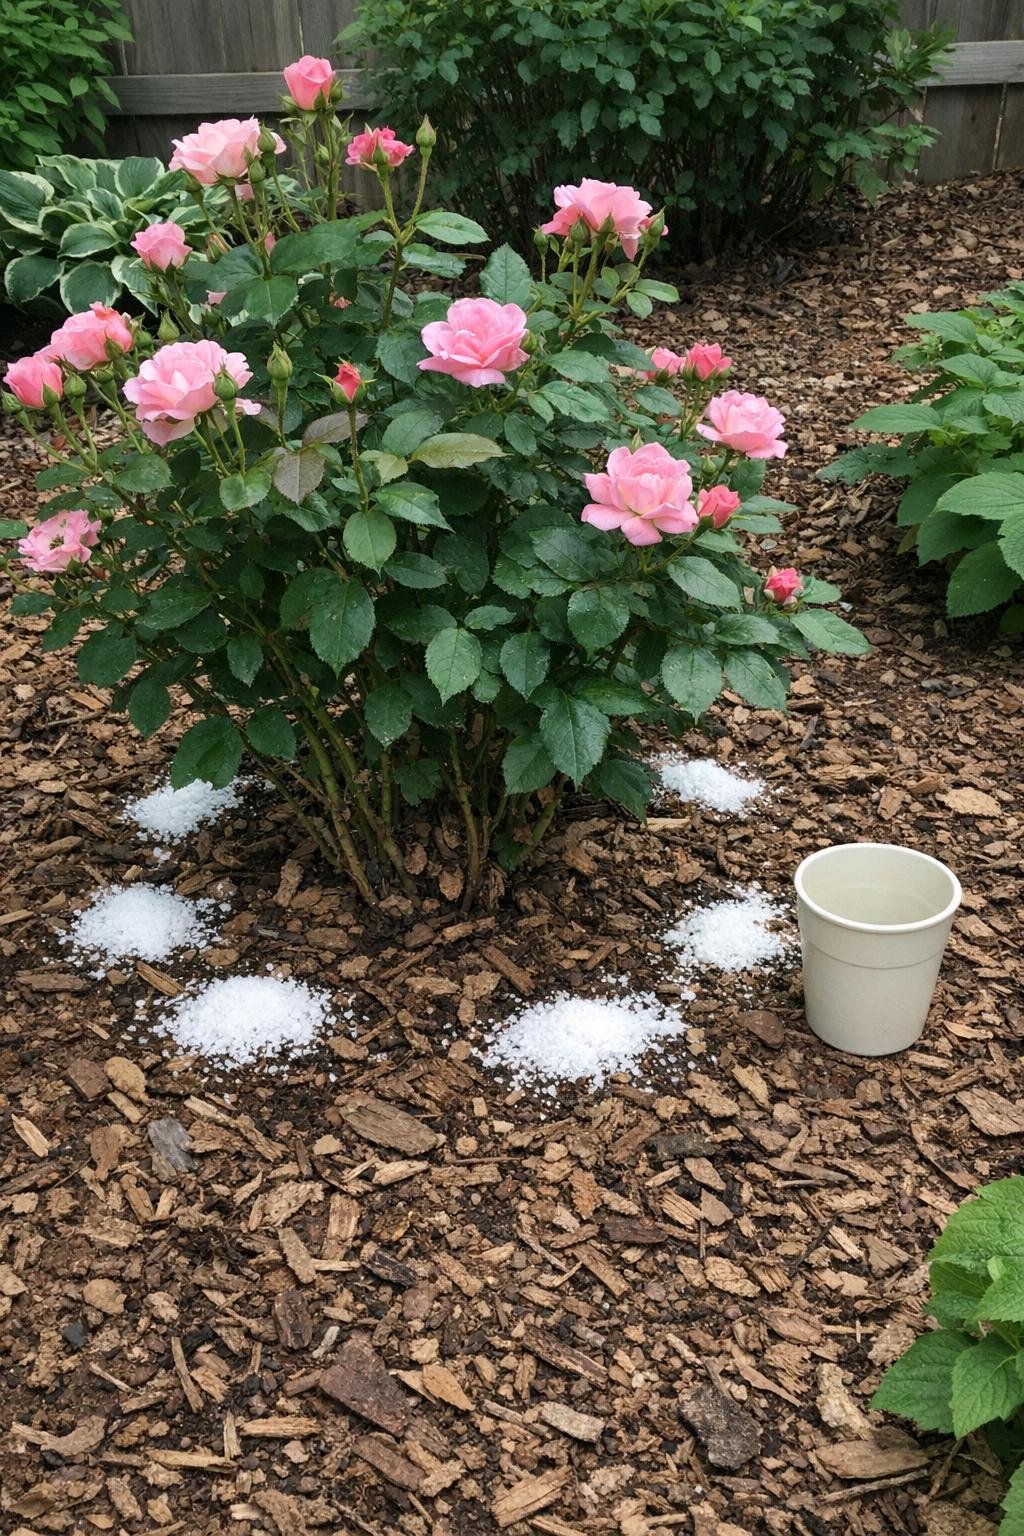
Roses respond beautifully to magnesium in my yard. At planting time, I mix 1 tablespoon of Epsom salt into the planting hole soil, then once blooming begins I side-dress established bushes with 1/2 cup around the drip line and water deeply. I repeat during the main bloom cycle if the plants still look vigorous.
I tend to get stronger canes, richer leaf color, and fuller flowers when the bush needed the boost. As with all rose care, I pair this with compost, mulch, and proper pruning rather than relying on one ingredient to do everything.
10. Splinter removal
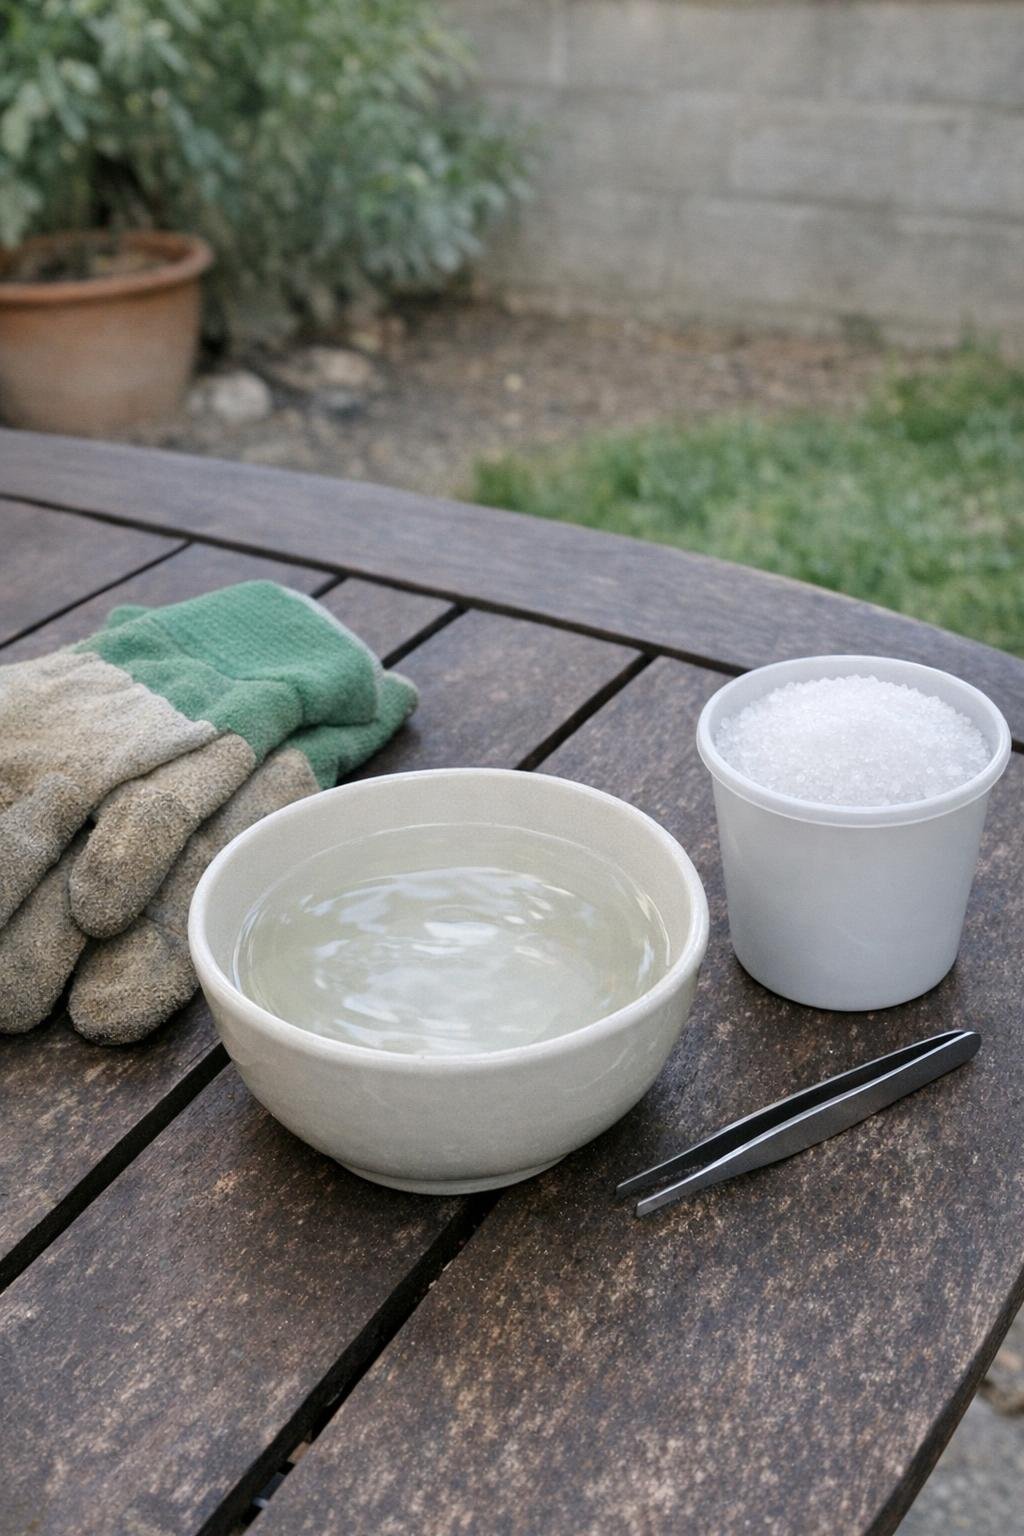
This one isn’t for plants, but it absolutely earns its keep. I dissolve 2 tablespoons of Epsom salt in 1 cup of warm water and soak the splintered area for 10 to 15 minutes. The solution can help draw out the splinter and soften the skin enough that removal is easier with clean tweezers.
I’ve done this after those classic backyard gardening mishaps with rough raised beds and old tomato stakes. If the area is deeply punctured, very painful, or starts looking infected, I skip the DIY approach and get it checked out.
11. A monthly houseplant tonic
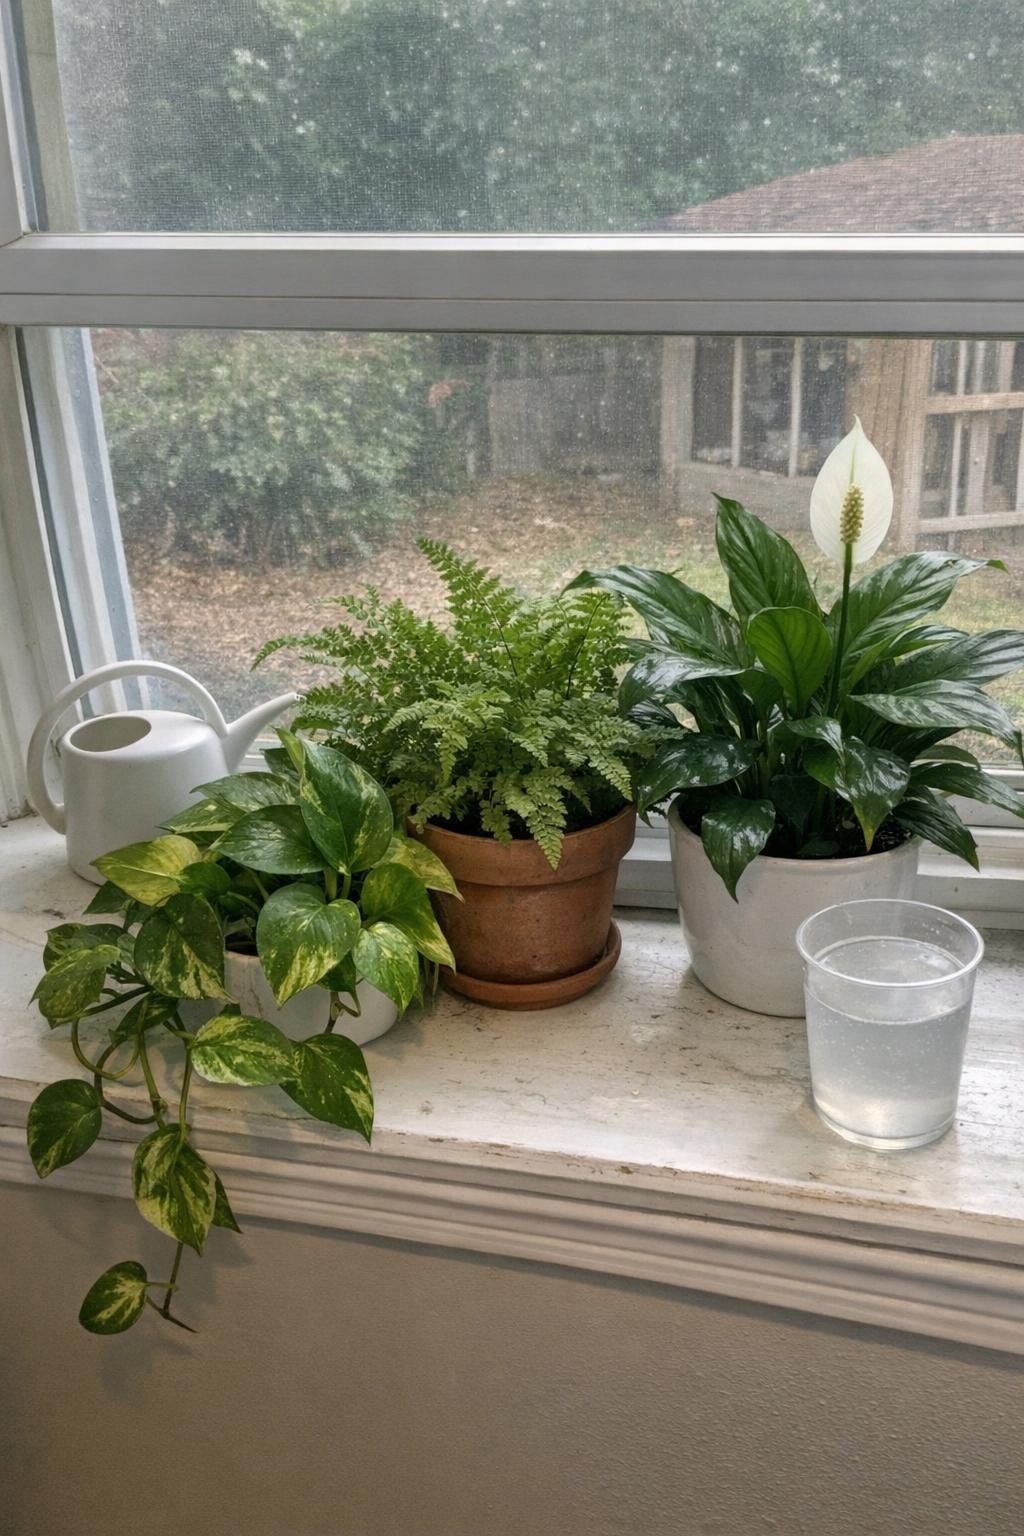
For magnesium-loving houseplants like pothos, ferns, and peace lilies, I mix 1 teaspoon of Epsom salt per quart of water and use it once a month in place of a regular watering. I apply enough to moisten the root ball and let any extra drain away completely so the roots don’t sit soggy.
This is especially helpful in late winter when indoor plants can look pale and tired from low light. I always test it on one plant first and avoid using it every week, because indoor plants need a light hand more than a heavy feed.
12. Seed-starting soak
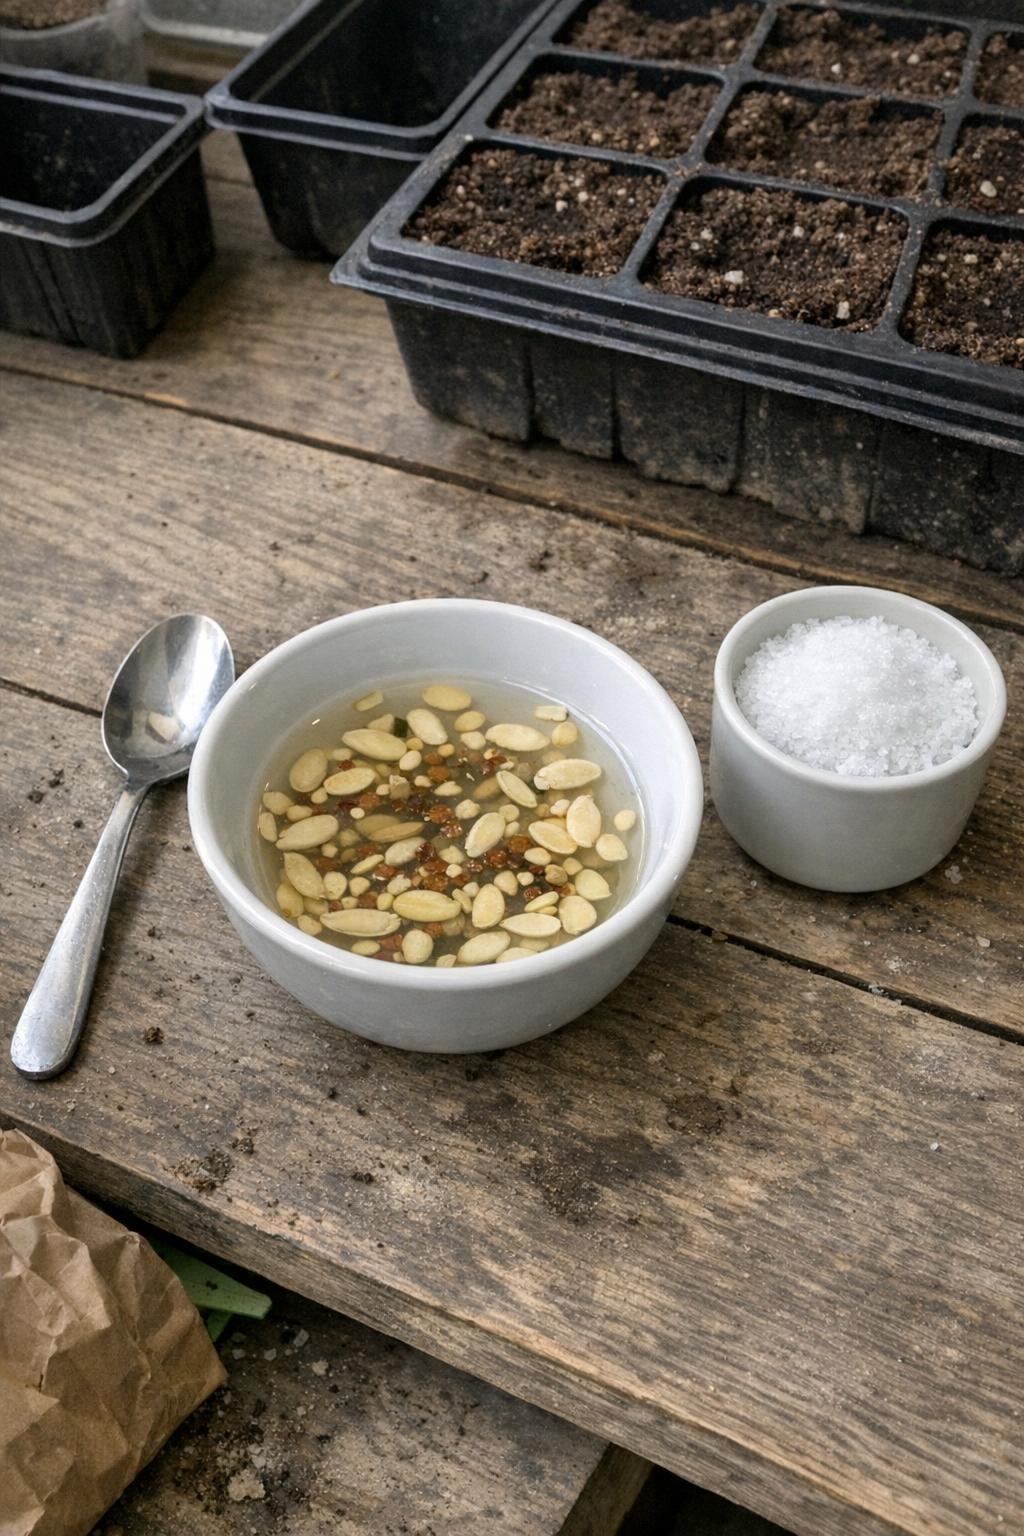
Before sowing larger seeds like beans, peas, cucumbers, or squash, I sometimes soak them in a solution of 1 tablespoon of Epsom salt per gallon of water for 4 to 6 hours. It’s a gentle pre-soak that can help encourage faster, more even sprouting, especially when I’m trying to get summer crops moving quickly.
I don’t leave seeds in overnight because over-soaking can reduce oxygen and make them mushy. After soaking, I plant them right away in moist seed-starting mix about the proper depth for the seed size.
13. Bigger cucumbers, squash and melons
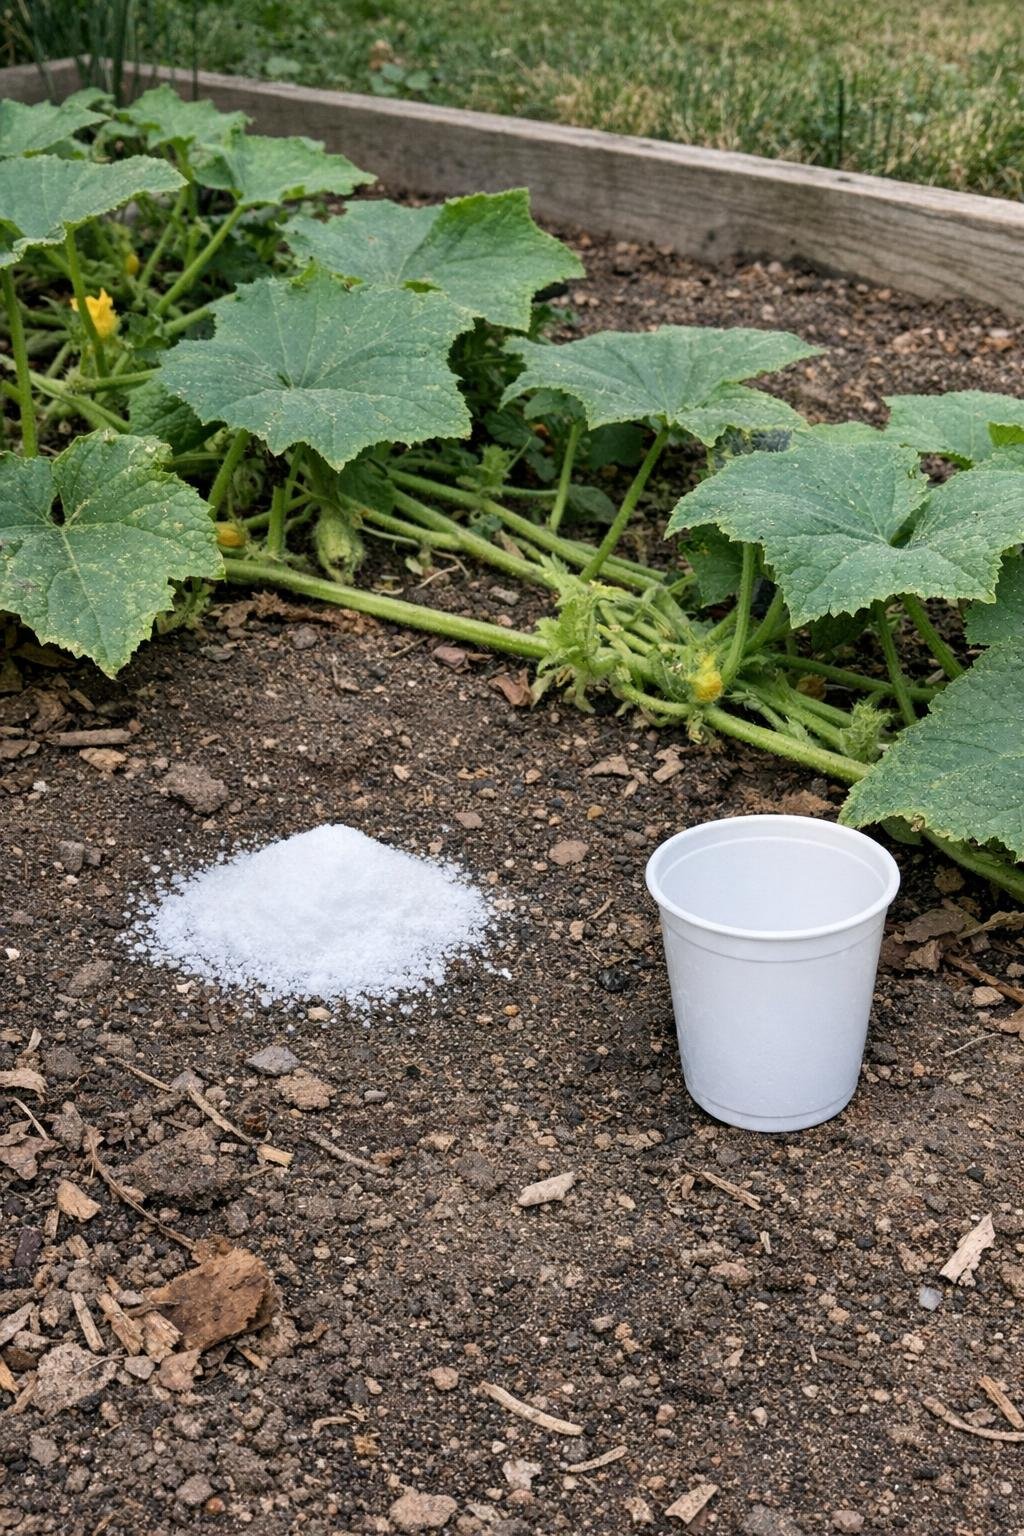
Once cucumbers, squash, and melon vines start to run, I side-dress each plant with 1 tablespoon of Epsom salt and lightly scratch it into the soil 6 inches away from the crown. Then I water thoroughly so it moves into the root zone instead of just sitting on dry soil.
That timing matters because these plants shift into fast vegetative growth and heavy fruit production all at once. I usually repeat once more 2 to 3 weeks later if the vines are healthy and actively setting fruit.
14. Greener azaleas, rhododendrons and hydrangeas
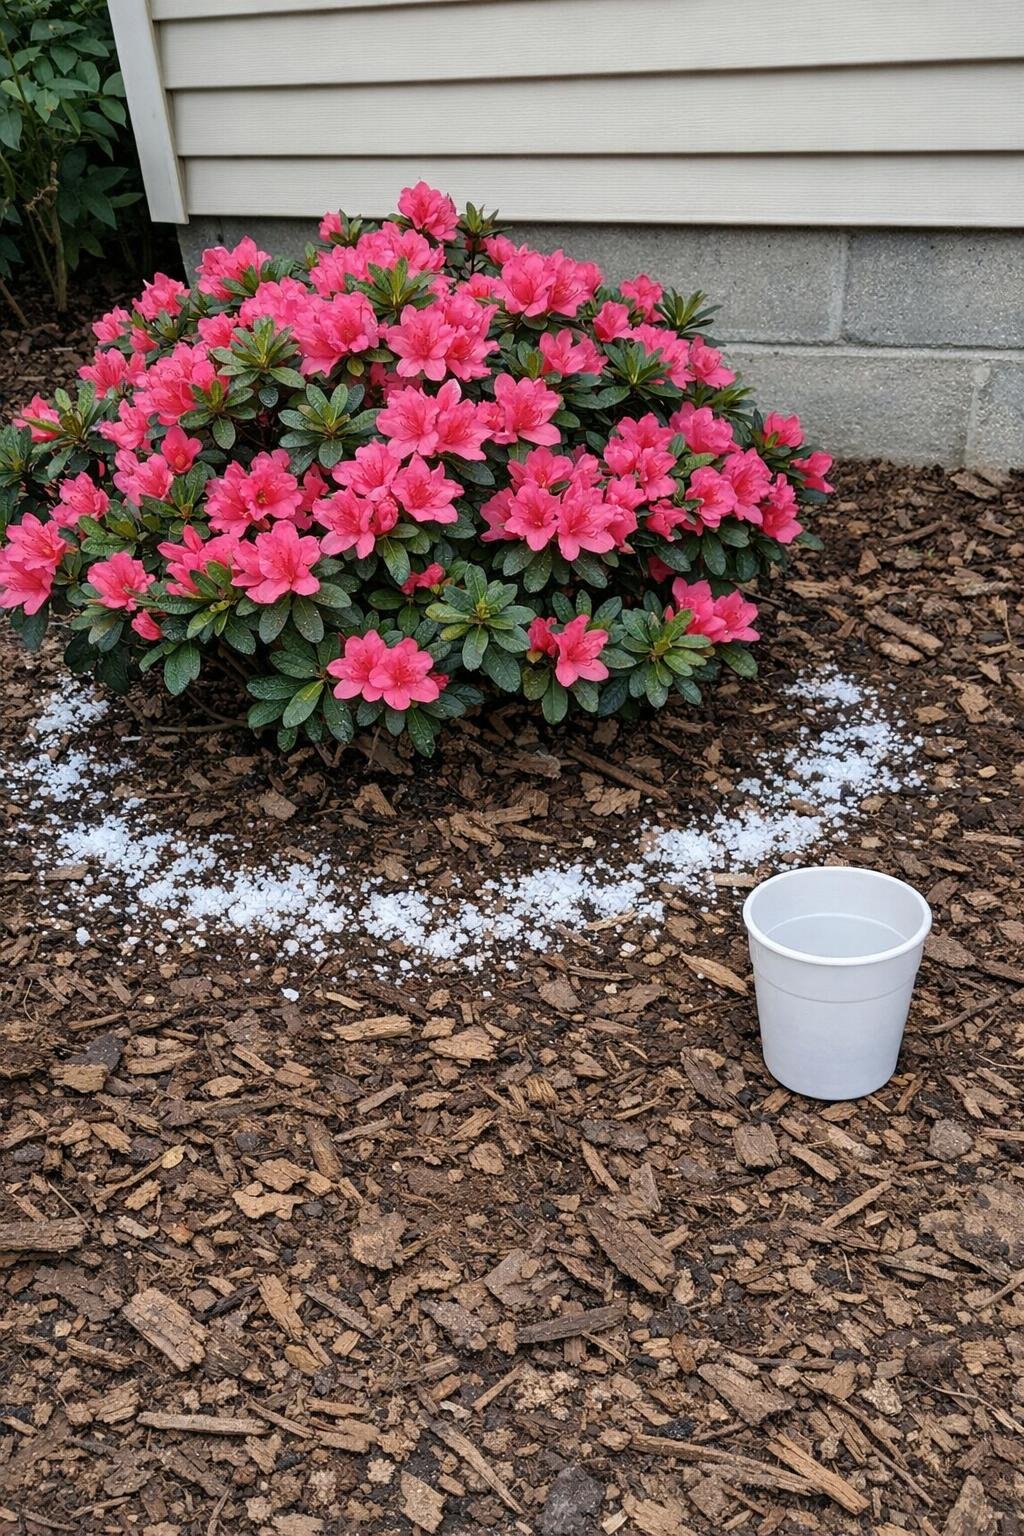
For these flowering shrubs, I apply 1 tablespoon of Epsom salt per 9 square feet of root zone. I scatter it evenly under the canopy, avoid piling it against the main stems, and water it in well. I usually do this in spring and again in early summer if the foliage still looks a little washed out.
It can be a nice boost for greener leaves and stronger overall vigor, especially in older foundation plantings. Since these shrubs also care a lot about soil pH, I treat Epsom salt as a nutrient supplement, not a substitute for proper acidic soil management.
15. Juicier strawberries
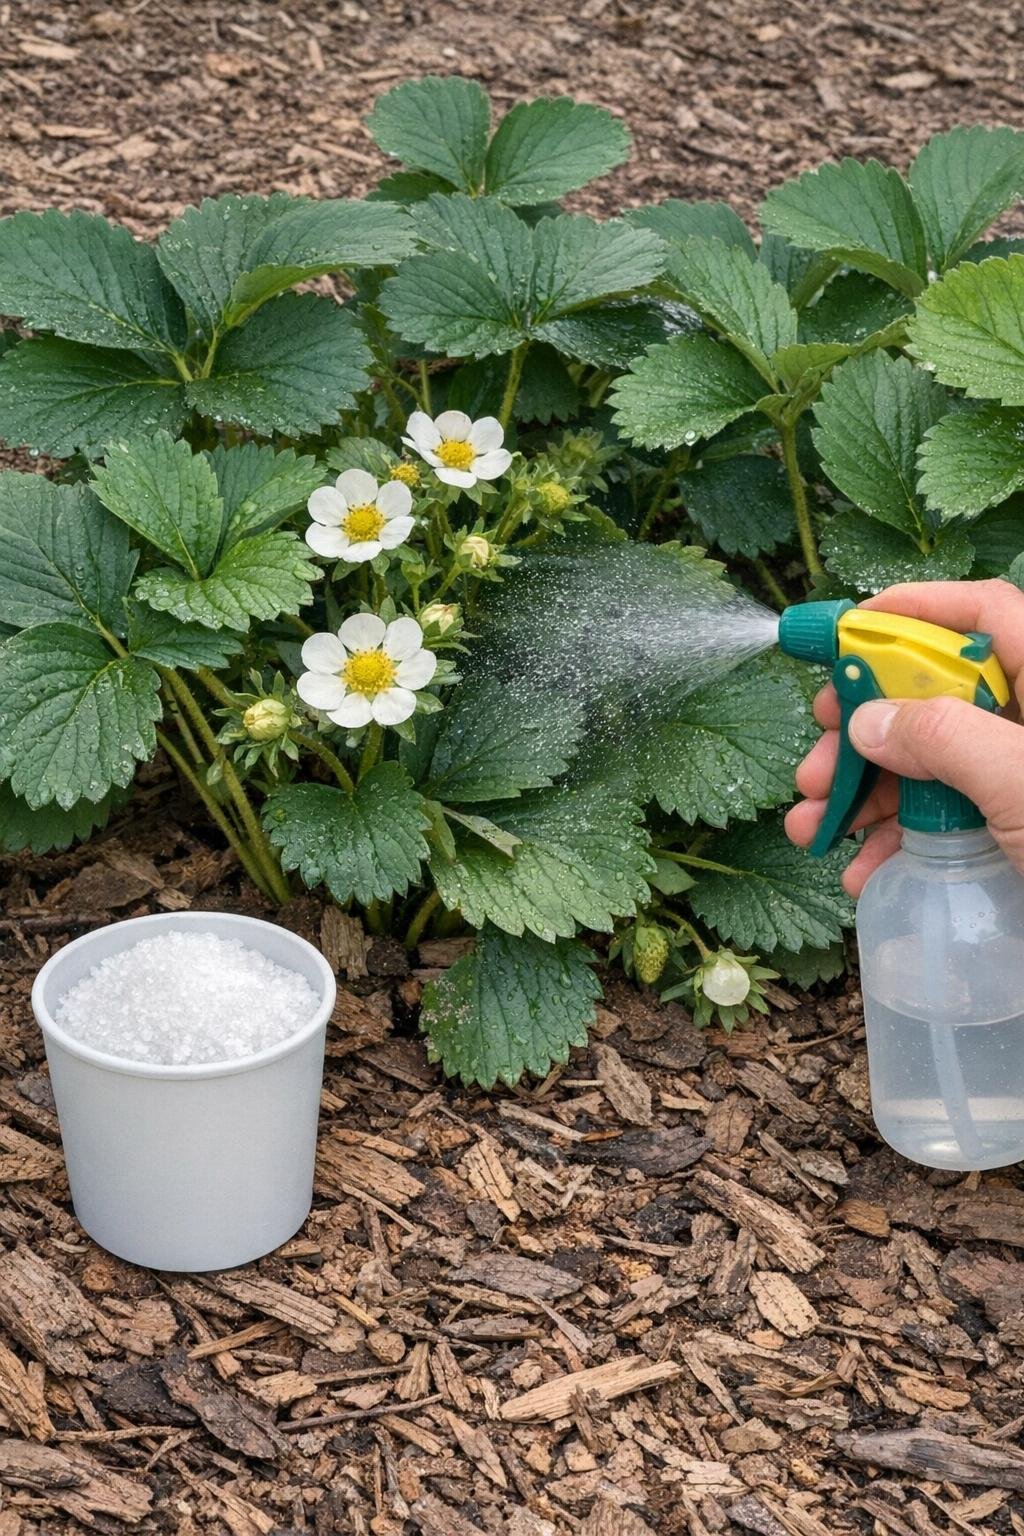
When strawberry plants begin flowering, I mix a light foliar spray using 1 tablespoon of Epsom salt per gallon of water and mist the leaves in the early morning. I aim for a light, even coating rather than drenching the plants, and I avoid spraying during hot afternoon sun.
This is one of my favorite little tricks for encouraging healthy foliage that can support fuller, juicier berries later on. I test one patch first if the plants are stressed, and I don’t spray open blooms heavily because I want pollinators undisturbed and flowers clean.
16. The planting-hole boost for new shrubs and trees
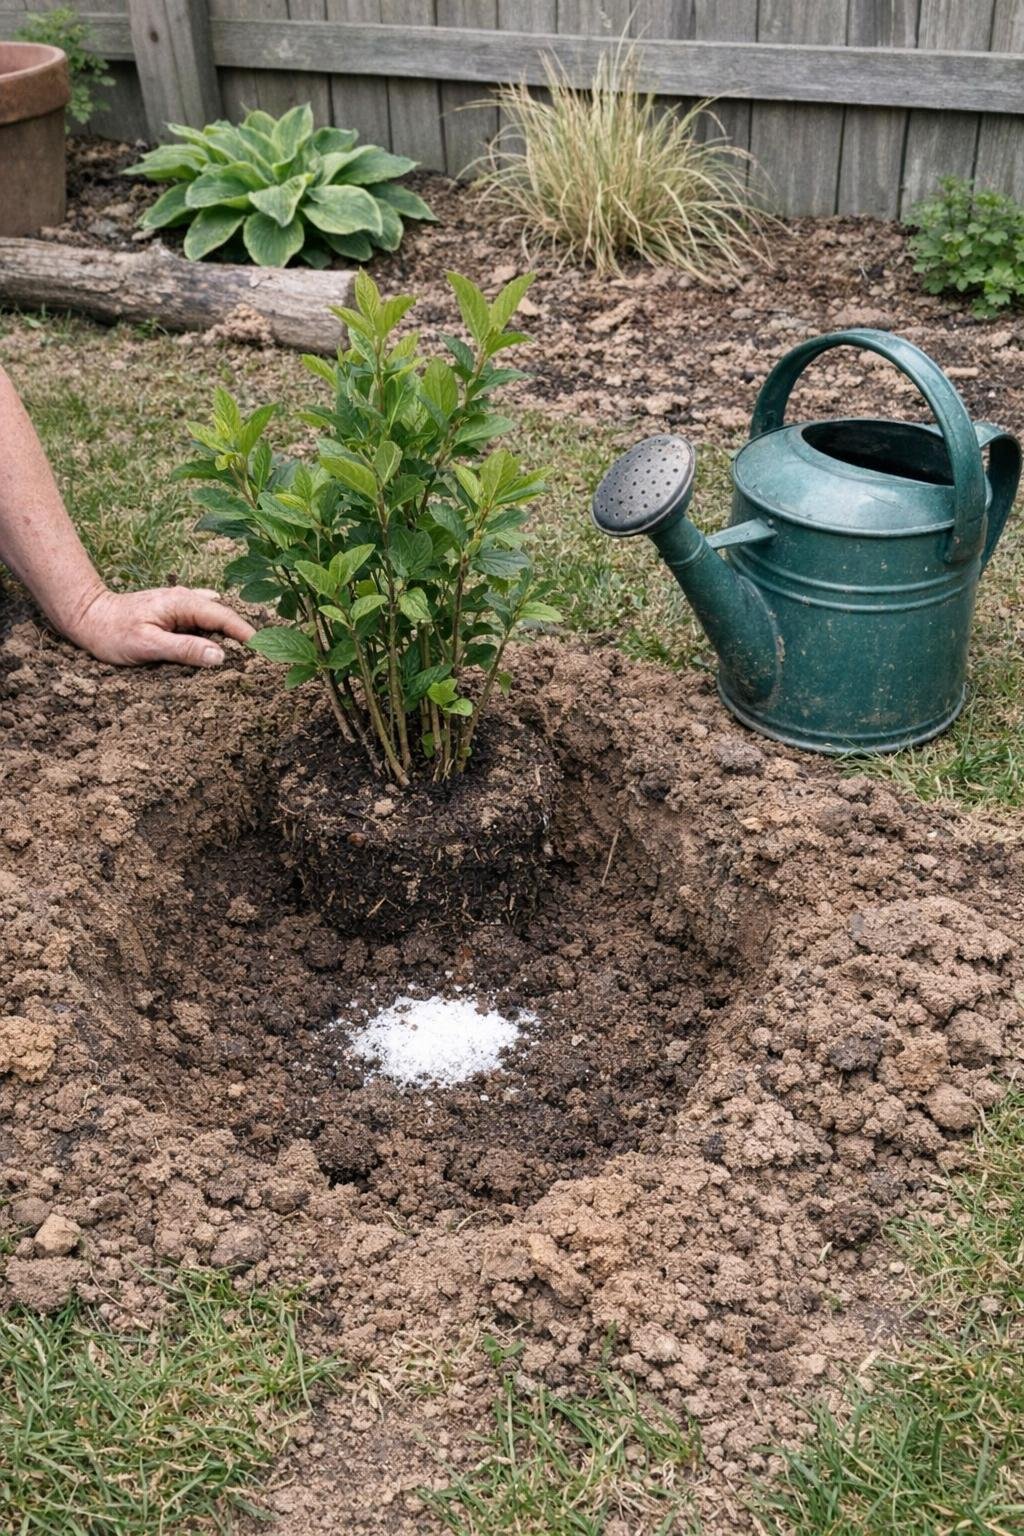
When I plant a new shrub or young ornamental tree, I add 1 tablespoon of Epsom salt to the planting hole, mix it into the backfill soil, and then plant as usual. For small nursery shrubs and container trees, that small measured amount is plenty to give roots access to magnesium without overloading the site.
I always finish by watering slowly and deeply to settle the soil and dissolve the nutrient into the root area. The caution here is simple: more is not better, especially with woody plants that need steady establishment more than quick forcing.
17. Foliar feed for a fast green-up
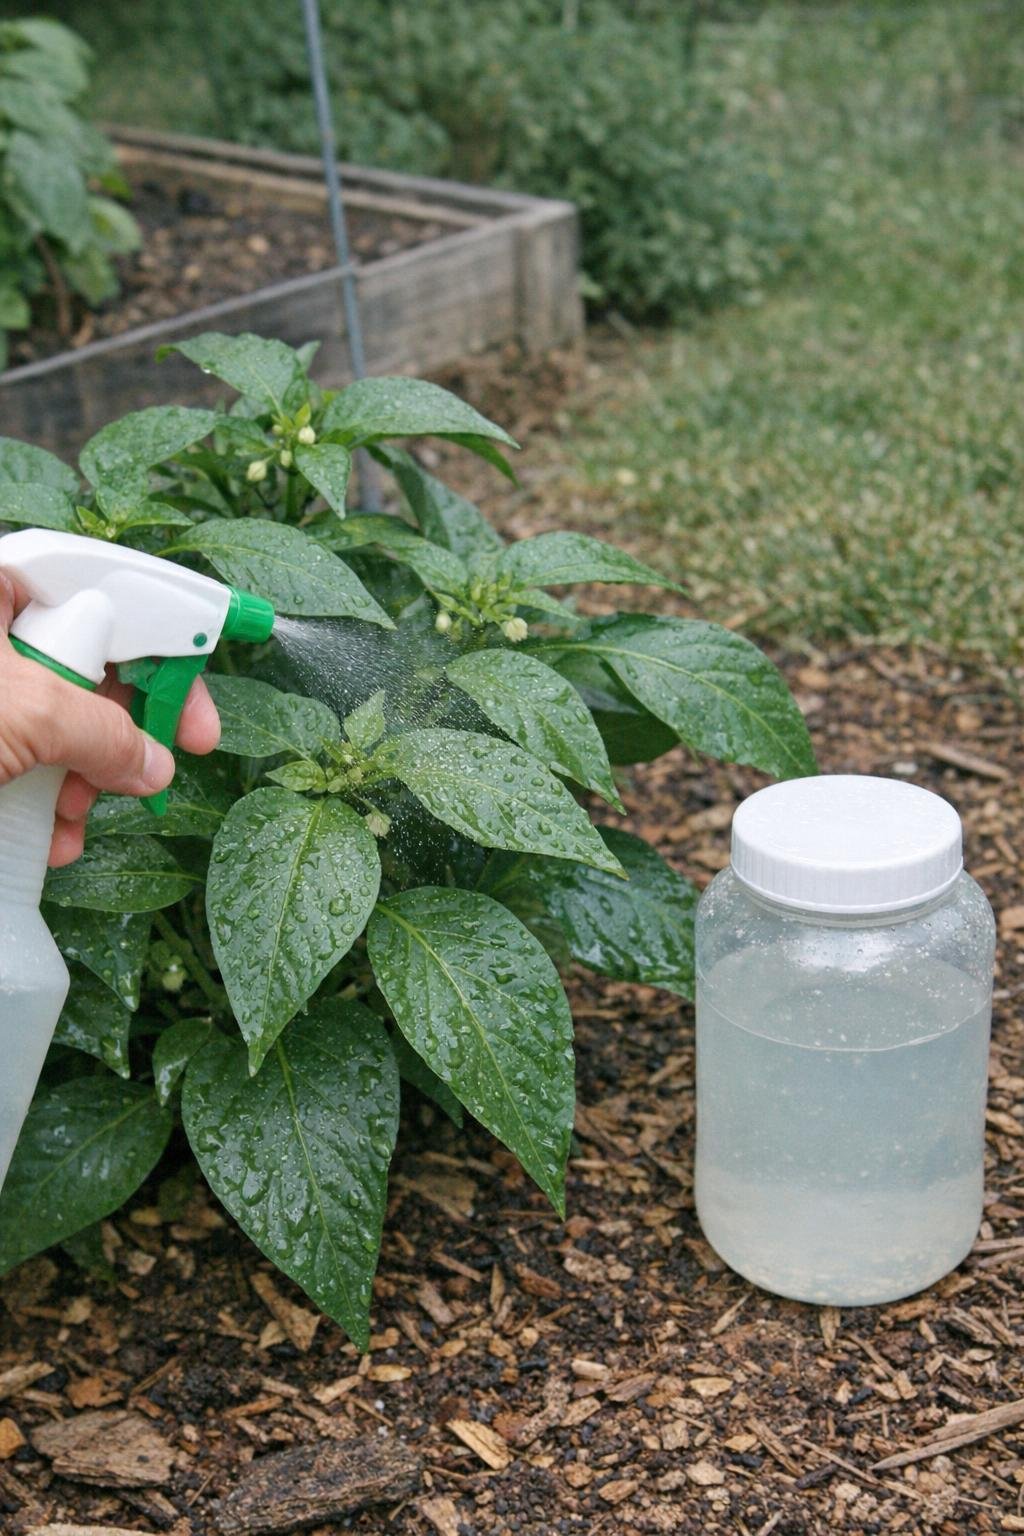
When plants need a quick pick-me-up, I dissolve 2 tablespoons of Epsom salt in 1 gallon of water and spray it directly onto the leaves. I do this in the early morning or near sunset so the foliage has time to absorb it before strong sun hits, and I coat both upper and lower leaf surfaces lightly.
Foliar feeding works faster than a soil application for visible green-up, especially on vegetables and ornamentals showing mild deficiency. I avoid spraying wilted plants in midday heat and always try one plant first if the leaves are delicate.
18. Keep groundhogs and deer off the beds
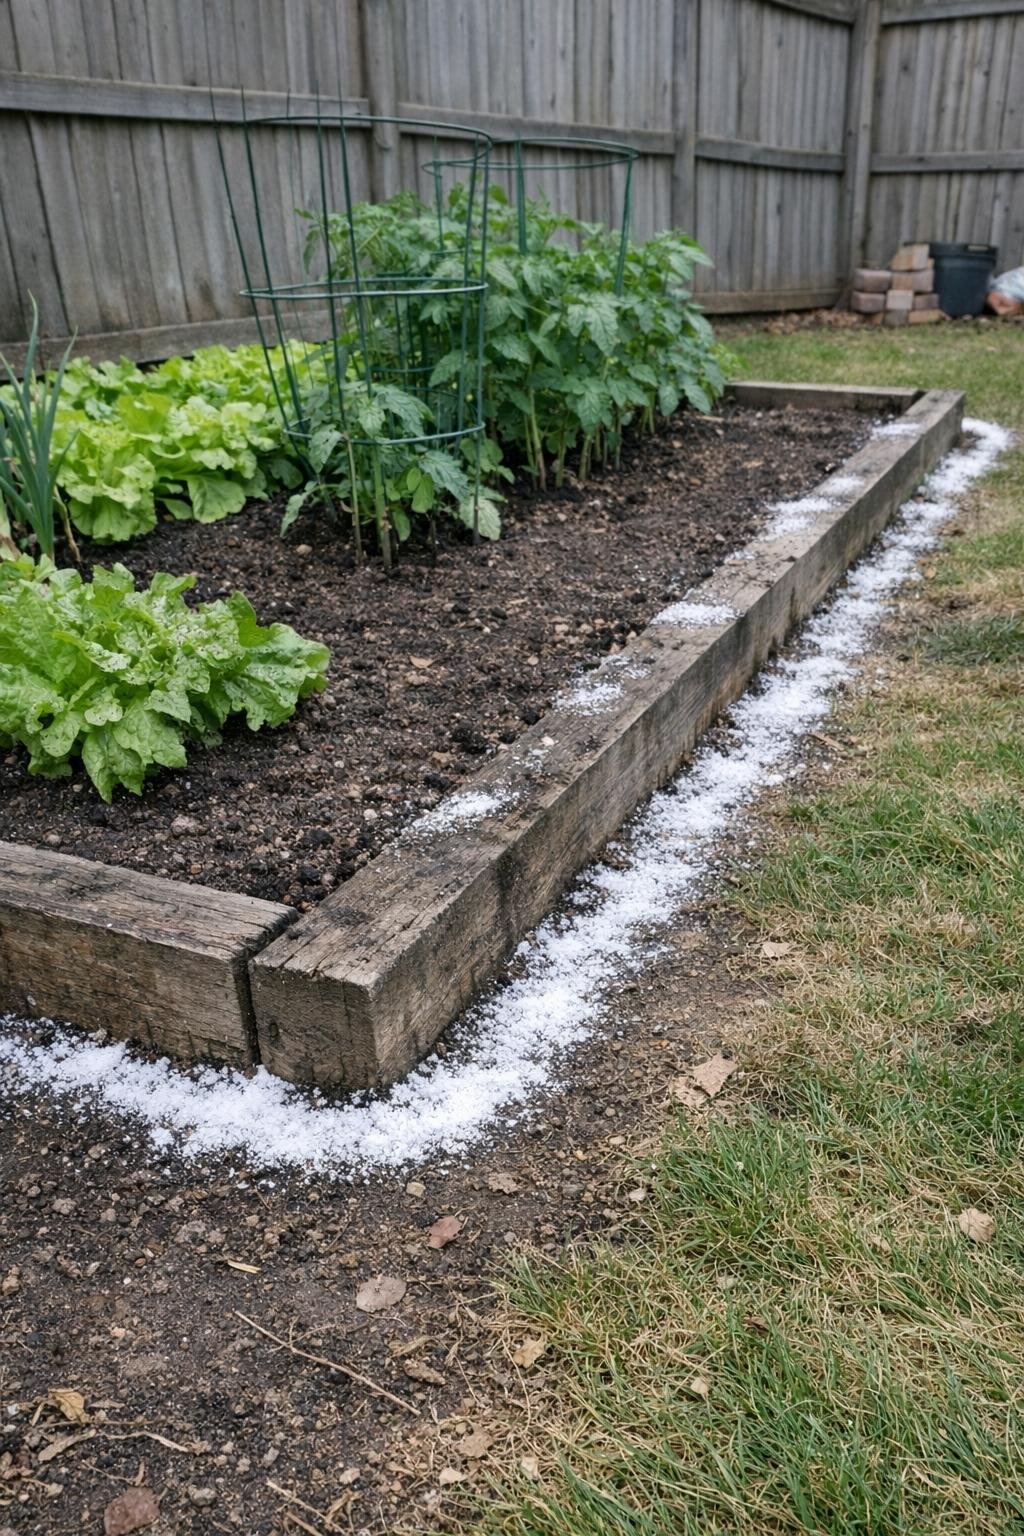
I’ve had decent luck sprinkling Epsom salt around the outer edge of beds that deer and groundhogs like to browse. I use a light but visible line around the perimeter, usually refreshing it after rain or after a few heavy dews because moisture reduces the effect pretty quickly.
This is best treated as one part of a bigger defense plan along with fencing, netting, or scent deterrents. Still, for a low-cost extra layer around beans, lettuce, or flowers, it’s easy enough to try and takes only a few minutes.
19. Revive a tired fruit tree
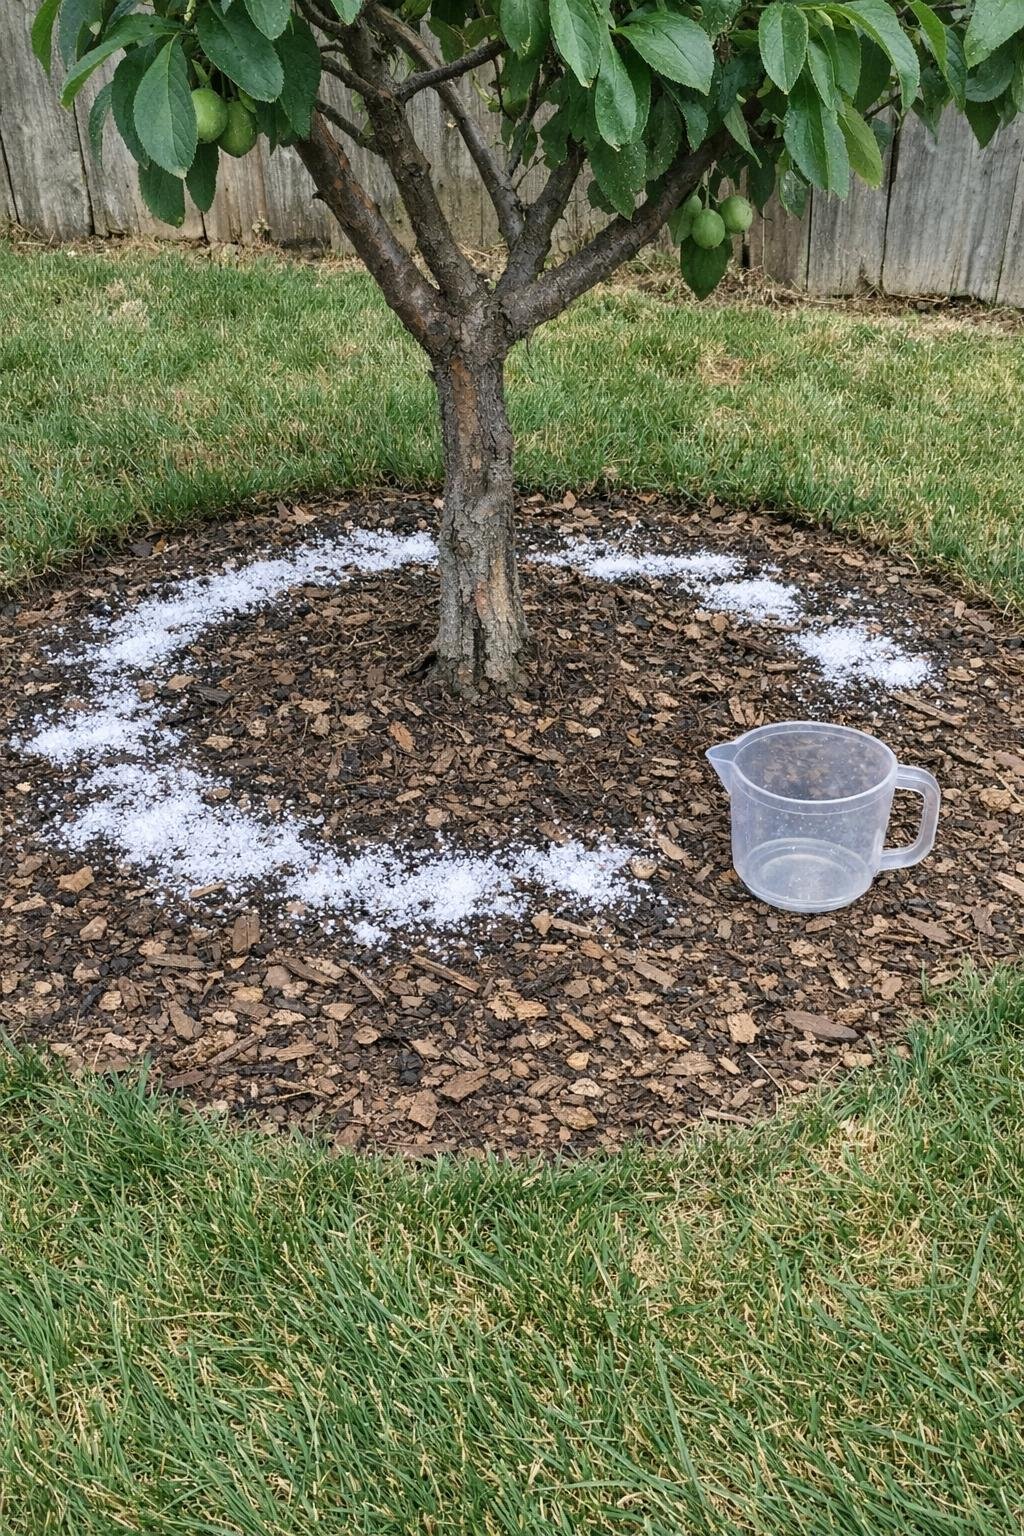
For an older fruit tree that’s leafing out weakly or growing less vigorously than usual, I apply 2 tablespoons of Epsom salt per 9 square feet under the drip line. I spread it evenly over the soil beneath the outer canopy and water deeply. I do this three times a season: once at bud break, once after fruit set, and once in midsummer.
This can help support greener foliage and stronger photosynthesis without forcing overly lush growth. If the tree is seriously declining, though, I look at pruning, watering, and disease issues too, because no soil amendment fixes a structural problem on its own.
20. A soak for the gardener's sore muscles
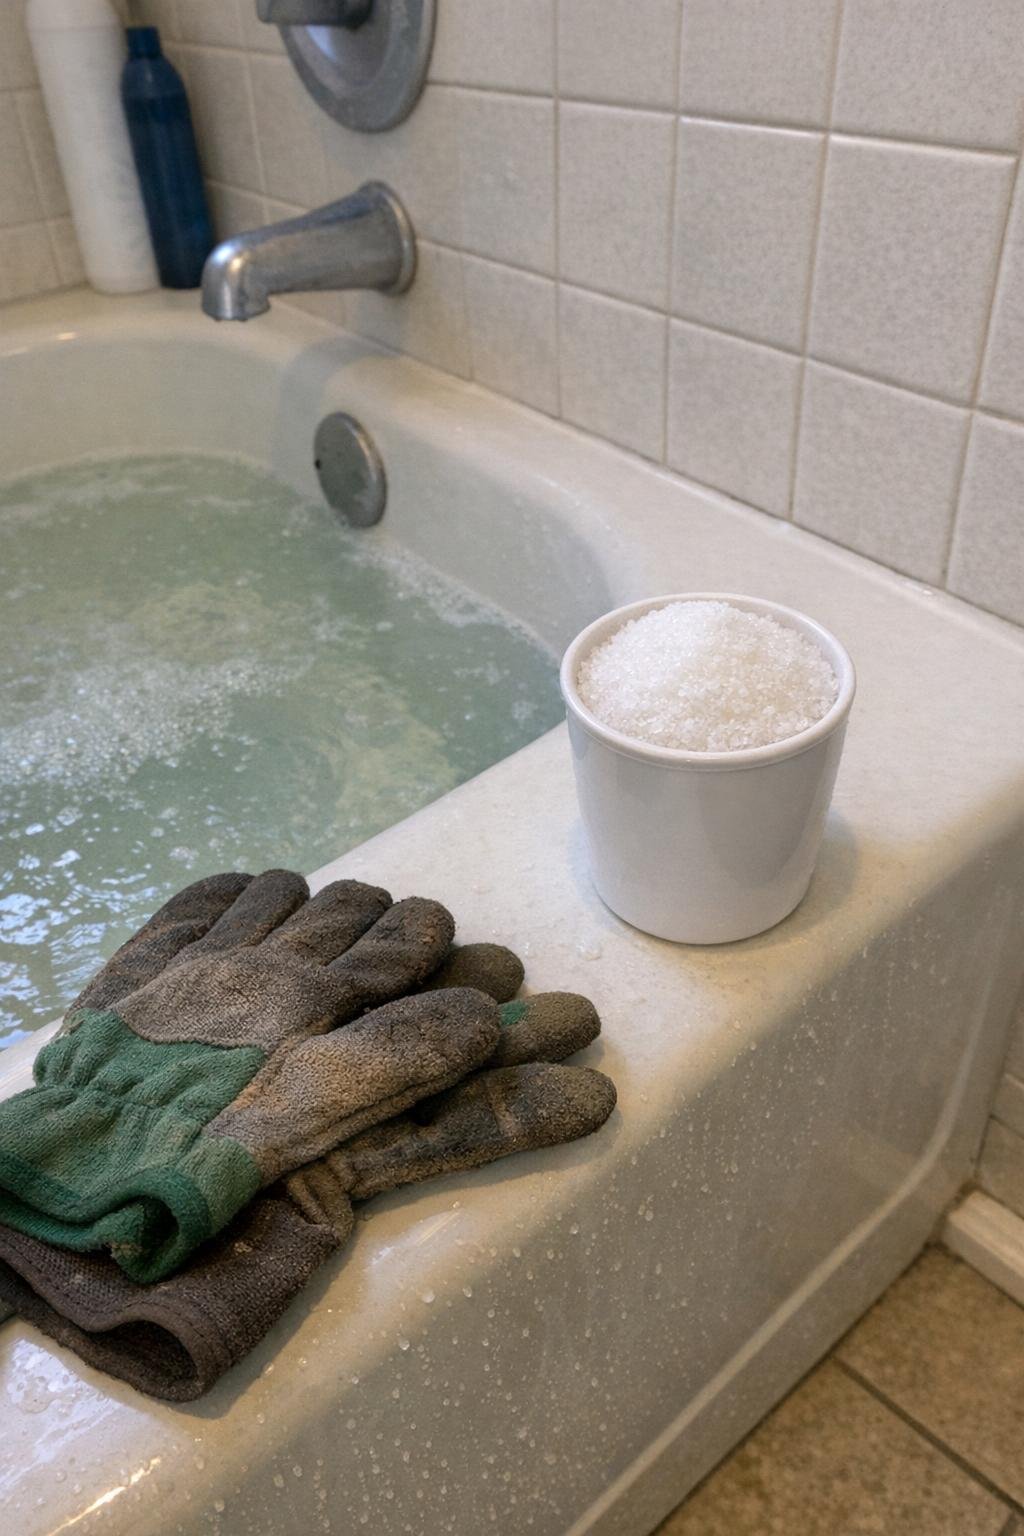
After a long day of hauling mulch, crouching in the strawberry patch, or wrestling tomato cages into place, I pour 2 cups of Epsom salt into a warm bath and soak for about 15 to 20 minutes. It’s one of my favorite end-of-day rituals in peak garden season, especially in midsummer when everything seems to need attention at once.
Even if you think of this one as more comfort than miracle, it’s still a very good reason to keep extra on hand. I just make sure the tub floor is rinsed afterward so no crystals are left slippery.
Epsom salt is one of those affordable garden staples that’s worth keeping stocked, as long as you use it with a little intention. Measured correctly, it can help everything from tomatoes and roses to houseplants and even the gardener who’s sore after a weekend outside.