
This bedroom nightstand organizer is one of those projects that looks boutique-shop clever, but it’s wonderfully straightforward to make. You’re simply mounting small mason jars onto a wooden cutting board with leather straps, then hanging or leaning the finished piece right by the bed so all those little bedtime essentials finally have a proper home.
I love projects like this because they solve a real-life family clutter problem without adding anything fussy. This one is especially nice for anyone who’s always gathering lip balm, reading glasses, pens, charging cords, hand lotion, or a little sprig of greenery on the nightstand and wishing it looked more pulled together.
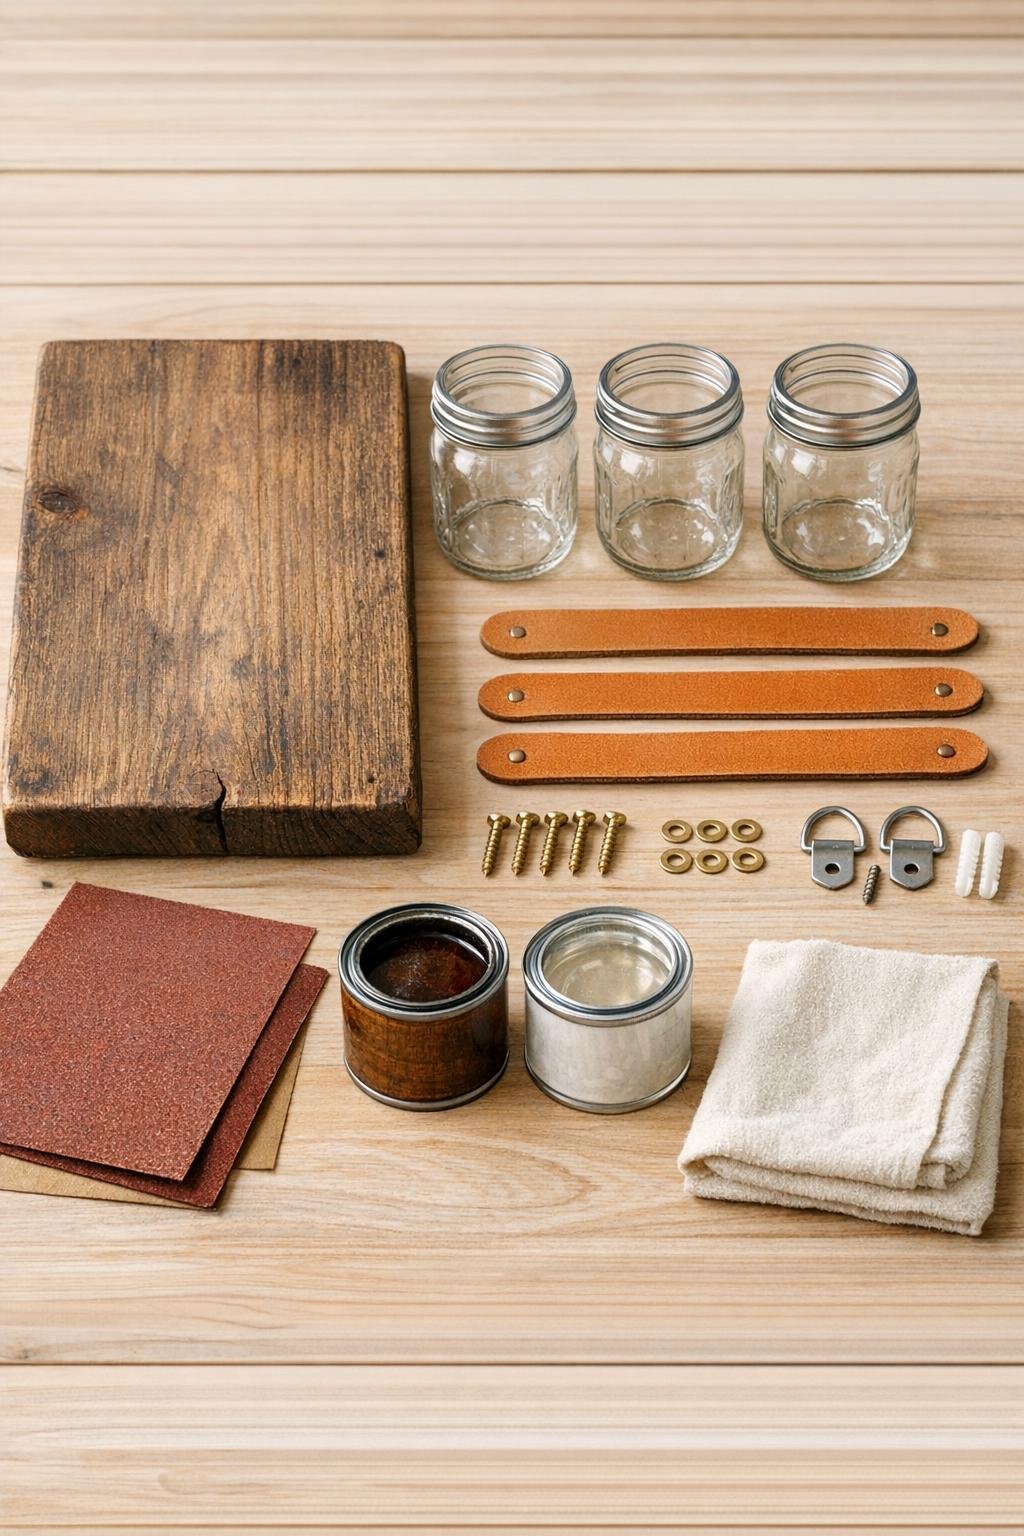
Materials
Instructions
1. Wipe the cutting board clean, then lightly sand the front, back, and edges with 120-grit followed by 220-grit sandpaper so the finish goes on smoothly and the board feels nice in hand.
2. Apply a thin coat of wood stain with a cloth, working with the grain, and wipe off the excess after 2 to 3 minutes. Let it dry fully, then add a second light coat if you want a deeper rustic tone.
3. Brush or wipe on a clear matte or satin topcoat, covering the front, edges, and back, and let it dry completely. This little step makes the organizer look finished and helps it hold up to everyday use.
4. Set the board upright and mark a vertical centerline with pencil, then arrange the three mason jars in a straight column with about 1 1/2 to 2 inches between them. Keep the top jar low enough to leave room for hanging hardware and the bottom jar high enough that the board still looks balanced.
5. Wrap one leather strap around the upper third of the first jar and pull it snug enough to hold the jar firmly without forcing the glass. Mark where each end of the strap meets the board, then repeat for the other two jars so all three sit evenly.
6. Remove the jars and pre-make holes in each leather strap end with an awl, leather punch, or a small nail so the screws go in neatly. Place a finishing washer over each screw for a polished look and to help secure the leather cleanly.
7. Screw the strap ends to the board at your marks, checking that each loop stays level and sized to hug the jar. Don’t overtighten; the leather should lie flat and secure without puckering.
8. Slide each mason jar into its leather loop and adjust as needed so the jars sit straight and feel firmly held. If one seems loose, remove the jar and shift one strap end inward by just a bit.
9. Attach two D-ring hangers to the back near the top corners, or center a sawtooth hanger near the top edge if that suits your board better. Add felt pads to the lower back corners so the organizer won’t scuff the wall or shift around.
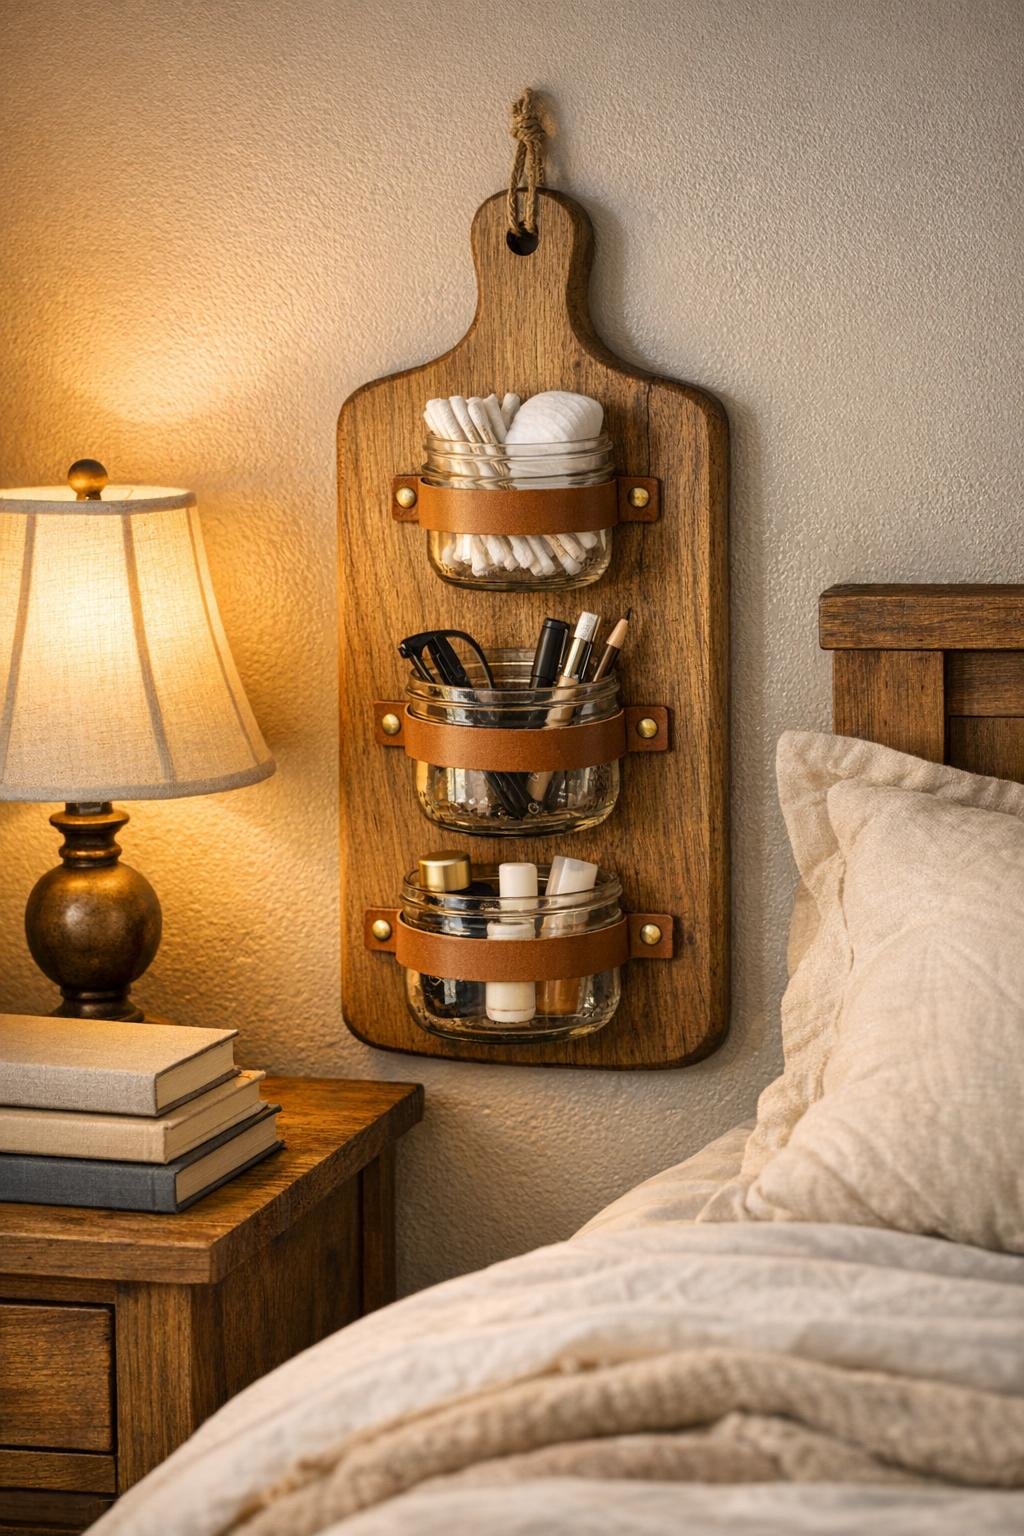
10. Fill the jars with bedside essentials like pens, lip balm, a small flashlight, charging cords, reading glasses, cotton rounds, or a few faux stems for softness. Hang it beside the bed or style it just above the nightstand where it’s easy to reach and pretty to look at.
Variations & Tips
For a softer bedroom look: Use a lighter stain or leave the cutting board natural with just a clear topcoat. It gives the organizer an airy, calm feel that works especially well with white bedding and simple décor.
For picky organizers: If family members like their own designated spots, assign one jar for personal care, one for tech items, and one for reading or writing supplies. It’s a small change, but it keeps the whole setup from turning into a catch-all.
For extra hold: If your jars will carry heavier items, choose thicker leather and add a second screw at each strap end spaced slightly apart. That little upgrade makes the organizer feel very sturdy without changing the look.
Jar sizing tip: Stick with 8-ounce jars for the easiest fit and nicest proportions on a standard cutting board. Bigger jars can work, but they need a wider board and longer straps to avoid a crowded look.
Easy styling idea: I like mixing practical items with one pretty touch, such as a short faux eucalyptus stem or dried lavender in the top jar. It keeps the organizer useful, but it also makes the bedside feel intentional instead of purely utilitarian.
No-drill option for placement: If you don’t want to mount it to the wall, make sure your cutting board is thick and sturdy, then lean it securely against the wall on the nightstand. Keep the jars filled with lighter items so it stays balanced.