
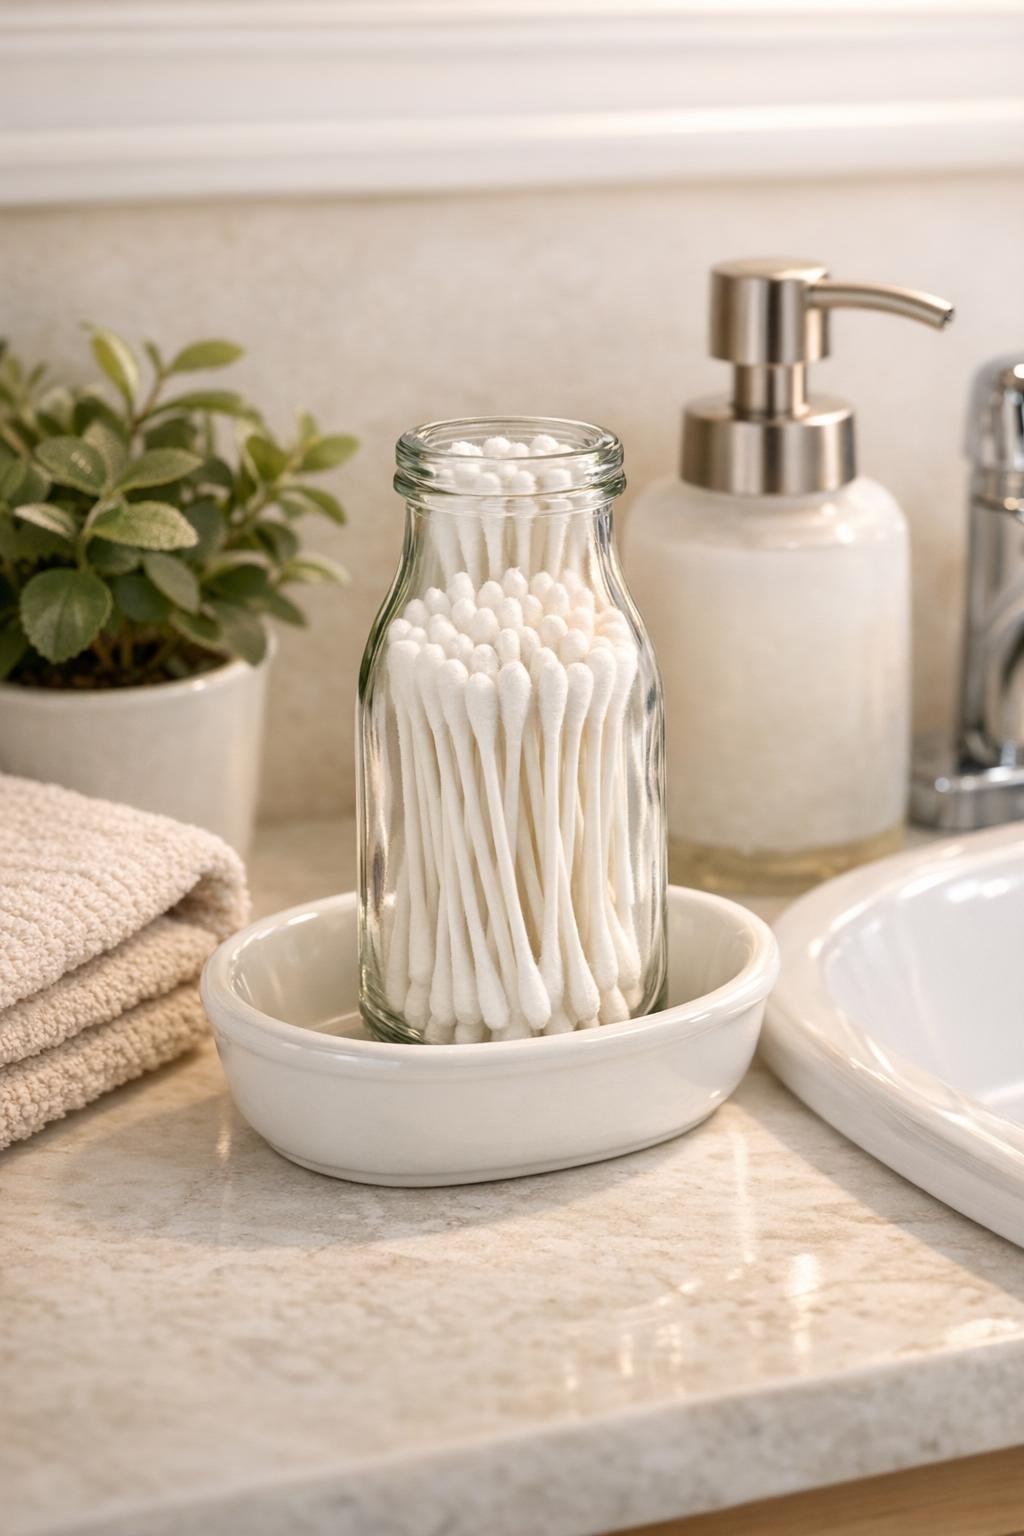
A simple bathroom organizer can make the whole sink area feel calmer, and this little cotton swab dispenser is one of those projects that earns its keep immediately. You’re pairing a small clear glass milk bottle with a ceramic soap dish so the bottle has a stable, tidy home, and the result looks much nicer than leaving a box of swabs on the counter.
I like projects like this because they feel a bit like good mise en place in the kitchen: everything has a container, a purpose, and an easy place to return to. This one is especially good for small bathrooms, guest baths, dorm-style vanities, or anyone who wants everyday essentials close at hand without visual clutter.
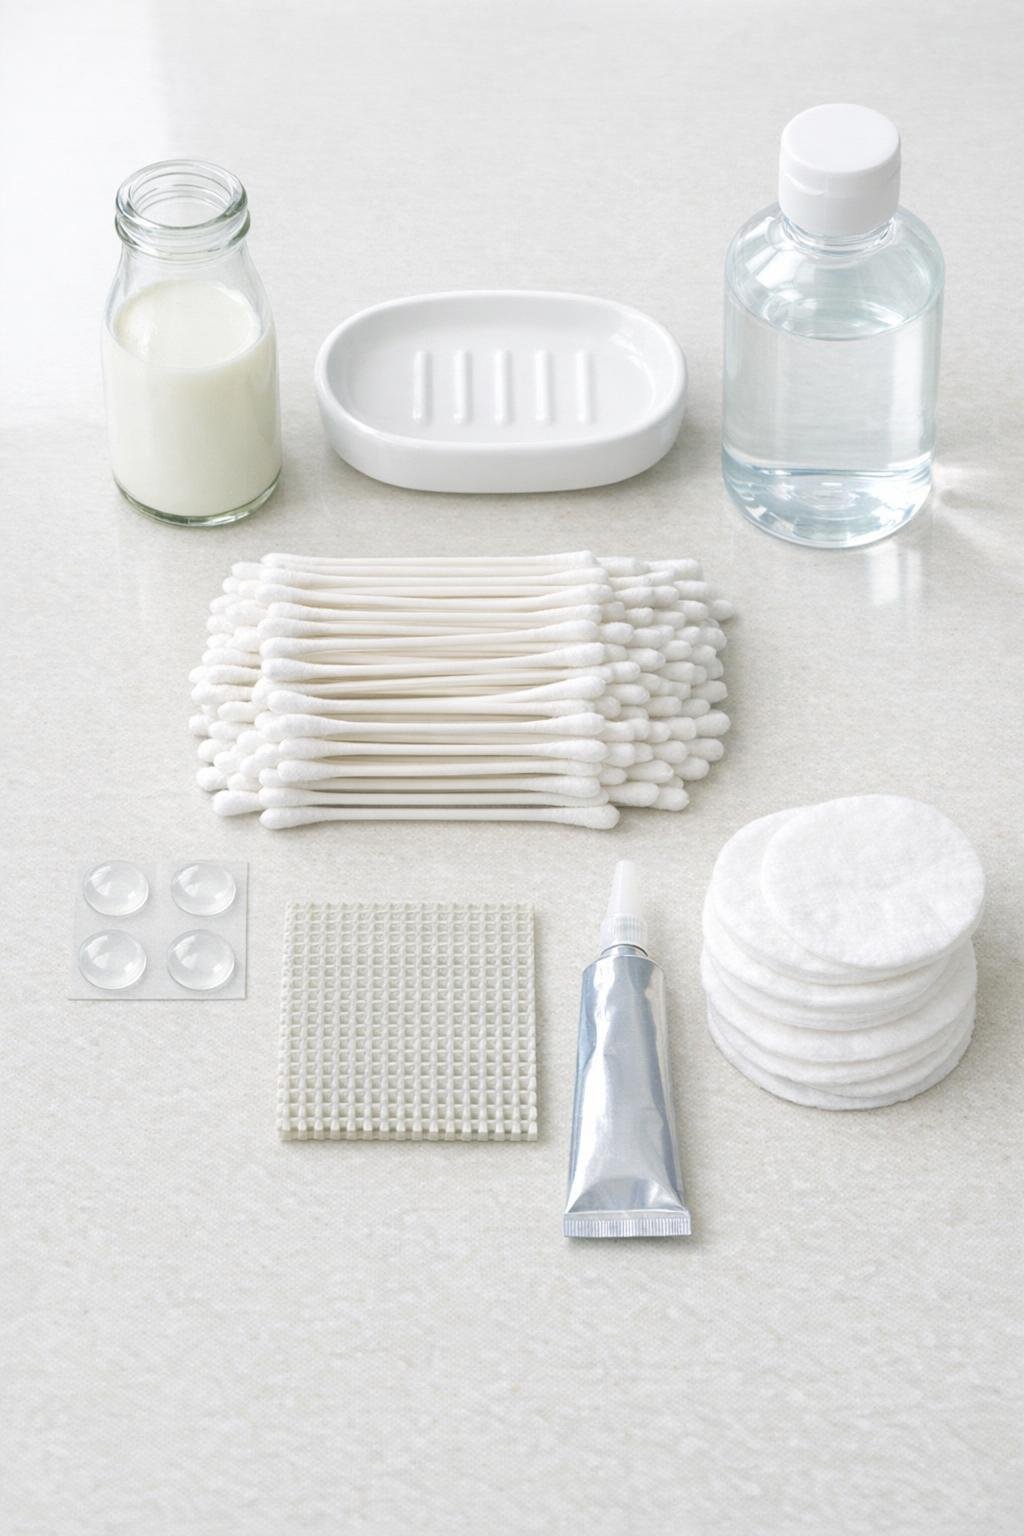
Materials
Instructions
1. Wash the glass milk bottle and ceramic soap dish with warm soapy water, then dry them completely so nothing traps moisture under the bottle.
2. Wipe the base of the bottle and the inside of the soap dish with rubbing alcohol to remove soap film, dust, and fingerprints for a cleaner finished look.
3. Set the bottle into the center of the soap dish and check the fit; the bottle should sit upright with enough room around it that the dish still catches drips and looks intentional.
4. Cut the non-slip shelf liner into a small circle or square about 1.5 inches wide and place it under the bottle to keep the glass from sliding inside the dish.
5. If you want the bottle permanently secured, lift it out and add a pea-sized dot of clear waterproof adhesive on top of the non-slip piece, then press the bottle back into place and let it cure according to the adhesive directions.
6. Turn the soap dish over and apply the 4 clear rubber bumper dots to the underside corners so the finished dispenser won’t skid or scratch the countertop.
7. Once the bottle is secure, fill it with about 75 cotton swabs, dropping them in gently and adjusting a few at the top so they stand neatly and look full.
8. Place the finished dispenser beside the sink and use the dish as a catchall for a few drips, a small ring, or one travel hair pin while keeping the swabs clean and easy to grab.
Variations & Tips
Add a second bottle: If your soap dish is wide enough, make a matching set with two small bottles side by side—one for cotton swabs and one for cotton rounds or dental picks.
Keep it removable: Skip the adhesive and rely only on the non-slip liner if you want to take the bottle out easily for washing.
Choose the right dish: A dish with a slightly raised rim looks best and works hardest, because it visually frames the bottle and catches any water that splashes over from the sink.
Use clear adhesive sparingly: A tiny amount is plenty; too much will squeeze out around the bottle and spoil the crisp, clean look.
Match your bathroom finish: White ceramic and clear glass are classic, but a pale stoneware dish or a bottle with subtle ribbing also works beautifully if it still fits securely in the dish.
Clean it like a regular bath accessory: Empty the bottle every couple of weeks, rinse both pieces, dry thoroughly, and refill with fresh swabs so the dispenser always looks bright and intentional.