
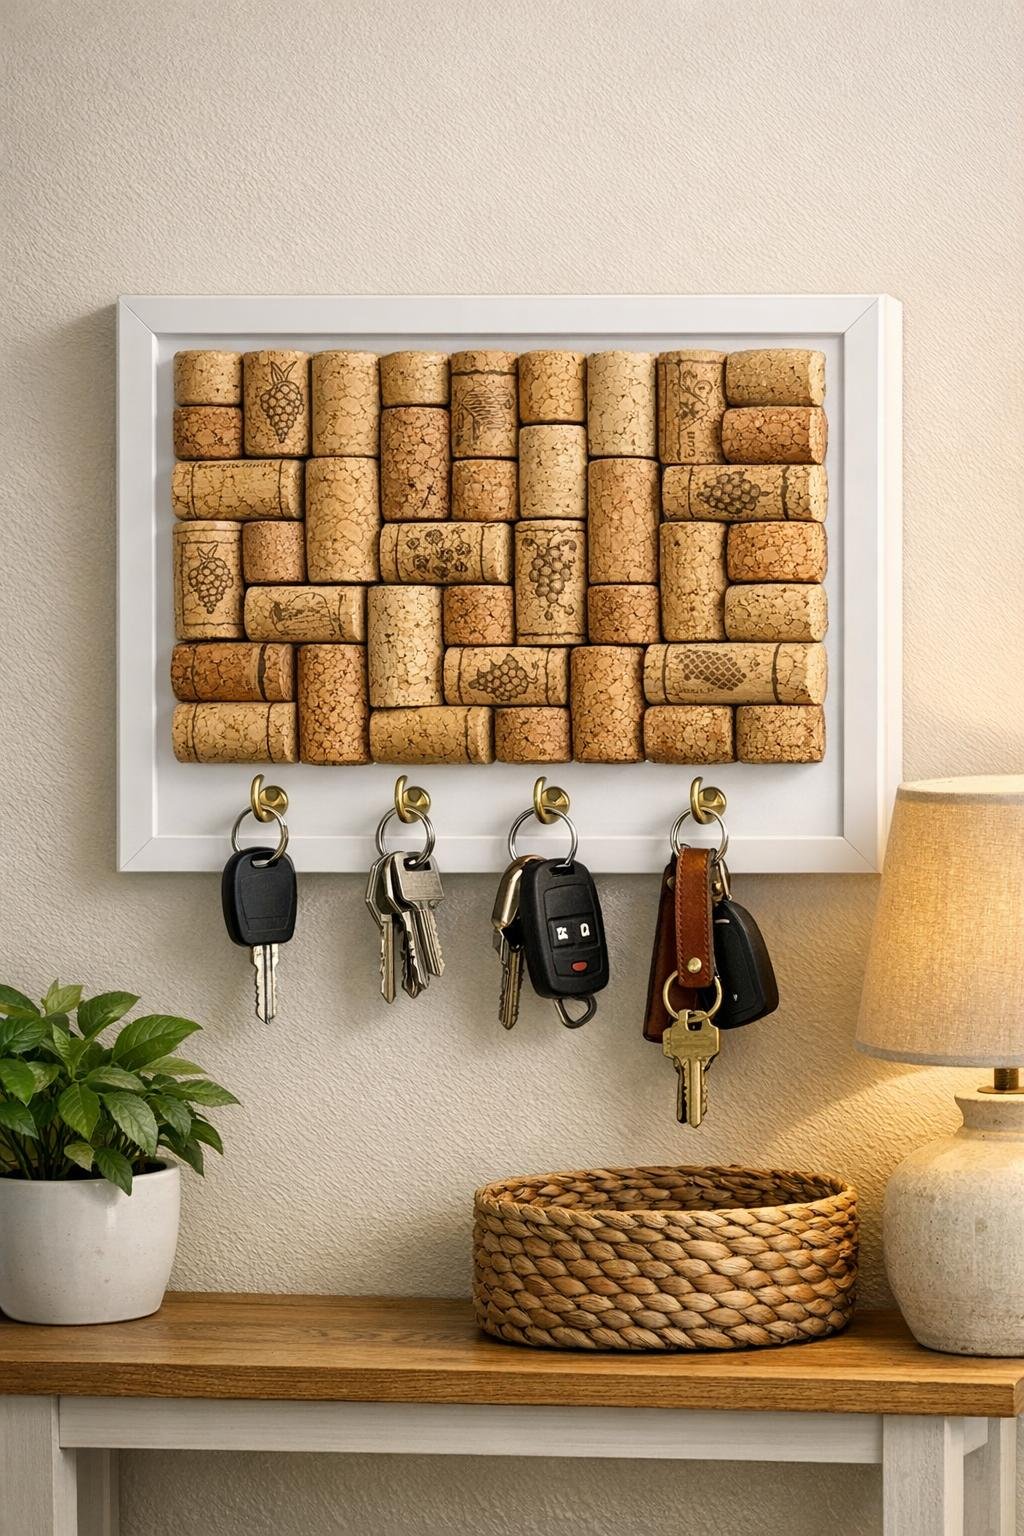
This little entryway key holder is one of those satisfying projects that looks clever and custom without asking much from you. We’re taking a small picture frame backing, covering it with natural wine corks, and adding cup hooks along the bottom so it becomes a warm, practical landing spot for keys, a lightweight lanyard, or even the dog leash.
I love projects like this because they use simple materials but still feel polished enough to hang right by the front door. If you like easy home décor that serves a real purpose, this is a great afternoon project, and it’s especially nice if you’ve been collecting corks and want a way to turn them into something useful instead of letting them rattle around in a drawer.
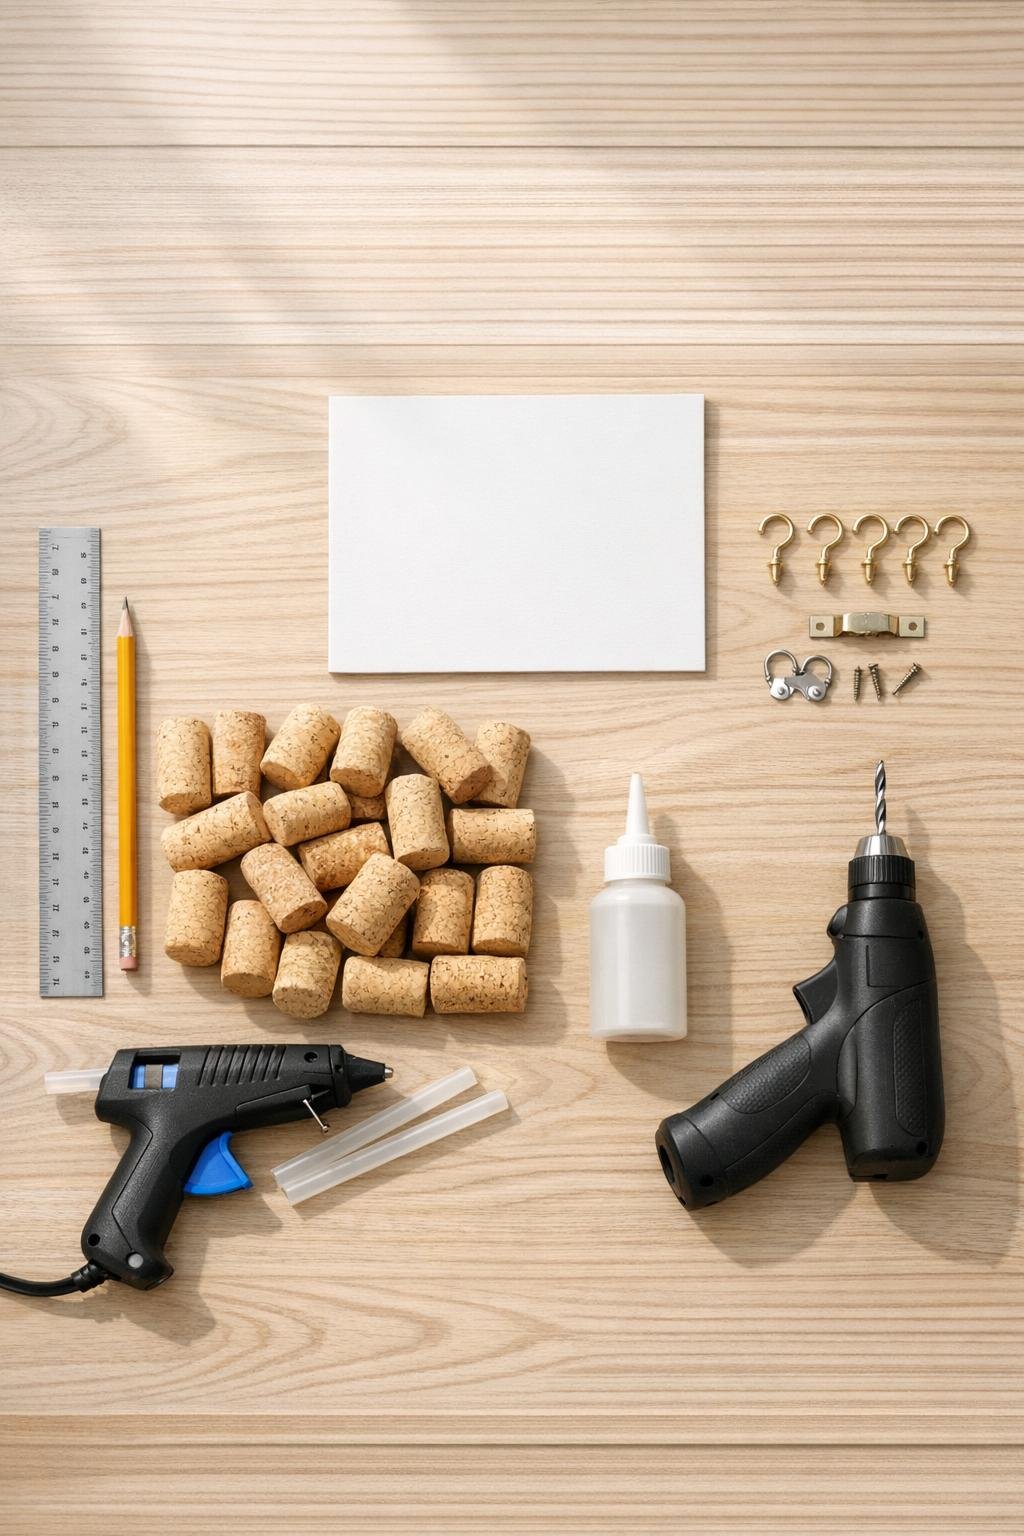
Materials
1 small picture frame backing board, 8 x 10 inches, removed from a frame
Instructions
1. Remove the backing board from the picture frame and wipe it clean so glue will stick well. If the surface is glossy, scuff it lightly with 120-grit sandpaper and dust it off with a cloth.
2. Lay out the wine corks on the backing board before gluing to see how they fit best. Arrange them horizontally in staggered rows so the whole board looks full and balanced, trimming the layout only by spacing, not by cutting corks.
3. Mark a straight line 1 inch up from the bottom edge of the board where the cup hooks will go later. This keeps the hook area clear so the keys hang neatly instead of bumping into the corks.
4. Glue the corks in place one row at a time, adding a generous bead of hot glue plus a dab of craft glue to each cork for a stronger hold. Press each cork down firmly for a few seconds and keep the rows snug so the board looks richly covered.
5. Fill the board from side to side and top to bottom, leaving only the marked bottom strip open for the hooks. Check for uneven gaps and nudge corks into place while the glue is still warm so the finished piece looks tidy and intentional.
6. Let the glued cork board rest flat for at least 30 minutes so the adhesive can set. If any cork feels loose, lift it slightly and add a little more glue before moving on.
7. Measure and mark 5 evenly spaced hook positions along the bottom strip, keeping them about 1 1/4 inches apart and centered across the board. This spacing gives enough room for several sets of keys without crowding.
8. Use an awl or small drill bit to make shallow pilot holes at each mark. Start the brass cup hooks by hand and twist them in until they feel snug and sit in a straight line.
9. Attach a sawtooth hanger or reuse the frame’s original hanging hardware on the back. Add felt pads to the lower corners so the key holder hangs flat and won’t scuff the wall.
10. Hang the key holder in the entryway and test each hook with a set of keys before loading it up. If you want an extra-polished look, pop the backing back into the original frame so the cork panel is bordered neatly.
Variations & Tips
Frame it fully: If your picture frame is deep enough, place the finished cork-covered backing back inside the frame for a more finished, gift-worthy look.
Make it bigger: For a busy family entryway, use an 11 x 14 inch backing board and 35 to 40 corks with 6 or 7 hooks so everyone gets their own spot.
Keep corks consistent: Natural corks with similar color tones give the cleanest look, but a mix of light and dark corks adds charm if you like a collected, casual style.
Use stronger adhesive for longevity: I like combining hot glue for instant hold with craft or wood glue for staying power, especially on a piece that will be used every day.
Add a mail ledge: If you want more function, mount the finished key holder just above a slim wall shelf so incoming mail and sunglasses have a home too.
Good for picky décor tastes: In my house, everyone has opinions, so this is a nice project because it can lean rustic, farmhouse, or simple modern depending on the frame color and hook finish.