
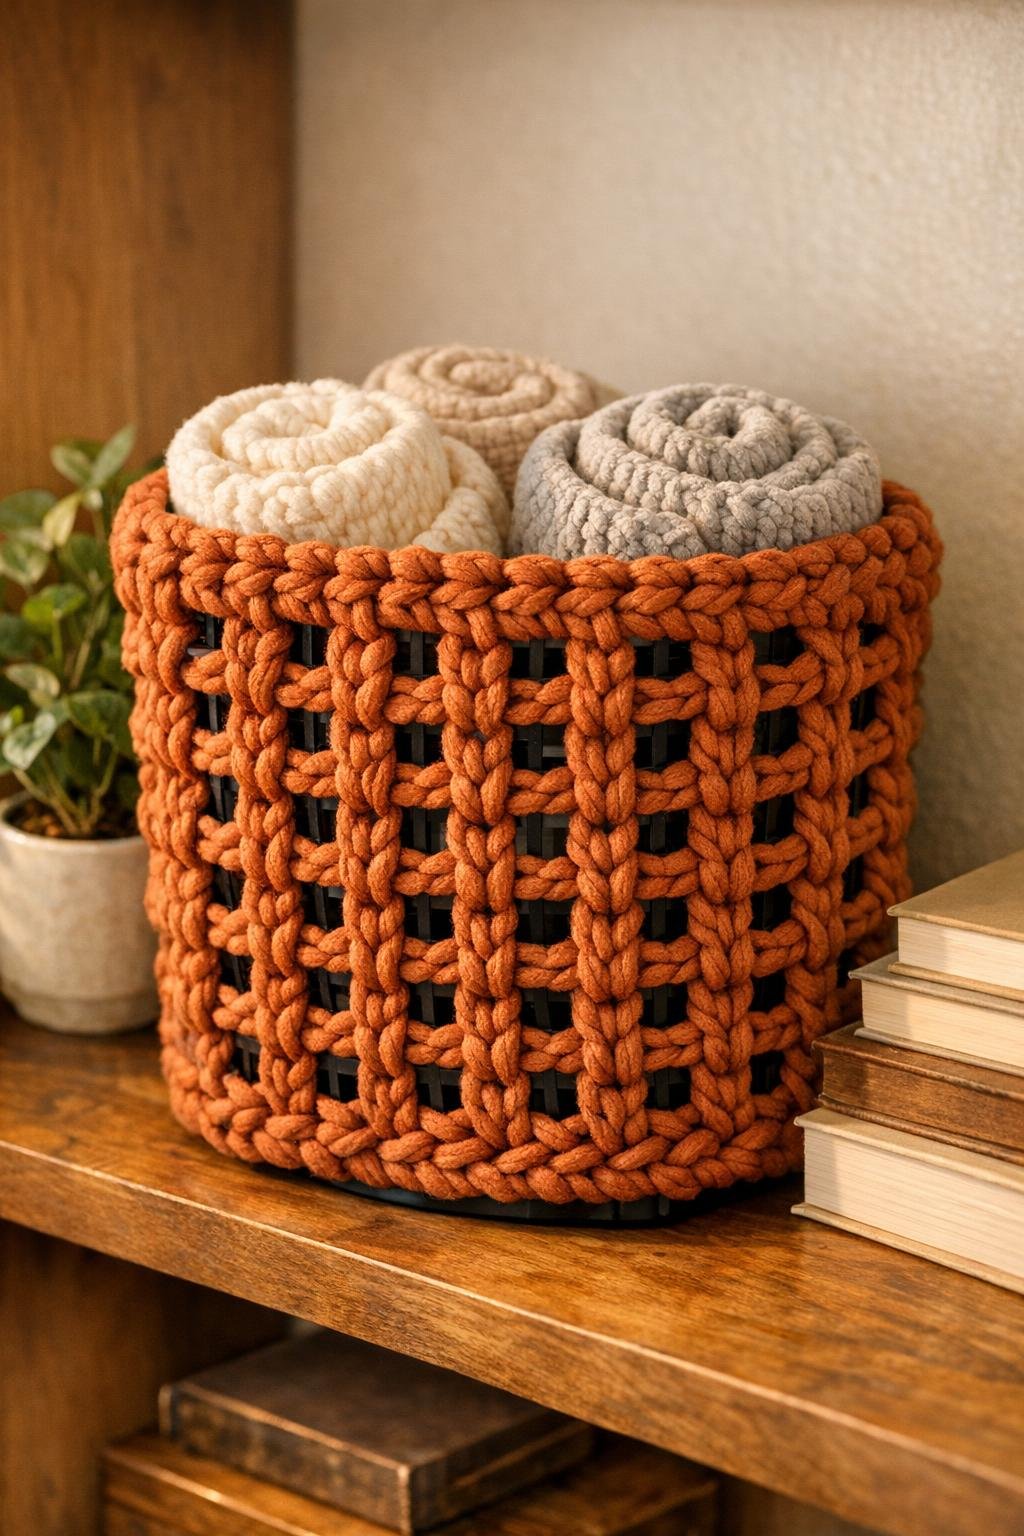
I love a project that makes a cheap, slightly awkward household item look intentionally stylish, and this crochet-through-the-grid basket is exactly that. You start with one of those black plastic dollar store trash cans with square openings, then use chunky terracotta yarn to crochet right through the grid so the can becomes a sturdy, lined-looking storage basket with real texture and warmth.
This is a great weekend project if you want the look of a handwoven basket without wrestling with a complicated pattern. I’m always trying to make my office, pantry, and living room work a little harder without spending much, and this kind of makeover is my sweet spot: affordable, practical, and polished enough that nobody guesses it began in the trash can aisle.
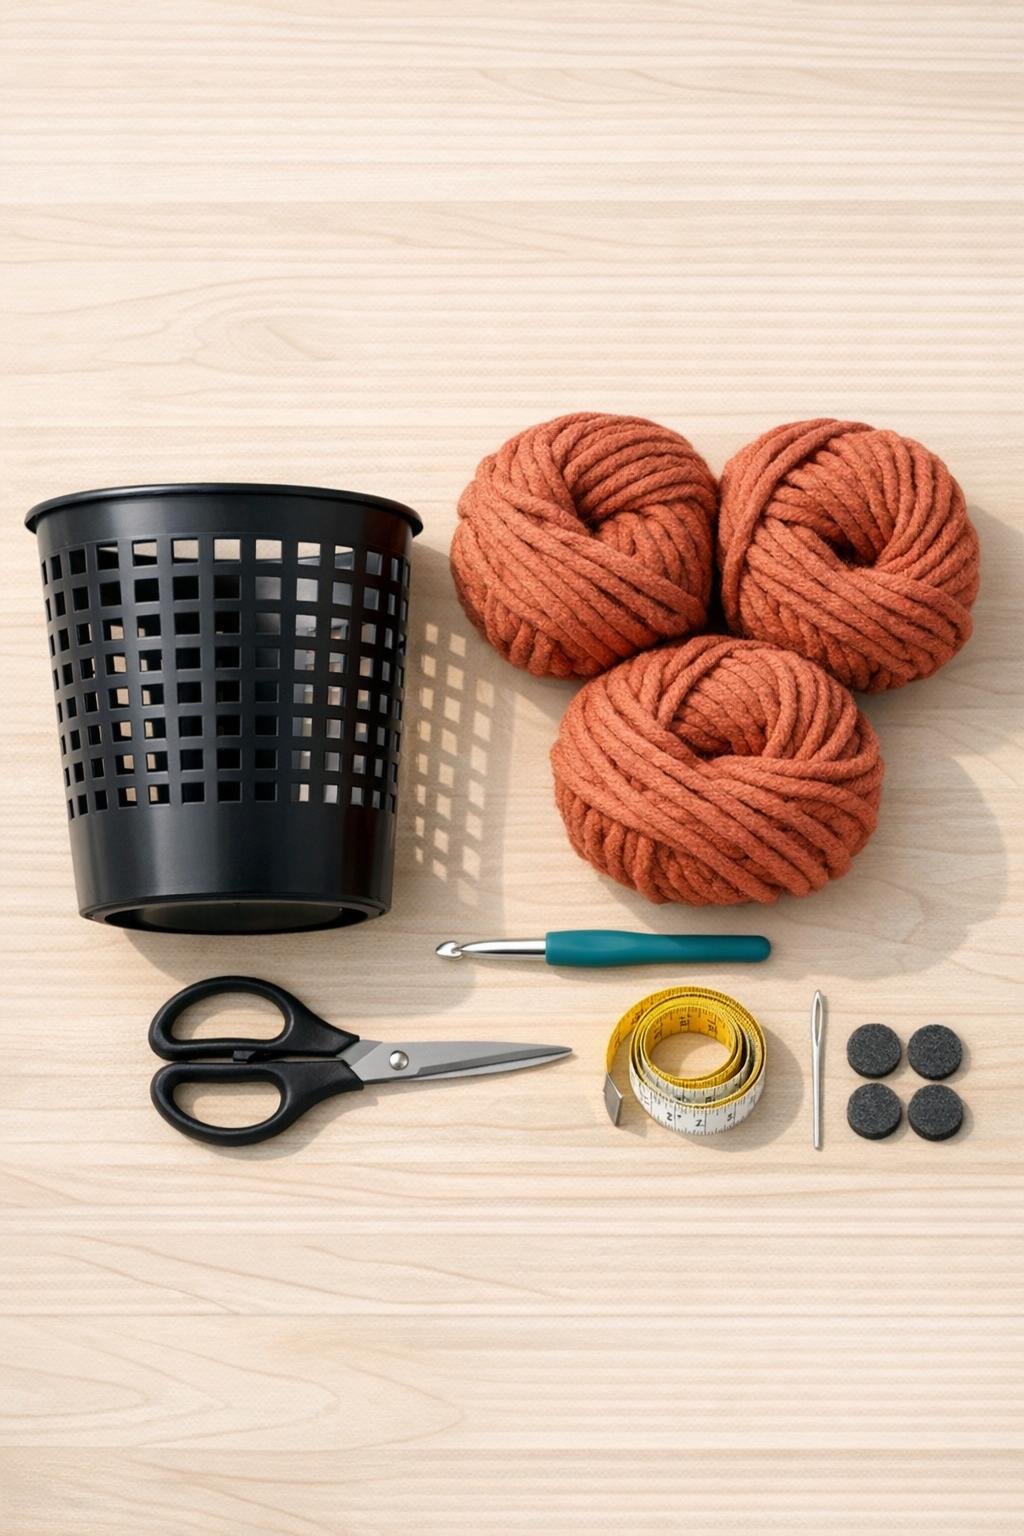
Materials
1 black plastic dollar store trash can with square grid openings, about 10 to 11 inches tall and 8 to 9 inches across the top
Instructions
1. Check the trash can for any rough plastic bits around the grid and trim them off with scissors so the yarn won’t snag. Wipe the can clean and set it upright with the wider opening at the top.
2. Tie the yarn securely around one vertical bar near the lower edge, leaving a 4-inch tail, then insert your hook through a bottom-row grid opening. Work one single crochet around each vertical bar all the way around that lowest row to create a firm anchor round.
3. Join the round with a slip stitch, chain 1, and begin the next round by working one single crochet through each grid opening and around each bar as needed to fully cover the plastic row. Keep the stitches snug so the black grid starts disappearing under the yarn.
4. Continue working upward in even rounds, using one single crochet per opening and adding an extra stitch anywhere the row looks like it needs fuller coverage. Rotate the can as you go so the tension stays even and the terracotta surface looks dense instead of gappy.
5. When you reach the middle, step back and check for thin spots where too much of the plastic still shows through. Add a second pass of slip stitches over any exposed bars to fill in those areas and give the basket a richer woven look.
6. Keep crocheting round by round until you reach the top edge of the trash can. If your can flares outward slightly, relax your tension just a bit on the upper rounds so the crochet lays smoothly without pulling inward.
7. On the top row, work one final round of single crochet, then add a finishing round of slip stitches around the rim to make the edge look clean and substantial. This little extra step is what makes it read more like a boutique storage basket and less like a clever hack.
8. Cut the yarn with an 8-inch tail, thread it onto the yarn needle, and weave the end back through several stitches inside the basket. Weave in the starting tail the same way so nothing works loose with use.
9. Add adhesive felt pads to the bottom if you plan to use the basket on wood shelves, a desk, or a dresser. Gently shape the sides with your hands so the crochet sits evenly over the can and the basket looks full and symmetrical.
Variations & Tips
For a softer look: Use a chenille-style bulky yarn instead of a standard chunky yarn. It gives the basket a plush finish, though it can make stitch definition a little less crisp.
For extra coverage: If your trash can has larger grid openings, hold two strands of a lighter-weight yarn together instead of using a single bulky strand. That fills the openings faster and hides more of the black plastic.
Best use ideas: I like this size for rolled hand towels, bagged snacks, onions and potatoes in the pantry, or corralling charging cords in my office. The rigid can underneath means it holds its shape much better than a fully crocheted basket.
If your rows drift: Mark the first stitch of each round with a scrap of yarn or a stitch marker. It makes it much easier to keep the seam straight, especially if you’re fitting stitches around uneven grid spaces.
Color option: Terracotta is especially pretty because it warms up the black plastic, but olive, cream, mustard, or charcoal also look great. If your room already has warm woods or leather accents, terracotta blends in beautifully.
Make it more polished: Add a simple leather or faux-leather tag near the rim, or crochet a short chain loop on each side to suggest handles. I’d keep the embellishments minimal, since the chunky texture is already doing a lot of the heavy lifting.