
I have a basket in my laundry room that seems to collect lonely socks at an impressive rate. Some are missing their match forever, some shrank weirdly in the dryer, and some are just too cute to toss. After years of trying to be “good” and save them for some vague future use, I finally started turning them into little practical projects I can actually finish in one evening.
If you have a single-sock pile too, these are the 20 DIYs I’d start with. I kept every idea simple, inexpensive, and realistic for a busy weeknight, and I’m sharing the best sock type to use, the few steps that matter most, and one tip for each so you don’t waste time on trial and error like I did.
1. Swiffer pad
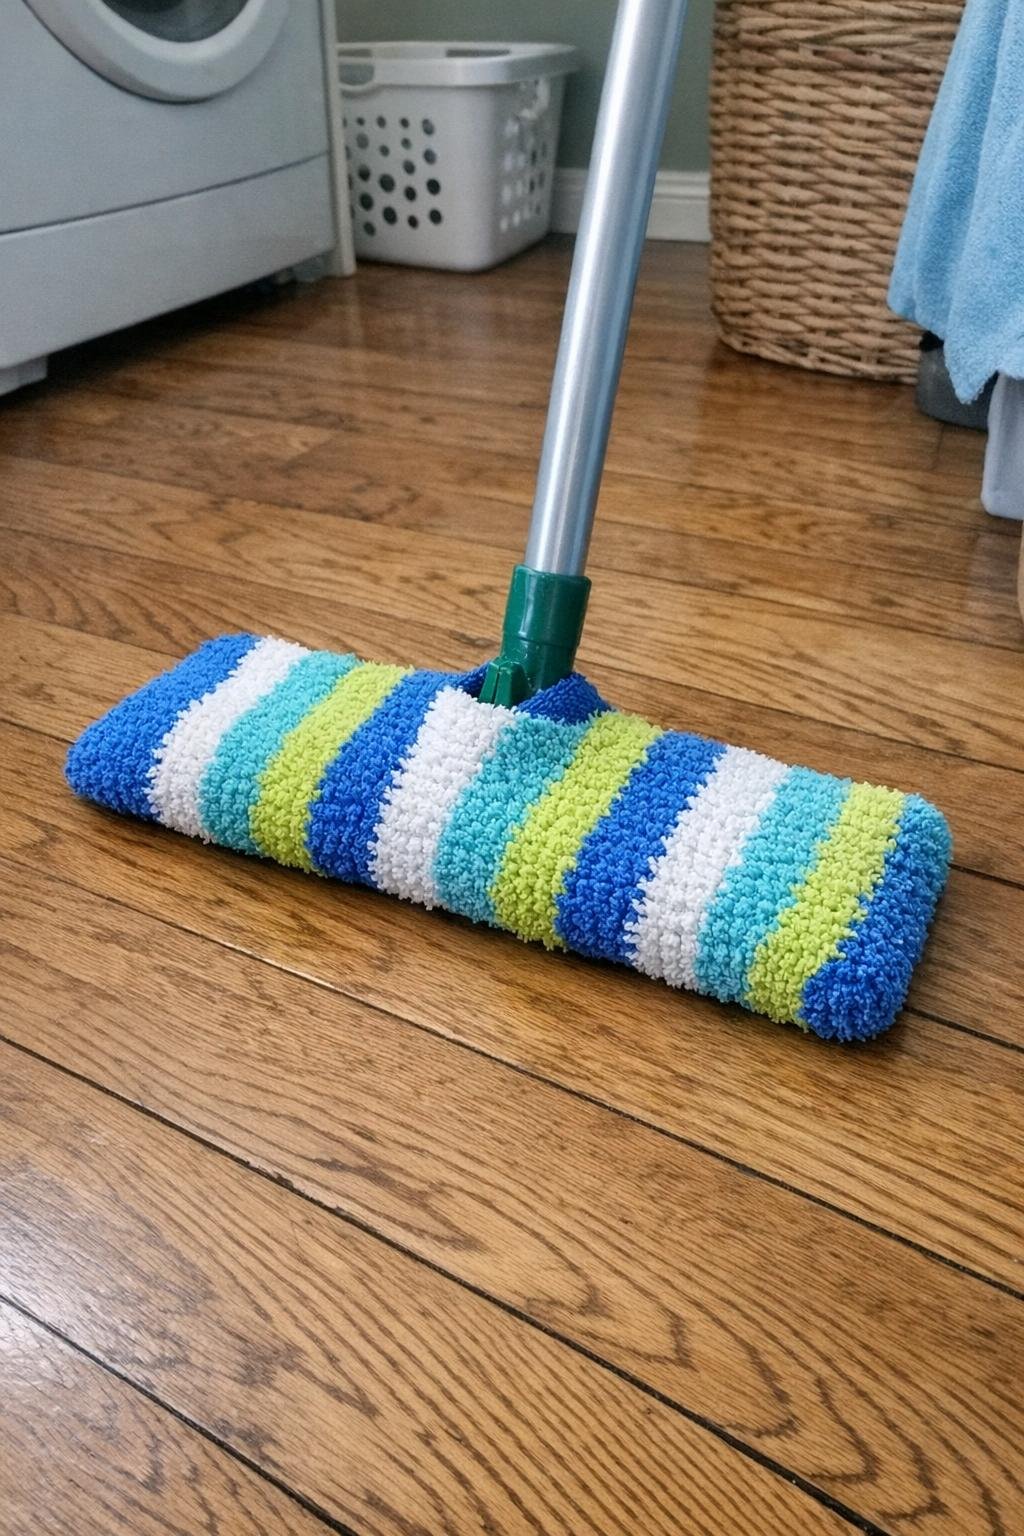
Use one thick, textured chenille or fuzzy sock for this one. Just pull the sock over the head of a dry mop or Swiffer-style floor tool, tuck the extra fabric under, and you’ve got a washable dusting pad in about 2 minutes for basically free. The texture grabs pet hair and crumbs much better than thin dress socks.
My best results come from men’s crew socks because they stretch over the mop head more easily. Tip: if the sock is loose, add two quick hand stitches at the open end to snug it up so it doesn’t slide off while you’re cleaning baseboards.
2. Easter gnomes
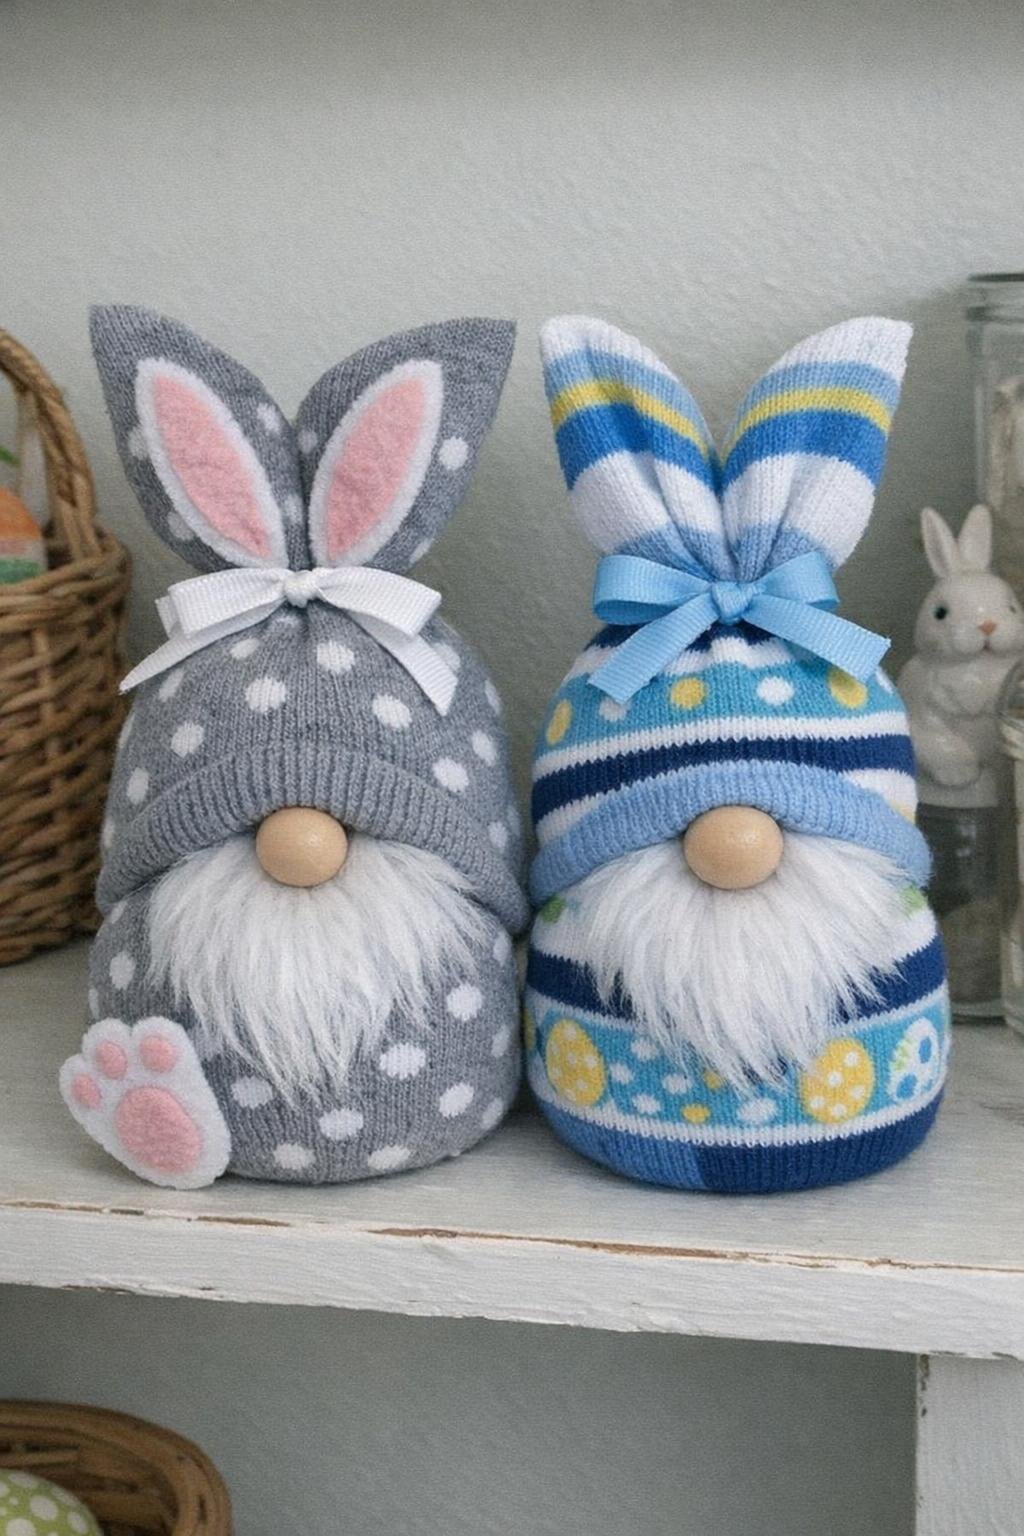
Patterned ankle or crew socks work great here, especially stripes, florals, or pastel prints. Fill the foot of the sock with 1 to 1 1/2 cups of rice or polyfill, tie it off tightly with twine or a rubber band, then add a wooden bead or pom-pom nose under the cuff and pull the top down into a floppy hat shape. This takes about 10 to 15 minutes and usually costs under $3 if you already have ribbon and stuffing.
I like setting these on a mantel or tucking them into an Easter basket because they look homemade in the best way. Tip: use a little hot glue under the nose and around the folded hat edge so the gnome keeps its shape and doesn’t slump after a few days.
3. Pincushion
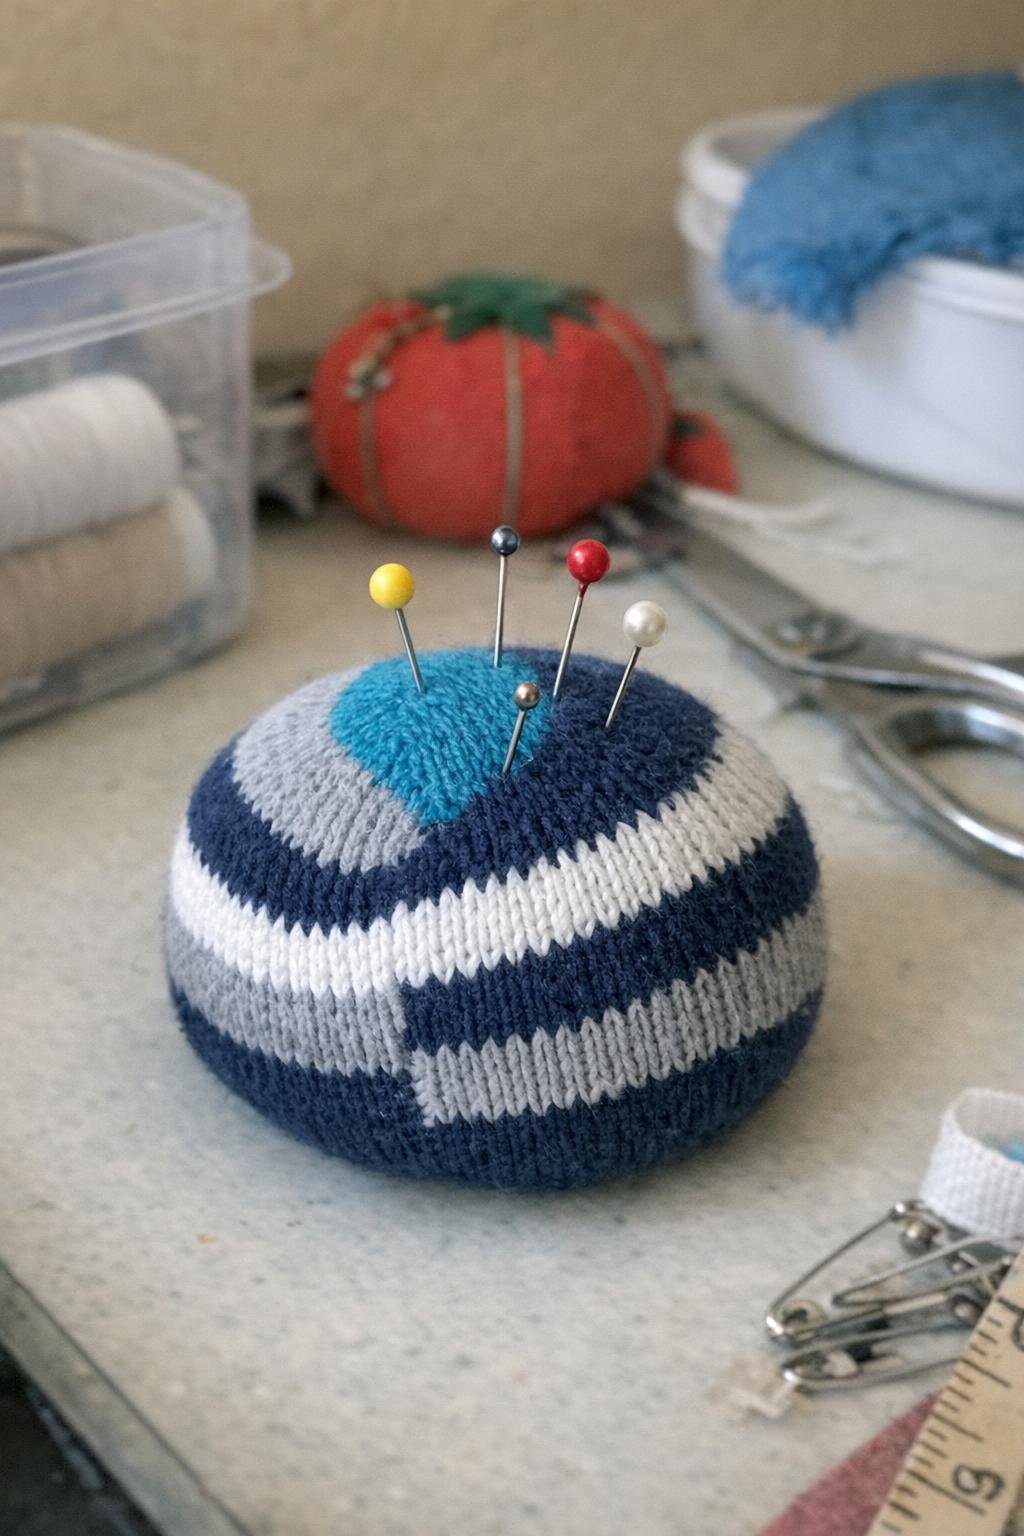
A baby sock or short ankle sock is perfect for a pincushion because it’s already small and easy to shape. Fill it firmly with a ball of steel wool and a little polyester stuffing around it, then knot or stitch the opening shut. It takes under 10 minutes, costs just a couple of dollars, and the steel wool helps keep pins and needles from dulling as quickly.
I keep one by my ironing board because that’s where I always seem to be hemming something at the last minute. Tip: choose a tightly woven sock so little bits of stuffing don’t peek through after you’ve pushed pins in and out for a while.
4. Door drafter
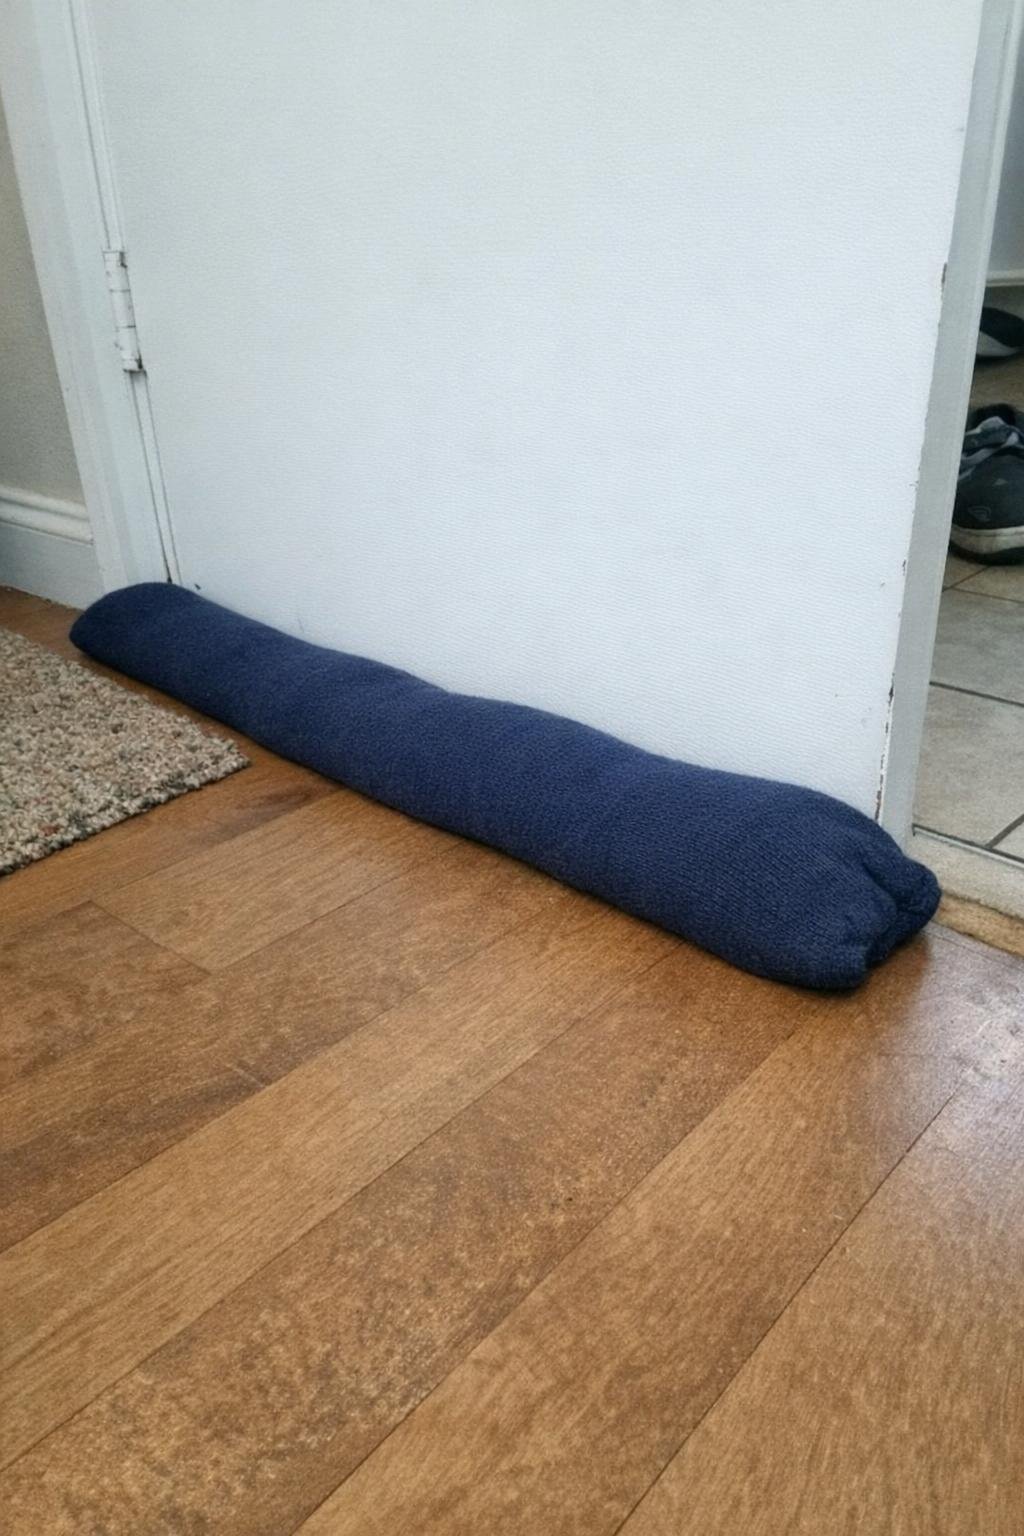
Use a long tube sock, knee sock, or men’s athletic sock for this because you need length. Fill it with 3 to 4 cups of dry rice or beans until it’s long enough to cover the gap under a standard 30- to 36-inch door, then knot or sew the end closed. It takes about 10 minutes and costs very little, especially if you use dried beans from the pantry.
I started making these after feeling cold air creep into our mudroom every winter, and it genuinely helped. Tip: funnel the filling in with a measuring cup and leave the sock slightly flexible instead of packed hard so it molds better to uneven flooring.
5. Mug cozy
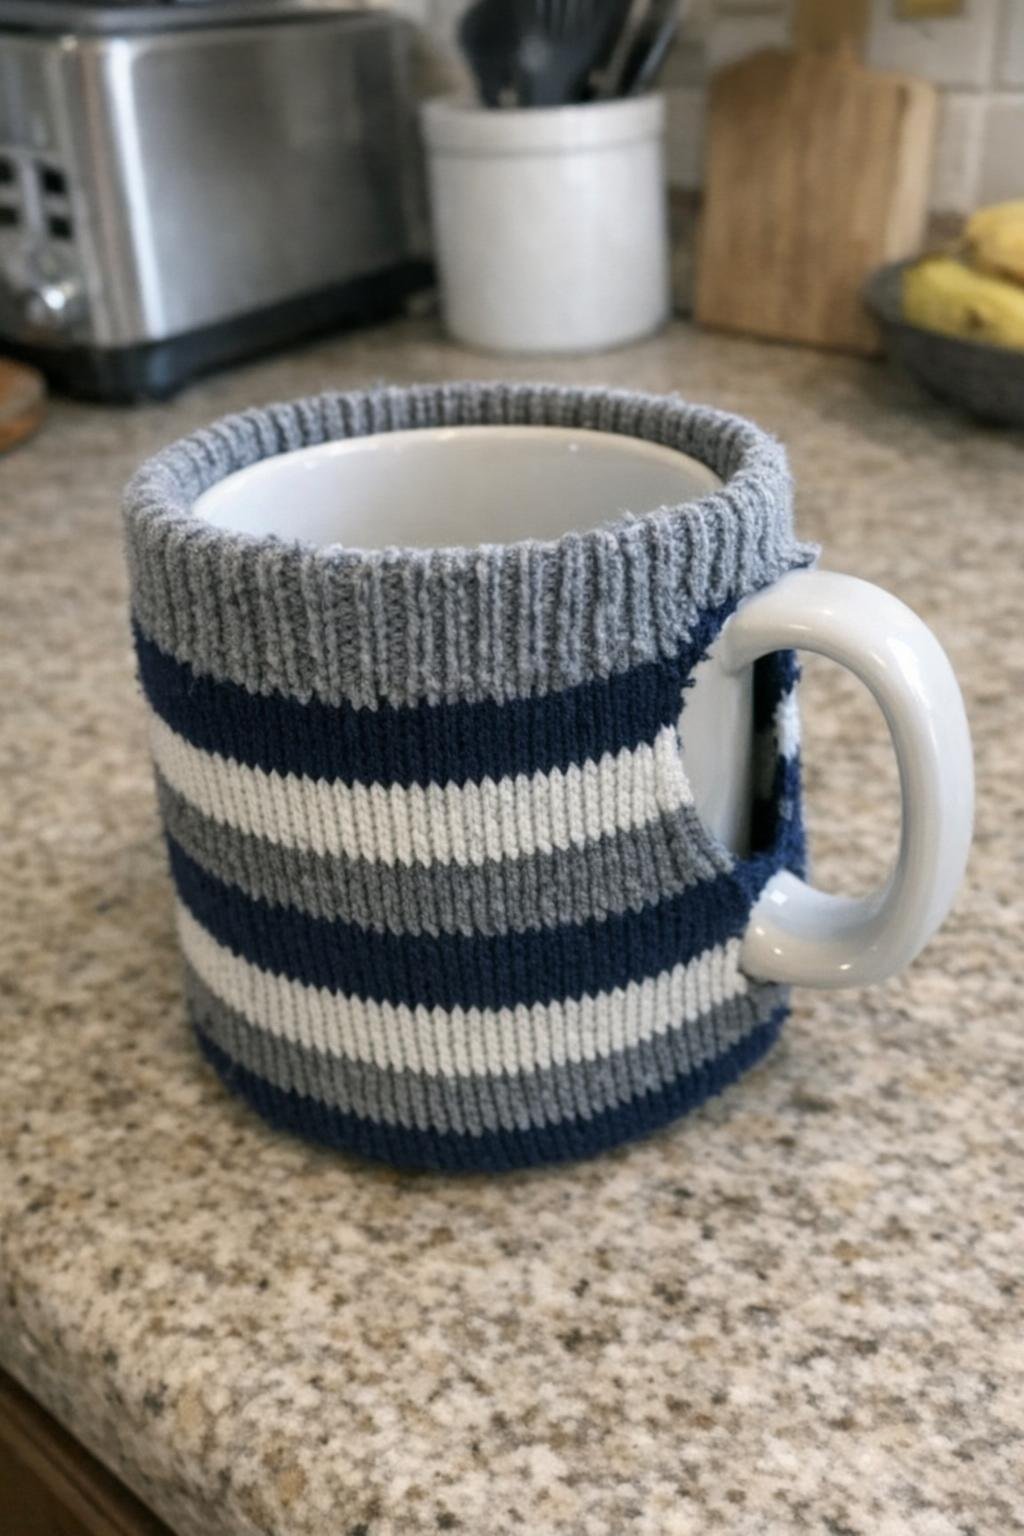
For this one, use a thick knit sock with some stretch, like a wool-blend crew sock. Cut a 3- to 4-inch band from the ankle portion, slip it around a mug, and trim a small notch if needed so the handle sits comfortably. You can finish the cut edge with a few hand stitches or fabric glue, and the whole thing takes maybe 5 minutes.
This is one of those projects that feels surprisingly polished for almost no effort, especially in colder months when I’m carrying tea from my kitchen to my desk. Tip: test the fit on the mug before hemming, because socks with a lot of elastic can tighten more than you expect once cut.
6. Dog toy from a sock
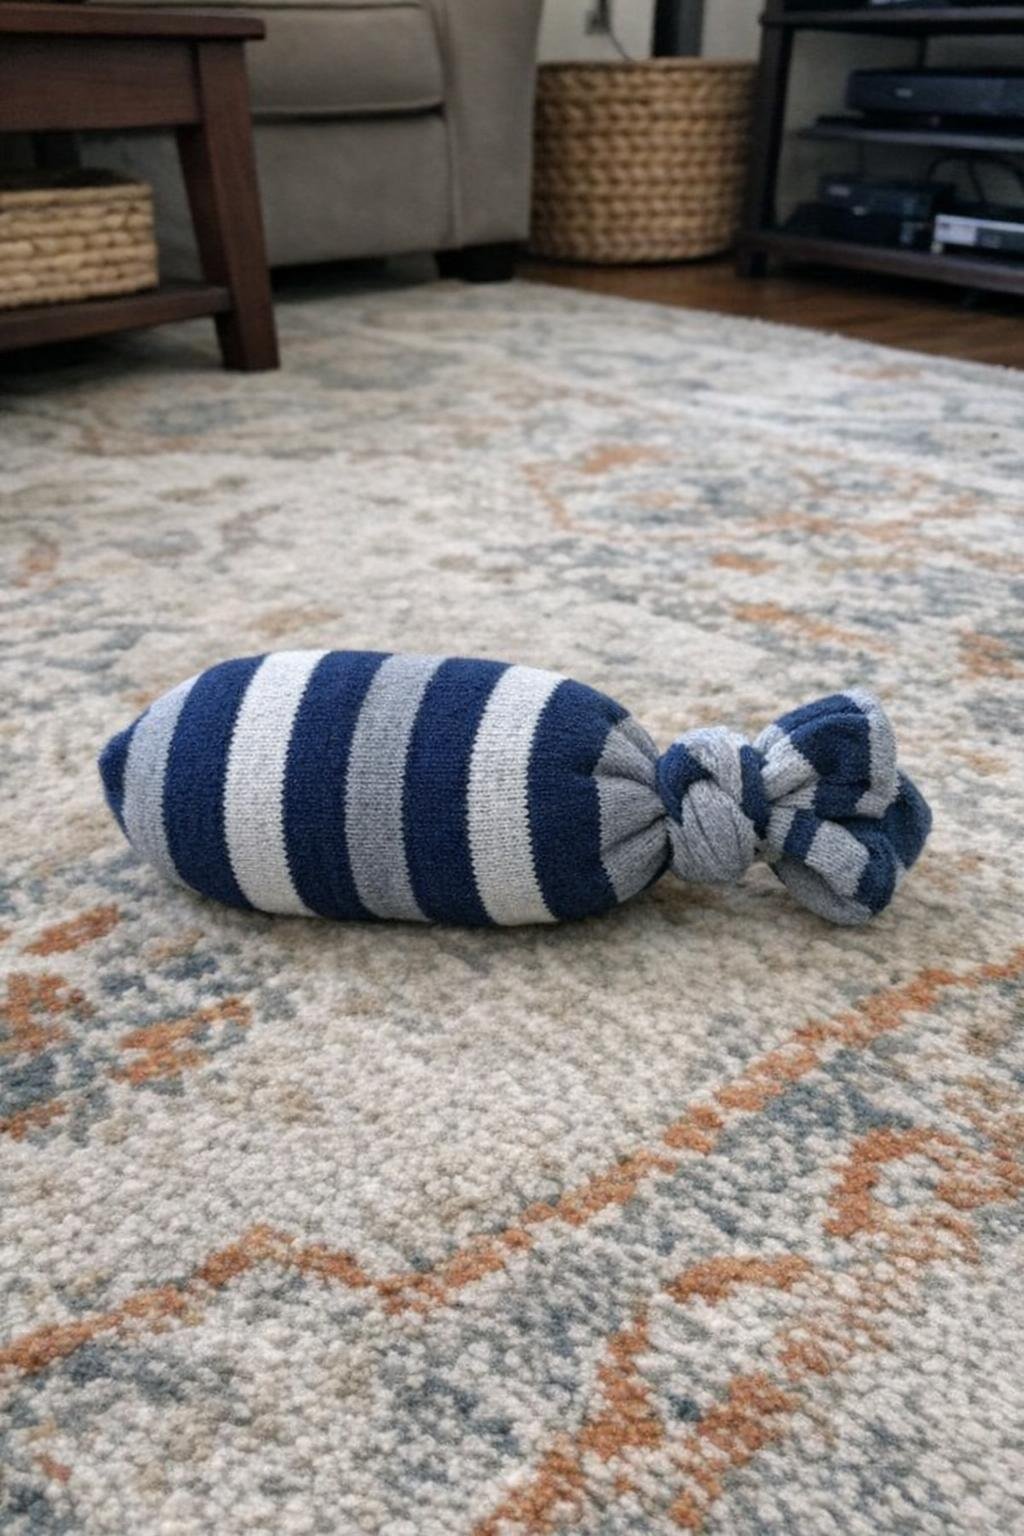
Choose a clean sock with a tight weave, ideally a sturdy athletic sock, so it lasts longer. Stuff it with washable fabric scraps, old T-shirt strips, or a squeaker from a worn-out pet toy, then knot the open end tightly. This takes about 10 minutes and usually costs nothing if you’re repurposing materials you already have.
Our dog tends to destroy flimsy toys in record time, but these sock toys are nice because I don’t mind replacing them. Tip: skip buttons, beads, or loose trim entirely and always supervise play, especially if your dog is a serious chewer.
7. Cute bean bags
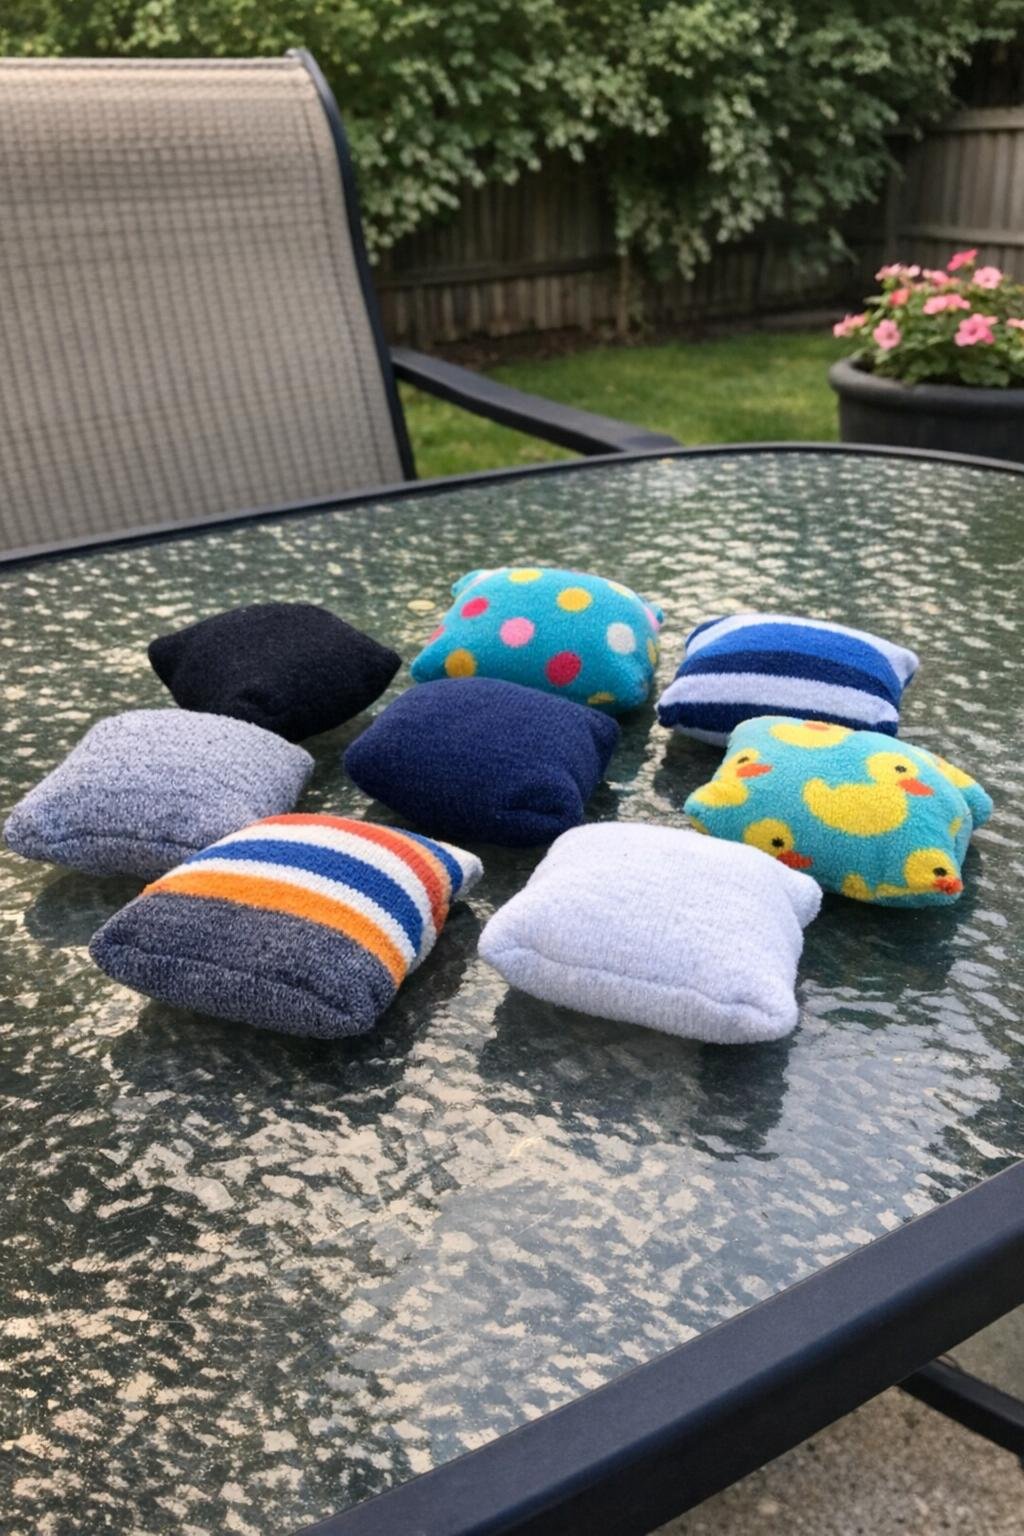
Baby socks or colorful ankle socks are ideal for bean bags because they’re already close to the right size for little hands. Fill each with about 1/2 cup of dried beans, lentils, or rice, then sew or knot the opening shut. You can make a set of four in 15 to 20 minutes for just a few dollars.
I like these for rainy-day tossing games in the basement or backyard, and they’re softer than store-bought bean bags if they accidentally hit furniture. Tip: double-bag the filling by placing it in a small sandwich bag first if the sock fabric is thin or loosely knit.
8. Leg warmers
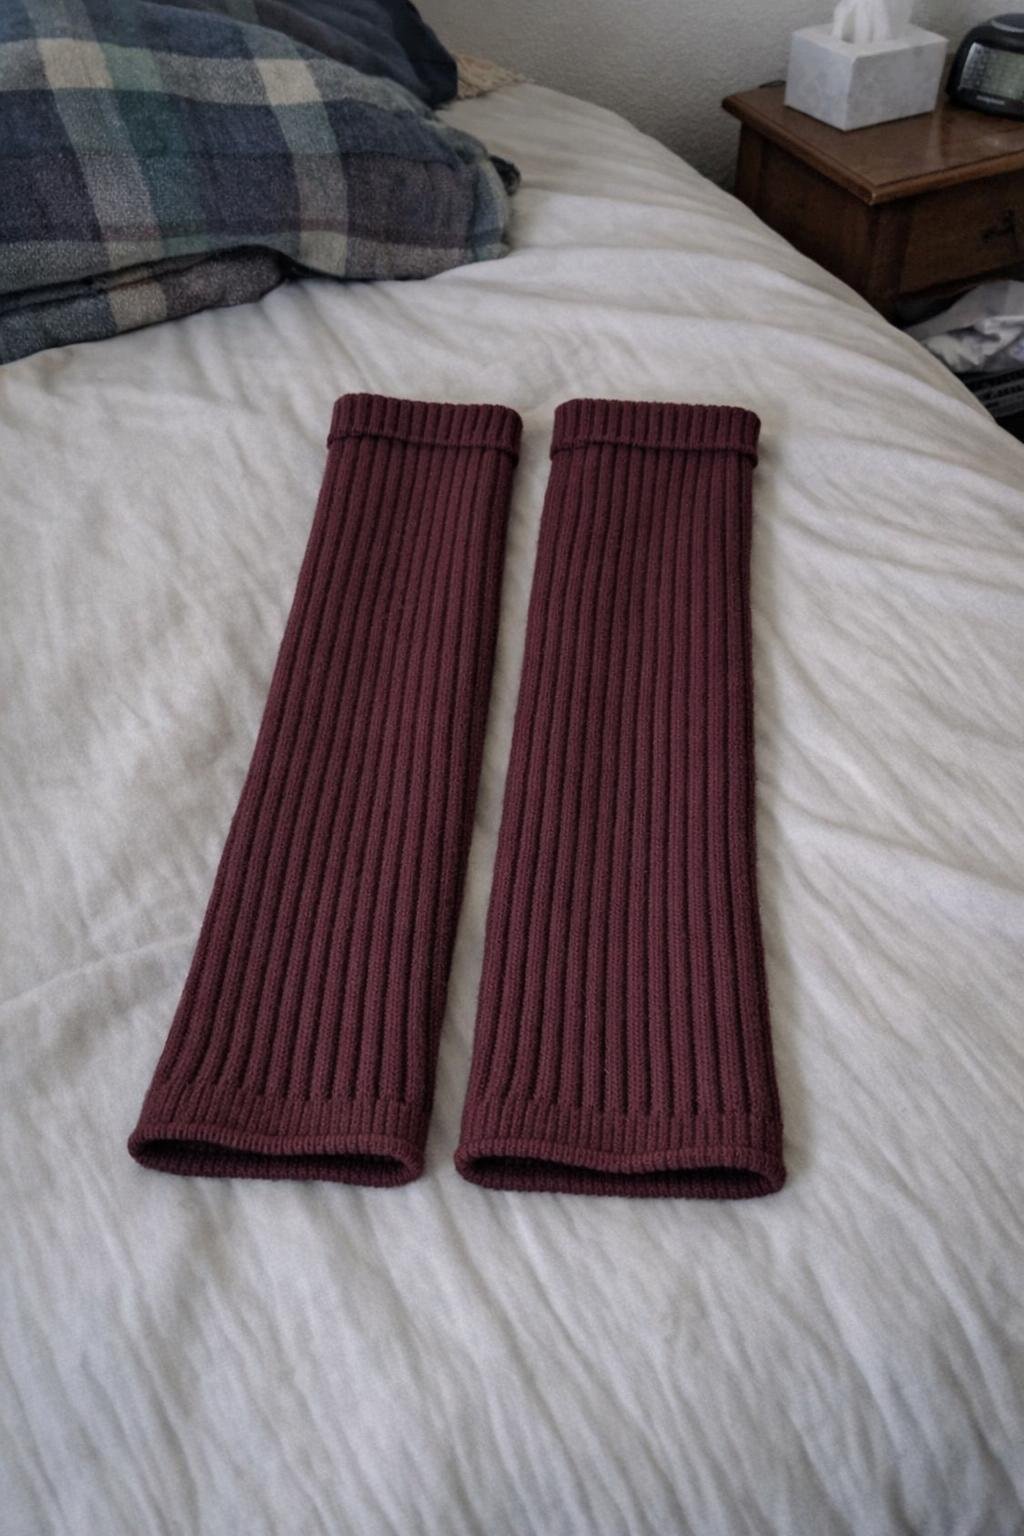
Use a pair of tall socks that have lost their feet to holes or thinning at the toes, especially knee-highs or thick boot socks; my favorite pair is a maroon set of ribbed boot socks that wore through at the heel. Cut the foot section off just above the heel, then fold the raw edge over 1/4 inch and hem it by hand or with a sewing machine. This takes around 20 minutes for the pair and can save an otherwise cute set of socks.
I’ve worn these over leggings with boots on extra-cold Midwest mornings, and they make practical sense, not just fashion sense. Tip: try them on before hemming to decide whether you want them calf-length or scrunched at the ankle for a looser look.
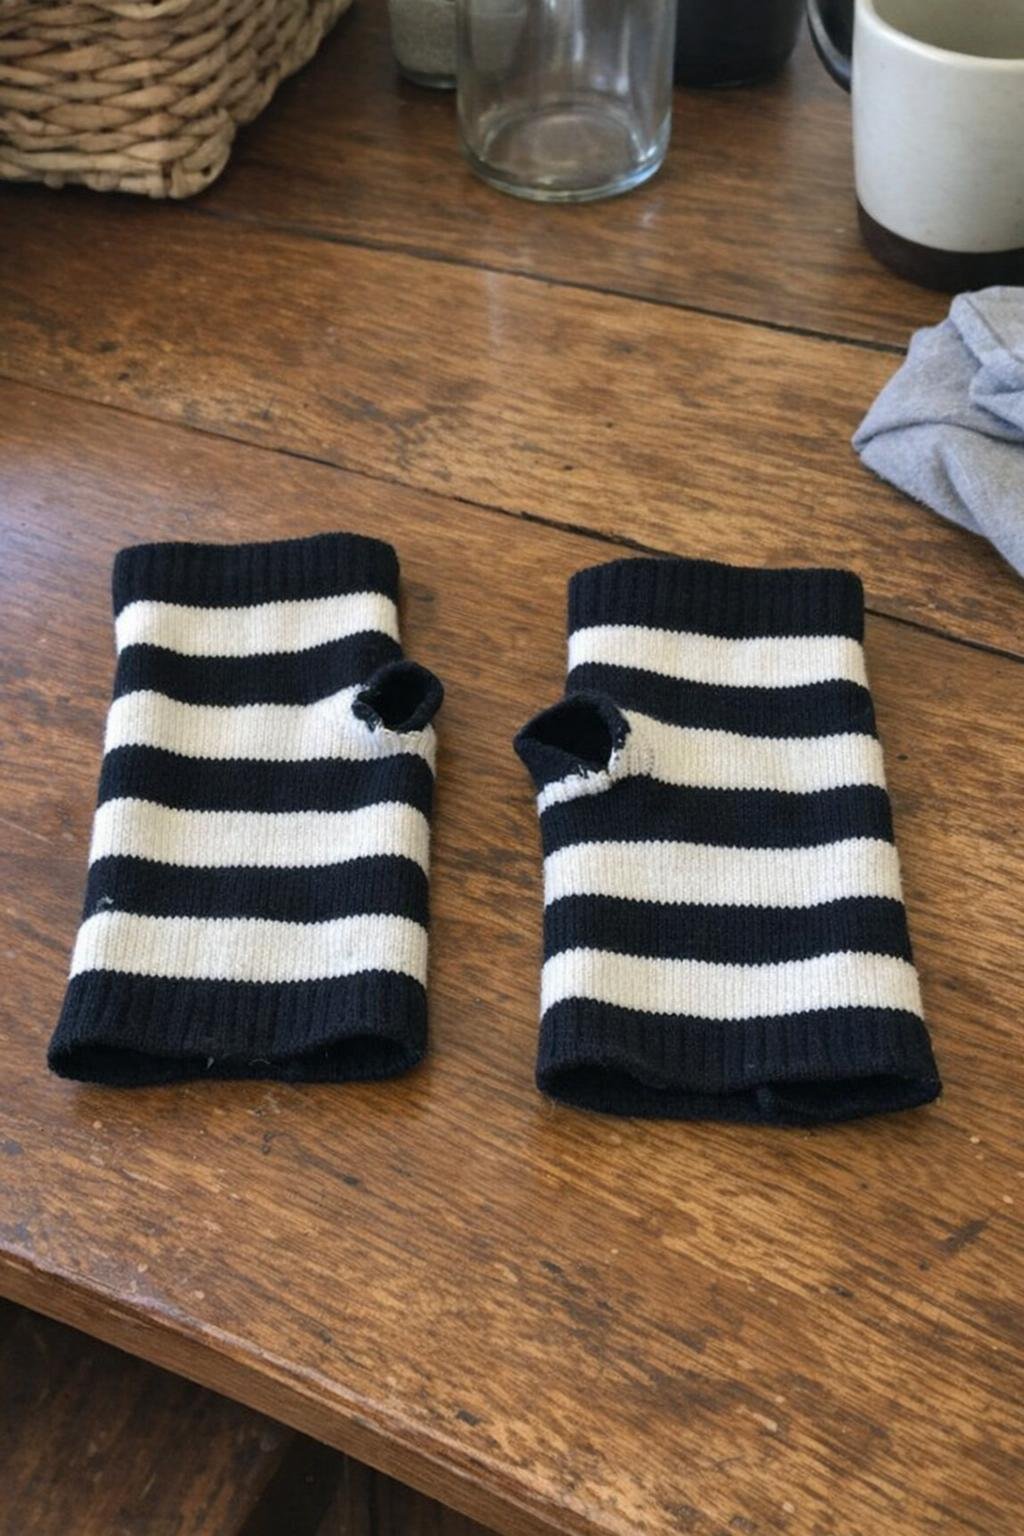
9. Fingerless gloves
Knee-highs or long dress socks with good stretch work best for fingerless gloves. Cut the foot portion off to the length you want, slide the tube over your hand and forearm, then snip a small thumb hole about 1 inch below the top side seam. You can hem the cut edges if you want a cleaner finish, and the whole project takes about 10 to 15 minutes.
I love these for typing in a chilly house when I don’t want to crank the heat during shoulder season. Tip: start with a tiny thumb hole because knit fabric stretches more than you think, and it’s much easier to enlarge it than fix one that’s too big.
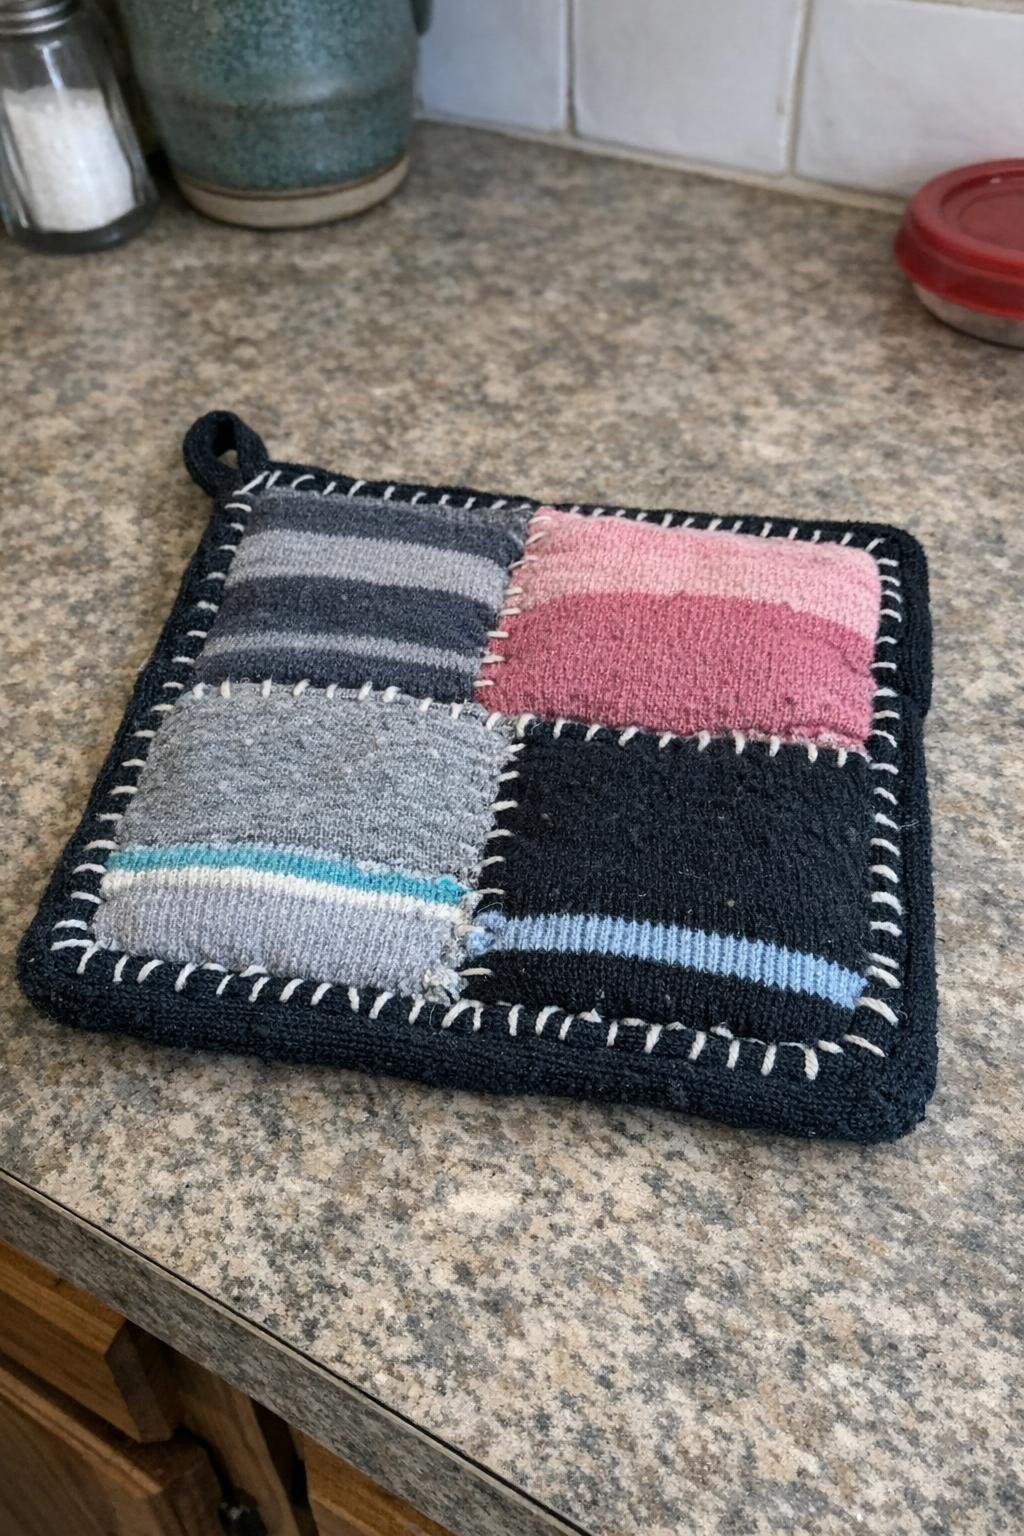
10. Potholder
For this one, use two thick cotton socks and add an insulating layer like quilt batting, old towel fabric, or a piece of heat-resistant liner between them. Cut two matching rectangles, about 7 by 7 inches, layer them with the insulation in the middle, and sew around the edges. It takes about 25 to 30 minutes and costs under $5 if you need to buy batting.
This is a nice way to reuse cute socks that are too worn to wear but still have strong fabric in the leg portion. Tip: avoid thin polyester socks here and always test carefully on a warm dish first, not a screaming-hot cast iron pan right out of the oven.
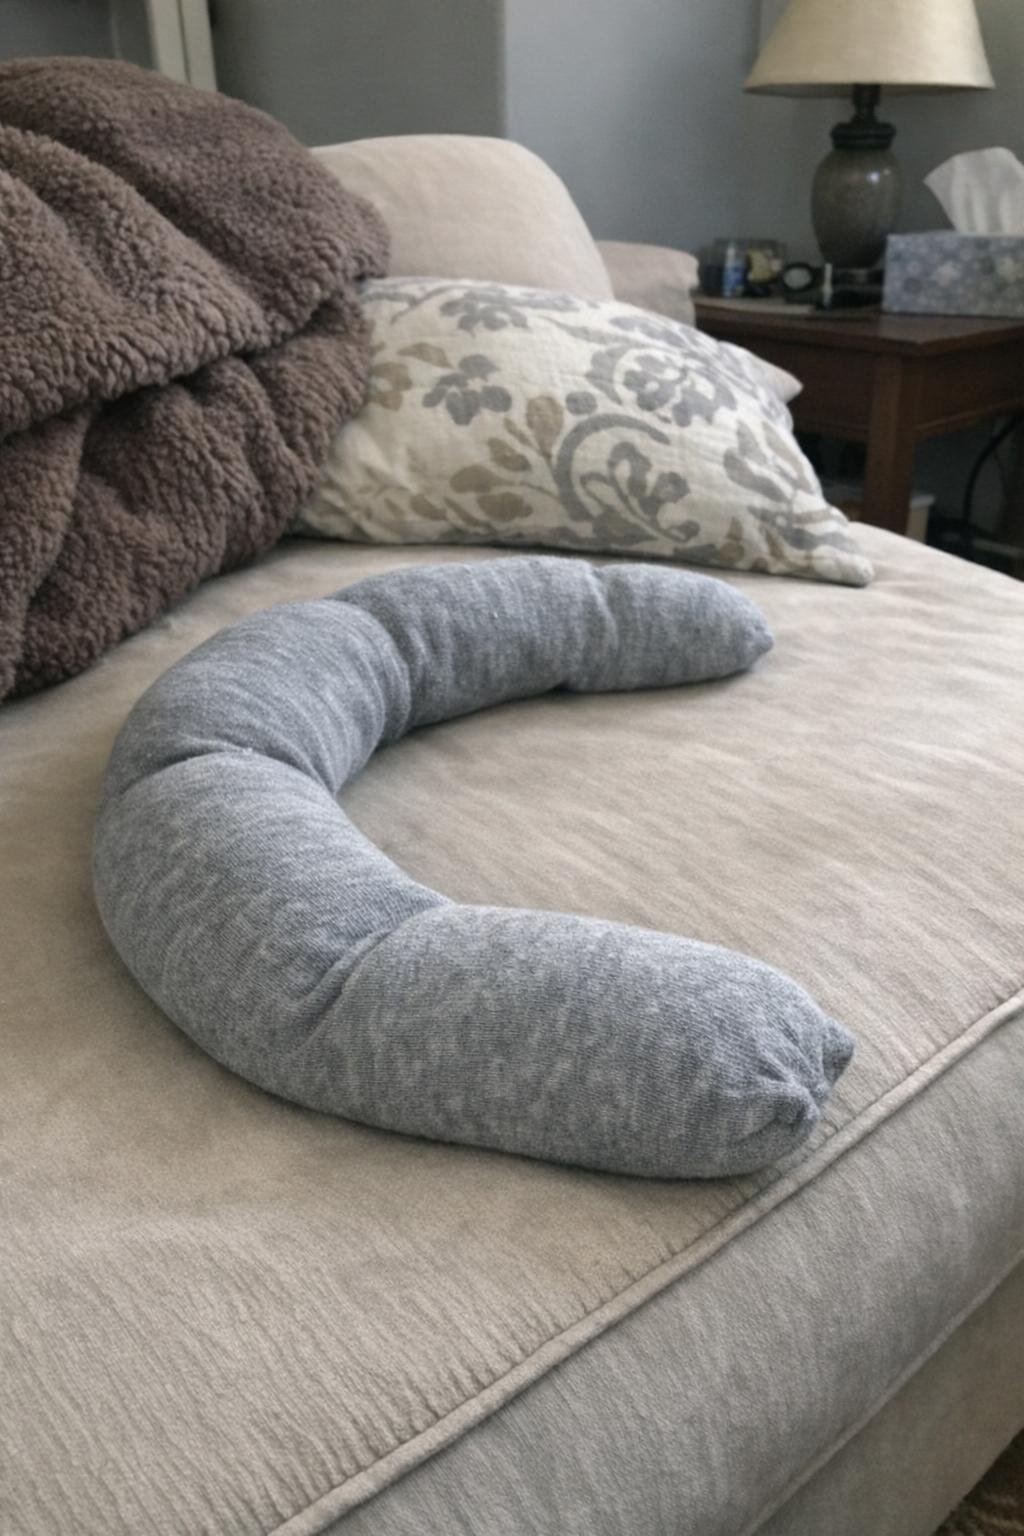
11. Rice heating pad
A long soft crew sock is ideal for a microwave heating pad because it shapes nicely around your neck or lower back. Fill it with 2 to 3 cups of uncooked rice, knot or sew the end shut, and microwave it for 1 to 2 minutes depending on your microwave’s strength. It takes under 10 minutes and costs just a dollar or two if you’re using pantry rice.
I keep one of these in the winter for stiff shoulders after a long workday at my laptop. Tip: add 1 tablespoon of dried lavender if you like, and always heat in 30-second increments the first time so you learn the safe timing for your microwave.
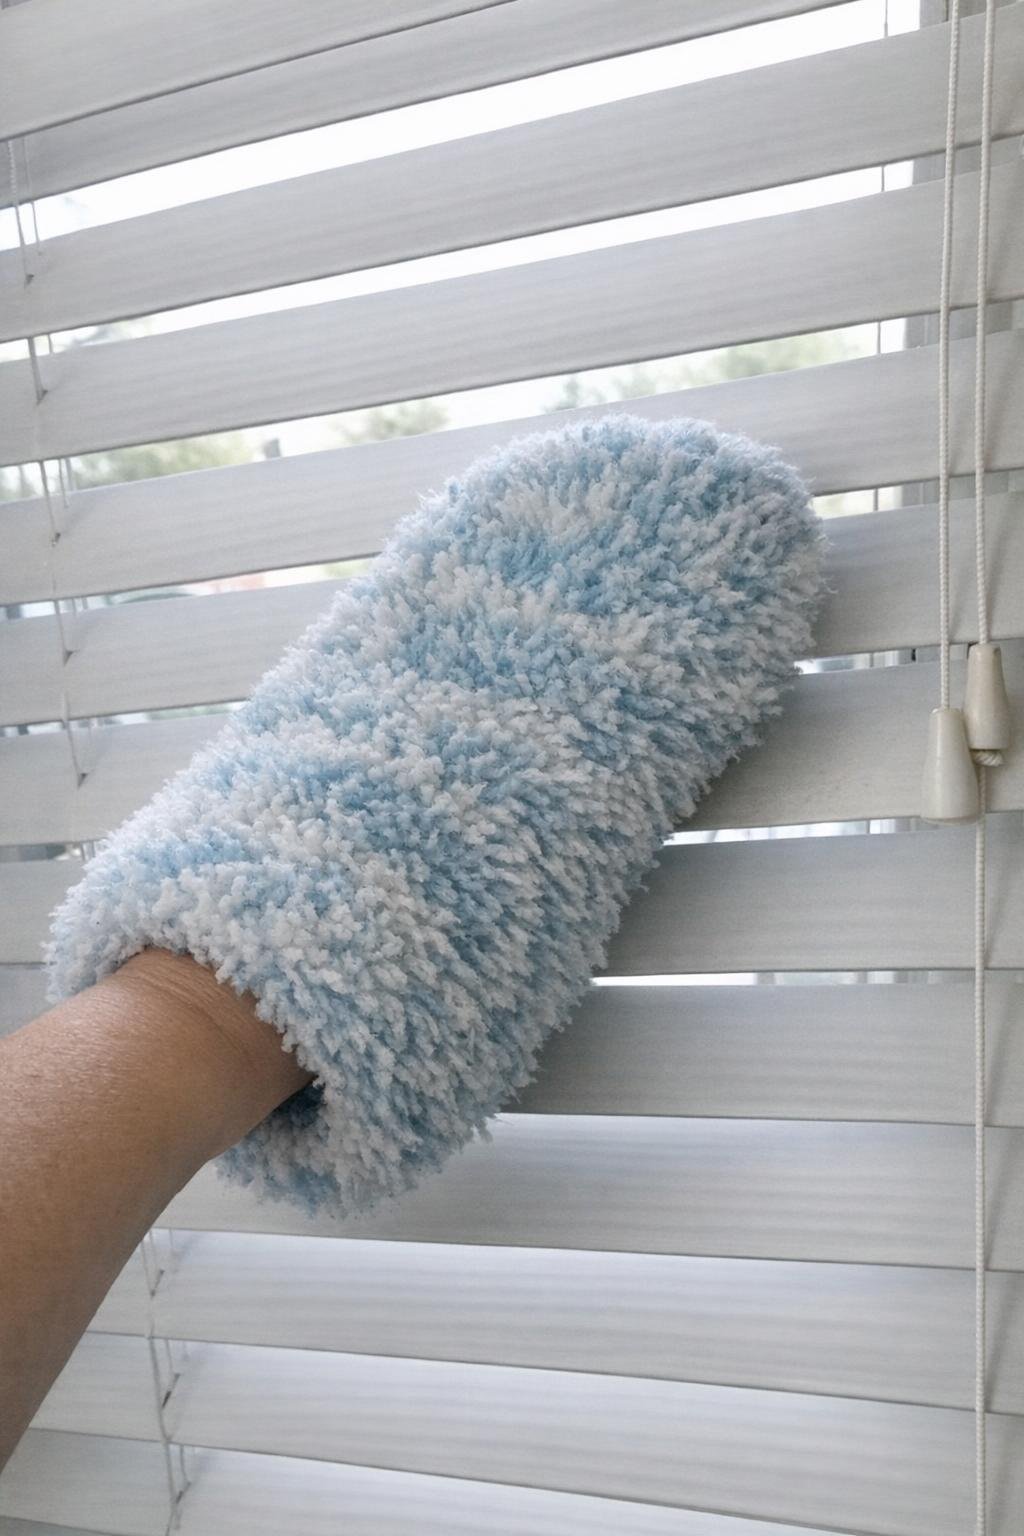
12. Dusting mitt for blinds and ceiling fans
Use a fuzzy or microfiber sock for this because it traps dust better than a smooth cotton one. Slide it over your hand like a mitt, lightly mist it with water or a little vinegar solution if you want, and run your fingers along blinds, fan blades, and window trim. This one costs nothing and takes about 30 seconds to make, which is my favorite kind of project.
It’s honestly one of the smartest uses for a stray sock because it makes cleaning awkward narrow surfaces so much easier. Tip: turn the sock inside out after one pass and use the cleaner side to finish the job before tossing it straight into the wash.
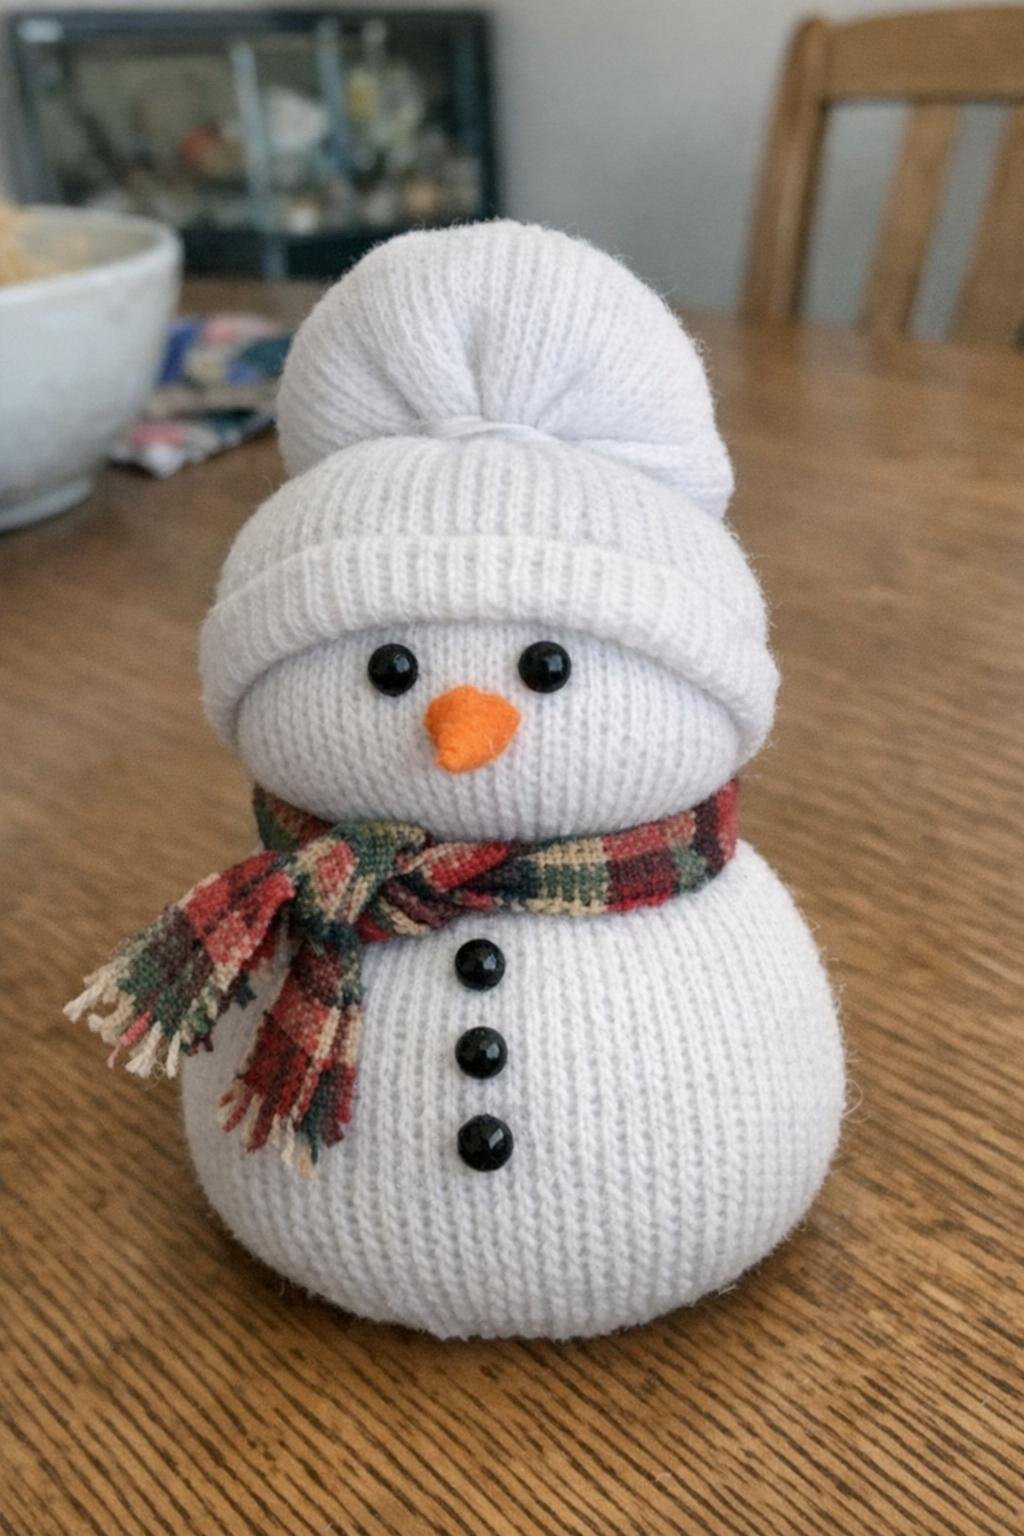
13. Sock snowman
A plain white crew sock makes the cutest snowman, especially if you pair it with a little scrap of plaid or fleece for a scarf. Fill the sock with about 1 1/2 cups of rice, tie off the top, then cinch the middle with string to create two round sections. Add tiny buttons or felt dots if you want details, and fold a colorful sock cuff over the top as a hat. Expect about 15 minutes and around $2 to $4 in materials.
I’ve made these around the holidays while watching a movie, and they’re easy enough to do assembly-line style if you want a few. Tip: pack the bottom section firmly and the head section more lightly so the snowman stands up better on a shelf or entry table.
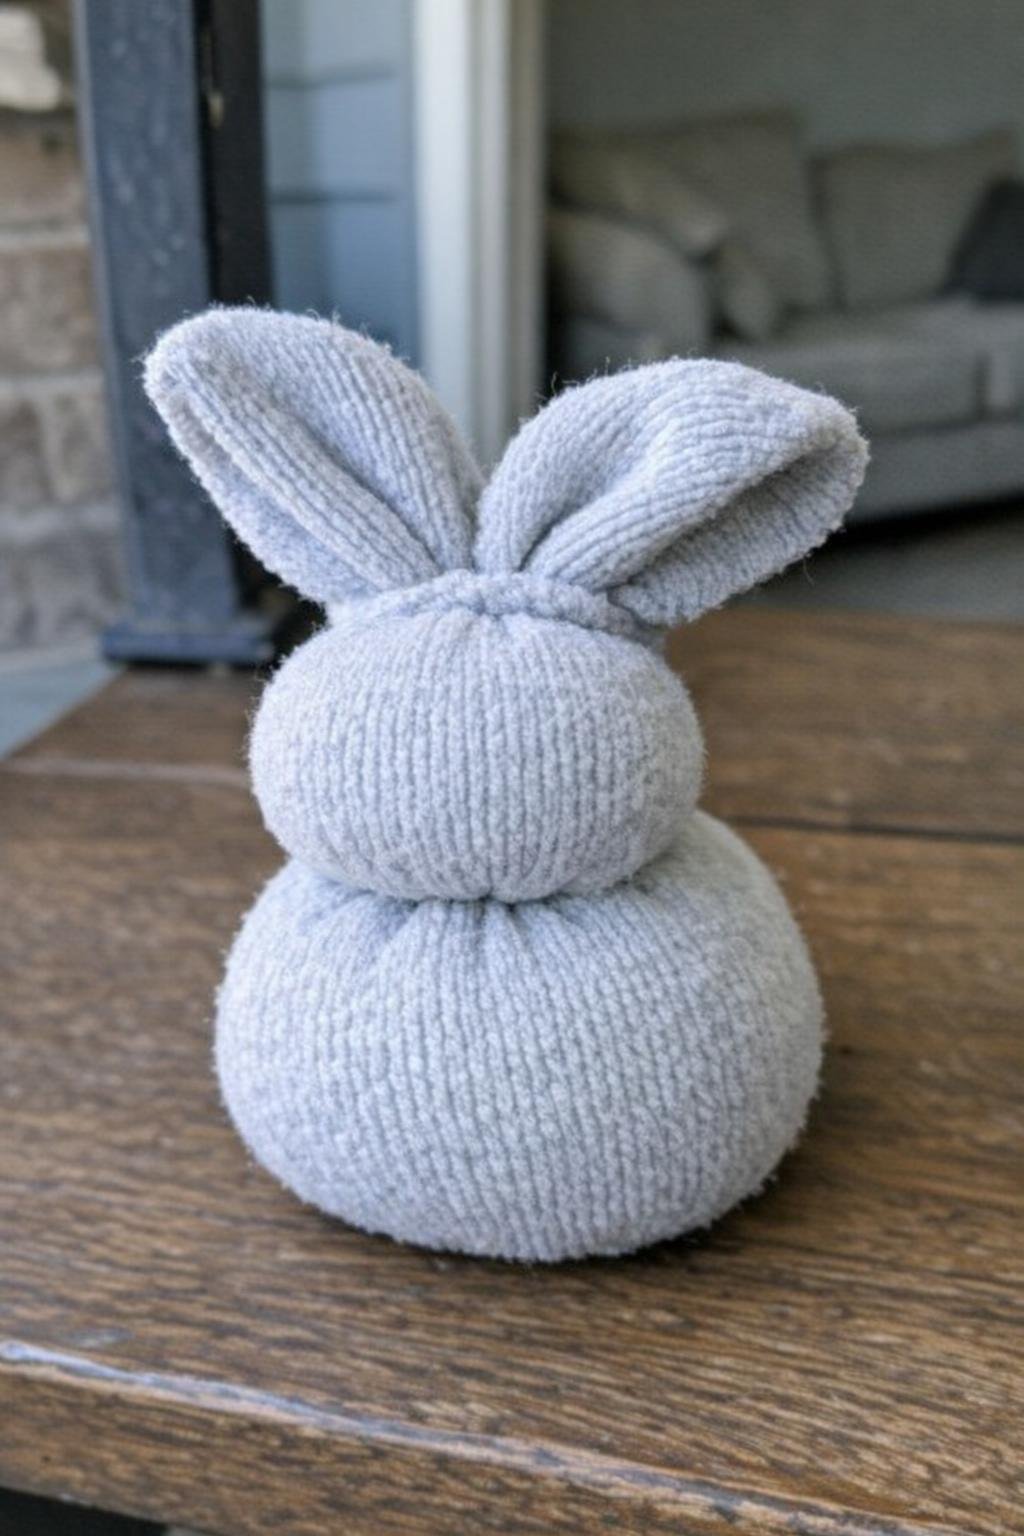
14. Sock bunny
For the no-sew folded-ear version, use a soft ankle sock in white, gray, or any pastel color. Fill the foot area with rice or stuffing, tie off the body, then fold and tie the top portion so two ear shapes stand upright. A dab of glue can hold on a pom-pom tail or tiny felt nose if you want, and the whole thing takes about 10 to 15 minutes.
This is adorable for spring decor and easy enough that it doesn’t feel like a whole crafting event. Tip: choose a sock with a little thickness so the ears hold their shape instead of flopping completely flat.
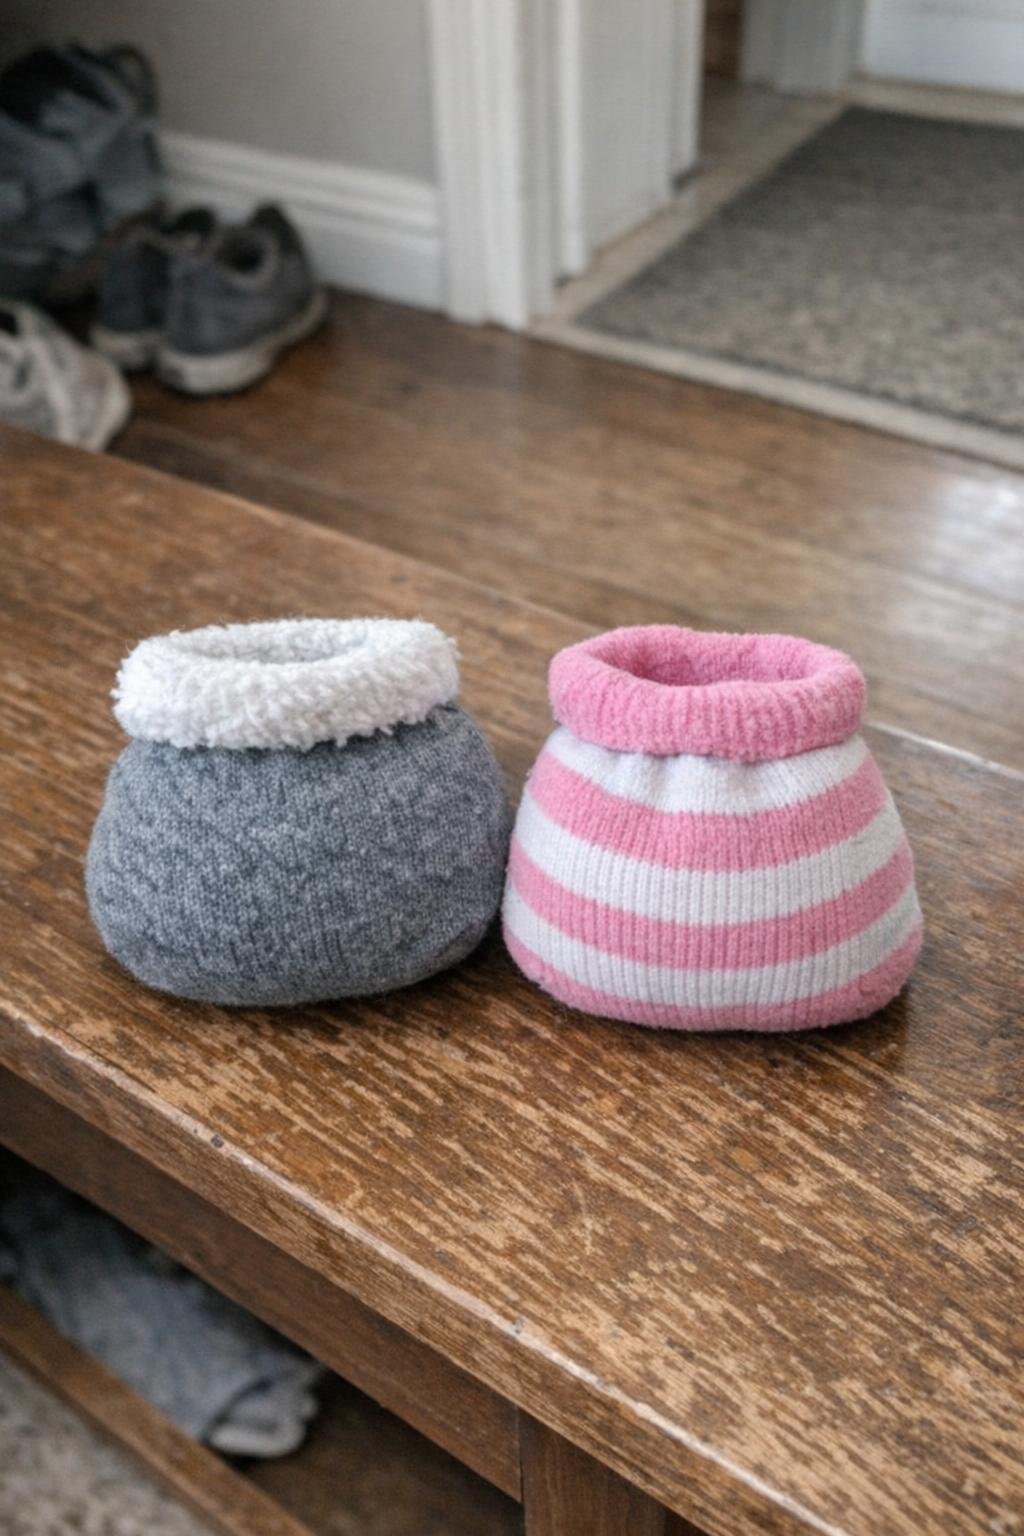
15. Pocket hand warmers
Use small ankle socks, kids’ socks, or cut sections from larger socks for these. Fill each with about 1/2 to 3/4 cup of rice, sew or knot them closed, and microwave for 20 to 30 seconds before slipping them into coat pockets. A pair takes around 10 minutes and costs almost nothing.
These are great for early morning dog walks, especially in that in-between season when gloves feel like too much but your hands still freeze. Tip: make them palm-size, roughly 3 by 4 inches, so they sit comfortably in a coat pocket instead of feeling bulky.
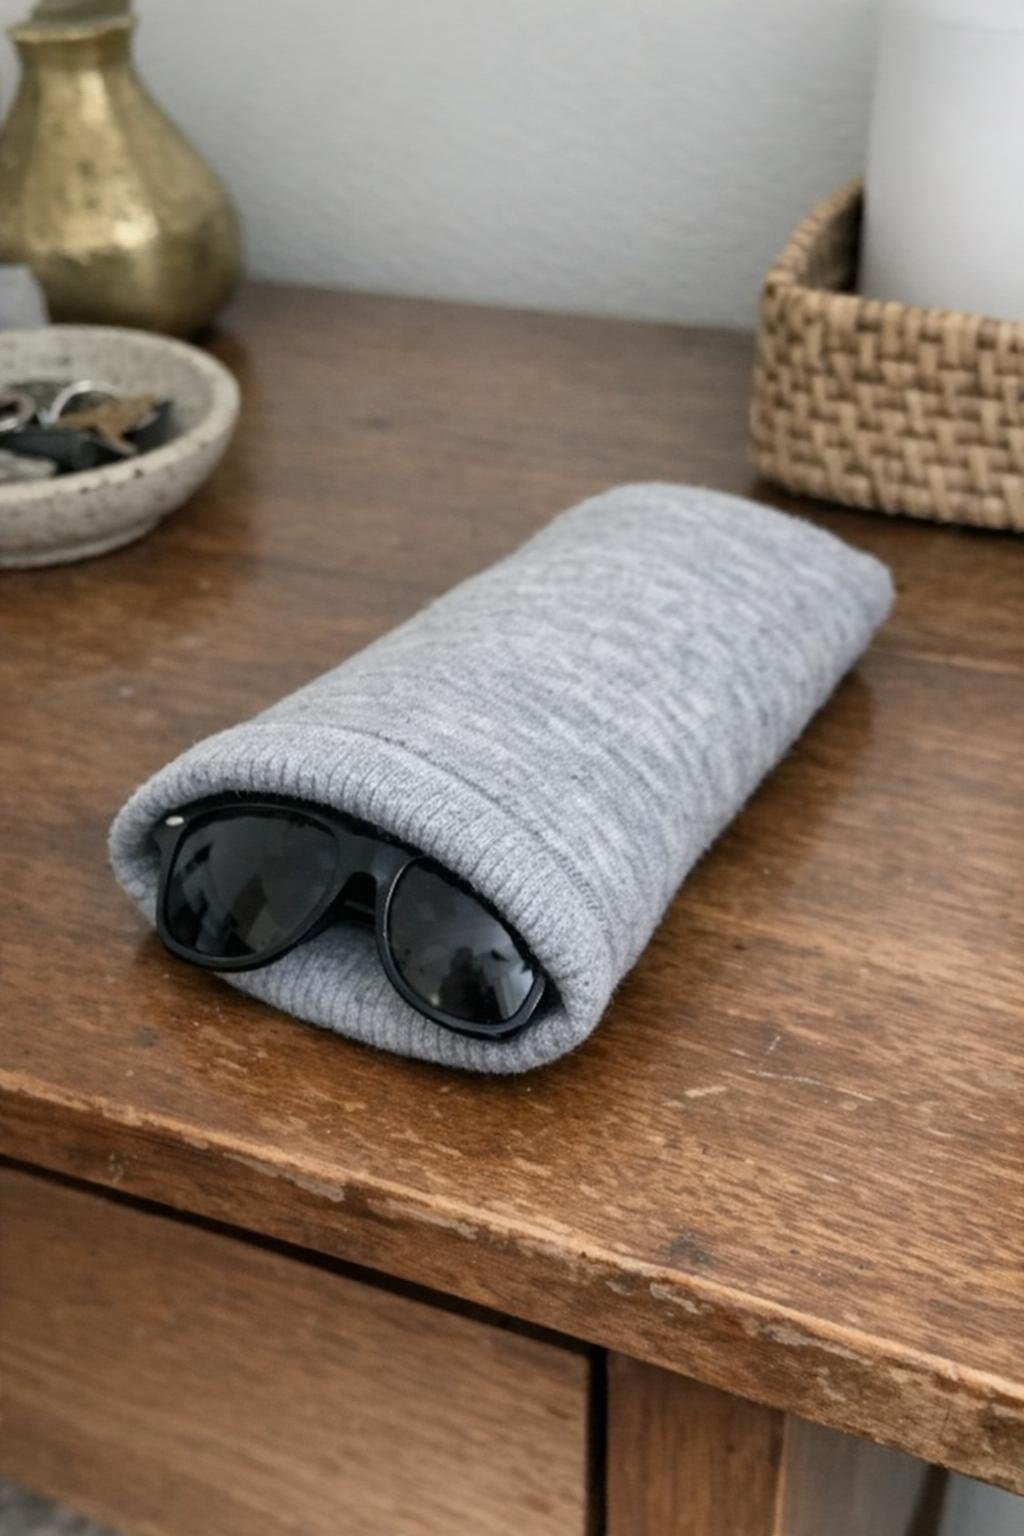
16. Phone and sunglasses sleeve
A soft, clean dress sock or lightweight knit sock works best so it protects without adding too much bulk. Cut the sock to the length of your phone or sunglasses plus 1 extra inch, turn the raw edge under, and hem it with a few hand stitches or fabric glue. This takes about 10 minutes and can save your lenses from scratches in a tote bag.
I especially like making one for sunglasses because I’m forever tossing them into my work bag next to keys. Tip: test the fit before sewing and choose the least stretched part of the sock so the sleeve feels snug rather than sloppy.
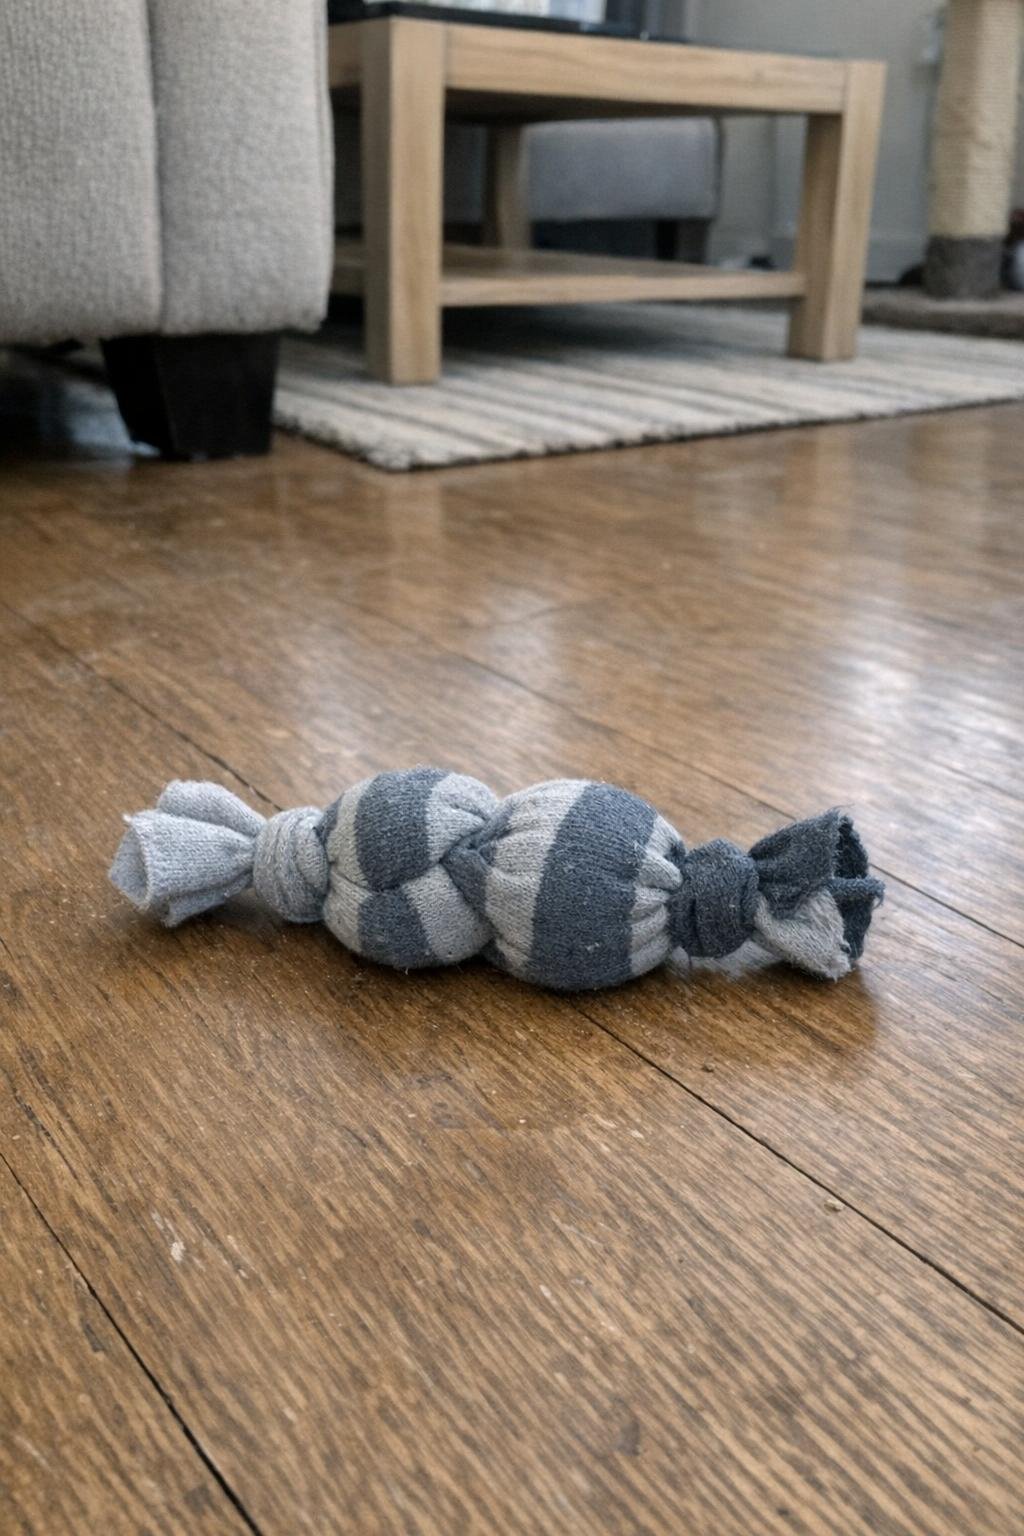
17. Catnip cat toy
Use a small sturdy sock and fill the toe with a spoonful or two of dried catnip plus a little stuffing or fabric scraps. Knot the sock tightly, or tie off both ends for a candy-wrapper shape. It takes about 5 minutes and costs just a couple of dollars even if you buy fresh catnip.
This is such an easy way to use those tiny socks that don’t seem big enough for anything else. Tip: if your cat plays hard, double-knot the end and use a thicker sock so the catnip stays contained longer.
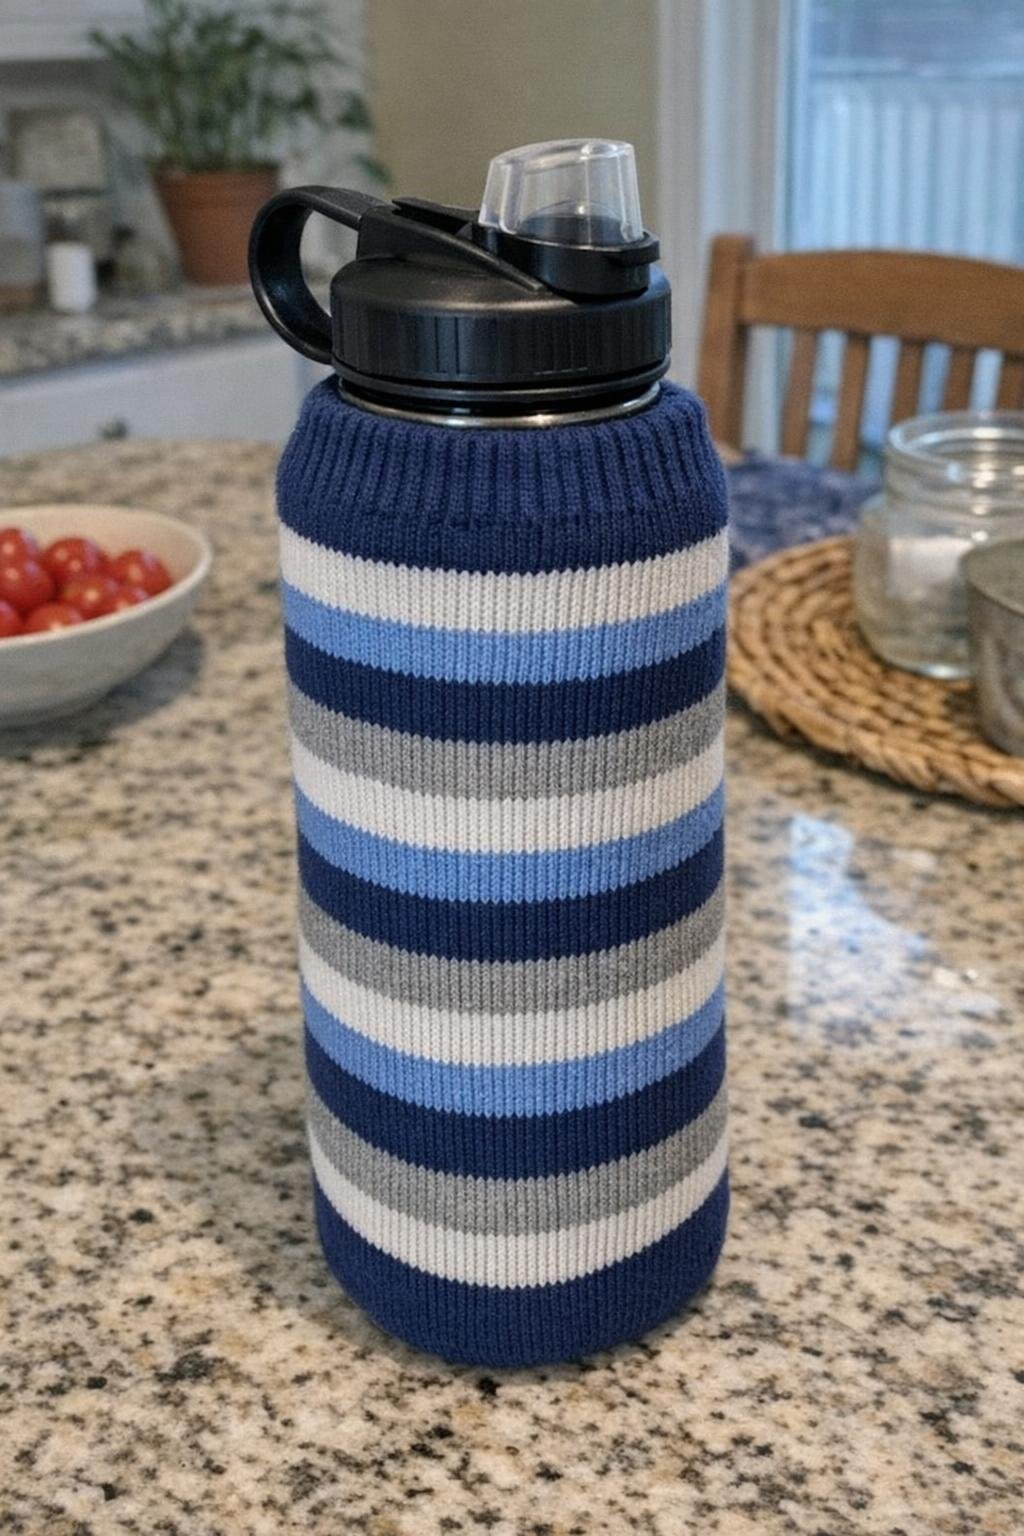
18. Water-bottle cozy
A tall athletic sock or boot sock fits nicely over a standard 16- to 24-ounce water bottle. Slide the sock over the bottle, trim the top if needed, and hem or leave it raw if the knit doesn’t unravel much. It takes around 5 minutes and helps absorb condensation so your desk, car cup holder, or gym bag stays drier.
I started doing this in summer because I was tired of that damp ring of water everywhere. Tip: use a thicker cotton sock for cold bottles and a stretchier one if you want to fit it over a wider reusable bottle.
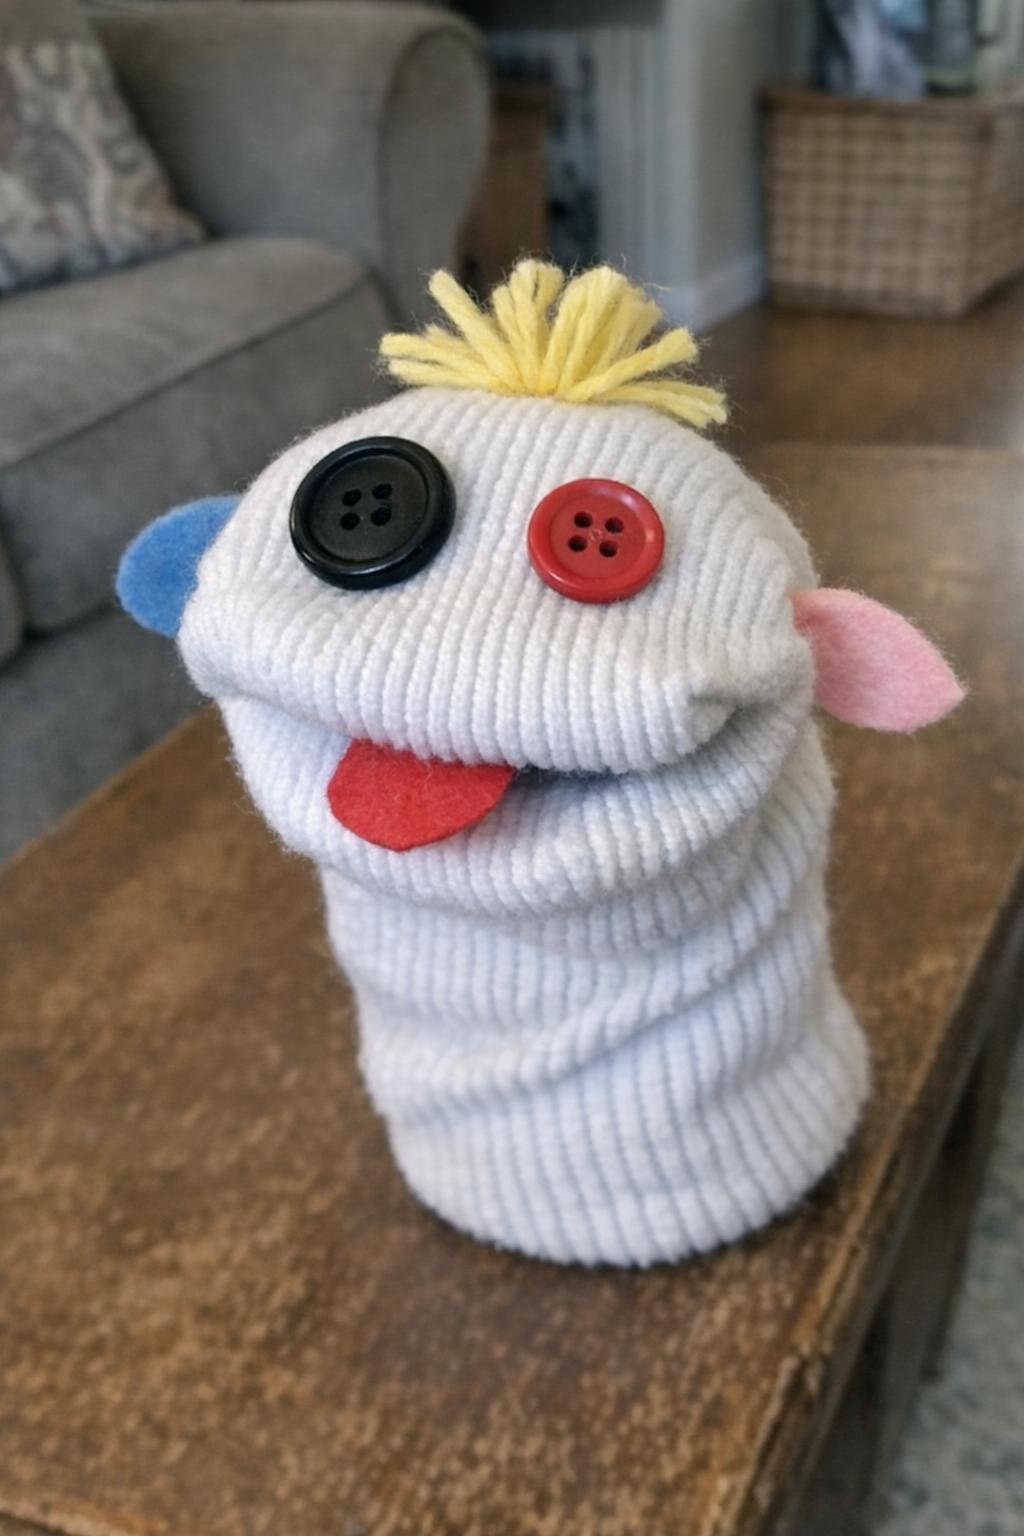
19. Sock puppet with button eyes
A clean crew sock is the classic choice here because it gives you enough room to open and close the “mouth.” Add a felt tongue or mouth lining with glue, sew on button eyes securely, and use scraps of yarn or fleece for hair if you want extra personality. It takes about 20 minutes and can be made for under $5 with basic craft supplies.
This is one of those crafts that feels charmingly old-school, and kids still love it. Tip: sew the buttons on very firmly and reserve this version for older kids; for little ones, use felt circles instead of buttons for safer play.
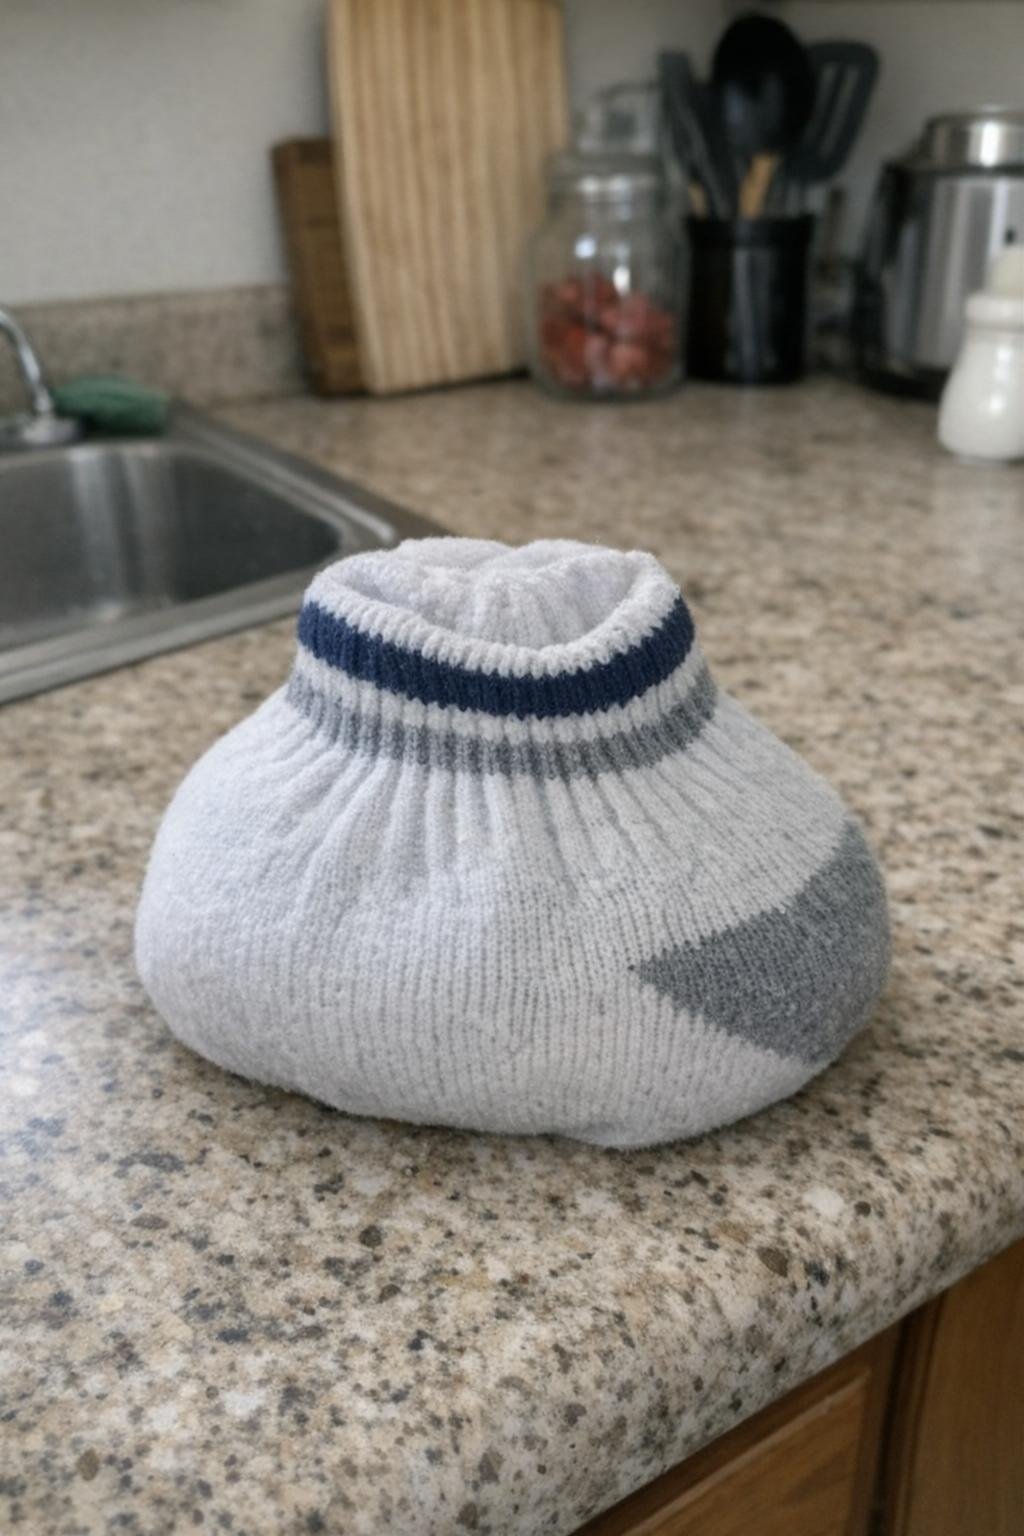
20. Reusable ice pack
For a quick soft ice pack, use a medium or long sock to hold a small bag of frozen peas or a damp sponge that’s been frozen. Slide the cold item into the sock so it feels gentler against skin, and keep one ready in the freezer for bumps, headaches, or post-workout soreness. It takes under 2 minutes and costs almost nothing if you’re using what you already have.
I like this better than pressing a hard frozen bag straight onto skin because the sock adds a little comfort and soaks up condensation. Tip: keep the “ice pack sock” separate from everyday laundry so it stays clean and easy to grab when someone needs it fast.
Once you start looking at lone socks as craft supplies instead of laundry failures, it’s honestly hard to throw them away. A few of these are cute, a few are surprisingly practical, and all of them are easy enough to make without turning your whole weekend into a project.