
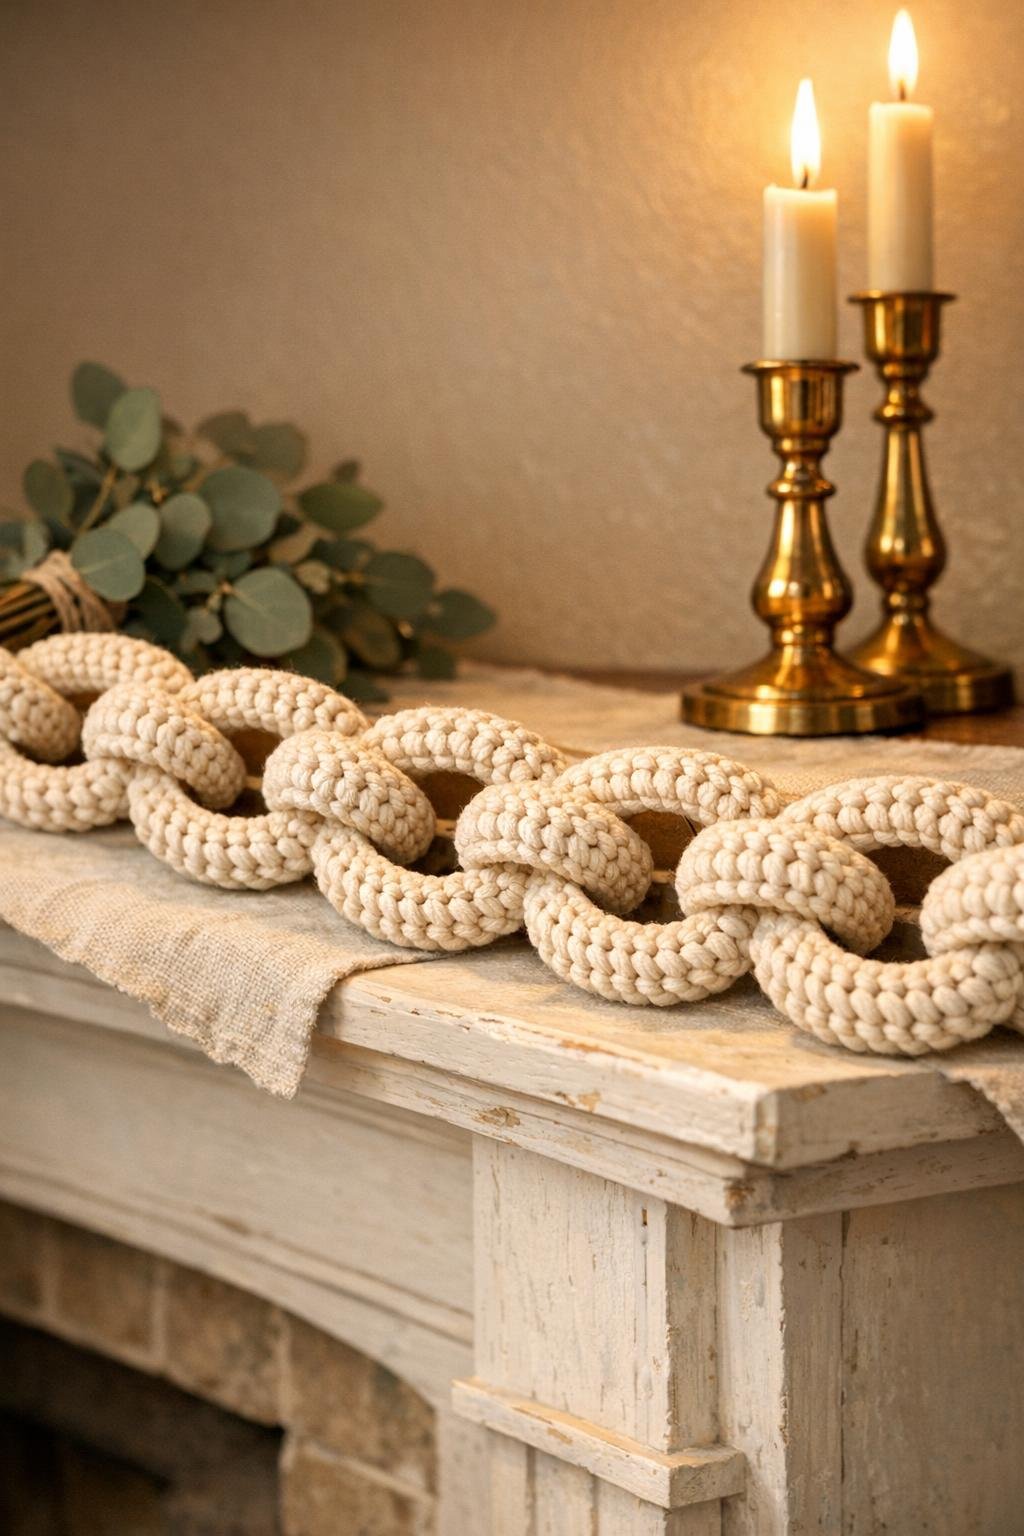
There’s something mighty satisfying about turning a humble kitchen castoff into something you’d be pleased to hang up for company, and this crochet garland does exactly that. We’re taking those brown chip tubes, cutting them into rings, and crocheting cream cotton yarn right through them to make a full, polished chain-style garland with real presence. It has that tidy handmade look I’ve always loved—simple materials, a little patience, and a finish that looks far more thoughtful than the parts you started with.
I’m especially fond of projects like this because they feel thrifty in the best old-fashioned Midwestern way: use what you have, make it pretty, and let it serve more than one season if you want it to. This one is beginner-friendly if you know a few basic crochet stitches, and it’s lovely for mantels, shelves, a porch nook, or even draped down the center of a long table.
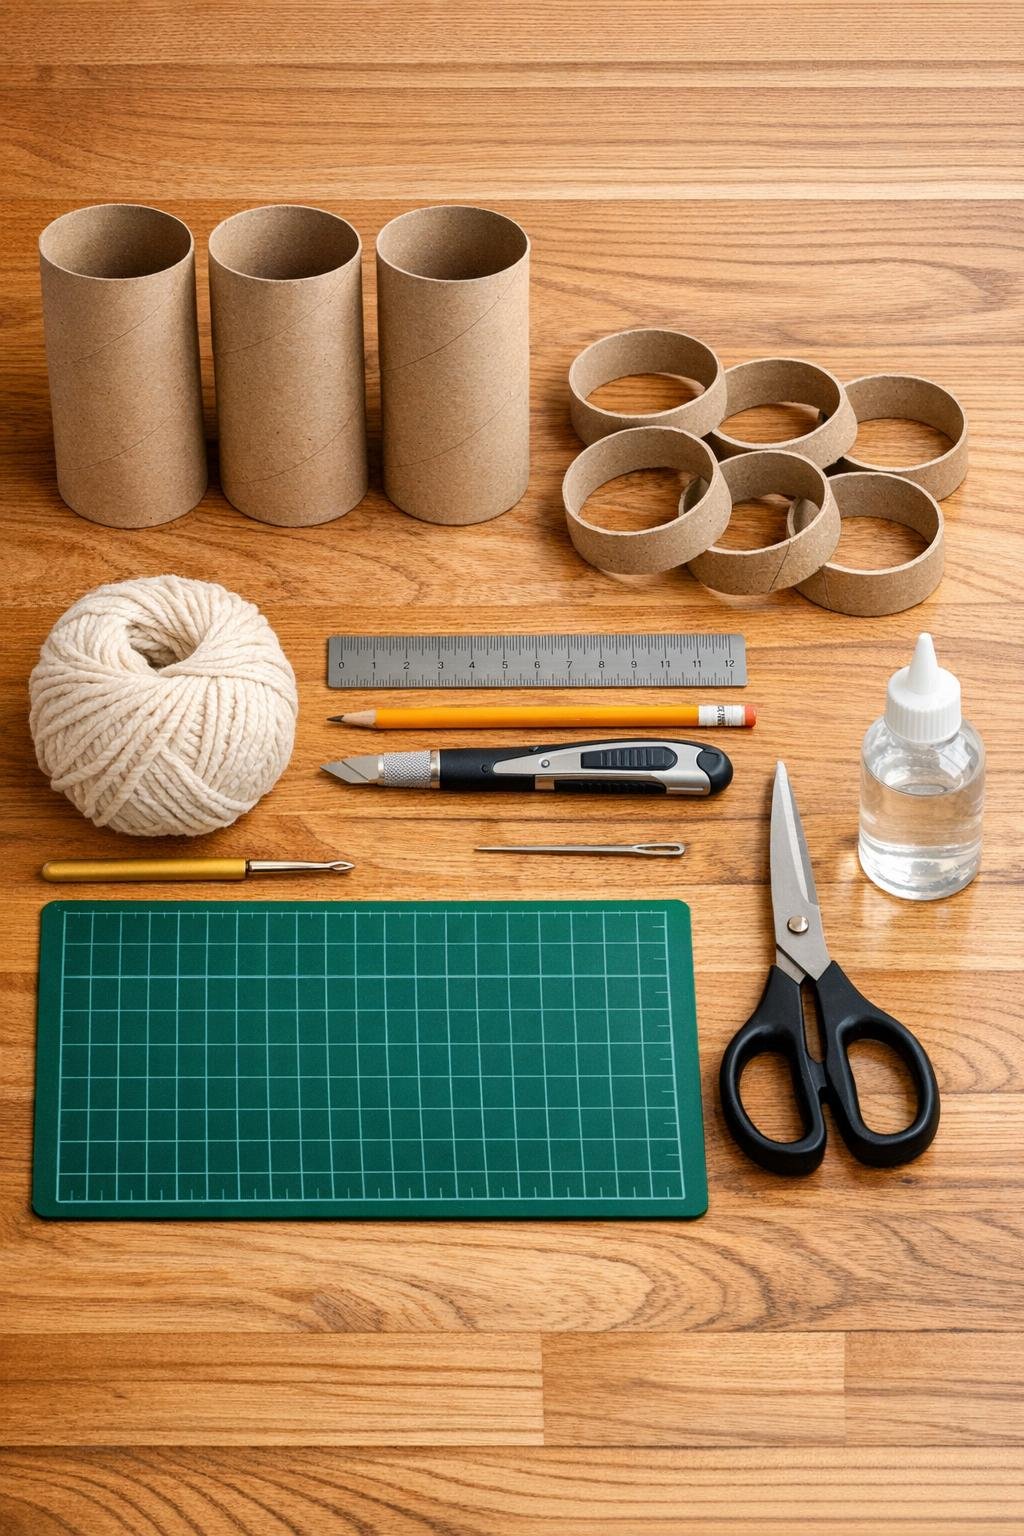
Materials
Instructions
1. Wipe the chip tubes clean inside and out, then let them dry completely so the yarn stays fresh and the rings keep their shape.
2. Use the ruler and pencil to mark the tubes into 1-inch sections from end to end; you want 24 rings total, which gives the garland enough fullness to really drape nicely.
3. Place the tube on the cutting mat and carefully cut along the marked lines with the craft knife, rotating as you go to keep the rings even and round.
4. Trim any ragged bits with scissors, then gently reshape each ring with your hands so they’re as round as possible; this small step makes the finished chain look much neater.
5. Overlap the ends of 2 rings by about 1/2 inch to form a linked chain, add a tiny dab of glue where they touch, and clip in place; continue until all 24 rings are linked into one long chain.
6. Let the glue set completely, then tie the yarn onto the first ring with a small knot, leaving a 6-inch tail for weaving in later.
7. Single crochet snugly around the first ring, working 28 to 32 stitches to cover the cardboard fully without buckling it; slide the stitches together as needed so no brown shows through the front.
8. When the first ring is covered, slip stitch into the first stitch to close the round, then move directly to the next linked ring and repeat the same single crochet coverage.
9. Continue covering every ring in the chain, keeping your stitch count close on each one so the garland looks balanced from end to end.
10. If you run out of yarn partway through, join the new yarn on the inside edge of a ring with a firm knot and crochet over the tails for several stitches before trimming.
11. After the last ring is covered, fasten off with an 8-inch tail and use the tapestry needle to weave in all loose ends through the backs of the stitches.
12. Gently shape the finished garland with your hands, evening the links so they drape smoothly, then hang it across a mantel, shelf, window, or hutch where the chain can show off its full length.
Variations & Tips
Soft farmhouse look: Keep the yarn in cream, oatmeal, or soft white for a classic neutral garland that works year-round and lets the stitch texture do the talking.
Holiday version: Crochet every fourth ring in forest green or muted red instead of all cream for a Christmas chain that still looks homemade in the nicest way.
Jute-style substitute: If you want a more rustic look, use cotton-blend yarn with a slightly nubby texture, but avoid anything too fuzzy or the ring edges won’t read as cleanly.
Make it longer: Use 4 or 5 chip tubes and keep the rings at 1 inch wide if you want a dramatic extra-long garland for a staircase, buffet, or porch beam.
Keep the shape tidy: The secret is crocheting firmly enough to cover the cardboard well but not so tightly that the rings pinch into ovals; I like to stop every few rings and straighten the chain in my lap.
Best way to store it: Coil the garland loosely in a shoebox or lidded basket instead of folding it hard, which helps the rings stay round from one season to the next.