
If you plant garlic in fall the way I do, you know the hardest part is not the digging — it’s keeping those cloves evenly spaced once the light starts fading and the weather turns. This little planting grid is one of those wonderfully simple fixes that looks almost too basic to work, and then you use it once and wonder why you ever planted garlic any other way.
I’m making an easy end-of-season garlic planting grid from soaked wooden clothespins, a wire cooling rack, and zip ties — all easy dollar store finds. The soaked clothespins grip the rack tightly as adjustable markers, so you can set up neat rows and even spacing in just a few minutes, then lay the grid right over your bed and plant with confidence.
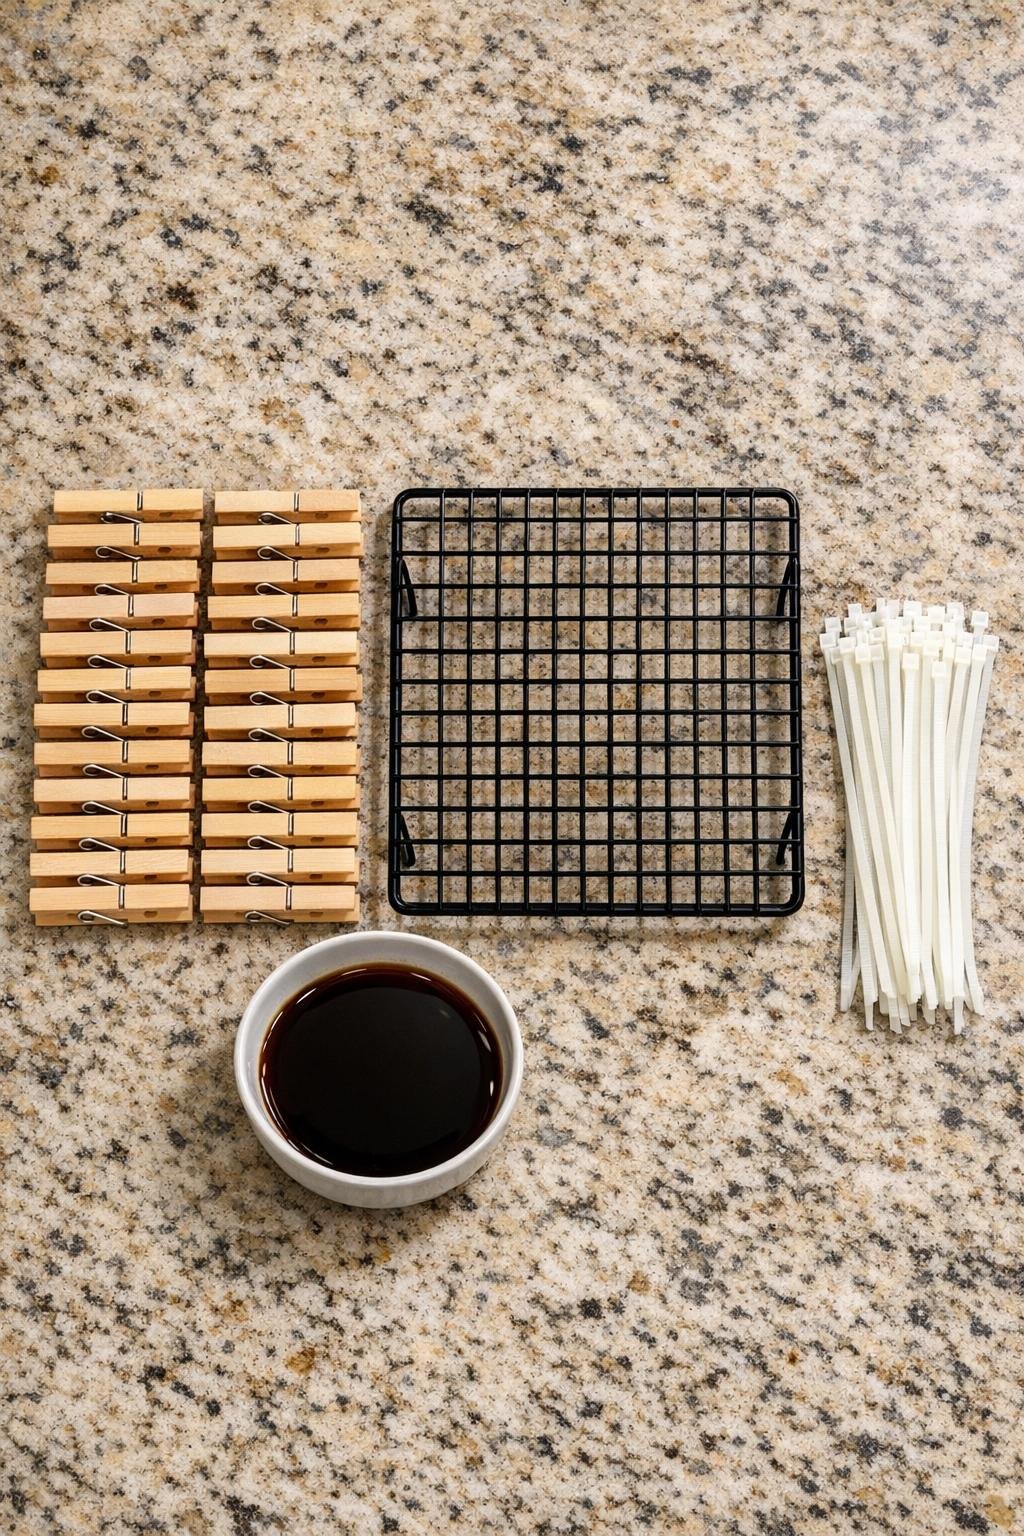
Materials
Instructions
1. Pour the cooled coffee or tea into a bowl and soak the wooden clothespins for 20 to 30 minutes so the wood darkens slightly and becomes a touch more flexible.
2. Remove the clothespins and pat them dry with a towel, leaving them just barely damp so they still slide on easily without dripping.
3. Set the cooling rack flat and decide on your spacing pattern; for most garlic, I like markers every 5 to 6 inches in both directions for nice full bulbs.
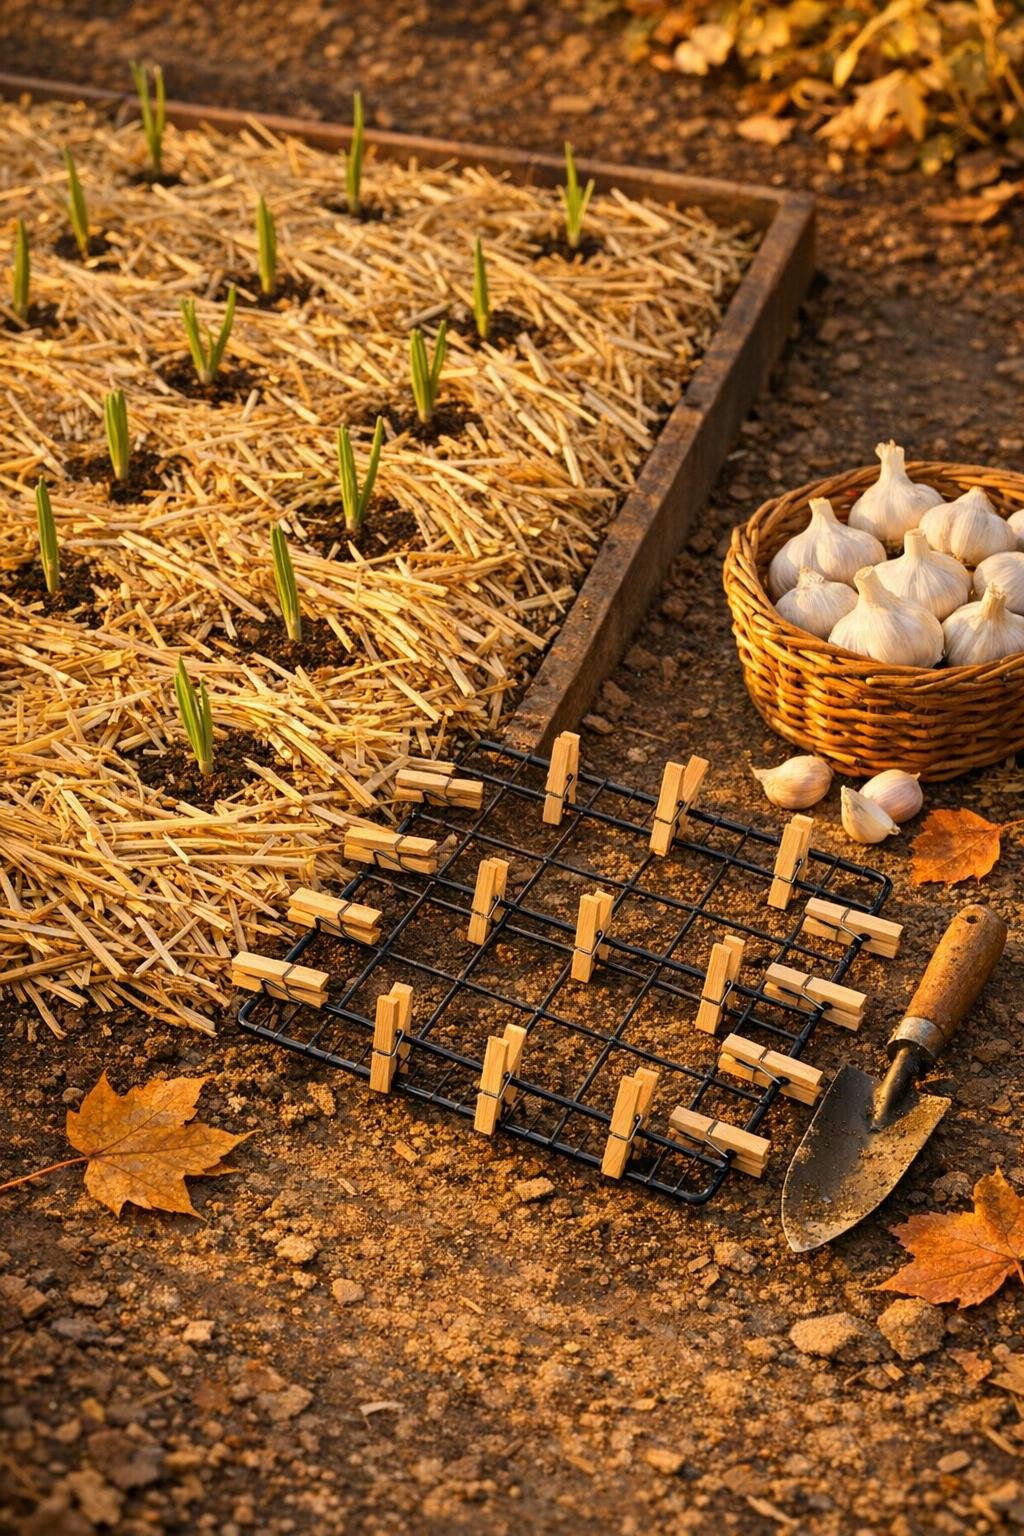
4. Clip clothespins onto the outer wires of the rack at your chosen intervals, using them as visual planting markers that line up into rows and columns.
5. Add zip ties at a few corner and side intersections to stiffen the rack and keep it from shifting while you carry it out to the garden.
6. Test the grid on a table or the floor first, adjusting the clothespins until the openings between markers look evenly spaced from edge to edge.
7. Lay the grid over your prepared garlic bed and press it down lightly so the rack sits flat and the clothespins clearly show each planting point.
8. Plant one garlic clove in each marked space, pointy side up, placing it 2 to 3 inches deep and using the clothespins as your visual guide to keep rows tidy.
9. Lift the grid straight up, move it to the next section, and repeat until the whole bed is planted with the same spacing.
10. Cover the cloves with soil, water lightly if your ground is dry, and add 2 to 3 inches of straw or shredded leaves so the bed is protected for winter.
Variations & Tips
For bigger garlic varieties: Move the clothespins farther apart and aim for 6-inch spacing if you’re planting large hardneck types that need more elbow room.
For smaller raised beds: If your bed is narrow, use fewer clothespins and mark just 2 or 3 rows at a time; it’s still much faster than eyeballing every clove.
To make it sturdier: Two cooling racks zip-tied together side by side make a larger grid that covers more ground in one pass, which is especially handy if you plant a lot every fall.
For picky perfectionists: I say that lovingly, because I am one in the garden — count the wire squares before clipping on the pins so each gap is identical and your rows come out beautifully straight.
To help next year: Store the dry grid in a shed or garage by hanging it on a hook, and leave the clothespins attached so it’s ready the minute garlic-planting weather rolls back around.
If the clothespins feel loose: Let them dry fully on the rack before using; as the wood dries back down, the grip tightens and they stay put much better.
Bed-finishing tip: After mulching, I like to edge the bed neatly with a rake so it looks finished and is easy to spot once winter settles in.