
There is something so satisfying about turning the simplest dollar store find into something that looks like it came from a little holiday boutique. This project starts with those shell-shaped madeleine pans and a pile of clear hot glue, and with just a few extra supplies, you can make a sparkling mantel piece that catches the light in the prettiest way.
I love projects like this because they feel low-risk, inexpensive, and wonderfully forgiving. If you enjoy easy seasonal crafts, want something eye-catching for a mantel or shelf, or just need a cozy afternoon project while dinner simmers, this one is a good fit. It looks detailed and special when it’s finished, but the steps are simple and repetitive in the best possible way.
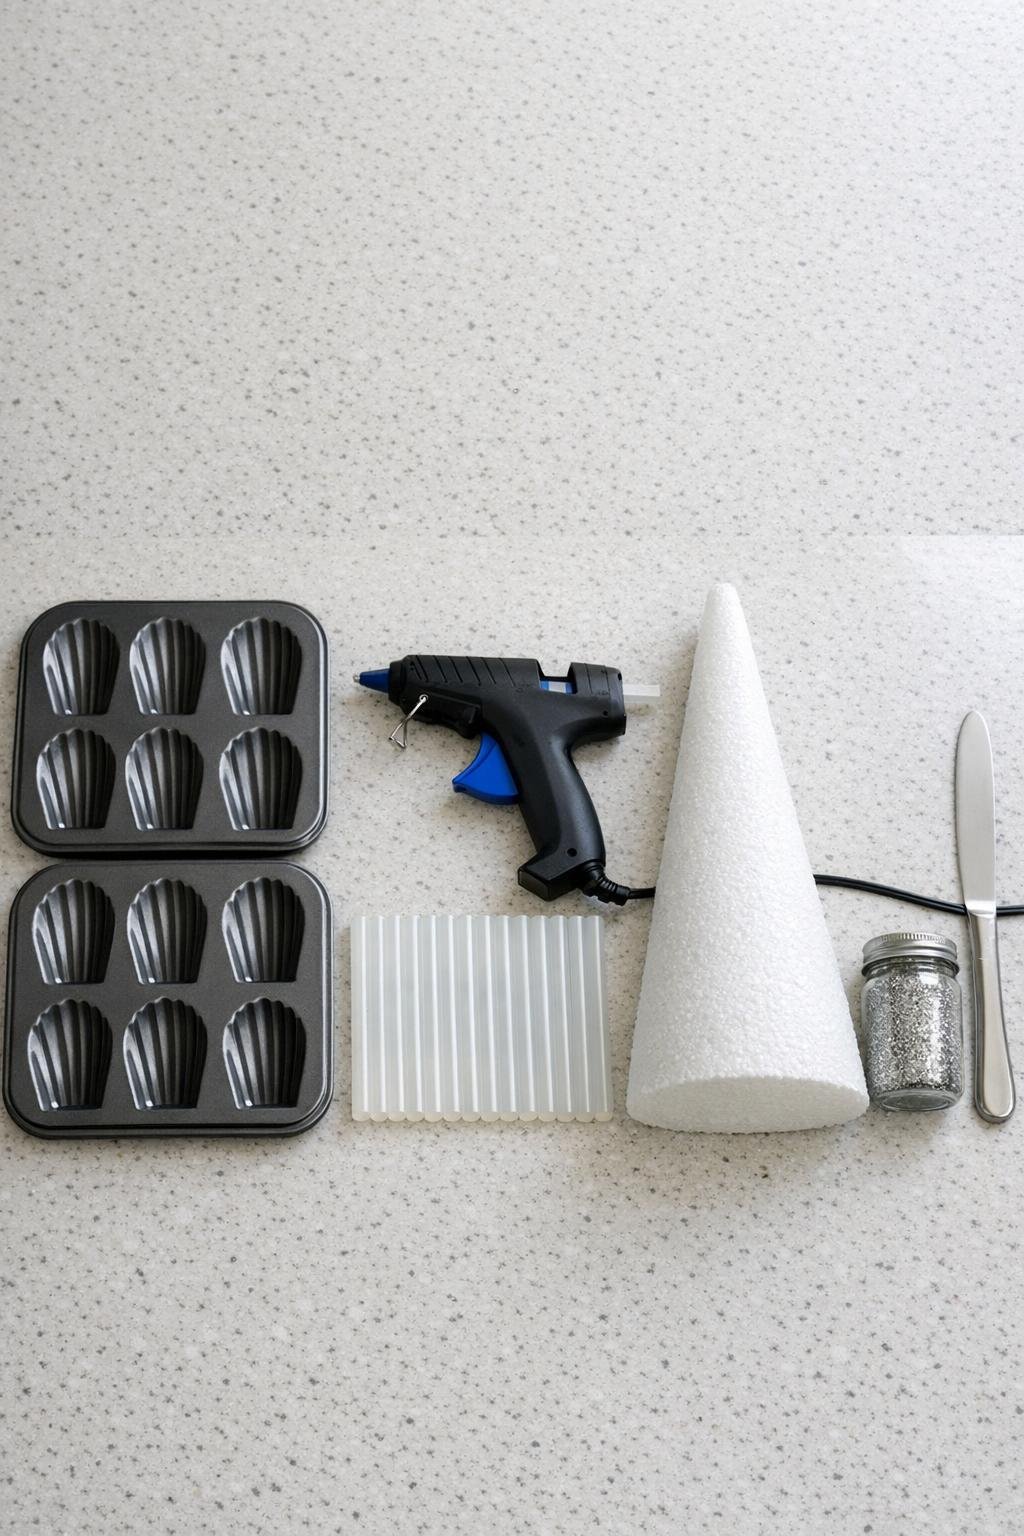
Materials
Instructions
1. Cover your work surface with parchment paper, plug in the glue gun, and set the foam cone, glitter, and pans within easy reach so you can work while the glue stays warm.
2. Squeeze clear hot glue into each shell-shaped cavity of both madeleine pans, filling each one to the top edge in an even layer so the pieces will be sturdy enough to peel out cleanly.
3. While the glue is still hot and glossy, sprinkle silver glitter generously over the filled cavities so every shell piece gets sparkle across the front surface.
4. Let the glue cool completely for 10 to 15 minutes, then gently loosen the edges of each shell with the butter knife and pop the pieces out one at a time.
5. Repeat filling, glittering, cooling, and removing until you have about 24 glittered scallop pieces, which is enough to cover a 12-inch foam cone nicely with full layered coverage.
6. Place the foam cone upright and begin at the bottom, adding a line of hot glue to one shell piece and pressing it onto the cone with the rounded fan edge facing down and the narrow end pointing up.
7. Continue around the bottom row, slightly overlapping the side edges of the shell pieces so the cone is fully covered and the row looks full rather than gapped.
8. Build the second row above the first, staggering the shell pieces so each one sits centered over the seam between two shells below it for a tidy layered pattern.
9. Keep adding rows upward, reducing the overlap just a little as the cone narrows, and press each piece in place for a few seconds so it bonds securely to the foam.
10. For the top section, trim nothing and simply angle the last few shell pieces closer together so they nest neatly and create a pointed tree shape.
11. Add one final shell piece at the very top as a topper, setting it upright or at a slight angle to give the tree a polished finished look.
12. Check for any thin spots, then glue extra shells wherever the foam still peeks through and dust on a last light sprinkle of silver glitter while any exposed glue is fresh.
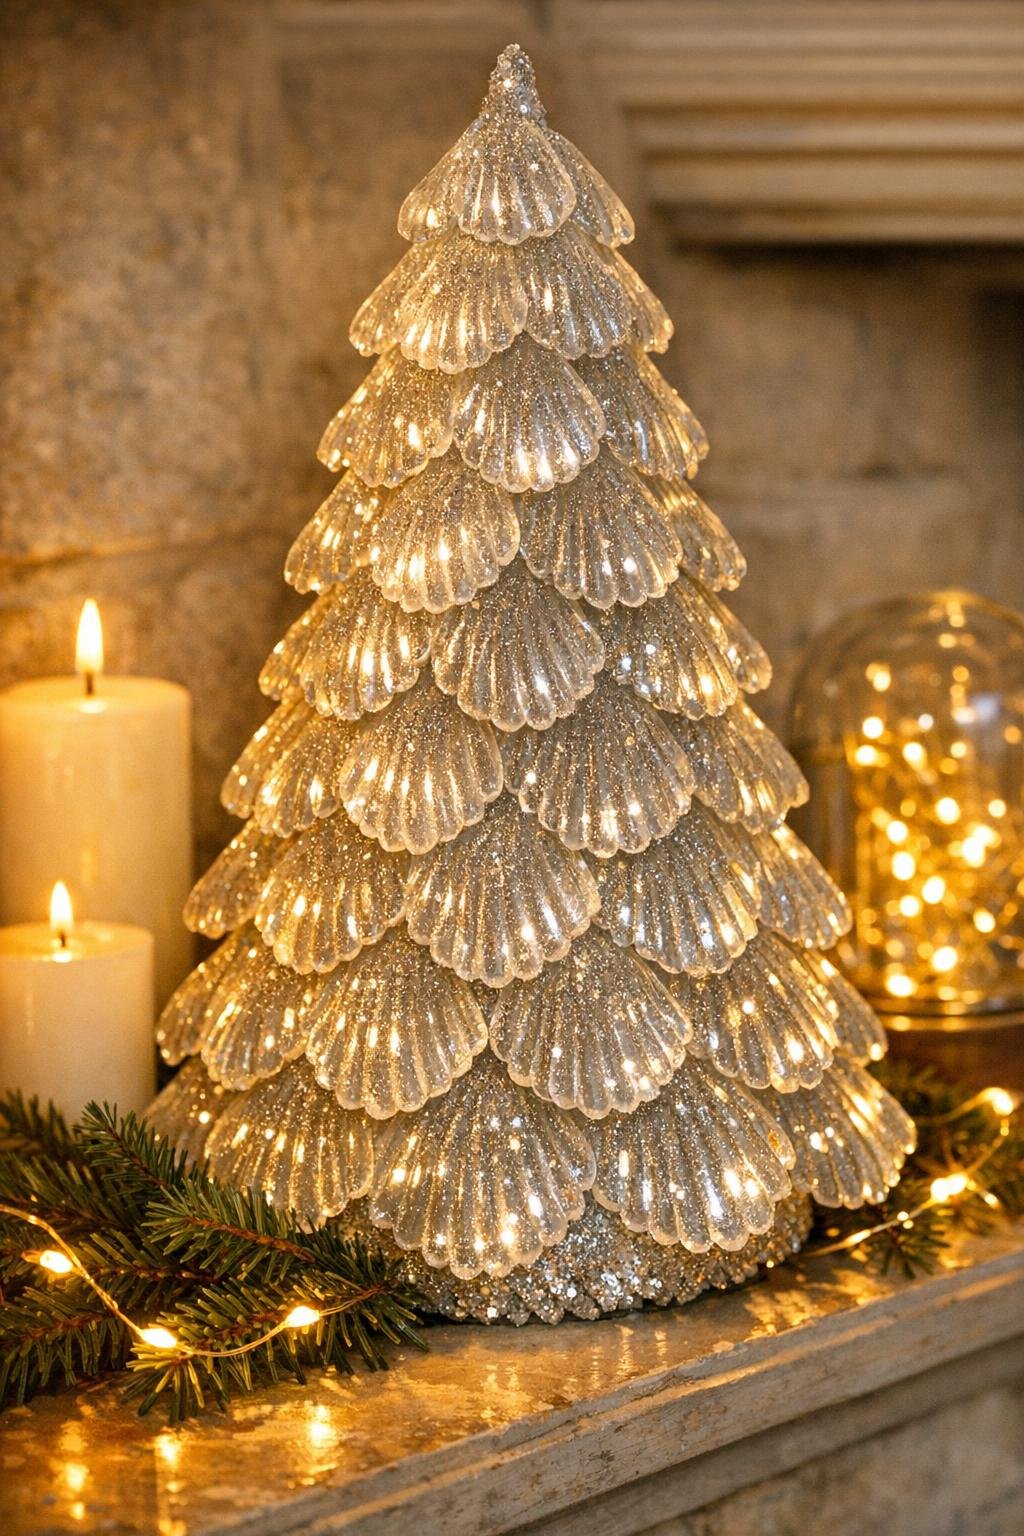
Variations & Tips
For extra sparkle: Mix fine iridescent glitter with the silver glitter for a more icy look that reflects light from several angles.
If pieces stick in the pan: Let them cool a few minutes longer before lifting them out. I’ve found that fully cooled glue releases much more easily than glue that is still a little warm in the center.
For fuller coverage: Make a few extra shells beyond the 24 pieces and save the prettiest ones for the front. That little bit of abundance makes the finished tree look much richer on a mantel.
For picky decorators: If your family likes softer holiday colors, use white glitter instead of silver for a snowy look, or keep some shells plain and alternate them with glittered shells for a gentler shimmer.
To display it safely: Keep the tree away from direct heat sources and open flame, since it is made with hot glue and foam. I like placing it near battery candles or string lights instead of real candles.
To make a matching set: Use an 8-inch cone and a 12-inch cone to create two trees in different heights. Grouped together on a mantel, they look especially magical without adding much more work.