
There’s something awfully satisfying about taking a humble stack of party cups and coaxing them into something that looks far more special than it has any right to be. This project is one of those simple little transformations that feels like a kitchen-table magic trick: easy to make, inexpensive, and dramatic once it’s all strung together.
I’m especially fond of projects like this in the colder months, when I want a mantel to glow and feel dressed up without hauling out boxes of complicated décor. If you like easy seasonal crafts, thrift-friendly decorating, or you just enjoy making something pretty out of ordinary household supplies, this one is for you.
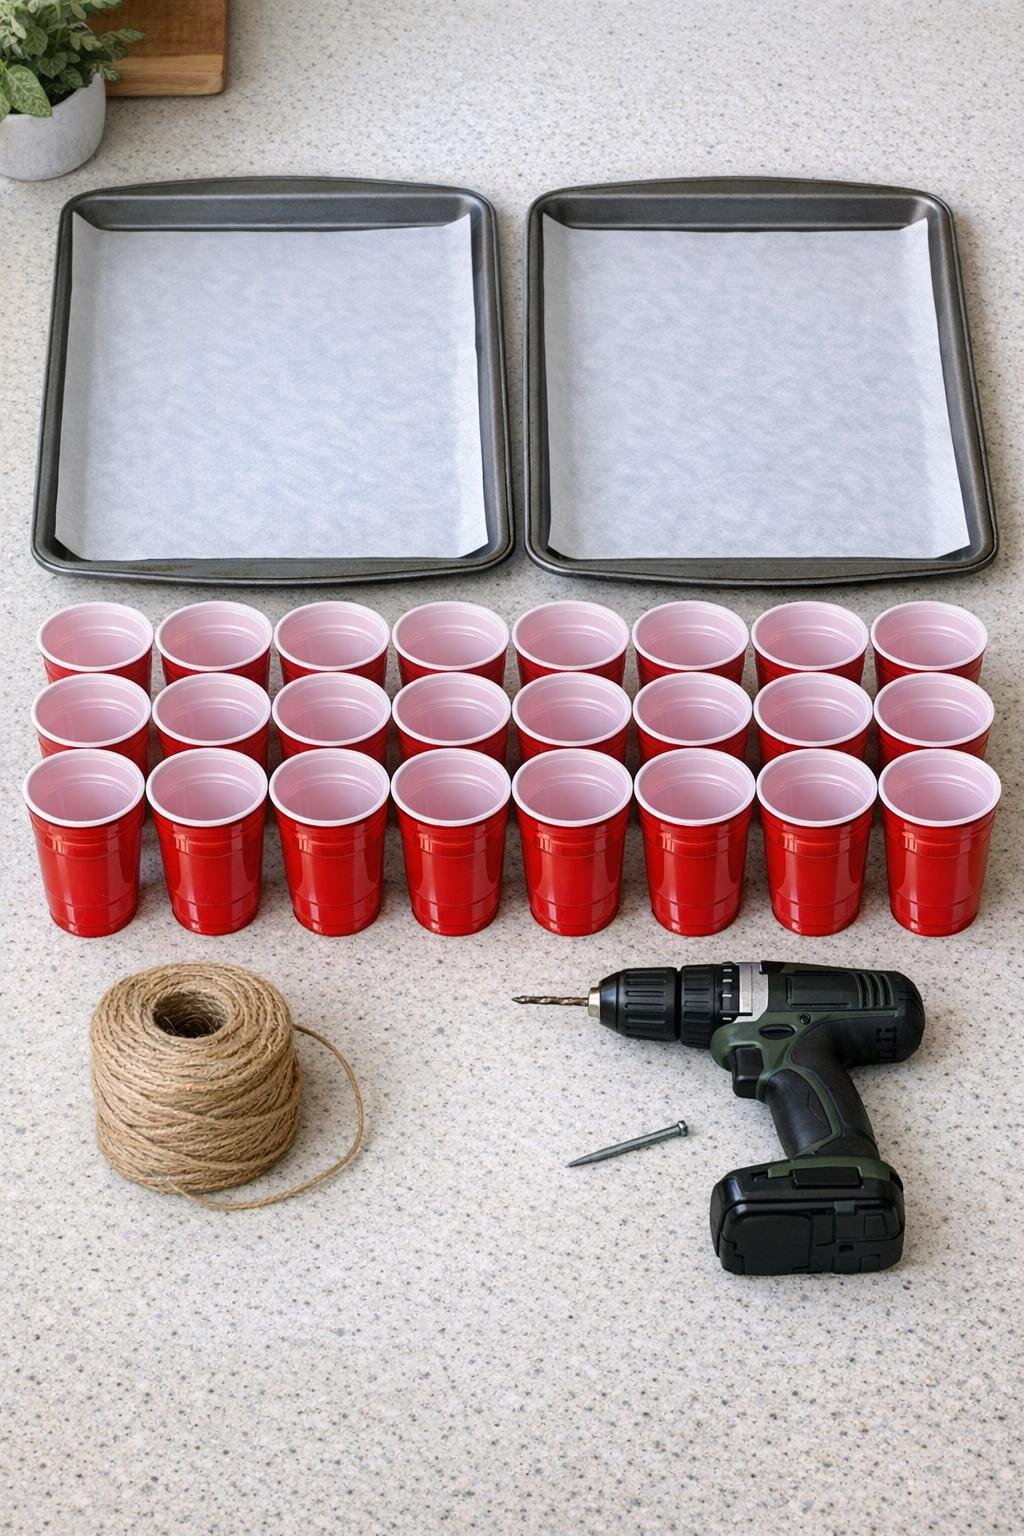
Materials
Instructions
1. Preheat your oven to 250°F and line 2 baking sheets with parchment paper. Set the 30 red plastic cups upside down in tight rows, just like little soldiers, with enough space that they won’t fuse together as they soften.
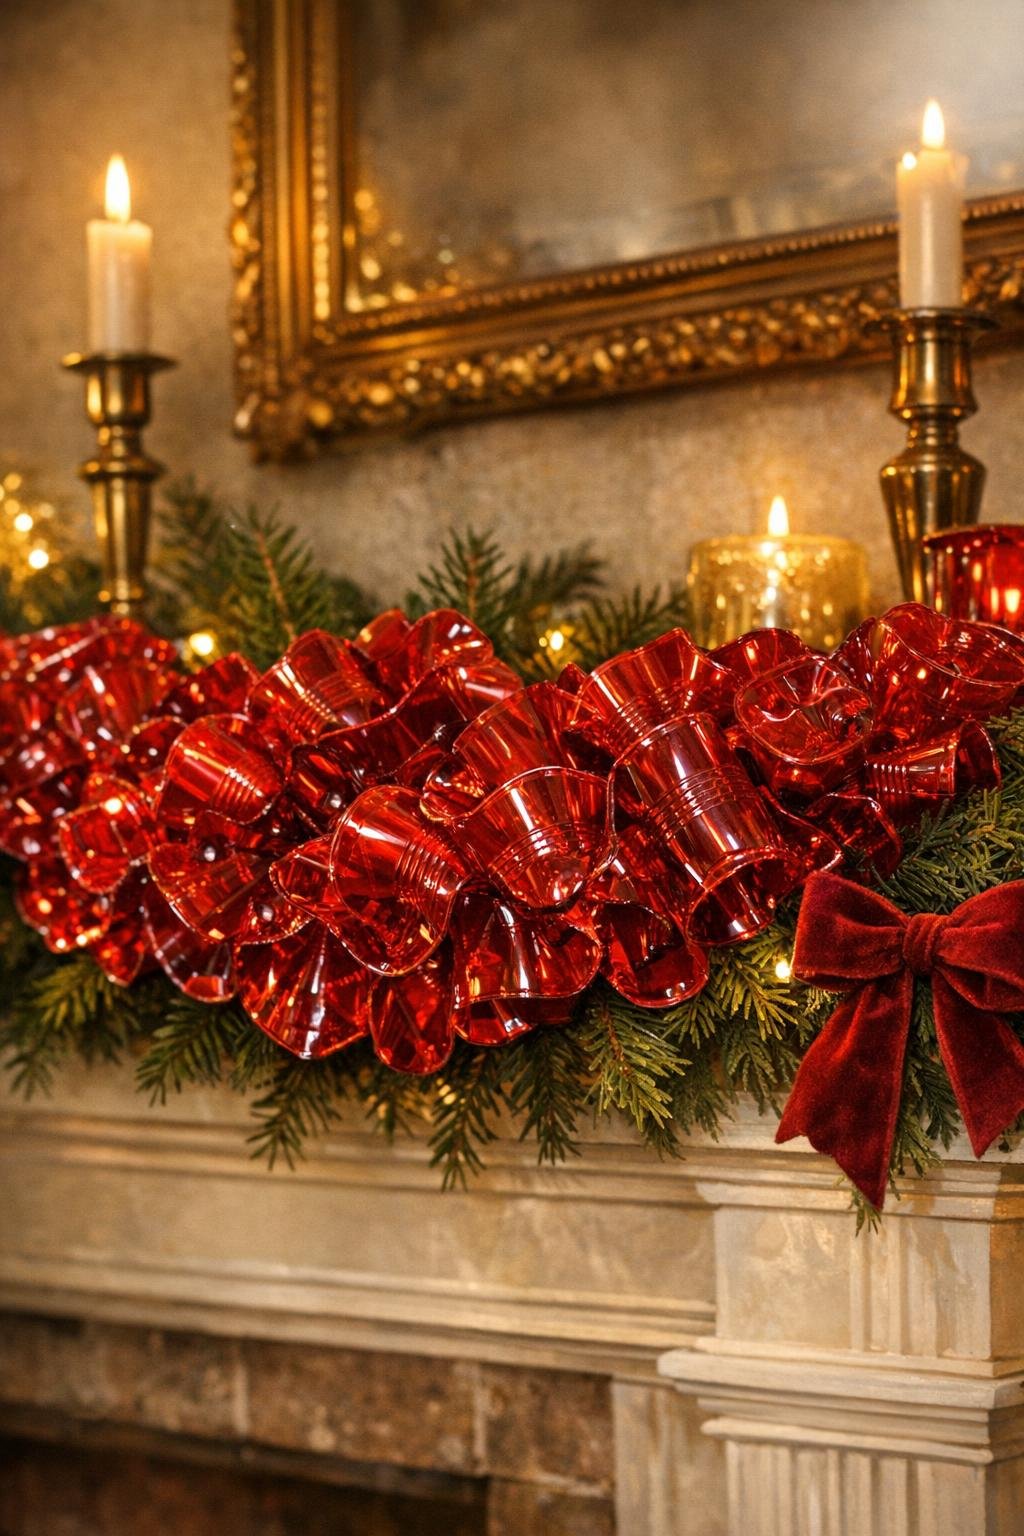
2. Bake the cups for 8 to 12 minutes, watching closely, until each one slumps into a ruffled flower shape with softly curled edges. Remove the trays as soon as the cups have collapsed and reshaped, then let them cool completely on the pans.
3. Once the plastic is cool, gently peel each piece off the parchment and check that the shapes feel firm. If one is too shallow or uneven, you can rebake it for 1 to 2 minutes to relax it further.
4. Make 2 holes in each piece, spacing them opposite each other about 1/2 inch up from the flattened center. Drill slowly to avoid cracking, or use a heated nail to melt neat openings through the plastic.
5. Cut your twine to the length you want for your mantel, allowing extra for drape and tying at the ends. Thread the twine through the holes in each red piece, one by one, sliding them close together for a full, jewel-like look.
6. Alternate the direction of the ruffled pieces as you string them so the garland looks lush and layered rather than flat. I like to keep only a finger-width of space between every few pieces, then cluster the rest tightly for that rich old-glass effect.
7. Tie a secure knot at each end of the twine, and add a small loop for hanging. If you’d like more sparkle, weave a battery-operated micro string light through the garland from end to end, tucking the wire behind the red pieces.
8. Drape the finished garland across your mantel and fluff the clusters so the curled edges catch the light. Finish it with a simple velvet ribbon bow if you want that last polished touch that makes the whole thing feel intentional.
Variations & Tips
For a deeper ruby look: Use darker red cups if you can find them, because the richer the plastic color starts out, the more it resembles old ruby glass once baked and gathered together.
For a longer mantel: Make 40 to 50 baked pieces instead of 30 and string them on 12 feet of twine; a generous garland always looks better than one that comes up short in the middle.
For safer baking: Stay in the kitchen the whole time and watch closely, since plastic softens fast and every oven runs a little differently. I treat this like making caramel—don’t wander off and expect perfect timing.
For a more polished drape: Hang the center first, then adjust both sides evenly before securing the ends. That little bit of fussing gives you those graceful swags that make a mantel look finished.
For holiday sparkle: Add the warm white micro lights and keep the battery pack tucked behind a picture frame, vase, or stocking holder so the glow shows but the mechanics disappear.
For year-round use: Skip the ribbon and pair the red garland with everyday brass, books, and greenery. In an old farmhouse, that ruby color can carry right through winter and still feel cheerful after the holidays are packed away.