
I love a project that uses up something I already have in the holiday bin, especially when the transformation feels way more special than the effort. This one starts with a few old strings of Christmas lights and a hot glue gun, and it turns them into a wintery light feature with that icy, sparkly look that makes a porch or entryway feel extra festive without needing fancy supplies.
If you’re comfortable with simple, repetitive steps and you want a project you can do at the kitchen counter after work, this is a really fun one. It’s especially great for older light strands that still work but aren’t exciting on their own anymore, and the best part is that the glow at the end feels much more custom than the materials would suggest.
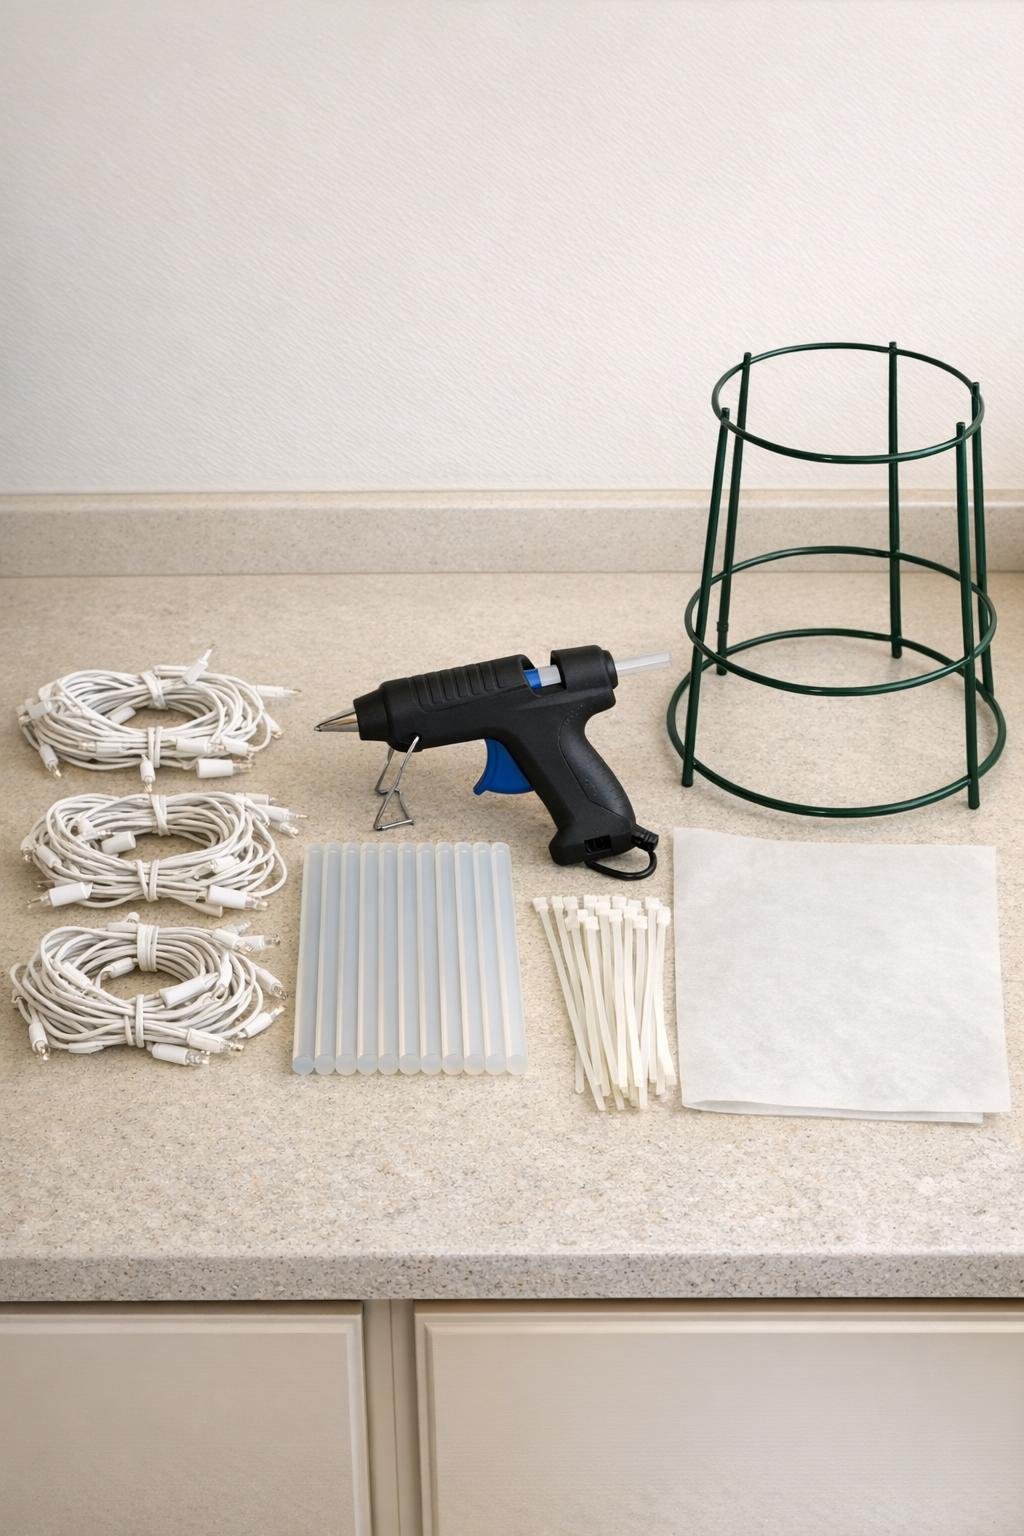
Materials
Instructions
1. Plug in each light string briefly to make sure every bulb works, then unplug them and wipe the wires and bulbs clean so the glue sticks well.
2. Lay parchment paper across your counter and stretch the 3 light strands out side by side in long parallel lines, keeping the bulbs facing up and leaving a little space between each strand.
3. Heat the glue gun fully, then hold the nozzle just above one bulb and slowly squeeze so the hot glue drips from the top of the bulb down toward the wire, creating a long clear icicle shape.
4. Rotate the strand as needed and add two or three more glue drips around each bulb until every bulb has a pointed, uneven, natural-looking icy coating that extends about 1 to 2 inches below it.
5. Continue bulb by bulb across all 3 strands, varying the glue length slightly so the finished texture looks fuller and more like real ice instead of identical drops.
6. Let the glue cool completely for 10 to 15 minutes, then gently peel any stray glue webs away from the bulbs and wires without cracking the icicle shapes.
7. Open the tomato cage so the widest ring becomes the bottom, stand it upright, and if needed squeeze the top wires a little closer together to create a cleaner tree shape.
8. Secure the top point of the first light strand near the top of the tomato cage with a zip tie, keeping the plug end low enough to reach the ground when the wrapping is finished.
9. Wrap the strand in a spiral down the cage, tying it to the wire rings every 6 to 8 inches so the bulbs stay evenly spaced and the icicles point outward.
10. Attach the second and third strands the same way, filling any gaps as you spiral so the whole form looks generously covered from top to bottom.
11. Trim the zip tie tails, tuck the extra wire neatly inside the cage, and adjust a few bulbs by hand so the glue icicles are visible all the way around.
12. Move the piece to its display spot, plug it in, and fluff the light placement one last time so the glow reads full, frosty, and balanced from every side.
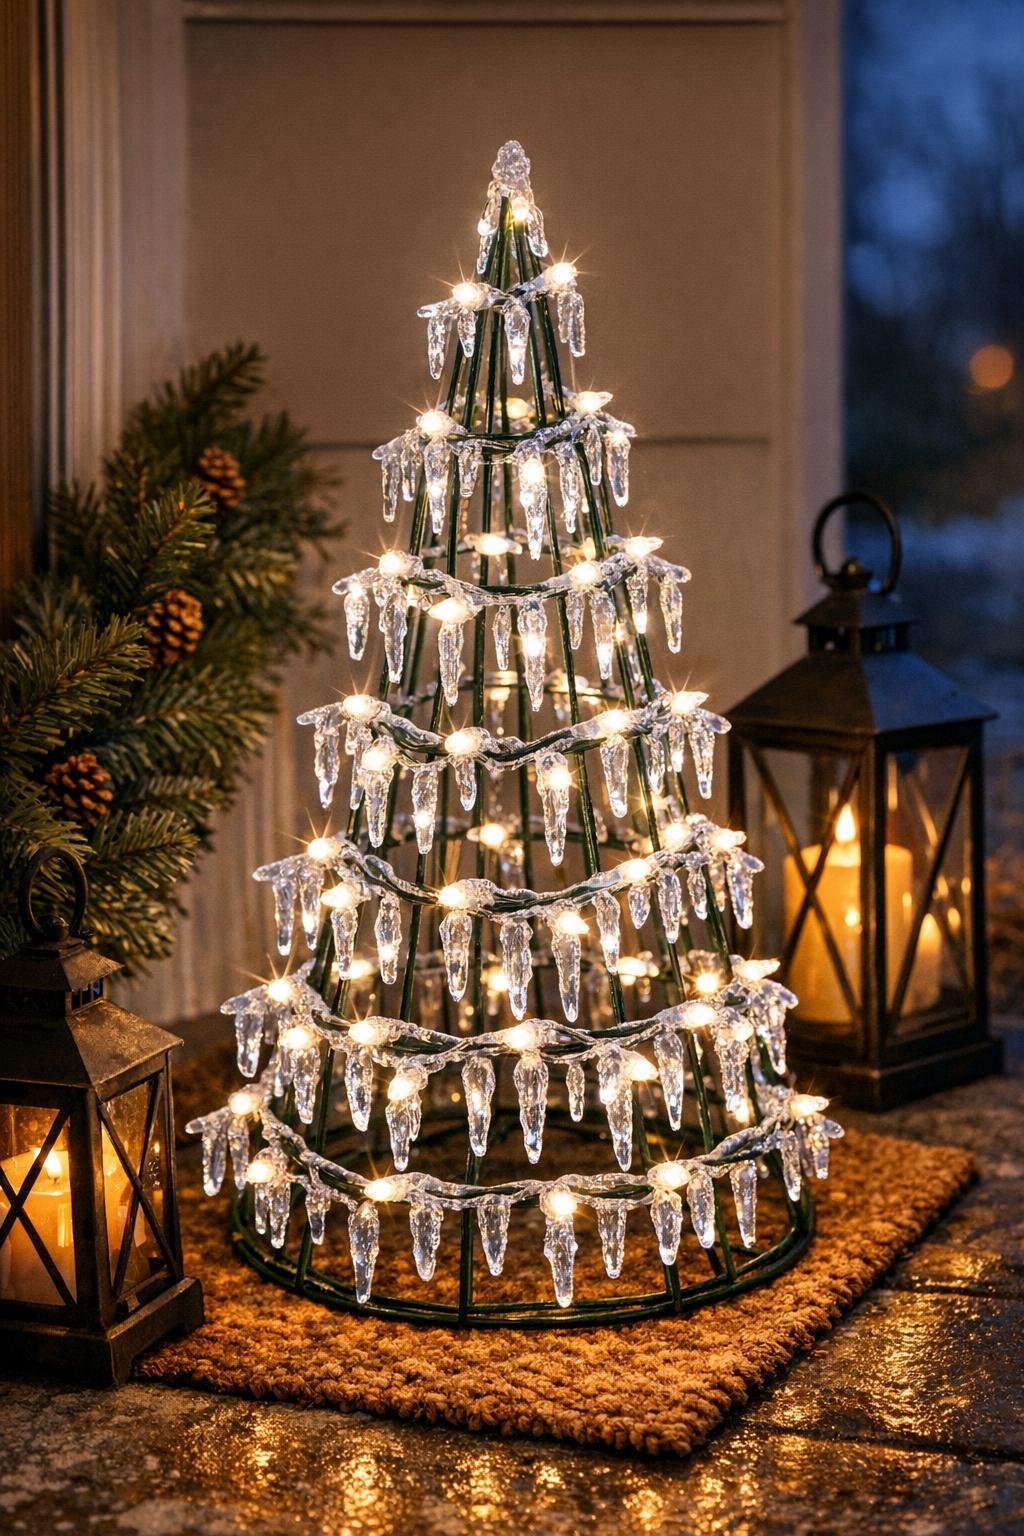
Variations & Tips
Use LED strands if possible: If you have the choice, cool-running LED mini lights are my favorite for this because they stay bright and are less likely to warm the glue over time.
Keep the glue organic: The prettiest bulbs are the ones that are a little irregular. I try not to make every drip the same length, because that natural variation is what gives it the frozen look.
Choose white wires for a cleaner finish: Since the icy glue is clear, white-wired light strands blend in best and keep the whole project looking crisp instead of tangled.
Make it taller: For a more dramatic porch display, use a larger 54-inch tomato cage and 4 strands of lights instead of 3, adding a few more zip ties to keep coverage even.
Add a snowy base: If you’re displaying it indoors or on a covered porch, nestle the bottom in white faux snow or a ring of evergreen clippings to soften the wire base and make it look extra finished.
Check placement before final tying: I like to loosely wrap all the strands first, then step back and look for thin spots before tightening every zip tie. It saves a lot of fussing later.
Store it without crushing: After the season, wrap the whole tree loosely in tissue paper or a large trash bag so the glue icicles do not snap off in the storage bin.