
There’s something especially magical about a simple project that turns everyday grocery-store ingredients into a centerpiece-worthy holiday display. This one starts with a row of plain red party cups and a pitcher of water, and with just a little arranging and freezing, you end up with a decoration that looks far more special than the effort it takes.
I love projects like this during Christmas because they feel festive without adding one more complicated thing to the to-do list. If you’re decorating for a family gathering, setting a pretty porch or patio table, or just want something inexpensive that still gets a big reaction, this is exactly the kind of cold-weather craft I reach for.
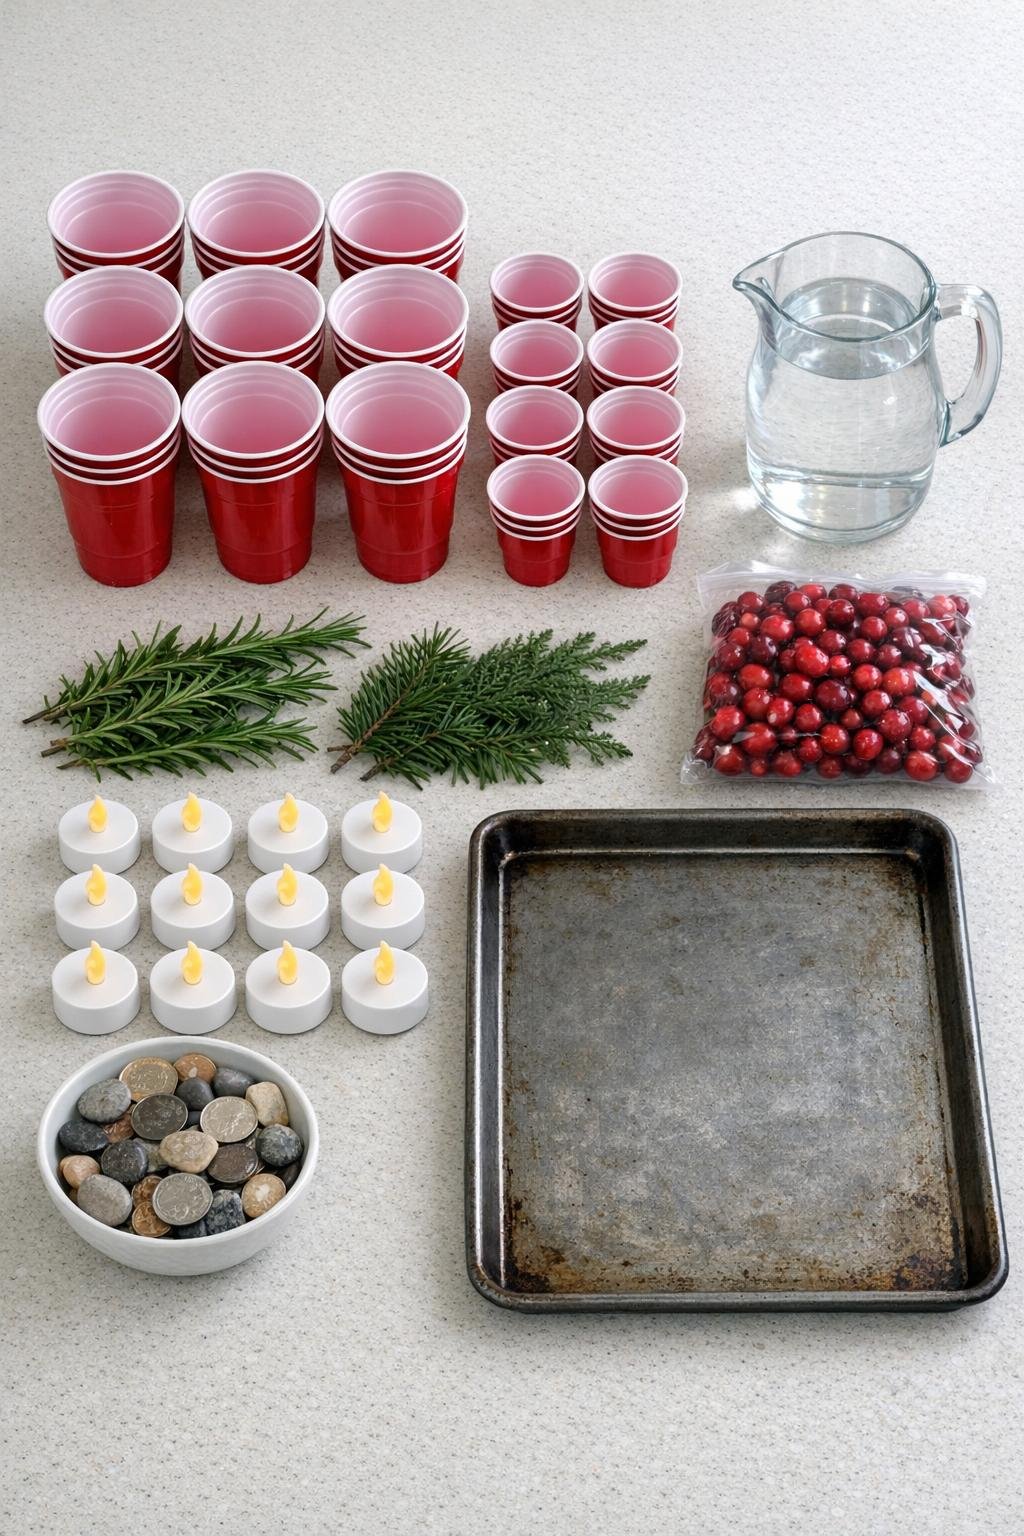
Materials
Instructions
1. Set the 12 large red party cups on a rimmed baking sheet, spacing them so you can work comfortably and move the tray without sloshing.
2. Add 8 to 10 fresh cranberries and 1 small rosemary or evergreen sprig to each large cup, pressing some against the sides so the color and greenery will show all around.
3. Pour water into each large cup until it reaches about halfway up the cup, leaving room for the inner cup and a thick ice wall.
4. Center 1 smaller cup inside each larger cup and gently press it down so the water rises around the outside evenly.
5. Place 2 to 3 tablespoons of coins or 1 small rock inside each smaller cup to keep it from floating, then adjust the inner cup so the ring of water around it looks as even as possible.
6. If any cranberries or greenery bunch together, use a spoon handle or butter knife to nudge them around the outside so each cup has balanced color on all sides.
7. Transfer the baking sheet carefully to the freezer and freeze until fully solid, about 8 hours or overnight.
8. Remove the tray from the freezer and let the cups sit at room temperature for 3 to 5 minutes, just until the plastic loosens slightly.
9. Pull out the weighted inner cups first, twisting gently if needed, then peel or tear away the outer red cups to release the ice rings without cracking them.
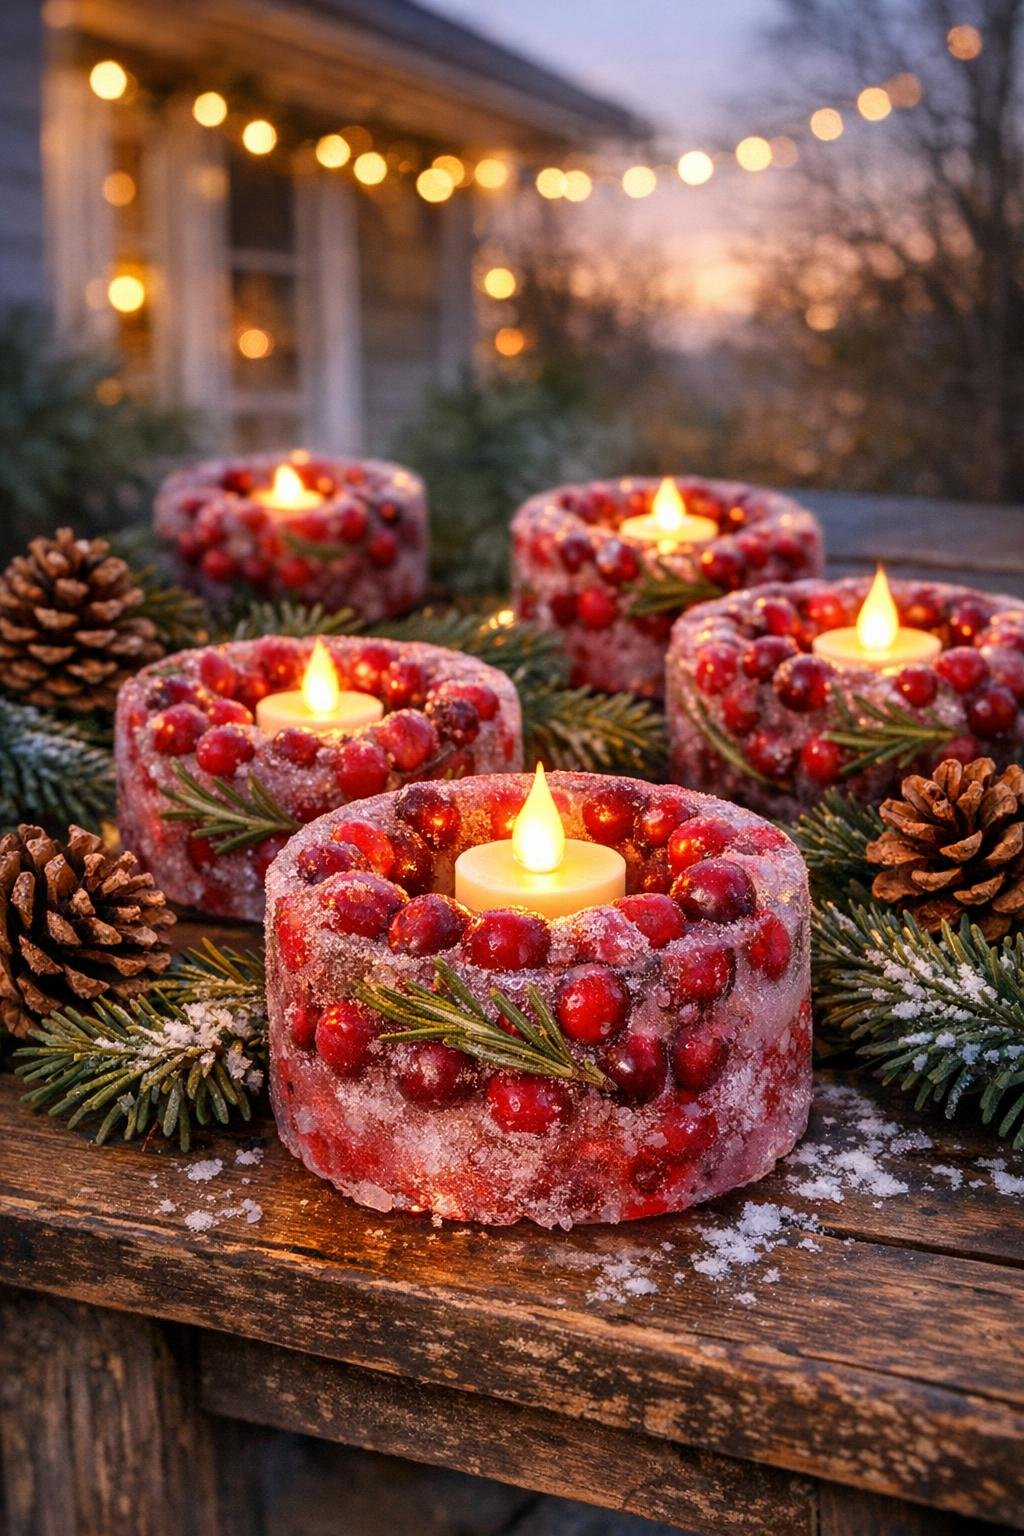
10. Set each ice ring in its display spot right away, then place 1 battery tea light into the center cavity of each one for a soft glow.
Variations & Tips
For the fullest look: Use a generous amount of cranberries in each cup and tuck the greenery at different heights. I like making sure every side has plenty of color, because once the ice is unmolded, that dense look is what makes them feel truly special.
Greenery choices: Rosemary is my favorite because it’s easy to find and gives such a pretty needle-like shape in the ice, but small snips of cedar, fir, or boxwood also work beautifully.
For picky little helpers: If kids are helping, let them drop cranberries into the cups and count them out. It turns into an easy holiday kitchen activity without any sharp tools or messy paint.
Best place to display them: These hold up longest outdoors in freezing weather or on a very cold porch. If you bring them inside for a party, plan on enjoying them for a shorter window and set them on a tray or shallow dish to catch melting water.
How to keep the centers even: If an inner cup shifts to one side, the ice wall will be thin on one edge. I always take an extra minute before freezing to re-center each one, and it makes the finished set look much more polished.
Easy unmolding tip: Don’t fight the plastic straight from the freezer. A brief rest on the counter is usually all it takes to release the cups cleanly and keep the ice from cracking.
Color variations: For a slightly different holiday look, you can mix in a few small holly-like leaves or use all evergreen for a more woodland style. Keeping the red berries and green accents bold gives the prettiest Christmas contrast.
Batch timing: I like to make these the night before I need them so they’re fully frozen and ready to unmold just before guests arrive. That way the finished glow feels fresh and bright right when everyone sees them.