
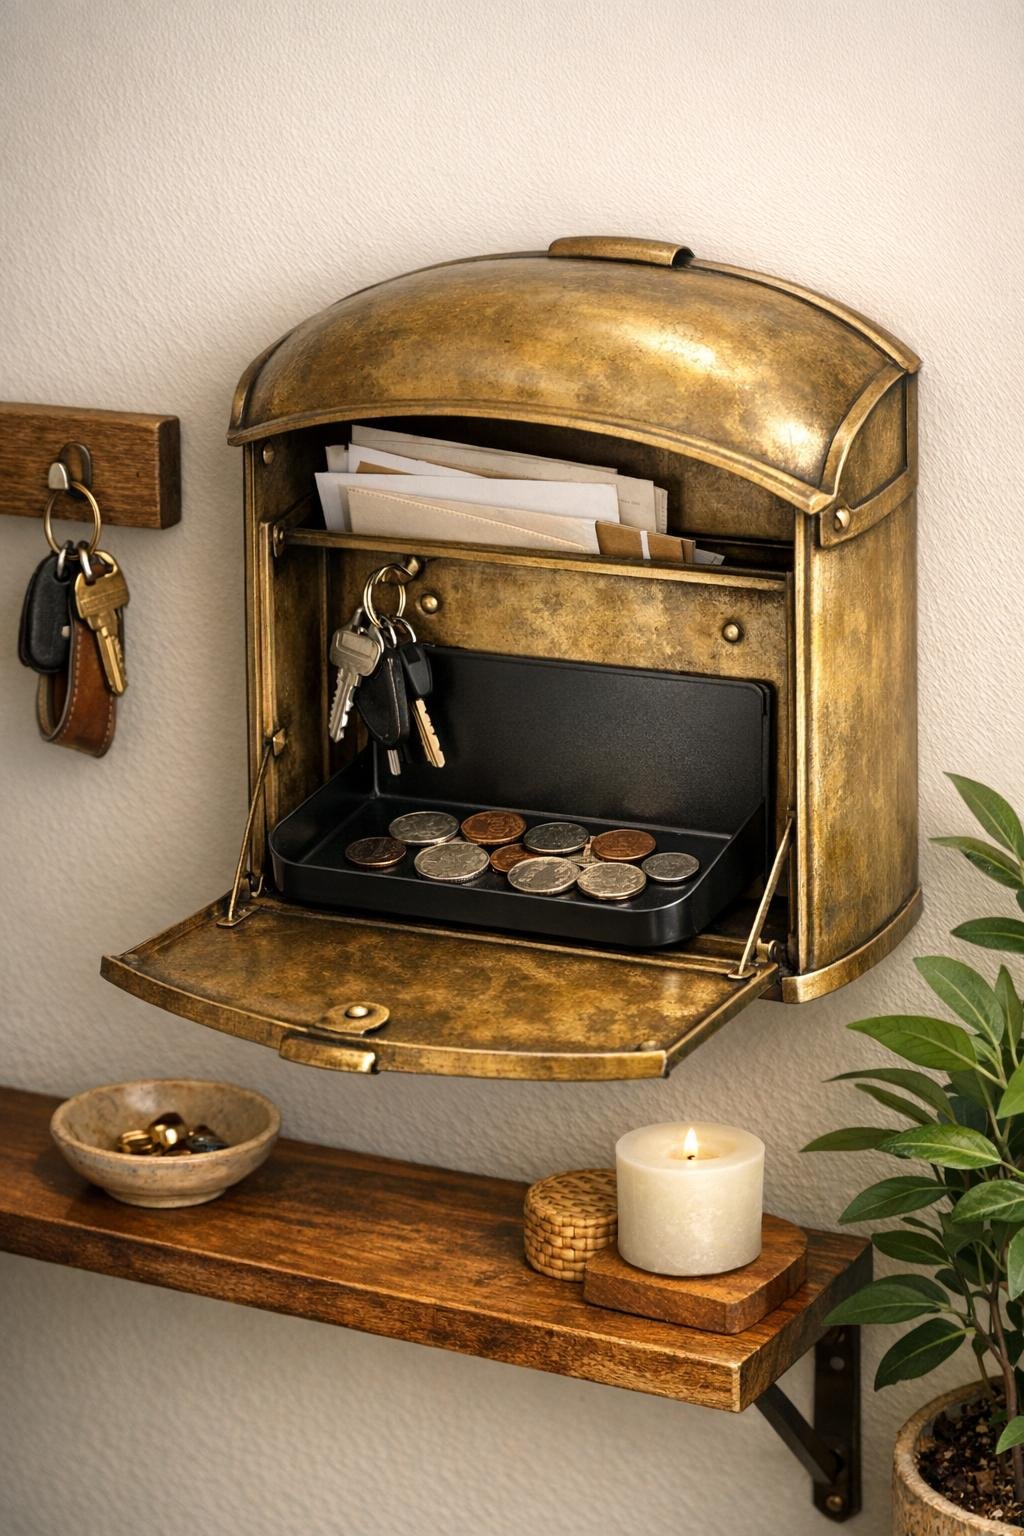
If your entryway seems to collect loose change, keys, receipts, and those tiny everyday things that somehow never make it to a proper home, this wall-mounted mailbox coin drop is such a smart fix. I love projects like this because they take up almost no floor space, look intentionally decorative, and solve a real-life annoyance in about an afternoon.
I’m especially fond of this one for small entryways, apartment landings, mudroom corners, or that awkward strip of wall by the door where you need storage but don’t want visual clutter. The hidden little trick is the magnetic tray mounted inside the metal mailbox, which gives coins a dedicated place to land without rolling around everywhere. It feels polished, but it’s very doable even on a busy weeknight.
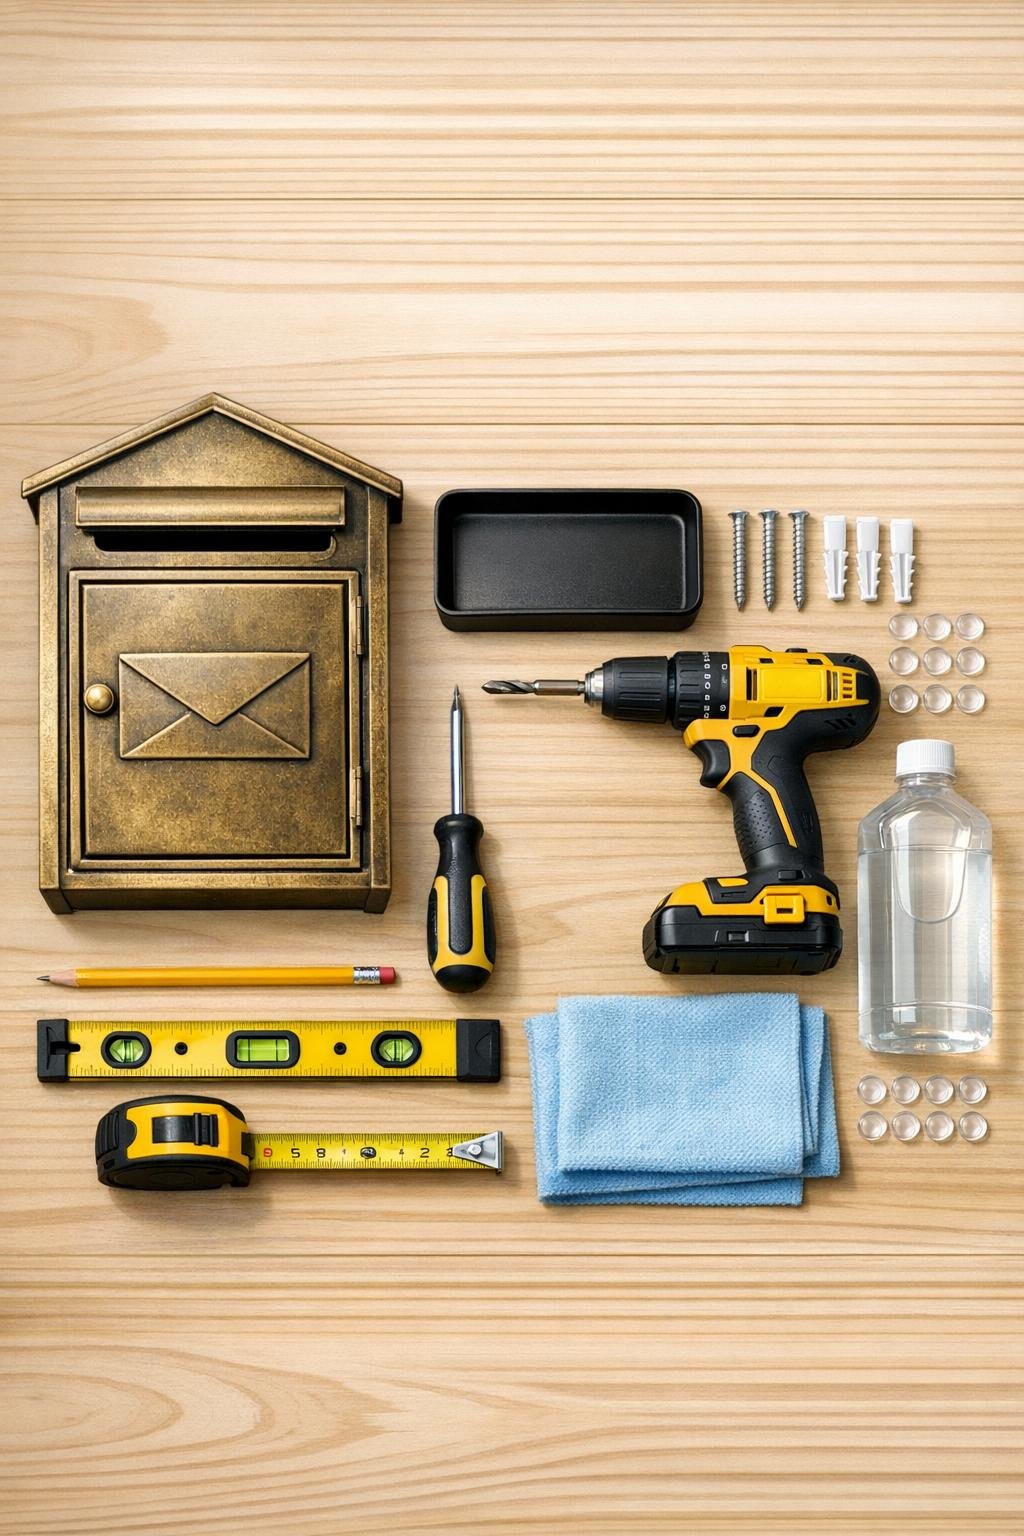
Materials
Instructions
1. Open the mailbox and wipe the inside thoroughly with a microfiber cloth and rubbing alcohol so the metal surface is clean and dust-free.
2. Test-fit the black magnetic tray on the inside wall or bottom interior of the mailbox, placing it where coins will be easy to drop in but mail and keys still have room.
3. Press the magnetic tray firmly into place and give it a gentle shake test to confirm it holds securely without sliding.
4. Add clear rubber bumpers to the inside corners of the mailbox door or back edge if needed, so it closes softly and doesn’t clang against the wall.
5. Hold the mailbox against the wall at a comfortable grab-and-drop height, usually about 52 to 58 inches from the floor to the center, and mark the mounting holes with a pencil.
6. Use a level to straighten the mailbox before drilling, then drill pilot holes and insert wall anchors if you are not mounting directly into a stud.
7. Screw the mailbox securely to the wall, checking once more that the door opens freely and the tray stays in position.
8. Load the organizer by dropping coins into the magnetic tray and using the larger mailbox cavity for keys, sunglasses, outgoing mail, or a slim wallet.
9. Style the area lightly so it feels finished: keep the mailbox exterior polished, and pair it with a small dish, a narrow runner, or a compact hook nearby without crowding the space.
Variations & Tips
Add a key hook nearby: If your mailbox is on the smaller side, hang one or two simple wall hooks right beside it so the mailbox handles paper clutter and coins while the hooks catch bulkier keychains.
Use the tray low and to one side: I like placing the magnetic tray toward the lower inside corner so coins fall in easily and the rest of the mailbox still feels open instead of cramped.
Try a darker finish: If your brass mailbox is too shiny for your space, you can gently tone it down with a metal-safe antiquing wax or leave it to patina naturally for a more vintage look.
Make it renter-friendlier: If wall mounting isn’t ideal, mount the mailbox to a finished wood backer first and then hang that backer from sturdier removable hardware if the weight works for your wall type.
Keep the drop zone edited: This project works best when it holds the essentials, not everything from your bag. I do a quick Sunday reset and clear out receipts and junk mail so it stays useful instead of becoming a catch-all.
Choose a strong magnetic tray: Not every magnetic tray has the same grip, so test it inside the mailbox before mounting the unit on the wall. A tray with a flat magnetized base usually stays put best.
Protect the wall finish: If the mailbox shifts at all when the door opens, add a couple of clear bumpers to the back corners so the metal never rubs directly against the paint.