
I love a kitchen project that takes all of five minutes to set up but still makes the counter look pulled together, and this utensil holder is exactly that. By pairing a tall ceramic pitcher with a simple cork trivet, you get a sturdy little station for wooden spoons, spatulas, and everyday tools that feels warm, useful, and intentional instead of like a random cup of utensils shoved by the stove.
This is a great project for anyone who wants a prettier, more organized cooking zone without building, drilling, or spending much. As someone who is always trying to make my kitchen work harder on busy weeknights, I love that this one gives you function and charm at the same time—and it is easy enough to put together during the few minutes while dinner is simmering.
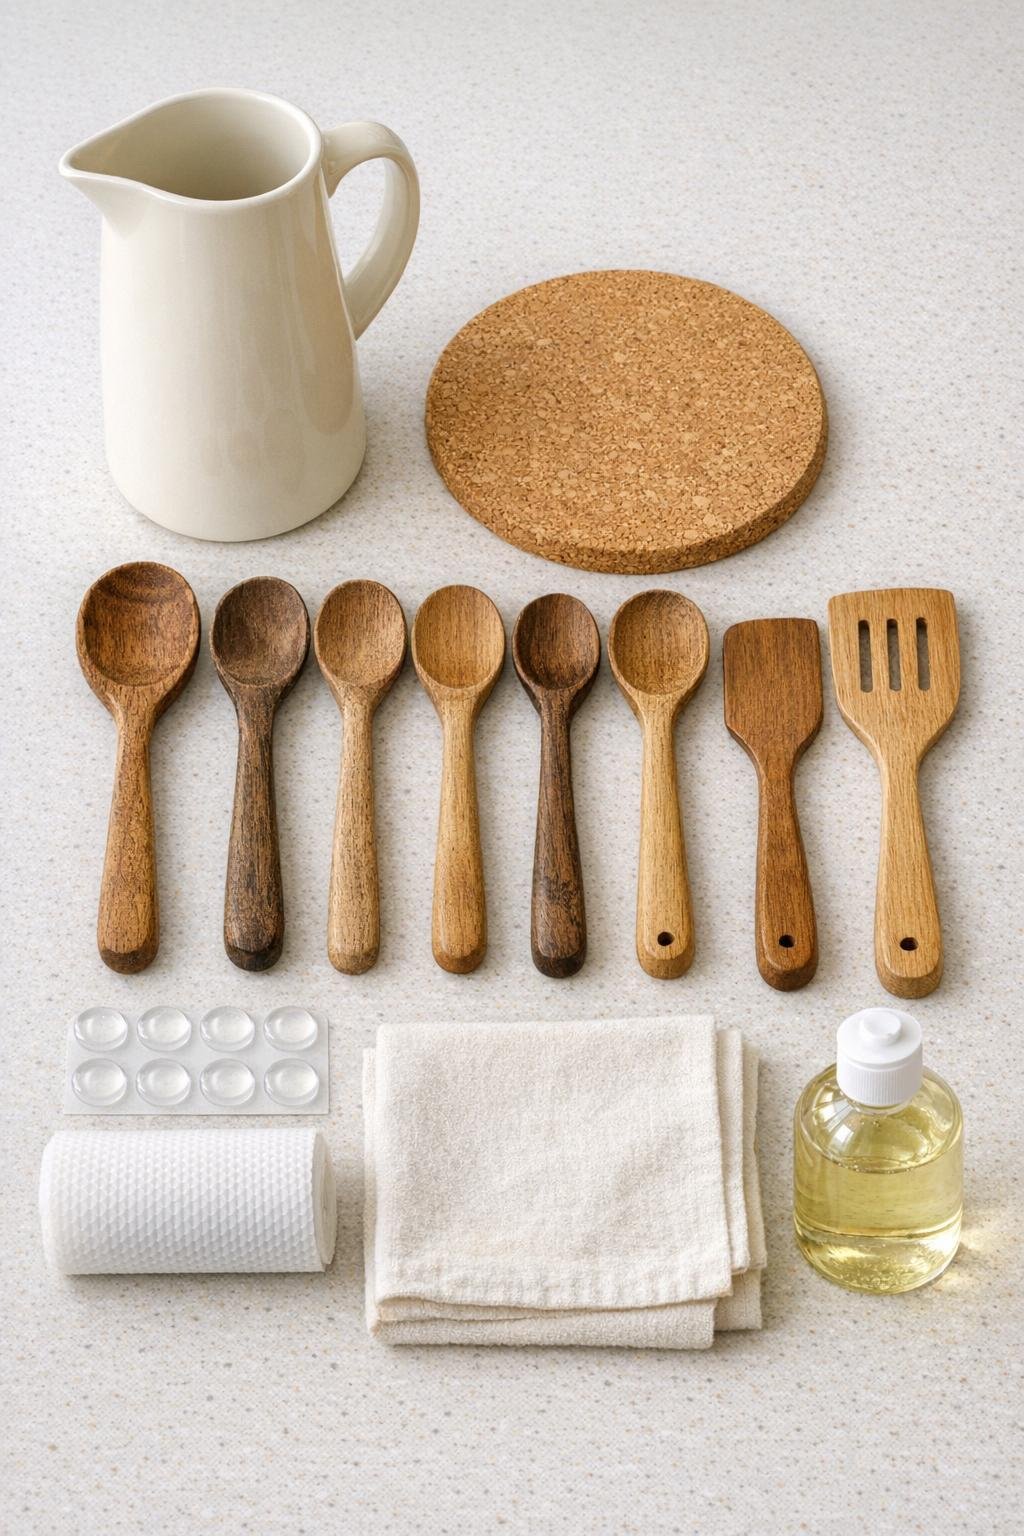
Materials
Instructions
1. Wash the ceramic pitcher with warm water and dish soap, then dry it completely with the microfiber cloth so the outside finish looks clean and polished.
2. Wipe the cork trivet with a barely damp cloth and let it air-dry for a minute so it is free of dust before you set anything on top of it.
3. Cut the non-slip shelf liner into a circle or square slightly smaller than the pitcher's base, about 4 1/2 to 5 inches wide.
4. Center the liner on the cork trivet, then place the ceramic pitcher on top to create a stable, cushioned base that helps keep the pitcher from sliding.
5. Turn the pitcher slightly and add 4 clear rubber bumpers evenly around the underside edge if you want extra grip and a tiny lift above the liner.
6. Add the remaining 4 rubber bumpers to the bottom of the cork trivet, spacing them evenly so the whole holder stays put and protects the countertop.
7. Arrange the wooden utensils inside the pitcher by placing the tallest pieces in the back and the slightly shorter spoons toward the front for a full, balanced look.
8. Rotate the utensils until the prettiest spoon bowls and wood grain face outward, and spread them slightly so the holder looks generous and easy to grab from while cooking.
9. Set the finished holder near the stove or prep area, leaving a few inches of clearance so the handles are easy to reach without crowding the counter.
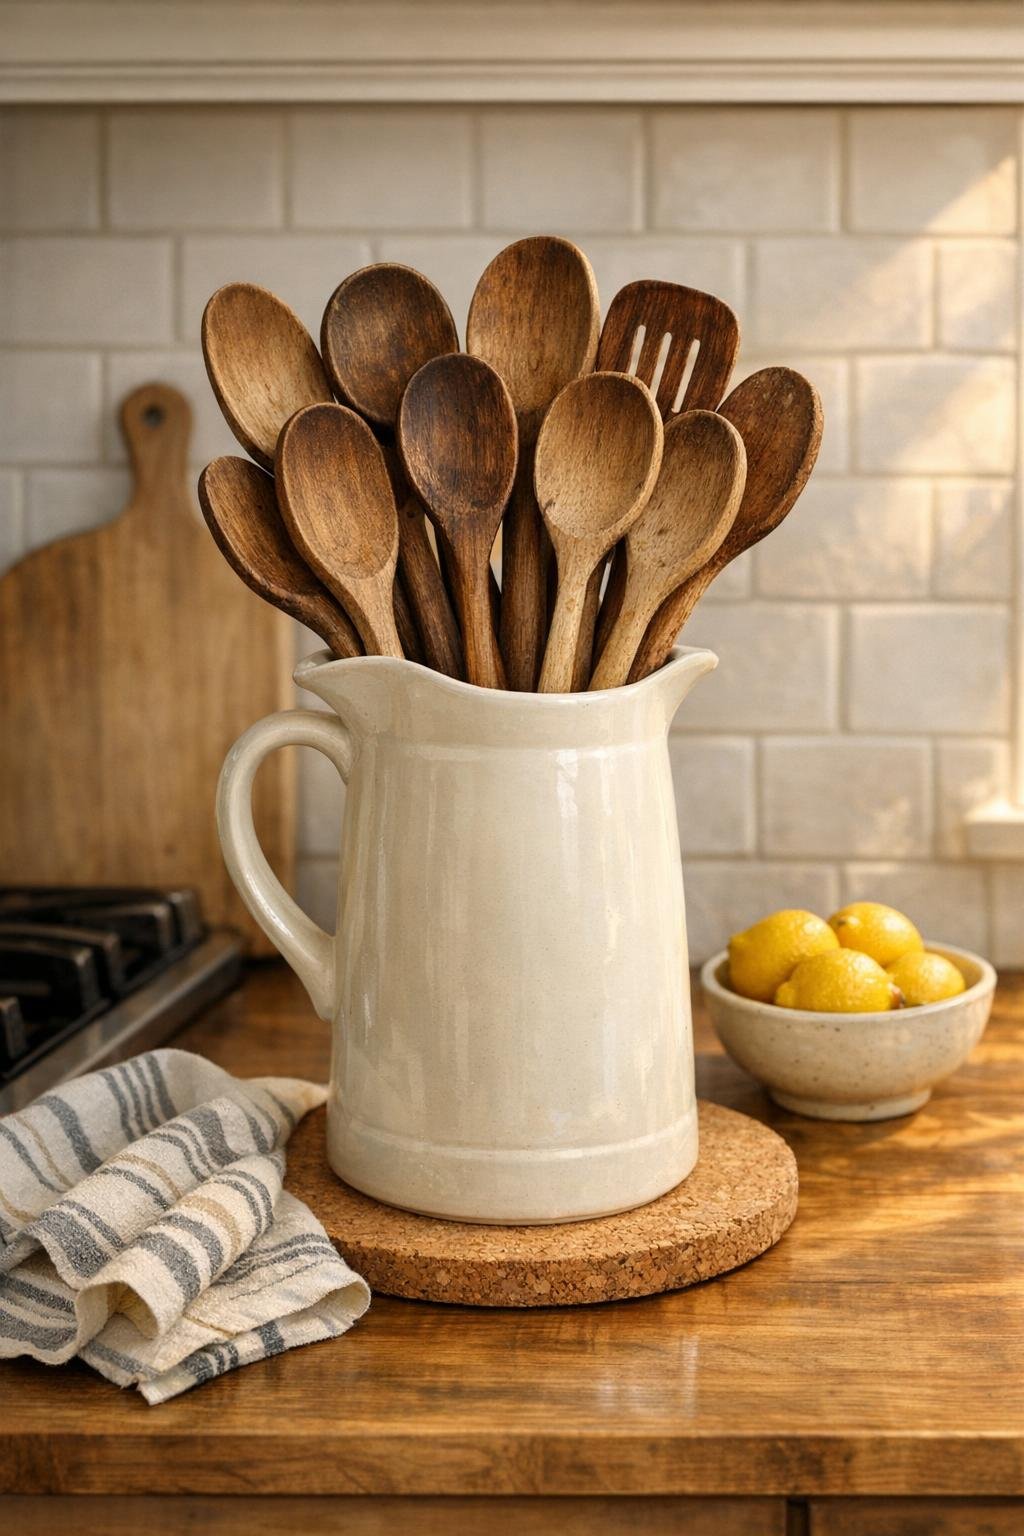
Variations & Tips
Add a fuller mix: If you cook a lot like I do, tuck in a pair of kitchen shears or a silicone spatula with wood handles, but keep the total to about 9 or 10 tools so the pitcher still looks tidy instead of jammed.
Choose the right pitcher size: A taller, heavier pitcher works best because it will not tip as easily when you pull out one utensil with one hand during a rushed dinner prep.
Match your kitchen style: Use a cream pitcher for a farmhouse look, white for a cleaner classic style, or soft gray if your kitchen leans more modern; the cork base warms up all of them.
Keep wood tools looking nice: Rub wooden spoons with a tiny bit of food-safe mineral oil every so often if they start to look dry. I usually do this when I am already wiping down the counters on Sunday night.
Try a seasonal refresh: Swap in a different trivet texture or add one statement utensil with a darker wood tone if you want the holder to feel updated without remaking the whole setup.
Best placement: Keep the holder close to where you actually stir, sauté, and serve. The prettiest organization trick is still the one that saves you a step when dinner is already running behind.