
There’s something mighty satisfying about turning a plain, everyday object into something that stops folks in their tracks on the porch. I’ve always had a soft spot for projects like that—the kind our mothers and grandmothers would have dreamed up from what was already in the house, with a pair of pliers in one hand and a practical streak a mile wide. This one is inexpensive, surprisingly sturdy, and just right for anybody who wants a front-porch statement without hauling home a cart full of supplies.
If you’ve got a stash of old hangers and about an hour of patient tinkering, you can make a tall, glowing piece that looks far fancier than its humble beginnings. I like projects like this best because they feel resourceful and festive at the same time, and once you see the shape come together, it’s hard not to grin.
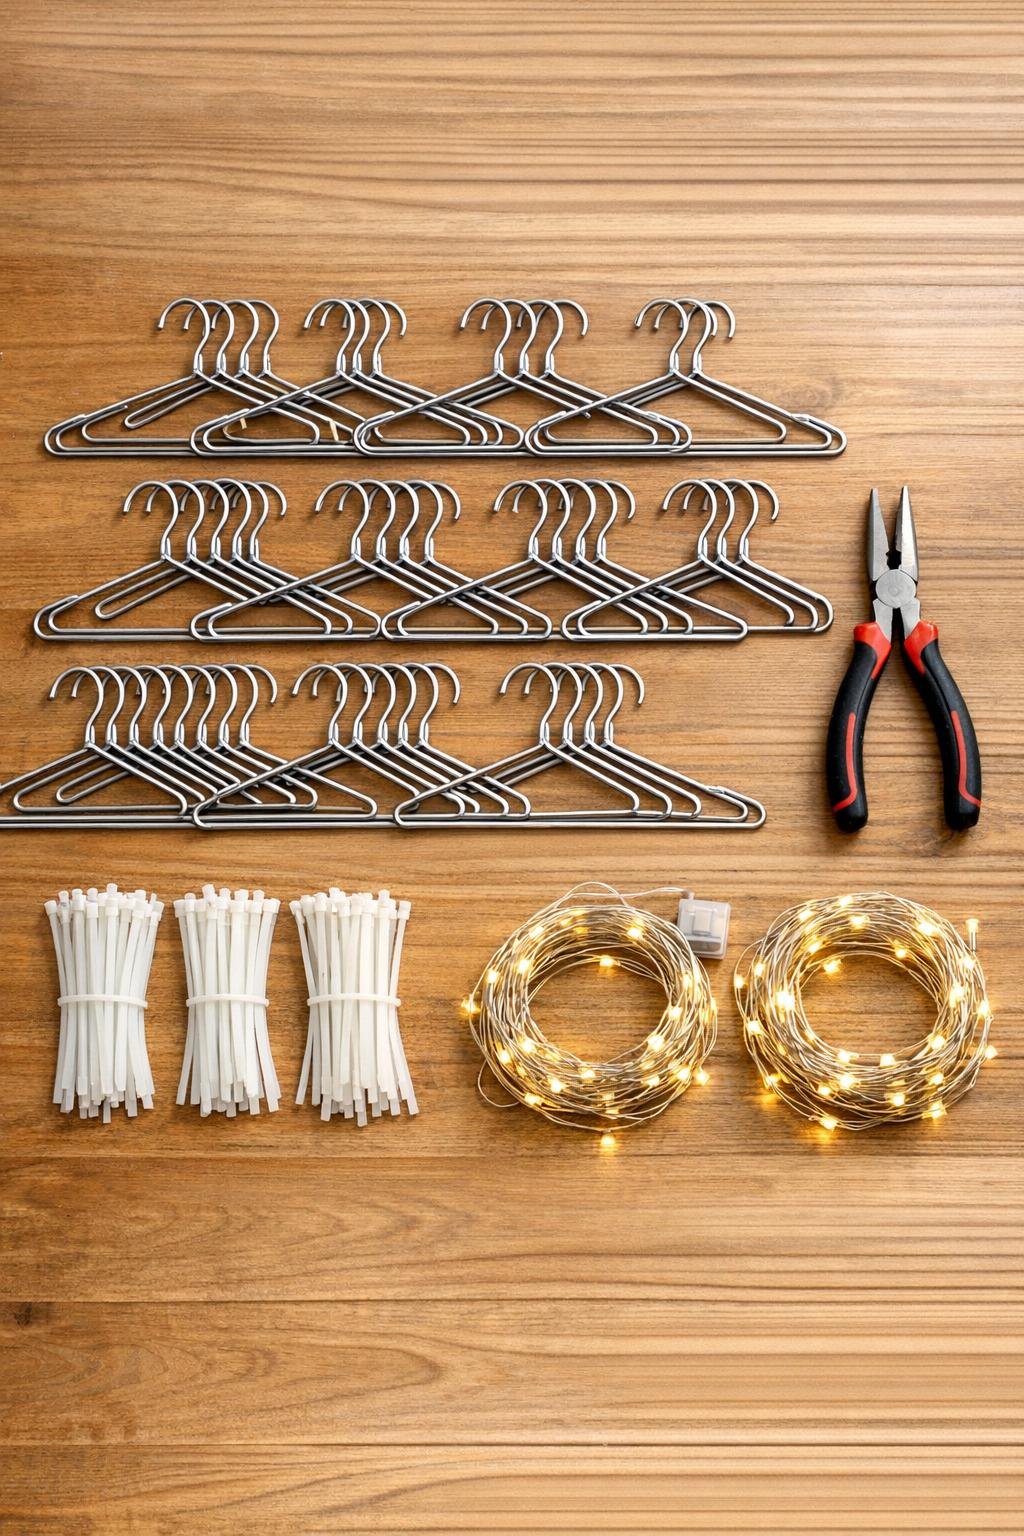
Materials
Instructions
1. Place all 20 hangers on a table and use the pliers to straighten any bent corners so the triangles are as even as possible. Matching shapes now will give you a cleaner, taller result later.
2. Twist each hanger hook so it points straight upward and the neck of the hook is closed tightly. This keeps every hanger from shifting once you start connecting them.
3. Stand 5 hangers upright in a circle with the bottom bars on the floor or table and the hooks gathered loosely at the center top. Zip-tie the side corners of neighboring hangers together, using 2 zip ties at each joint for strength.
4. Add 5 more hangers above the first row, overlapping each new hanger so its lower corners meet the upper side sections of the row below. Zip-tie each connection firmly to build height while keeping the cone shape even.
5. Continue adding the remaining 10 hangers in overlapping rows until you have a full cone with a broad base and a narrow top. Adjust the spacing as you go so the tree looks round and balanced from every side.
6. Pull the hanger hooks together at the top and secure them tightly with 3 or 4 zip ties so the tip stays narrow and centered. Use the pliers to tuck any sharp wire ends inward.
7. Check the base and gently widen or narrow sections by hand until the cone stands straight on its own. Trim every zip-tie tail close so nothing pokes out or catches the light strands.
8. Start at the top with the first strand of lights and spiral downward, fastening the wire to the frame with a zip tie every 6 to 8 inches. Keep the spacing even so the glow looks full instead of patchy.
9. Weave the second strand between the first passes of lights, filling in open areas from top to bottom. Concentrate extra lights around the middle and lower third so the finished tree looks lush and bright on the porch at night.
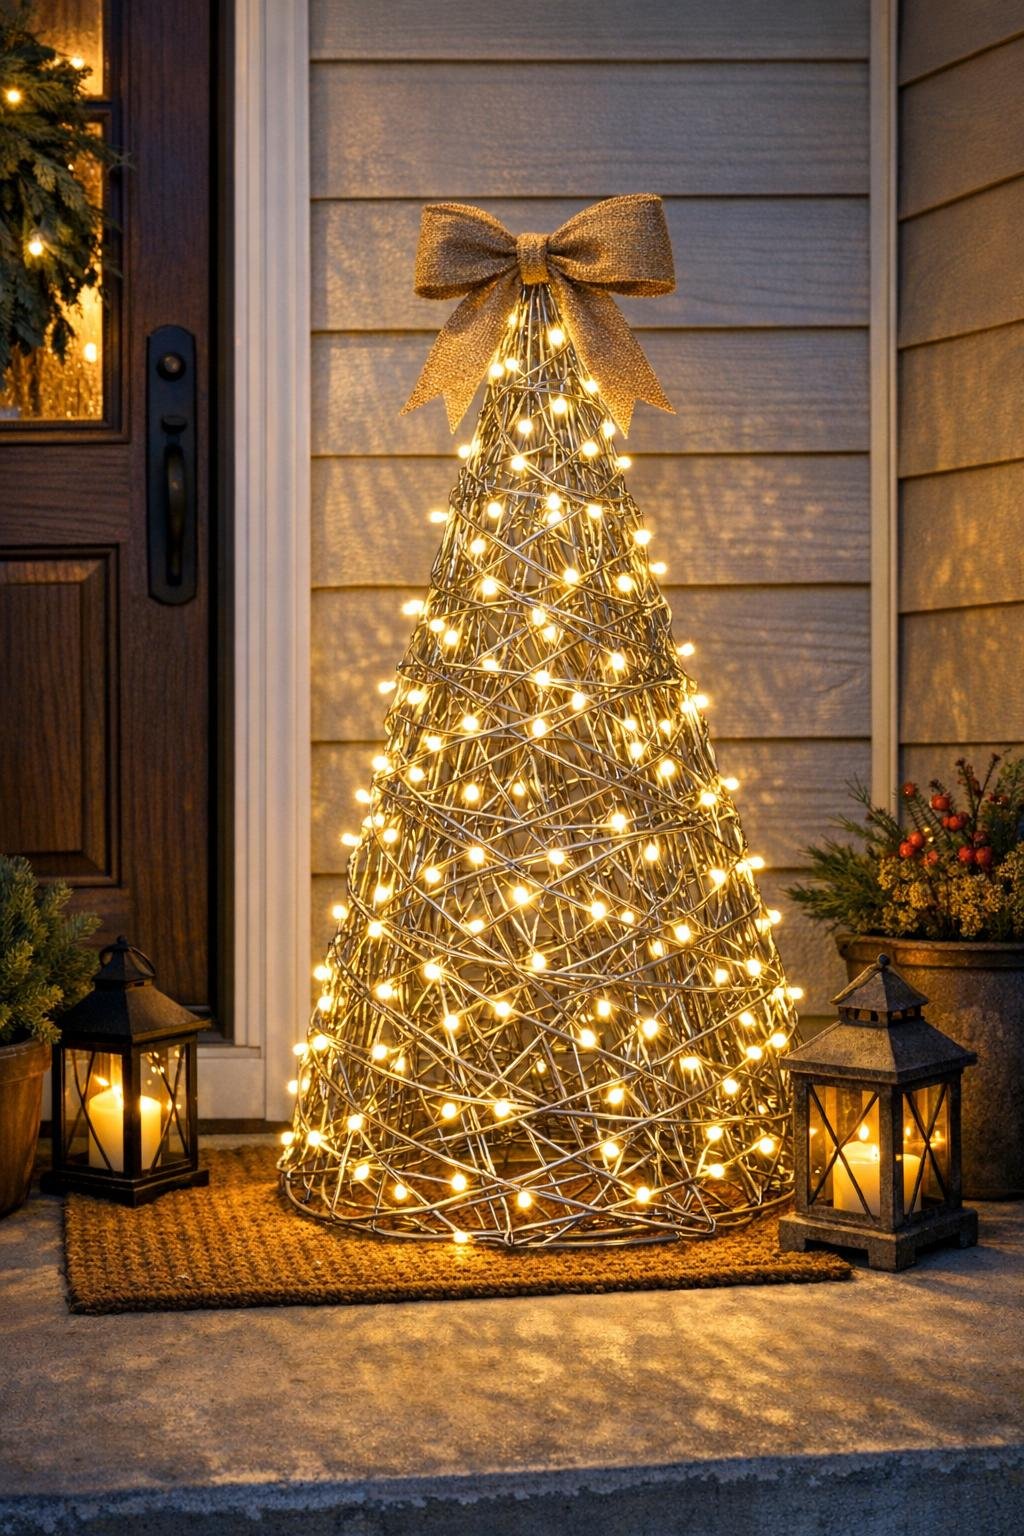
10. Set the plug end neatly at the back base, move the tree to its final porch spot, and plug it in to check coverage from all angles. Make one last round of small adjustments so the lights follow the cone evenly and the frame stays crisp and symmetrical.
Variations & Tips
For a taller tree: Use larger dry-cleaner hangers or loosen the overlap between rows slightly to gain more height without needing extra materials.
For a fuller glow: Add a third 100-light strand if you want a richer, denser sparkle, especially if the tree will be seen from the road.
For extra porch polish: Tie a weatherproof bow at the top or around the base in burlap, plaid, or velvet ribbon. That little finishing touch makes it look intentional rather than improvised.
For better stability: If your porch gets wind, anchor the base to a heavy planter or brick with a few extra zip ties placed at the back where they won’t show.
For a different look: Try cool white lights for a crisp winter style, or multicolor lights if you like the old-fashioned holiday glow I remember from farmhouse porches years ago.
My best assembly tip: Build the cone frame first, step back often, and fuss with the shape before adding lights. A well-balanced frame is what makes the whole piece look surprisingly elegant in the end.