
I love a project that looks high-end but fits into a real weeknight, and this one absolutely does. If you’ve got a few inexpensive glass bud vases and a bottle of craft paint, you can turn them into something that looks far more collected and polished than the price tag suggests.
This is a great DIY for anyone who wants a fast holiday decorating win without dragging out a whole afternoon of supplies. I’m especially fond of projects like this in December, when I want my house to feel festive but I’m also juggling work, grocery runs, and figuring out what on earth we’re eating for dinner.
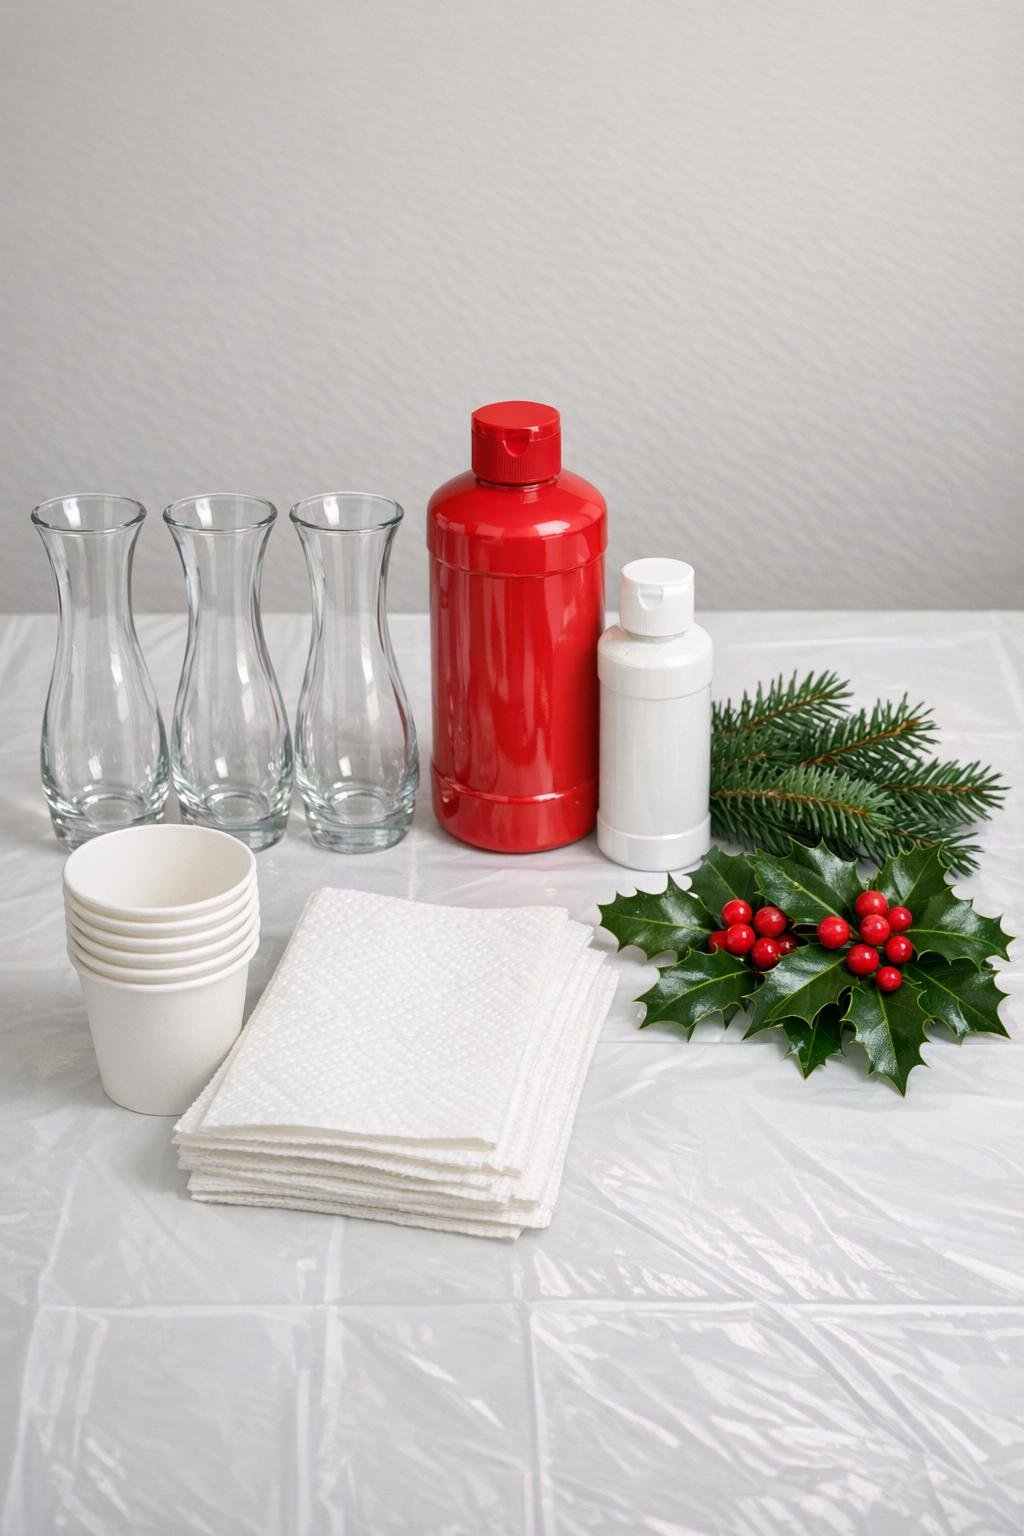
Materials
Instructions
1. Cover your counter or table with the plastic tablecloth and set out three paper cups upside down on top of a few folded paper towels to catch drips.
2. Rinse and dry the bud vases well so there’s no dust or residue inside; the cleaner the glass, the smoother the painted finish will look.
3. Pour about 3 tablespoons of red acrylic paint into the first vase, then add 1 teaspoon of white paint to soften the color slightly and give it that creamy ceramic look.
4. Slowly tilt and rotate the vase, letting the paint run over the entire inside surface until the glass is fully coated from the neck to the base.
5. Turn the vase upside down on top of a paper cup and let the excess paint drain out for 10 to 15 minutes; wipe the outer rim clean if any paint gets on it.
6. Repeat the same process with the other two vases, using about 3 tablespoons of red paint and 1 teaspoon of white paint per vase so the set looks cohesive.
7. Leave all three vases upside down for another 20 to 30 minutes, then flip them upright and check for thin spots; if needed, pour in a little more red paint and rotate again to fill any streaks.
8. Let the vases dry upright for at least 24 hours in a dust-free spot so the inside finish can set and level out.
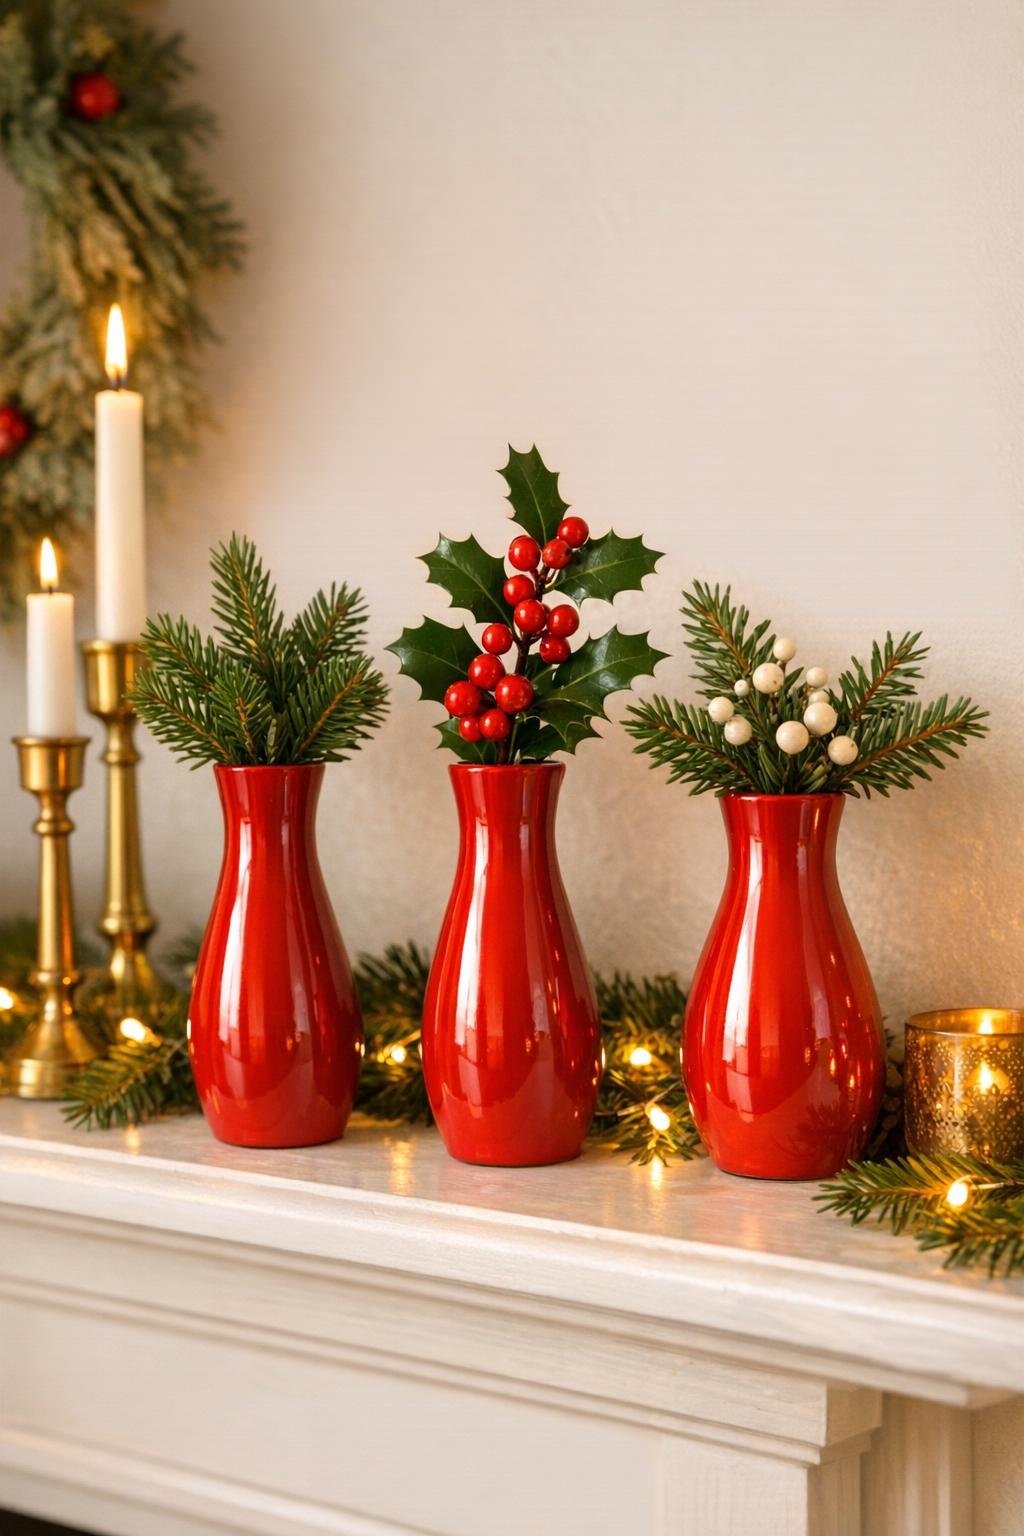
9. Once fully dry, add one or two evergreen or holly sprigs to each vase, keeping the stems simple so the bold color and shape of the vases stay the star.
Variations & Tips
Softer red finish: Add a little more white paint if you want the color to lean more cherry red than deep holiday red. I like this especially if your Christmas decor already has lighter woods or a lot of cream tones.
Best vase shapes: Bud vases with a narrow neck and rounded body look especially convincing because the silhouette still reads clearly through the painted interior. That shape is what gives these such a boutique-store feel.
For the smoothest coat: Rotate slowly instead of shaking the vase. Fast movement creates bubbles, and bubbles are the one thing that makes this look less polished.
Drain time matters: Don’t skip the upside-down draining step. Too much paint left pooled in the bottom can crack as it dries, and I learned that the annoying way the first time I tried a similar painted-glass project.
Display idea: Group all three together instead of scattering them around the house. A clustered trio looks fuller, more intentional, and honestly much more expensive.
Care note: These are best used as decorative vases for dry or fresh clipped stems with minimal water exposure. Since the paint is on the inside, handle gently and avoid soaking or scrubbing.