
There are a few projects I love because they feel a little like kitchen magic, and this is one of them. You start with something headed for the trash, use the same kind of sheet pan setup you’d use for cookies, and in just a few minutes you get a glossy, colorful result that looks surprisingly polished. If you enjoy easy crafts with a big payoff, this one is hard to beat.
I especially like this project for families, holiday crafters, and anyone who saves pretty packaging because it seems too fun to throw away. The process is simple, quick, and satisfying, and the finished pieces have that cheerful, retro-snack look that makes a tree, gift topper, or garland feel playful and personal.
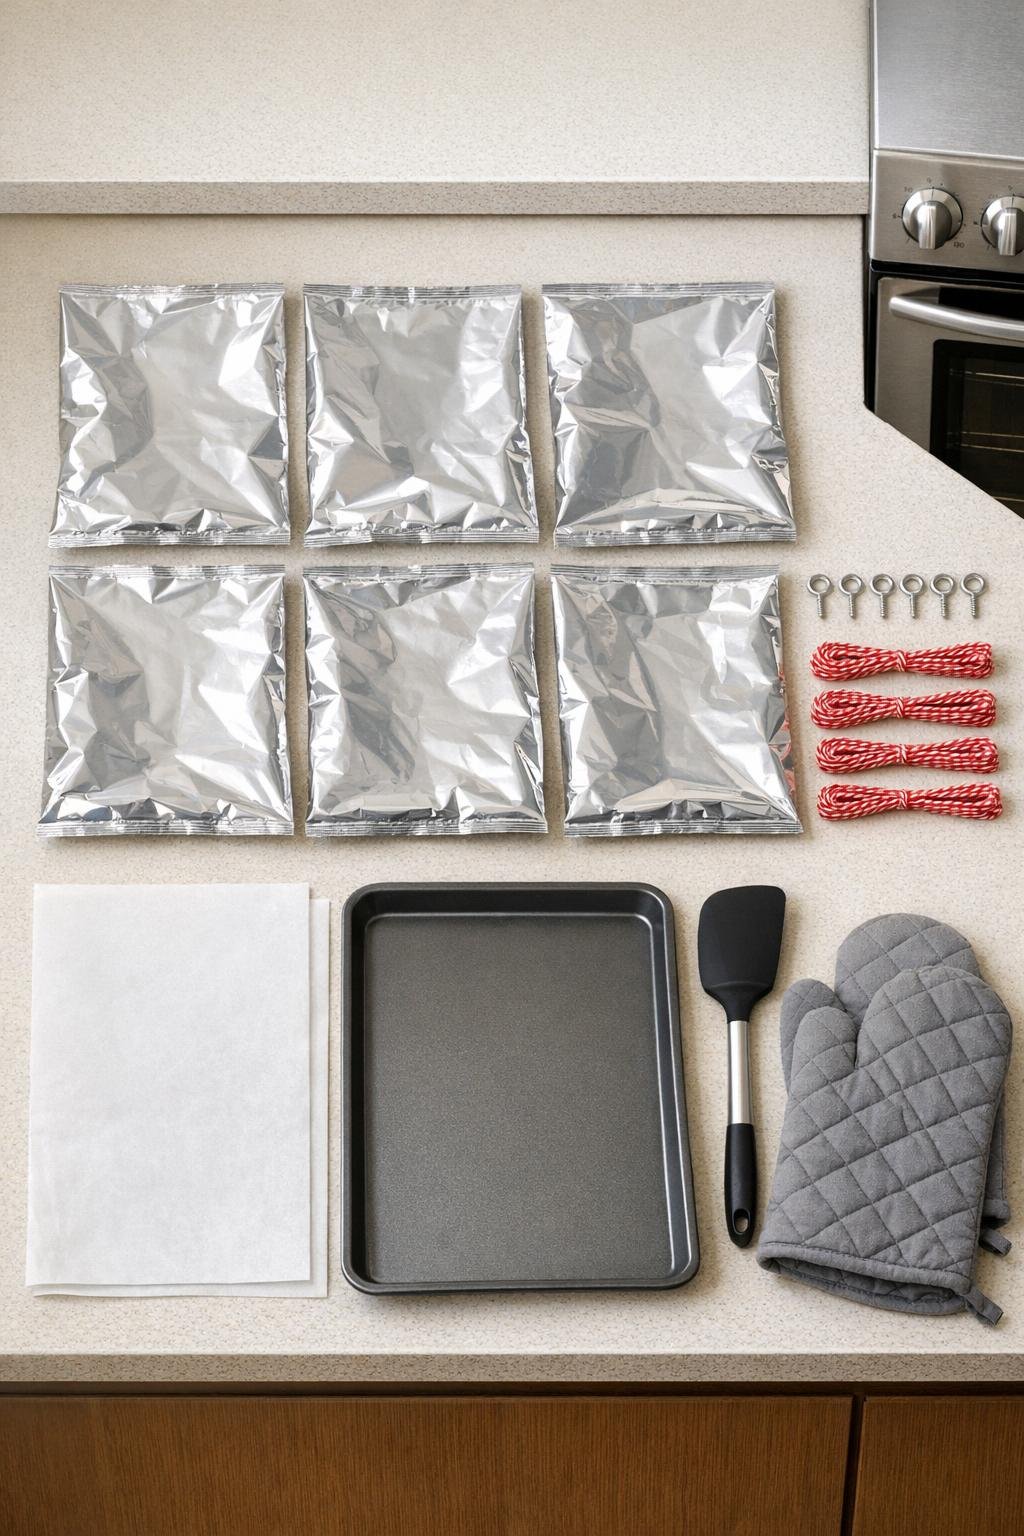
Materials
Instructions
1. Preheat your oven to 250°F and line the baking sheet with parchment paper. Make sure the parchment lies flat so the bags shrink evenly instead of curling around wrinkles.
2. Wash each chip bag thoroughly, then let it dry completely and flatten it smooth with the printed side visible. Any oil or crumbs left inside can scorch, so I treat this step the way I would prep a pan before baking pastries: clean surfaces matter.
3. Cut away the top seam, bottom seam, and one side seam from each bag so it opens into one flat rectangle. Trim off any stubborn thick edges because heavily sealed areas do not shrink as evenly as the thinner body of the bag.
4. Arrange all 6 flattened bags on the parchment-lined baking sheet in a single layer with a little space between them. Keep them from overlapping, because they shrink fast and can stick together if they touch.
5. Place the baking sheet in the oven and watch closely for 2 to 4 minutes. The bags will curl, tighten, and then flatten back down as they shrink to a much smaller, thicker, glossy version of themselves.
6. Remove the baking sheet with oven mitts as soon as the bags have fully shrunk and stopped moving. If any piece is still curled awkwardly, gently press it flatter right away with the spatula while it is still hot.
7. Let the shrunken pieces cool on the baking sheet for 5 minutes until firm. They should feel thick and rigid, almost like little laminated charms.
8. Add a hanging point by twisting a small eye screw into the top edge of each cooled piece, or punch a hole near the top if the material is thin enough. Place the hole or screw about 1/4 inch from the edge so it stays secure.
9. Thread one 8-inch length of red baker’s twine through each hole or eye screw and tie it in a loop. Trim the ends neatly, or swap in ornament hooks if you want a more classic tree-ready finish.
10. If you want them extra polished, wipe each ornament with a dry soft cloth to bring out the shine and straighten the loops so they all hang forward. That tiny finishing step makes the set look intentional and giftable rather than just clever, which I always appreciate.
Variations & Tips
Best bag choice: Foil-lined snack bags shrink the best. If a bag feels papery or not at all metallic inside, test one first before committing your full tray.
Keep them flat: Some bags curl dramatically for a moment before flattening again. I always stay by the oven door and watch, because this is a quick transformation and timing matters.
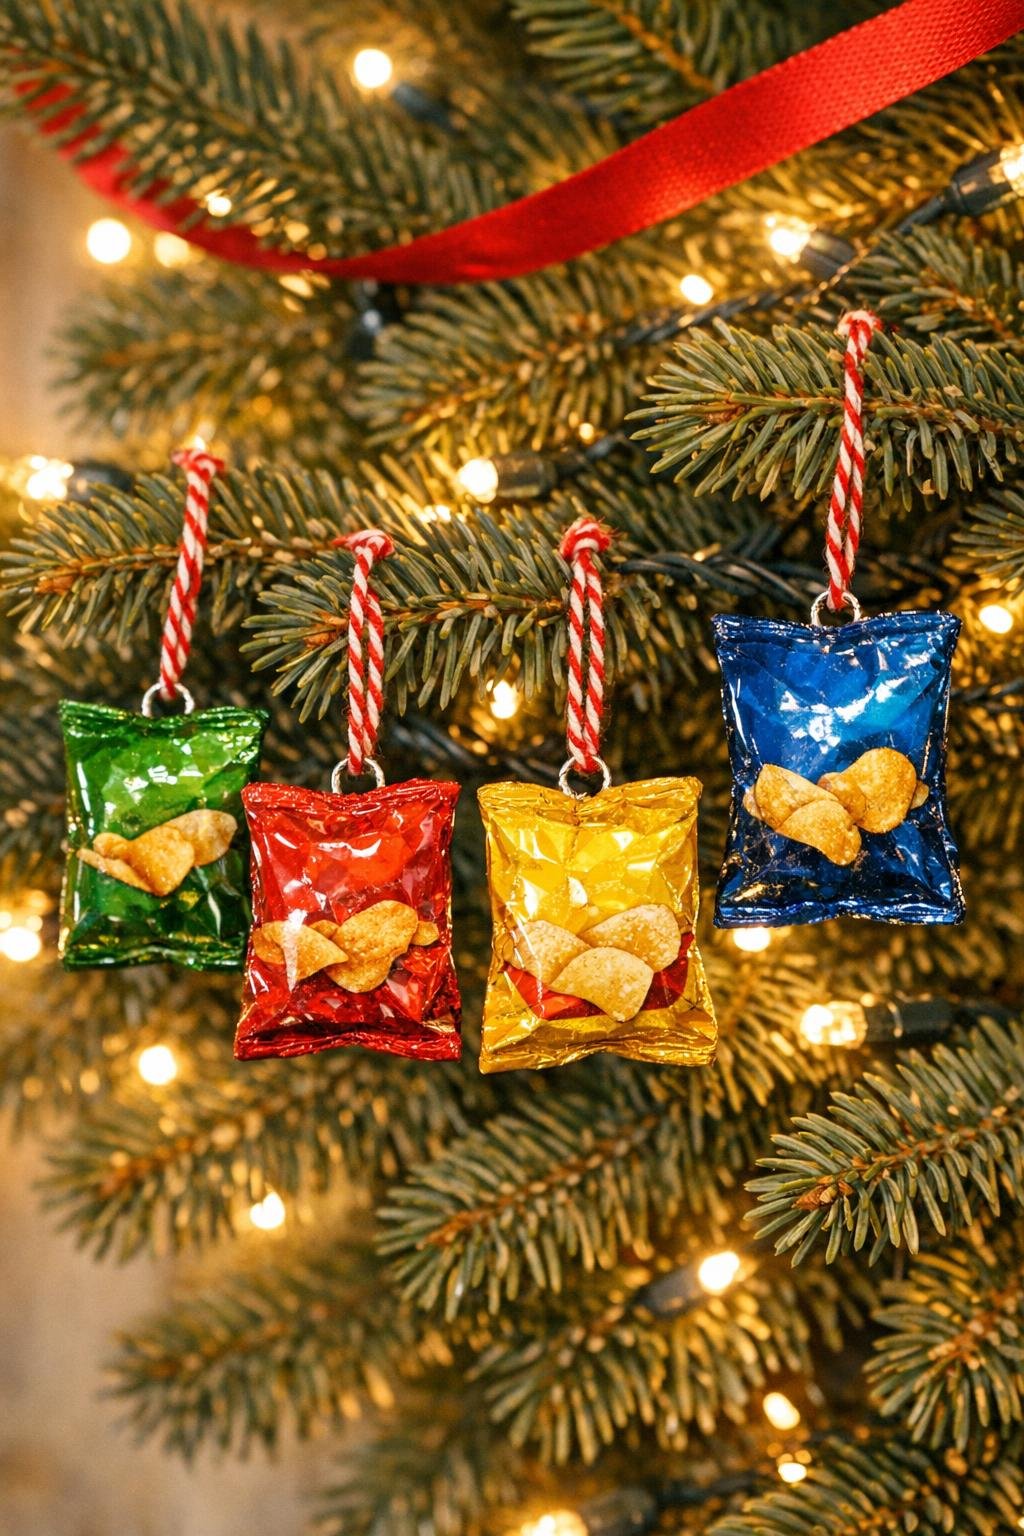
Holiday set idea: Choose bags in coordinated colors like red, green, gold, or blue so the finished ornaments look like a deliberate collection on the tree. Mixed brands can still look cohesive if the palette is similar.
Gift topper option: Make the twine loops a little shorter and tie the ornaments onto wrapped packages. They add color, shine, and a fun conversation piece without any extra crafting steps.
Durability tip: Eye screws usually hold better than punched holes if the shrunken piece is thick and sturdy. If you use a hole punch, keep the hole small and not too close to the edge.
Safety note: Work in a well-ventilated kitchen and use oven mitts the entire time you handle the hot baking sheet. Let the pieces cool fully before kids handle them, since the edges can be hot right out of the oven.