
When I want a garlic bed set up before the first hard frost, I lean hard on the small jobs that save me confusion later. This simple row marker uses baked wooden popsicle sticks and one everyday yard staple—garden twine—to make sturdy, easy-to-read markers that hold up beautifully through planting season. It’s quick, inexpensive, and especially handy if you’re laying out several garlic varieties and want your rows clearly marked at a glance.
I like this project for new gardeners and seasoned growers alike because it solves two problems at once: the baking step dries and lightly hardens the sticks, and the twine turns them into tied row markers that stay visible and organized instead of getting lost in mulch. The finished look is tidy and practical, but still polished enough that your fall garden bed looks intentional rather than improvised.
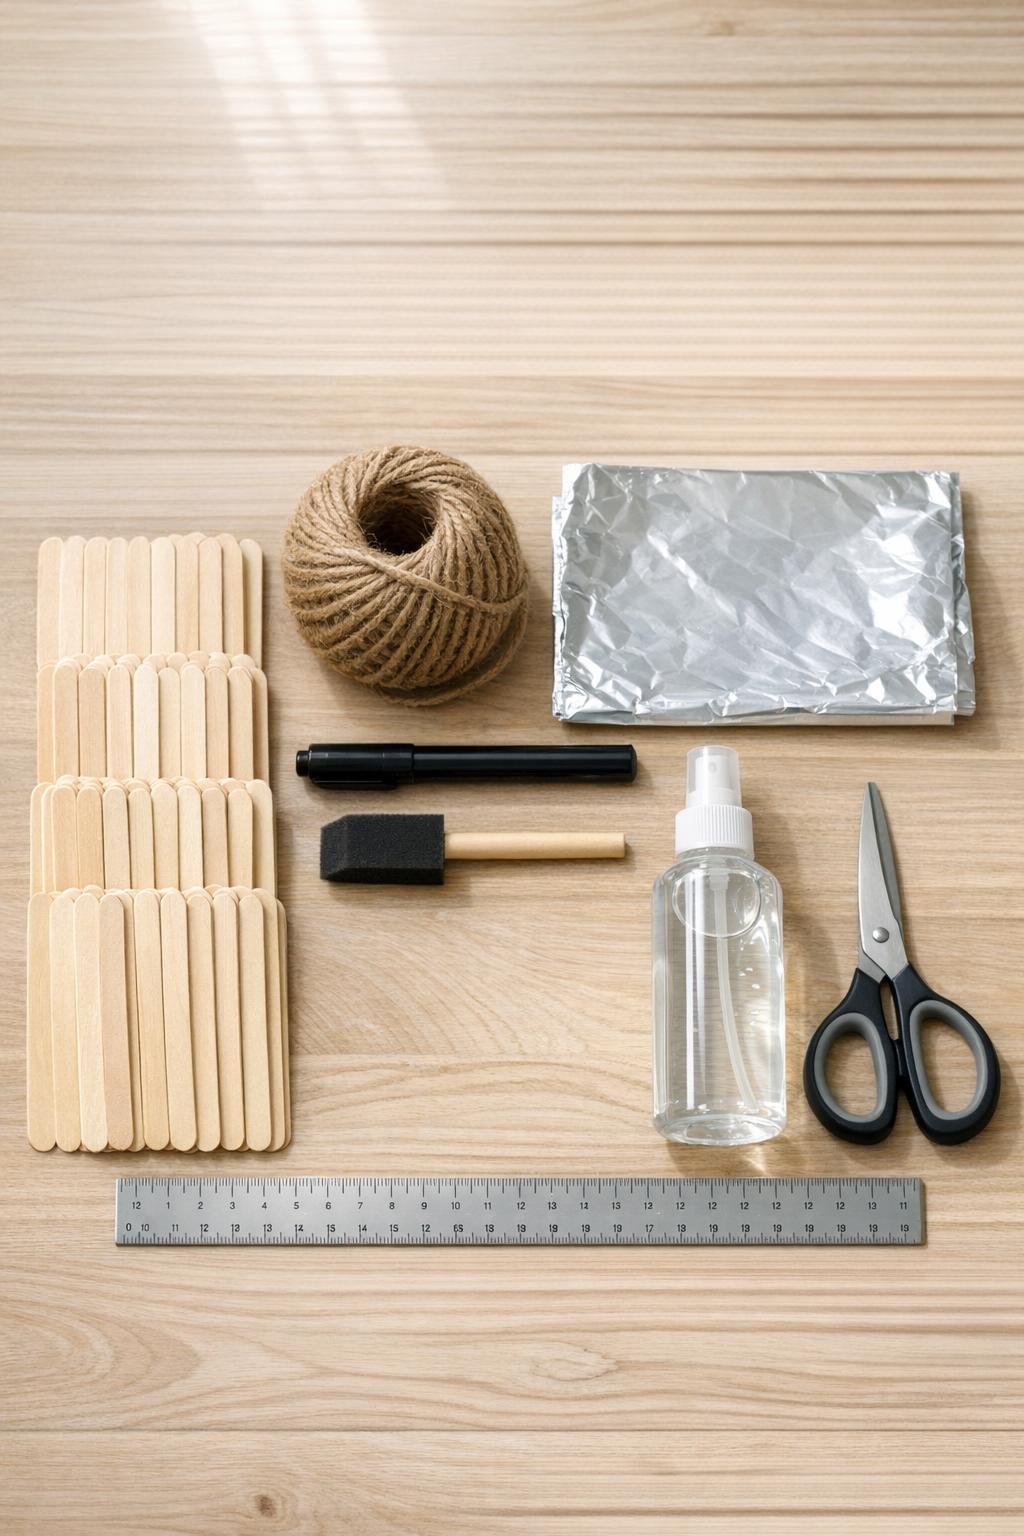
Materials
Instructions
1. Line a baking sheet with the aluminum foil and arrange the 36 wooden popsicle sticks in a single layer so none overlap.
2. Bake the sticks at 225°F for 20 to 25 minutes, just until they look dry and lightly deepened in color, then let them cool completely on the pan.
3. Sort the cooled sticks into 12 groups of 3 so each finished marker will have a fuller, easier-to-see stake instead of a single thin stick.
4. Stack each group of 3 evenly and wrap one 8-inch length of garden twine tightly around the upper third of the stack 5 or 6 times, then knot it securely at the back.
5. Trim the twine ends neatly, leaving a 1-inch tail if you want a rustic finish or cutting them flush for a cleaner look.
6. Write the garlic variety name across the top stick of each bundled marker with the black paint pen, keeping the lettering large and dark enough to read from a few feet away.
7. Brush a thin coat of clear outdoor sealer over the front, back, and edges of each marker, then let them dry flat for at least 1 hour.
8. Add a second thin coat of sealer to the writing area and the lower half of each marker if your beds stay damp through winter.
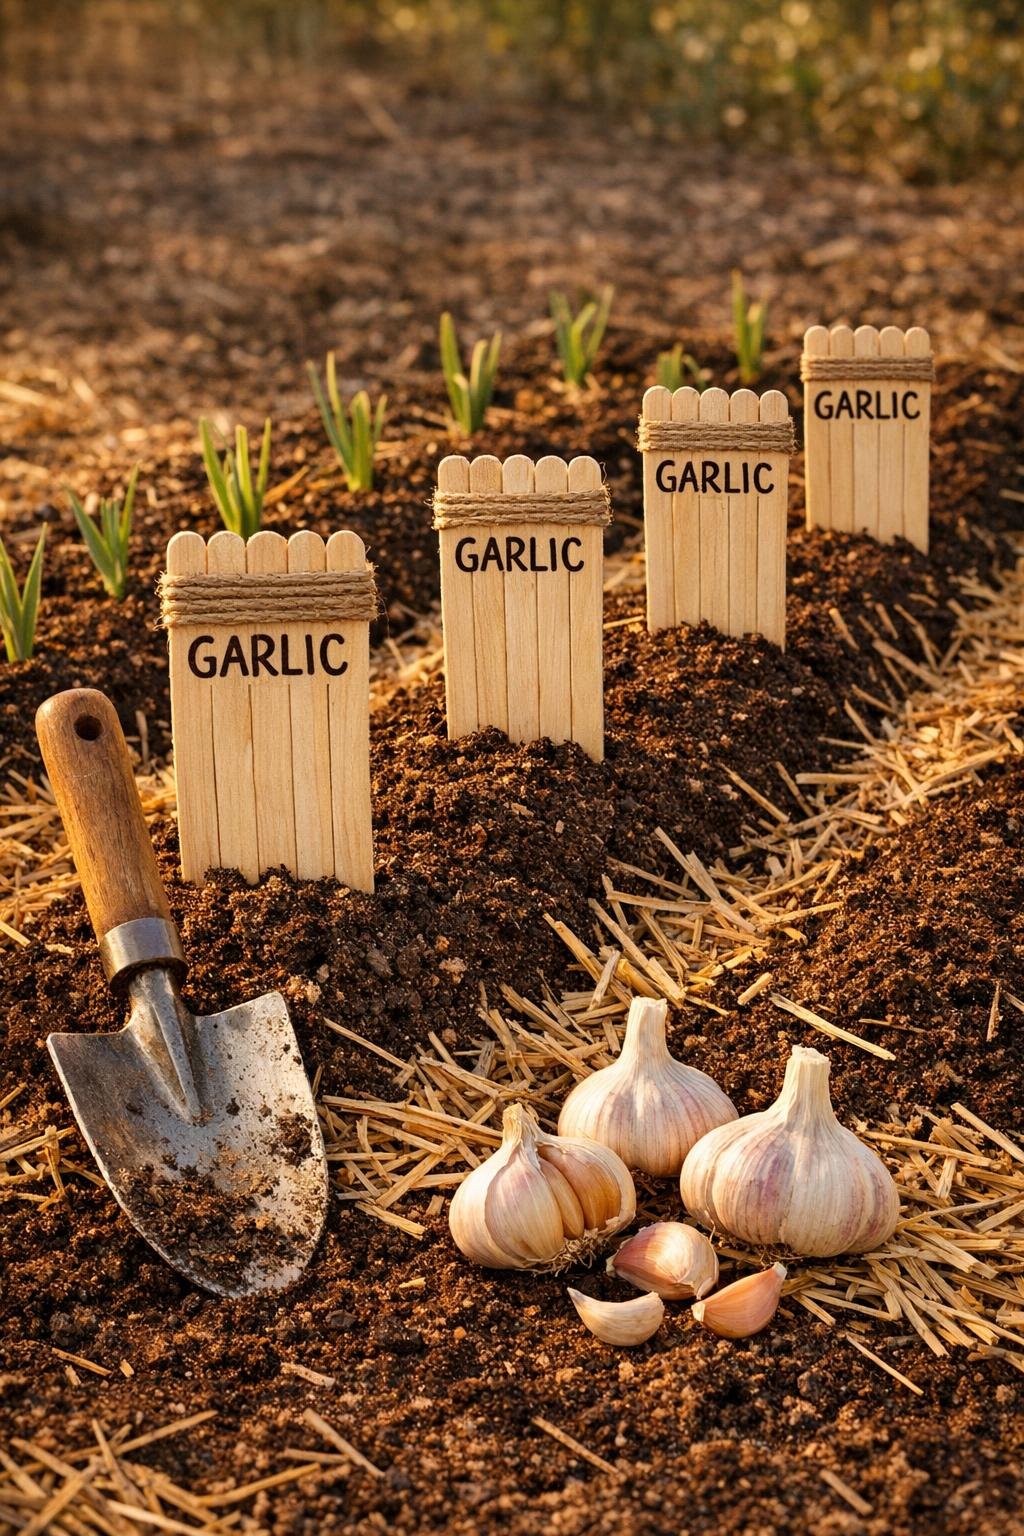
9. Push each finished marker 2 to 3 inches into the soil at the head of a garlic row, with the labeled section sitting above mulch level so it stays visible after planting.
Variations & Tips
For wetter climates: Use a third coat of clear sealer on the bottom 3 inches of each marker so the part sitting in the soil lasts longer.
For larger beds: Make the marker heads more visible by tying the twine slightly lower on the bundle, which leaves a broader label area at the top.
For easier reading: Write the variety name after the first coat of sealer dries, then seal over the lettering; I’ve found that keeps the ink crisper on porous wood.
For a polished finish: Trim every bundle to the same height and keep the twine wraps even. That little bit of uniformity makes a homemade garden bed look surprisingly well planned.
For variety organization: Use one twine wrap for softneck garlic, two wraps for hardneck, or leave slightly different tail lengths so you can identify row types even before you bend down to read them.
My best timing tip: I like to make these markers the same day I’m prepping beds for planting. The baked sticks are ready fast, and having the labels finished before cloves go into the ground saves a lot of second-guessing once everything is mulched.