
If you garden like I do, by the end of the season you start noticing exactly which raised beds stayed soggy a little too long and which ones drained just right. This little drainage test tube setup is a handy way to compare soil and water flow without buying anything fancy, and it turns a few humble dollar store supplies plus those cut soup cans into something surprisingly tidy-looking.
I love projects like this because they solve a real problem and still look polished sitting out by the beds or on a potting bench. If you're a practical DIYer, a curious gardener, or just someone who hates wasting good materials, this is an easy afternoon make that gives you a reusable tool for end-of-season garden planning.
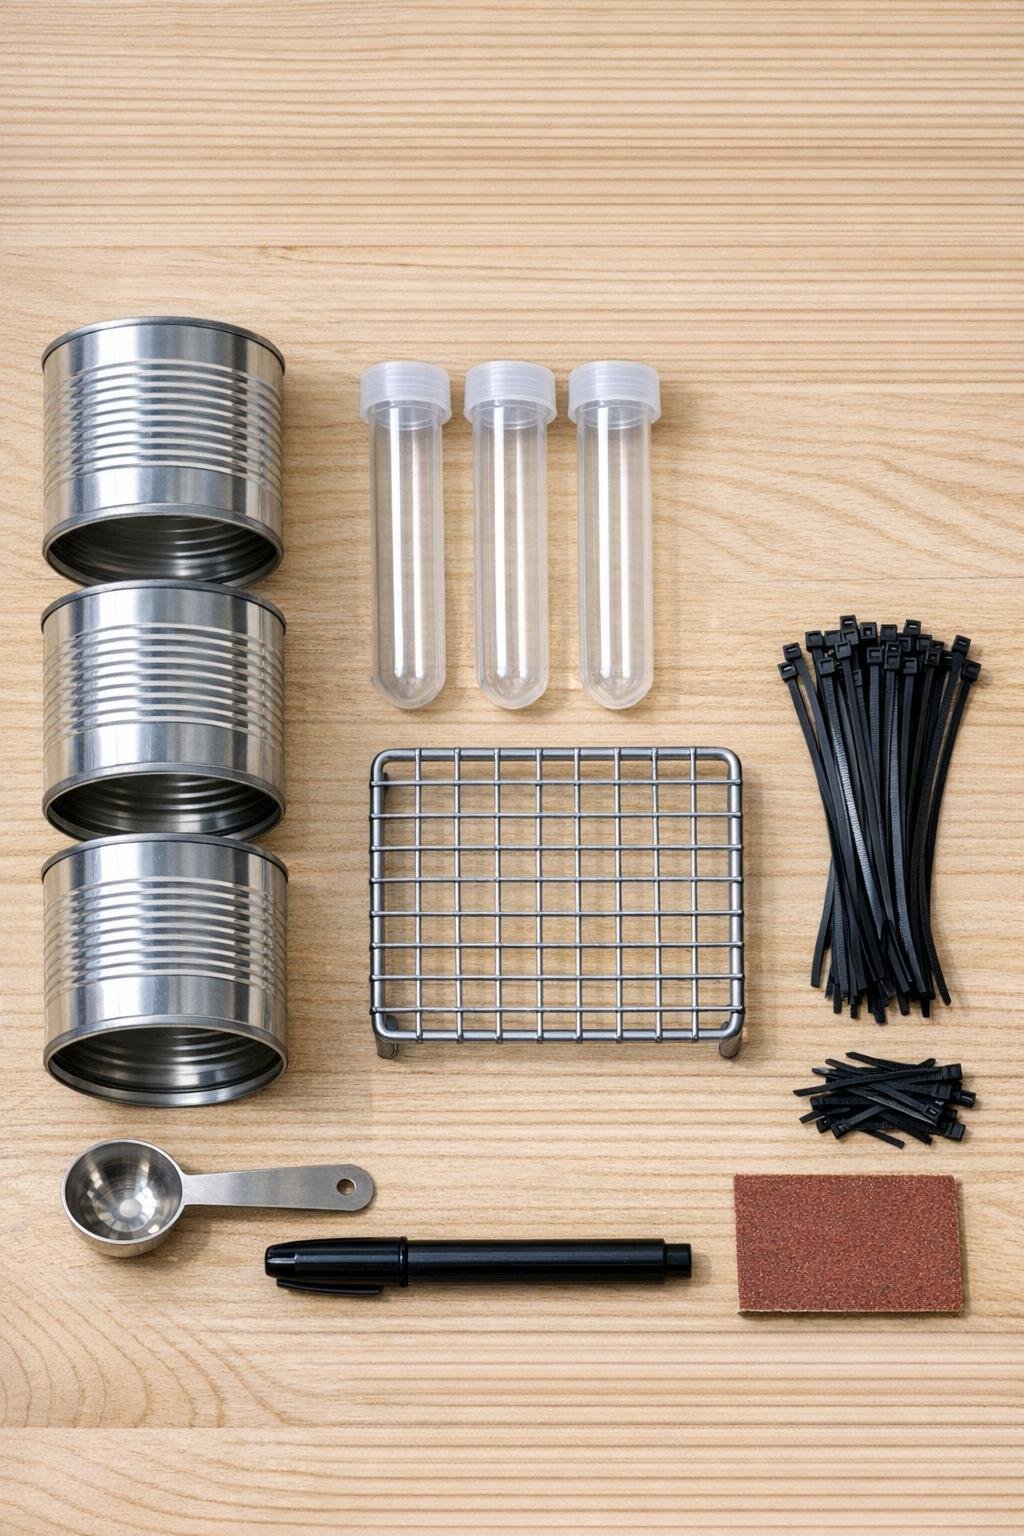
1. Wash the soup cans well, peel off any remaining label glue, and use fine-grit sandpaper to smooth the sharp cut edges so they are safer to handle.
2. Stand the cooling rack upright or lay it flat over a shallow tray, then position the three cans evenly across it so each can can act like a sturdy collar or holder.
3. Set one test tube through the center of each can so the can surrounds the tube and helps keep it steady and protected while you work.
4. Use three zip ties per can to fasten each can to the wires of the rack, spacing the ties around the sides so the holders do not wobble.
5. Drop 1 tablespoon of pea gravel into the bottom of each test tube, then tuck a small piece of coffee filter over the gravel to keep soil from washing straight through.
6. Fill the test tubes about two-thirds full with the soil samples you want to compare, keeping the amount as even as possible from tube to tube.
7. Mark a fill line near the top of each test tube with the permanent marker so you can pour the same amount of water into all three during each test.
8. Place the whole rack over a tray or directly in the garden, add water to the marked line in each tube, and watch how quickly it drains through each soil sample.
9. Empty, rinse, and reuse the setup as often as you like for different bed soils, compost blends, or seasonal checks before you put the garden to rest.
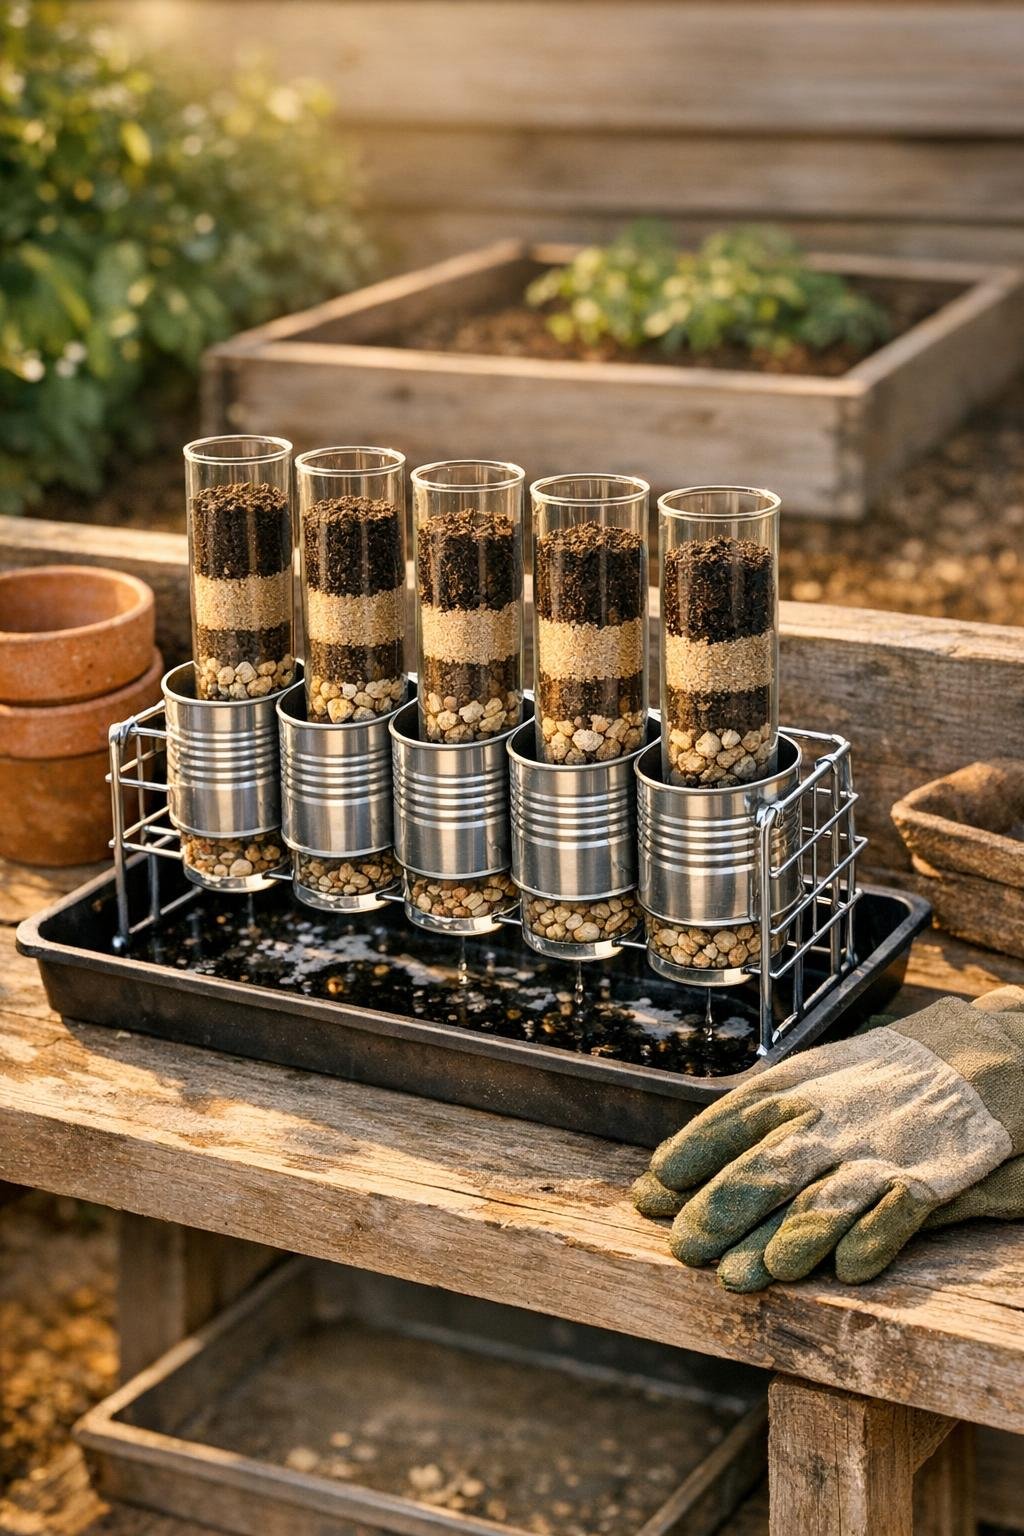
For comparing bed mixes: I like to label the caps with a simple dot code or keep the tubes in left-to-right order for native soil, compost-rich soil, and bagged raised bed mix.
For easier cleanup: If your soil is heavy with clay, use a fresh coffee filter each time so the water keeps moving and the tube doesn't gum up.
For a sturdier stand: If your cooling rack is lightweight, set it inside a dish tub or zip-tie it to a crate so it stays stable outdoors on windy days.
For family garden projects: Kids can help scoop the soil and pour the water, and it's a nice visual way to show why some beds need more compost or coarse material mixed in.
For picky gardeners who want neat results: Try keeping one tube filled with your best-performing soil as a “control” sample; that makes it much easier to compare the slower-draining blends side by side.
For a more polished finish: If you want it to look a little less utility-room and a little more giftable, spray the outside of the cleaned cans with clear sealer or outdoor metal paint before assembly, but let them dry completely before using.