
There’s something about winter projects that takes me right back to farm mornings, when every bucket on the porch wore a rim of ice and the cedar by the windbreak looked dressed for Sunday. This little cold-weather project starts with the simplest things imaginable, and that’s part of the charm. If you’ve got a few empty soda bottles, some water, and a freezing night outdoors, you can make a centerpiece-worthy display that looks far fancier than it is.
I especially love this one for anyone who wants a winter decoration that feels natural, inexpensive, and genuinely special. It’s easy enough for a quiet afternoon at the kitchen counter, and the payoff is one of those lovely reveals that makes people ask, “Now how in the world did you make that?”
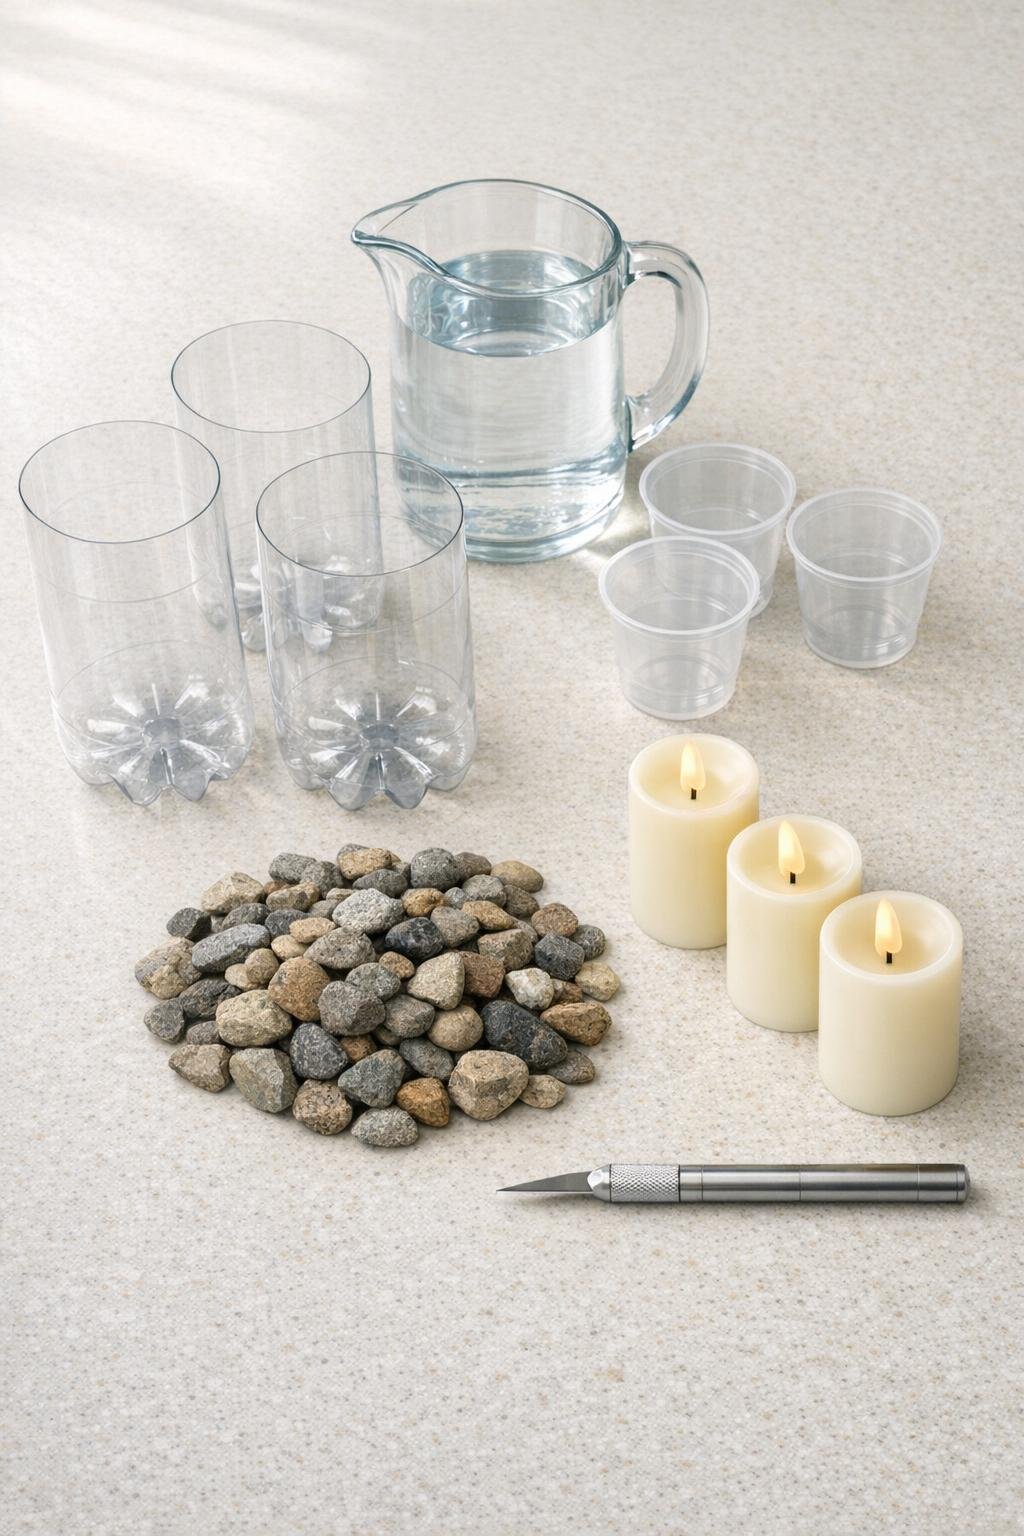
Materials
Instructions
1. Wash the soda bottles well, peel off the labels, and dry the outsides so the finished ice looks clear and clean. Use the craft knife to cut off the top of each bottle just above the shoulder, leaving a straight-sided cylinder open at the top.
2. Set the three cut bottles upright on a tray or shallow pan so they stay level and are easy to move. Place one small plastic cup inside each bottle, centered as best you can.
3. Add 6 to 8 small rocks to each plastic cup so it won’t float once the water goes in. If you’re using evergreen sprigs, tuck 3 or 4 sprigs down the inside wall of each bottle, spacing them around the sides for a full, balanced look.
4. Slowly pour water from the pitcher into each bottle, filling around the plastic cup until the water level reaches about 1 inch below the cut rim. Check that the cup stays centered and upright, then adjust the evergreens with a spoon handle or your fingers if needed.
5. Place the filled bottles outdoors in freezing weather or in a chest freezer, keeping them upright and undisturbed. Freeze until completely solid, usually overnight outside in deep cold or 12 to 24 hours in a freezer.
6. Bring the frozen bottles in for just a minute or two, then carefully slit the plastic bottle sides with the craft knife and peel the plastic away from the ice. Lift out the inner plastic cups and shake out the rocks once the centers loosen.
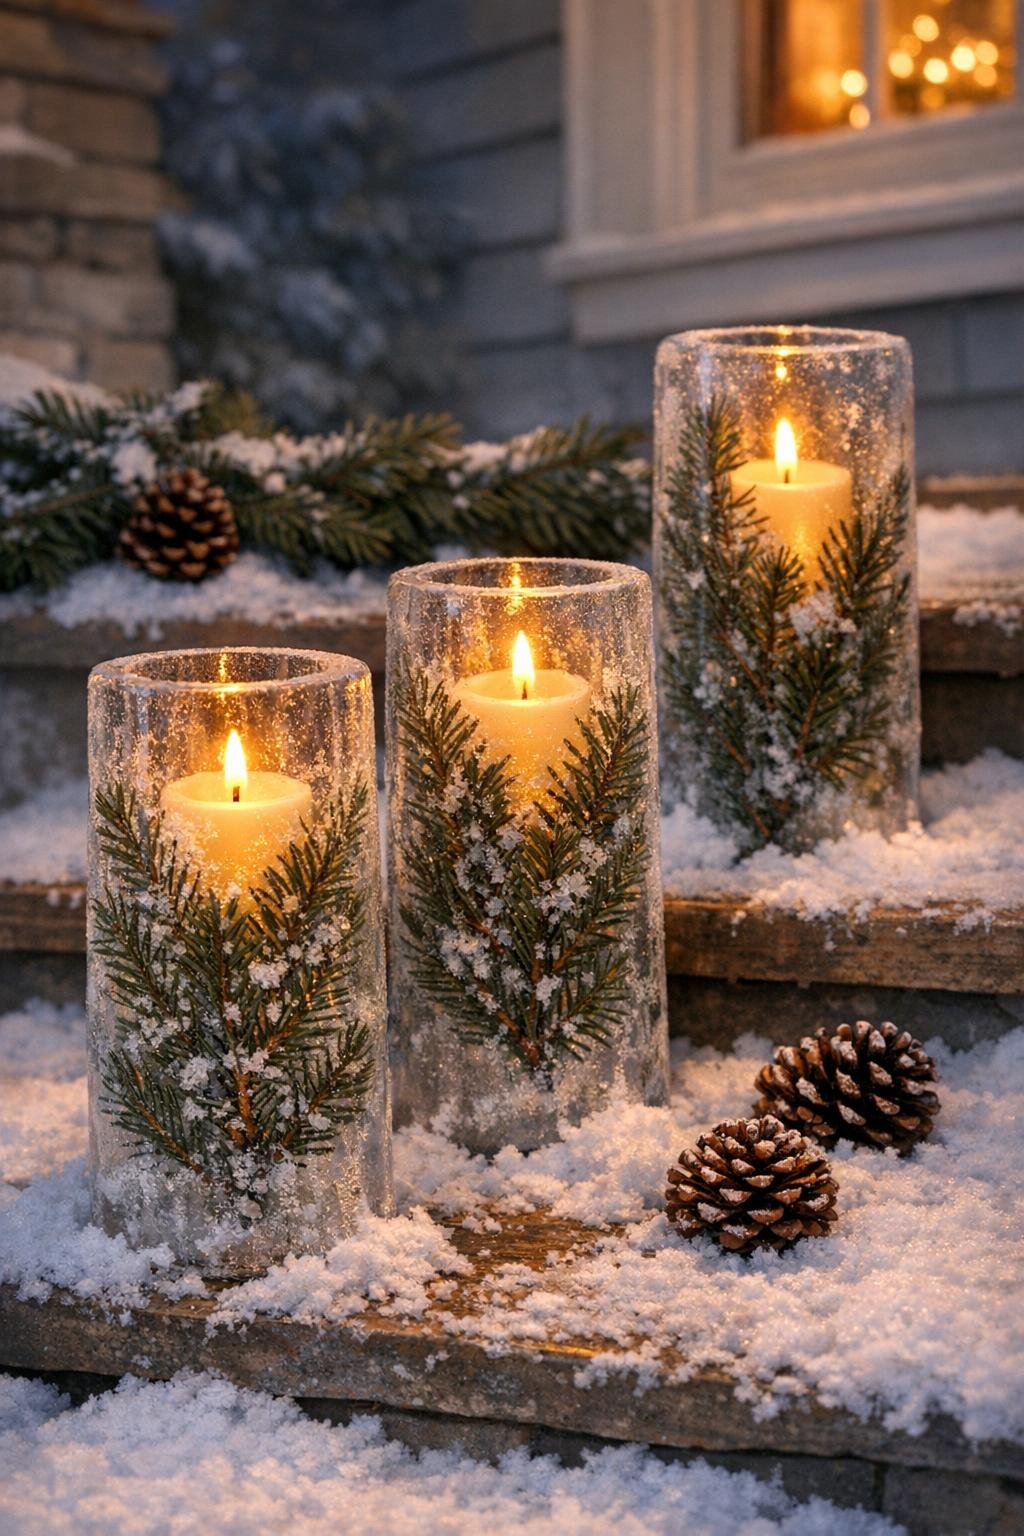
7. Set each ice pillar on a plate, tray, or porch-safe surface and slip a battery pillar candle into the hollow center. Group the three together at staggered heights or in a simple row so the light shines through the ice and catches those evergreen sprigs beautifully.
Variations & Tips
For clearer ice: If you want the pillars to look extra glassy, let tap water sit in the pitcher for a bit before pouring so bubbles can settle. You can also use filtered water, though plain cold water works just fine for a frosty rustic look.
Try different greenery: Cedar, pine, spruce, and boxwood all freeze beautifully. I like using short, full little clippings rather than wispy pieces so the pillars look generous and lush once lit.
Keep the center open: If a cup shifts while filling, pour a little water out and recenter it before freezing. A well-centered cup gives you a nice even ice wall, which looks prettier and holds up better.
Display them safely: These are best on a porch, front step, patio table, or walkway edge in below-freezing weather. Stick with battery candles only, since real flame and melting ice are not good partners.
Make the grouping fuller: Three pillars already make a lovely display, but if you have more bottles, a cluster of five in mixed heights is especially handsome. In winter decorating, I’ve always found abundance looks warmer than sparseness.
Release the ice easily: If the bottle clings to the ice, run the outside under cool water for a few seconds, then peel again. Don’t use hot water, or you’ll start melting away those crisp edges you worked for.