
There are holiday projects that look fussy, and then there are the ones that rely on a wonderfully simple bit of kitchen logic: layer beautiful things in water, freeze them solid, and let the cold do the decorating for you. This one falls squarely into that second camp. If you can fill a bowl, tuck in a few greens, and make room in your freezer, you can pull off something that looks straight out of a winter party spread.
I love projects like this because they deliver maximum drama with grocery-store ingredients and a couple of inexpensive bowls. The technique is easy enough for a relaxed afternoon, but the result feels polished and special, especially for Christmas dinners, cookie swaps, or a front-entry display when the weather stays cold.
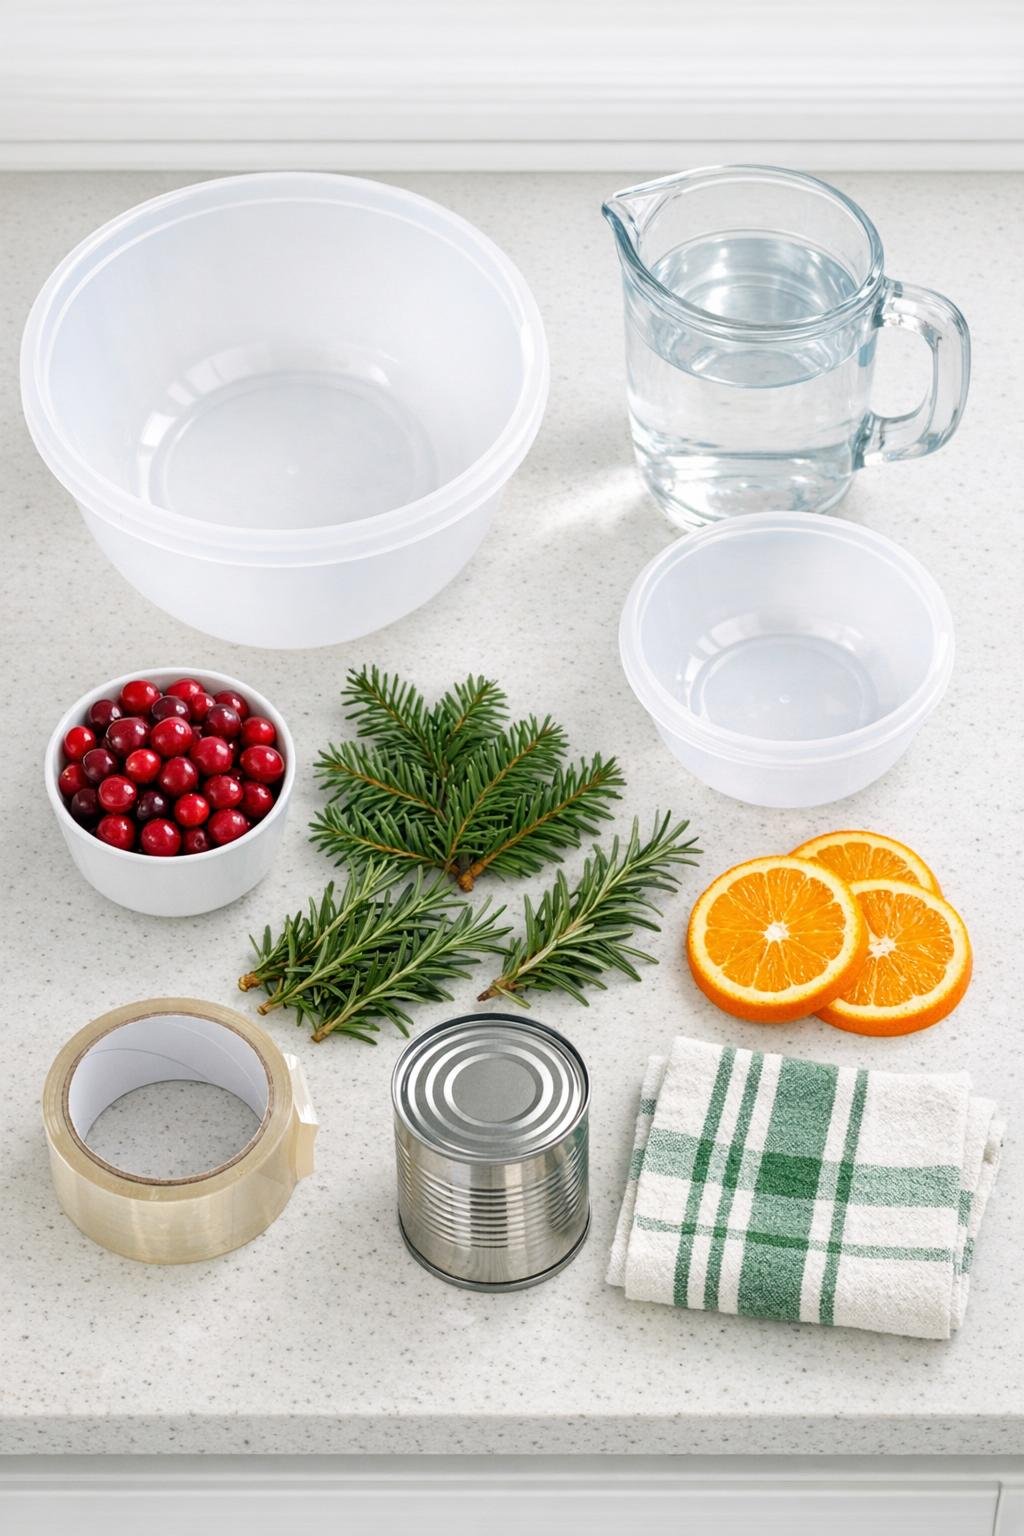
Materials
Instructions
1. Wash and dry both bowls, then clear a flat space in your freezer. Fold the dish towel and set it on the freezer shelf or on the counter first if you want to assemble the bowl before moving it.
2. Pour 2 inches of water into the large bowl and freeze it for 1 to 2 hours, just until the base is slushy to lightly firm. This quick first freeze keeps the fruit and greenery from floating straight to the top.
3. Arrange about half the cranberries, evergreen sprigs, rosemary, and orange slices over that chilled base, spacing them evenly so every side will have color. Tuck the greens outward toward the bowl wall for the prettiest edge once frozen.
4. Set the smaller bowl inside the large one, centering it so the gap stays close to 1 inch all the way around. Add the can of beans or a few rocks into the smaller bowl to hold it down.
5. Pour more cold water into the gap between the bowls until it rises to within 1 inch of the rim of the large bowl. Add the remaining cranberries, greens, and orange slices as you pour so they look layered rather than crowded in one spot.
6. Tape across the top of the two bowls in 2 or 3 places to keep the inner bowl from drifting off-center as the water settles. Adjust any floating sprigs with your fingers or the handle of a spoon so the decoration is evenly distributed.
7. Freeze the whole setup for 8 to 12 hours, or until completely solid. If your freezer runs cold in patches, rotate the bowl once halfway through for an even freeze.
8. Remove the bowl from the freezer and let it stand for 3 to 5 minutes at room temperature. Lift out the weight and inner bowl; if it sticks, pour a little cool water into the inner bowl for a few seconds to loosen it.
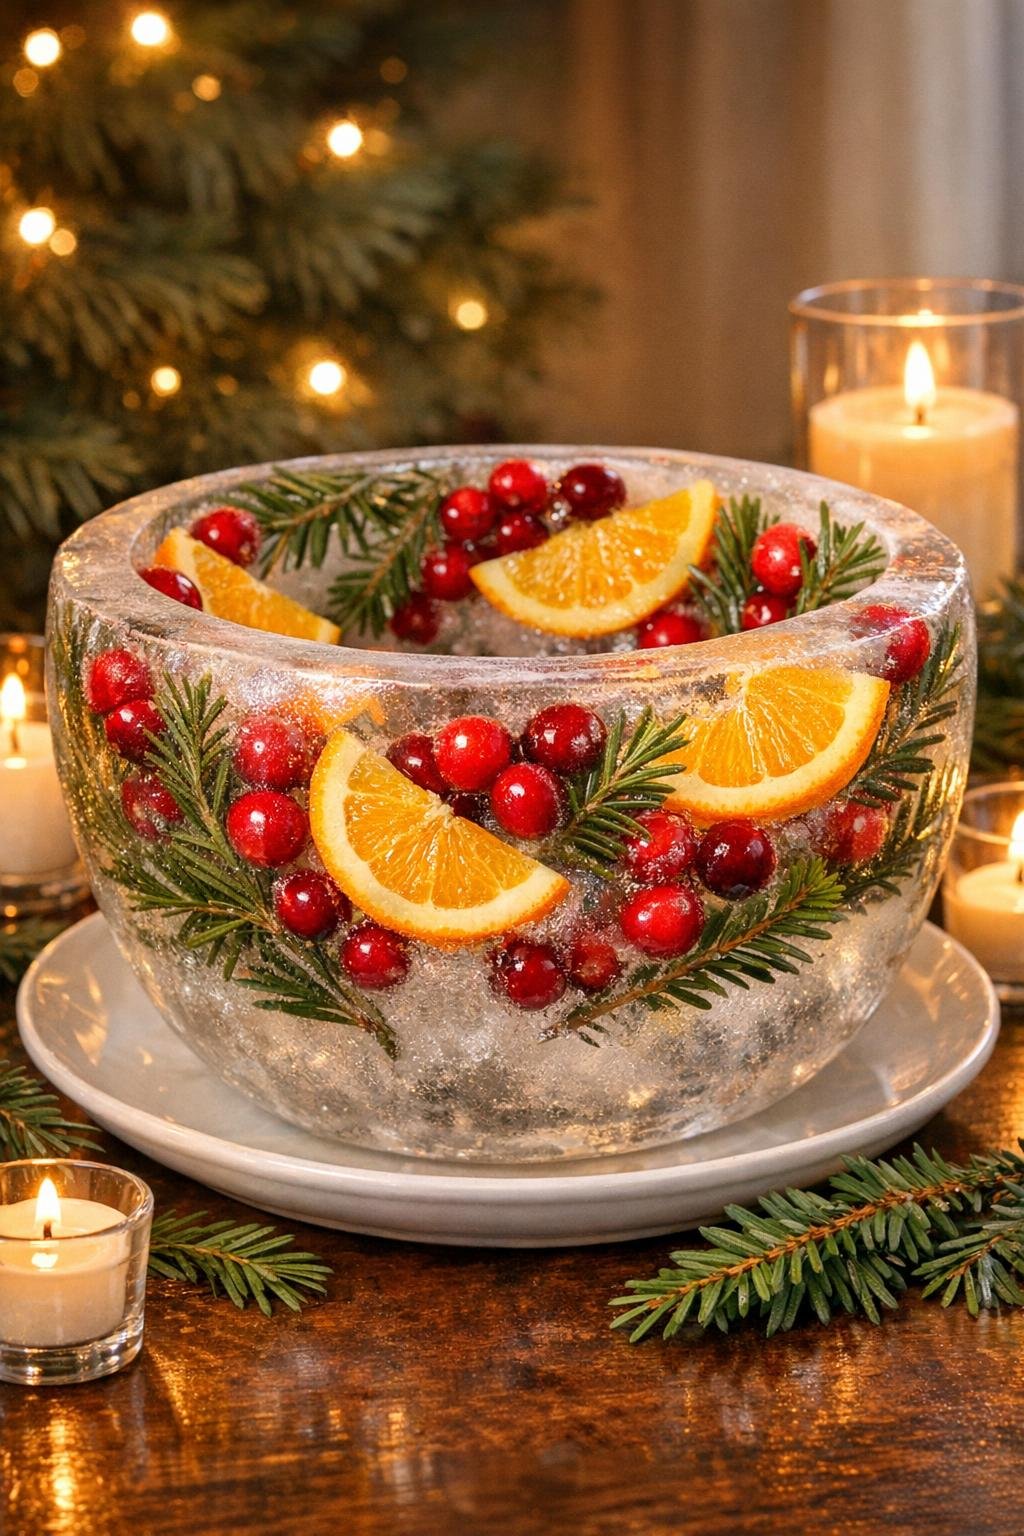
9. Release the outer bowl by briefly dipping just the outside of it in cool water or wiping it with a damp towel. Turn the ice bowl out gently, then smooth the rim with your hands if any tiny shards need to be brushed away.
10. Set the finished piece in a shallow dish, cake stand, or serving platter and use it right away while it is at its clearest and coldest. Fill the center with dip, shrimp, clementines, wrapped chocolates, or a candle in a glass holder, depending on where you plan to display it.
Variations & Tips
For the clearest ice: Use filtered or previously boiled and cooled water if you want a more glass-like look. I still make these with plain cold tap water all the time, but clearer water gives the fruit and greens a jewel-box effect.
For better layering: Freezing the project in stages is the secret if you want the decorations suspended throughout the bowl instead of all bobbing to one level. Even one partial freeze at the beginning makes a big difference.
For outdoor display: This is especially pretty on a porch or patio table when temperatures stay below freezing. Nestle a glass votive or pillar candle holder in the center rather than placing a candle directly against the ice.
For serving food: Use the ice bowl as a chilling vessel, not as the direct food container if the contents are loose or saucy. I like to set a smaller serving bowl of dip or cocktail sauce inside it so the presentation stays neat.
To unmold without cracks: Be patient and loosen both bowls gradually with cool, not hot, water. Hot water can create stress lines and make the ice more likely to split.
Ingredient swaps: Thin lemon slices, pomegranate arils, holly-looking winter greens, bay leaves, and thyme all work beautifully. Keep the pieces relatively flat and small so they freeze neatly into the sides.
Make-ahead timing: I usually freeze mine the night before and unmold it shortly before guests arrive. Once it is out of the mold, it starts its slow melt, so plan to show it off at the last possible moment.