
There’s something especially satisfying about turning a humble household staple into something that looks thoughtful and gift-worthy. This project starts with a stack of simple round cotton pads and a little folding, and by the time you’re done, you’ll have a soft, elegant winter decoration that looks far more intricate than it really is.
I love projects like this in the colder months because they’re easy to do at the kitchen table, they don’t make a huge mess, and older kids can help with the folding while an adult handles the hot glue. If you enjoy low-cost crafts that still feel polished and special, this one is a real treat.
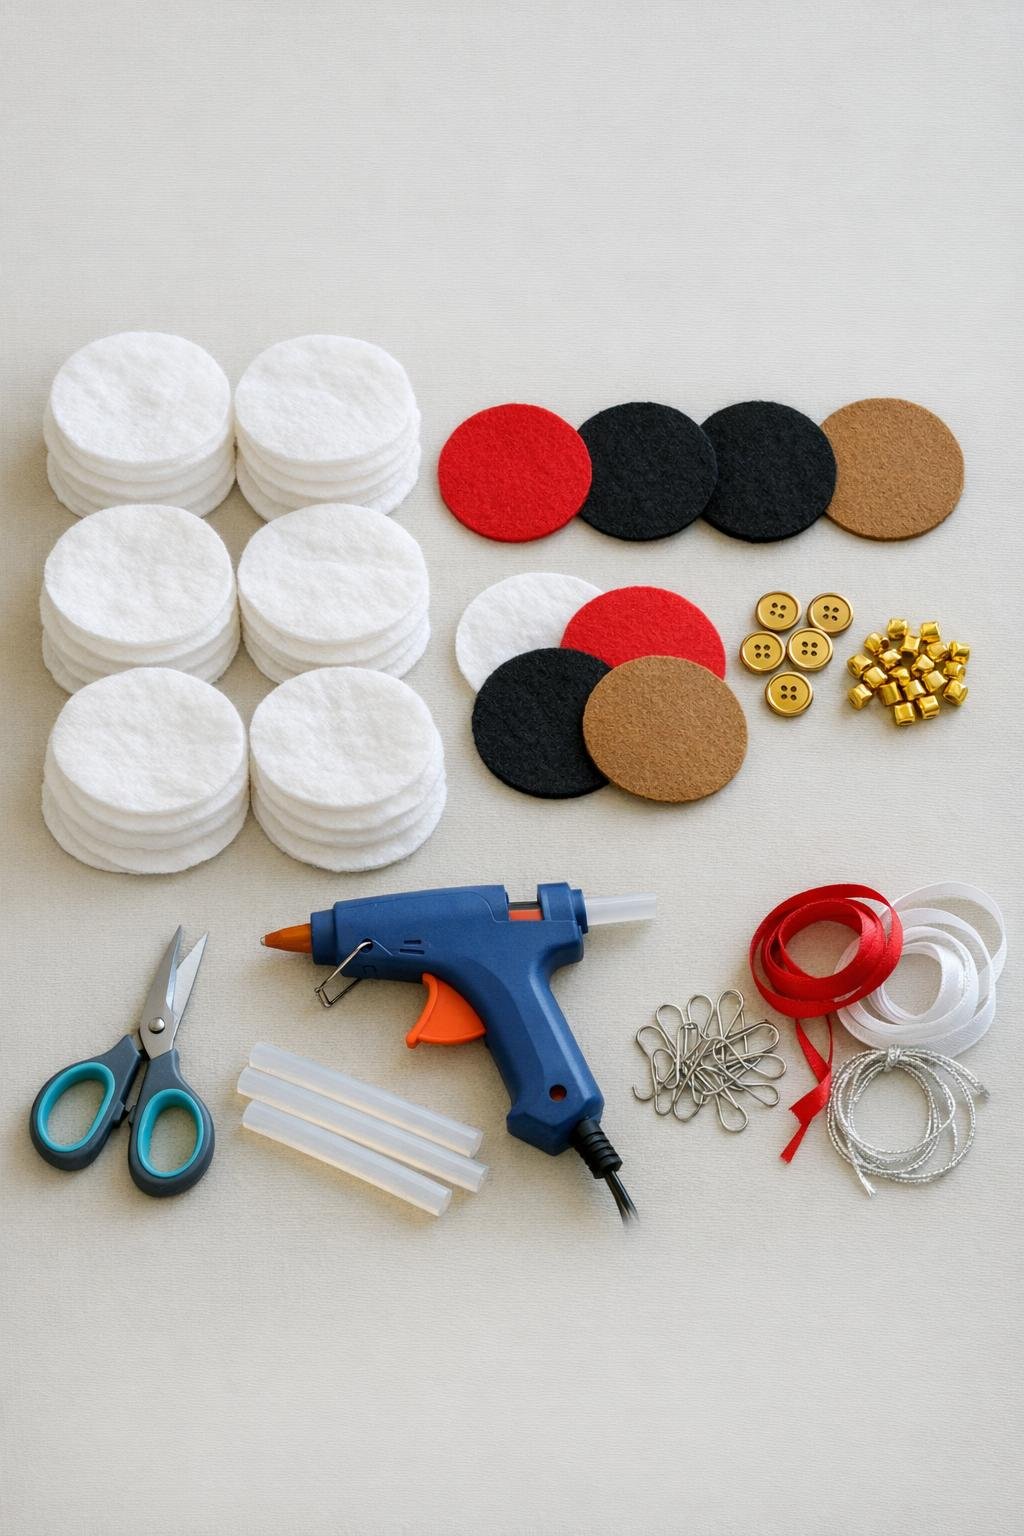
1. Set out all 30 cotton pads, the 2-inch bases, and your center pieces so you can work assembly-line style. I find this goes faster and stays neater when everything is within easy reach.
2. Fold one cotton pad in half, then bring one side over to form a small cone with a pointed bottom and a slightly open top. Add a tiny line of hot glue inside the overlap and pinch it closed for a few seconds.
3. Repeat until all 30 pads are folded and glued into cones. Try to keep the cones close in size so each finished flower looks full and balanced.
4. If any cone has an uneven point or a ragged top edge, trim it lightly with scissors. You only need the smallest cleanup here; a soft handmade look works beautifully for this project.
5. Take one 2-inch felt or cardboard circle and glue 6 cones around the outer edge with the pointed ends meeting near the center and the open ends facing out. Space them evenly so the flower starts with a full first layer.
6. Glue a second layer of 4 to 5 cones on top, placing each one between two cones from the first layer. This staggered layer is what gives the flower that pretty, ruffled fullness.
7. Press the second-layer cones down gently while the glue is still warm so they sit securely and angle slightly upward. That lift makes the finished piece look much more dimensional.
8. Add 1 gold button in the center, or cluster 3 to 4 gold pony beads together for a sparkling middle. Hold it in place until the glue grabs.
9. If you want to hang the piece, fold a ribbon into a loop and glue the ends to the back of the base, or attach an ornament hook through the back edge of the felt. Make sure the loop is centered so the flower hangs straight.
10. Repeat the layering and center steps for the remaining bases until you have 4 to 5 finished flowers. With 30 pads, you’ll comfortably make 5 slightly smaller flowers or 4 extra-full ones.
11. Fluff the cone openings gently with your fingertips and remove any visible glue strings. That quick little tidy-up is what takes them from homemade to truly charming.
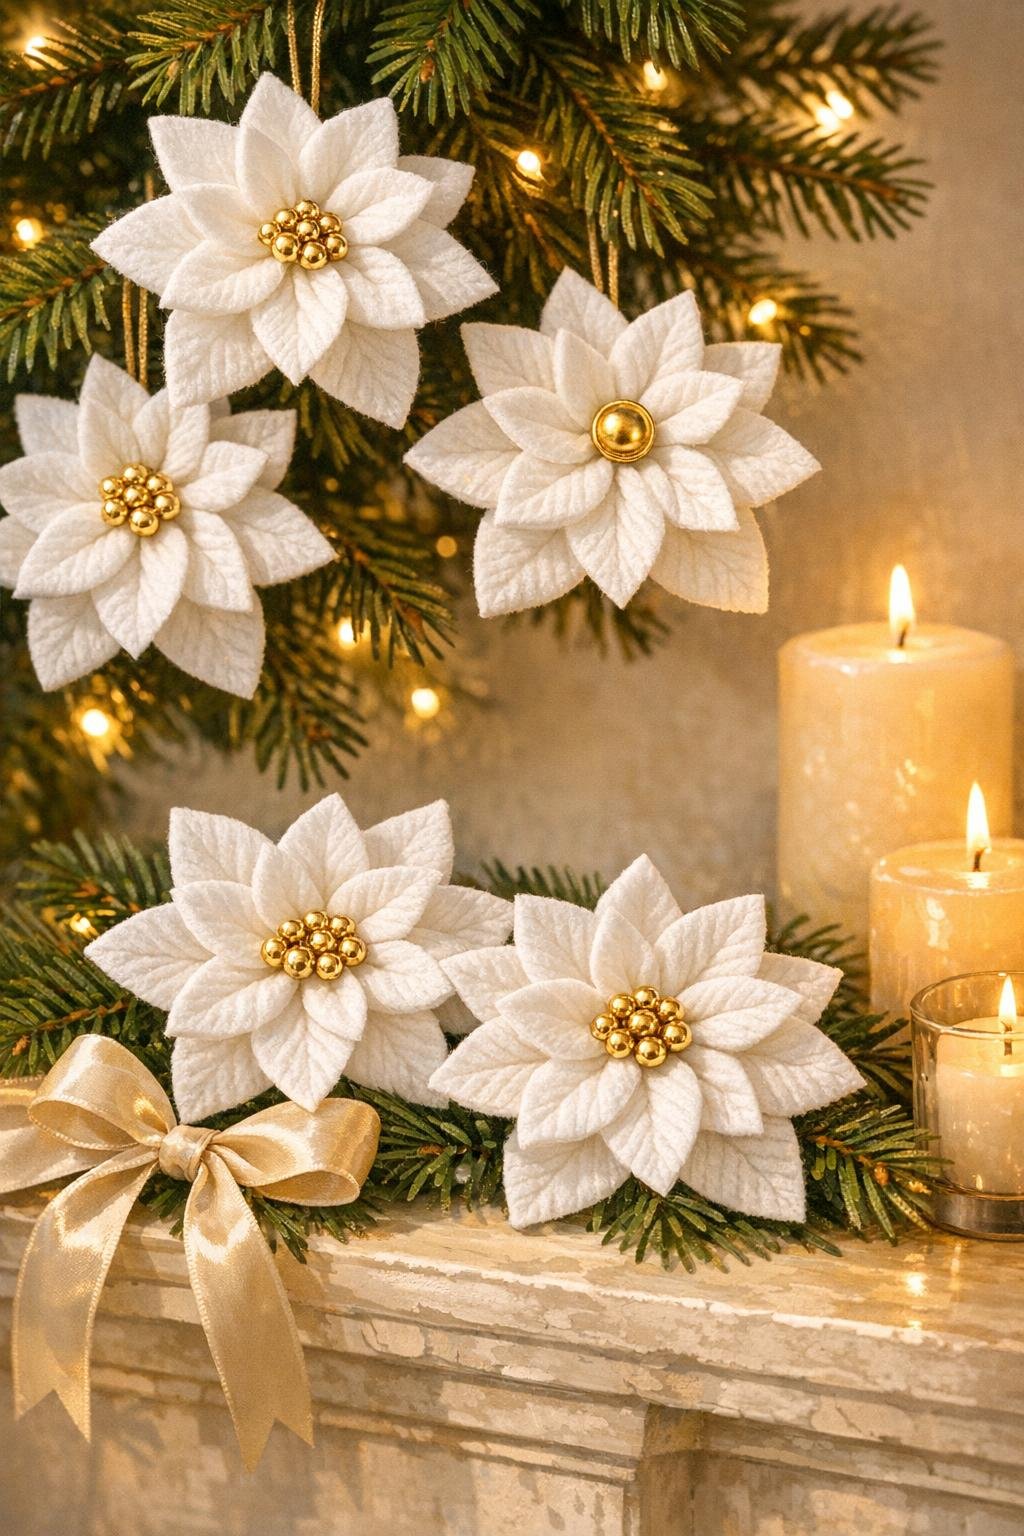
For fuller flowers: Use 7 cones on the first layer and 5 on the second if you prefer making 4 flowers instead of 5. I personally love the fuller version for gift toppers or a wreath accent.
Center choices: Gold buttons give a classic, polished look, while pony beads create more sparkle and texture. If you have picky crafters at home like I do with snack toppings, let everyone choose their own center style so each flower feels personal.
Base options: Felt is the easiest because it grips hot glue well and stays lightweight for hanging. Cardboard works nicely too if you’re using supplies you already have on hand.
Use them beyond the tree: These are lovely tied onto wrapped gifts, tucked into a garland, added to a wreath, or displayed in a shallow bowl for winter table decor. They look delicate, but they hold up surprisingly well once glued.
Keep the glue tidy: Use less glue than you think you need, especially inside the cones and at the center. A small dot or thin line is enough, and it prevents strings from showing on the white petals.
Storage tip: Store the finished flowers in a shallow box in a single layer or with tissue between layers. That keeps the cones from getting crushed before next season.