
I love a craft that looks far fussier than it really is, especially when I can pull it together with things already sitting in my pantry drawer. This little project uses exactly 24 pieces of dry pasta and a few basic supplies to make something that feels nostalgic, ornate, and special without taking over your whole evening.
If you want an easy handmade ornament or gift topper that still has that charming vintage look, this is a great one. It’s beginner-friendly, quick to batch out, and perfect for those of us who like a polished result but also have a real-life schedule to work around.
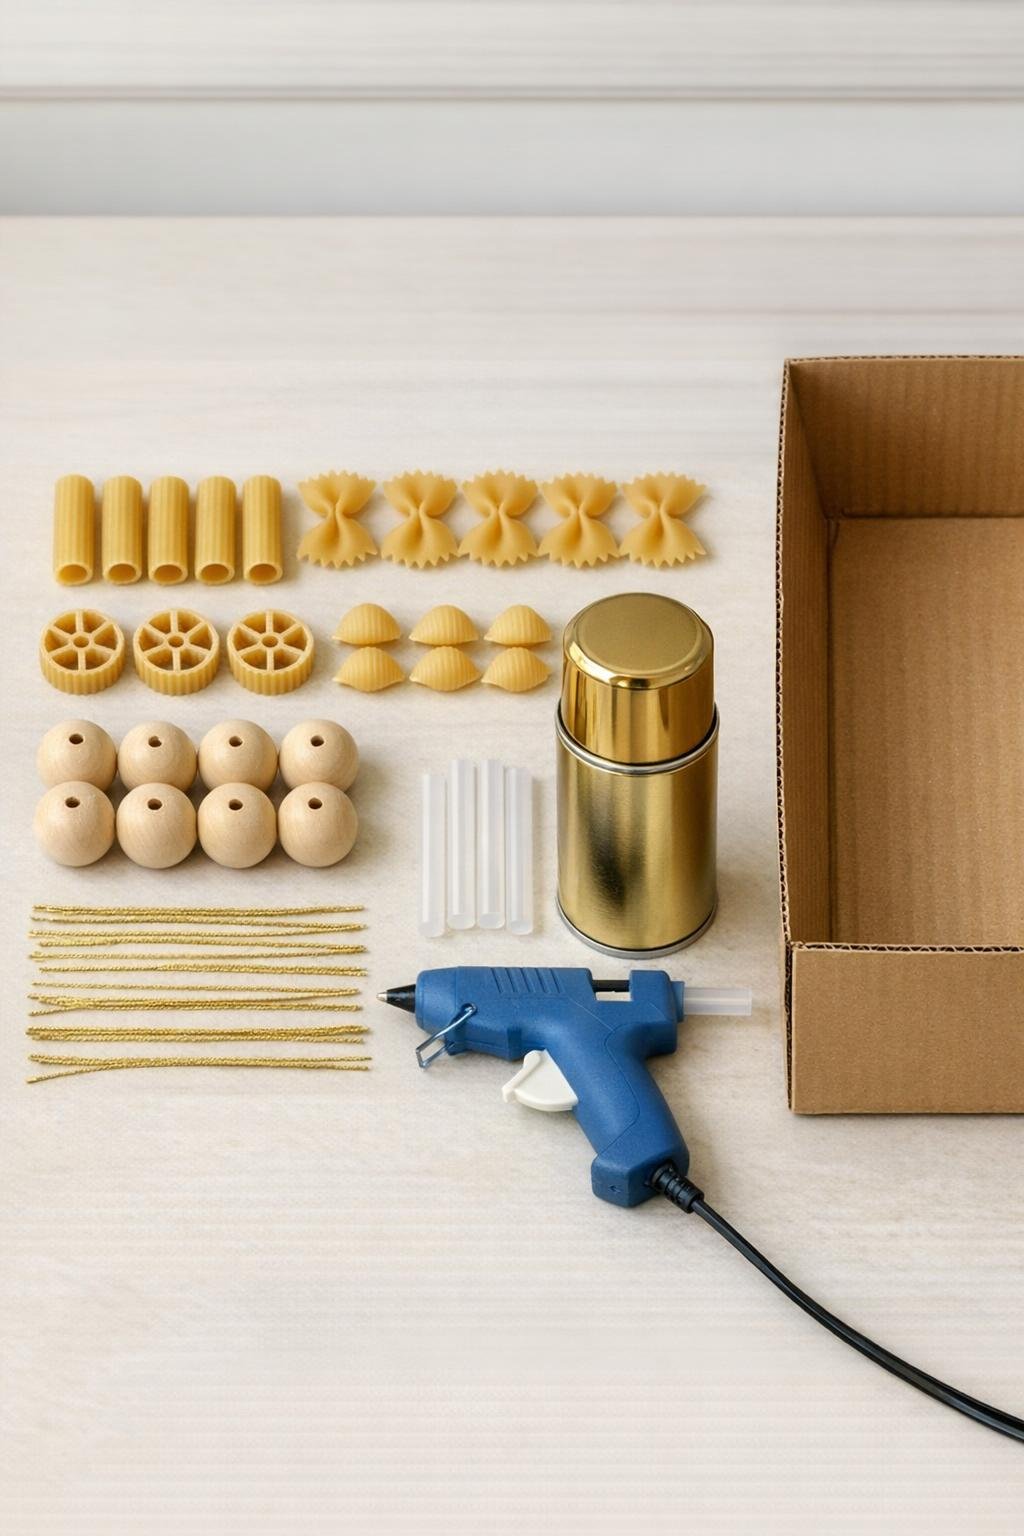
Materials
8 pieces rigatoni or penne pasta
Instructions
1. Cover your table with scrap paper, plug in the glue gun, and sort the pasta into four piles so assembly goes quickly and you can keep the counts exact.
2. Make the angel bodies by standing 8 rigatoni or penne pieces upright and gluing 1 wooden bead onto the top of each pasta tube; hold each bead in place for a few seconds until set.
3. Glue 1 bow tie pasta piece to the back of each body, centered vertically, to create the wings; press gently so the bow tie sits straight and fans out evenly on both sides.
4. Glue 1 small shell to the front upper section of 4 angels and 1 wagon wheel to the front upper section of the other 4 angels, placing each piece just below the bead to look like a collar or decorative detail.
5. Let all 8 angels cool for 5 full minutes, then trim away any obvious glue strings so the painted finish looks cleaner and more antique.
6. Set the angels upright inside the cardboard box, spacing them apart, and spray them with a light coat of gold paint from 8 to 10 inches away.
7. Wait 10 minutes, turn the angels as needed, and apply a second light coat so the beads, pasta grooves, and wing edges all get even coverage.
8. Once fully dry, glue one end of a gold thread length to the back top of each angel behind the bead, then tie the thread into a hanging loop.
9. Let the thread attachment set completely, then fluff the loops upward and check that each angel hangs straight; add a tiny extra dot of glue at the knot if you want a sturdier finish.

Variations & Tips
For a more antique look: After the gold paint dries, lightly dab a tiny bit of brown craft paint into the grooves and wipe most of it off again; it settles into the texture and gives the pasta more old-world depth.
If you want them to stand instead of hang: Skip the thread and glue the finished angels onto place cards, gift boxes, or a small wood base for tabletop decor.
Keep the coating light: Two thin coats of spray paint look much better than one heavy coat, and they preserve all the little ridges that make the pasta shapes so charming.
Batch them assembly-line style: I like to glue all the bead heads first, then all the wings, then all the front details; it’s faster and honestly easier if you’re fitting this in after dinner on a weeknight.
Use consistent pasta sizes: Try to pick pieces that are close in size so the finished set looks intentional, especially if you’re hanging them together on a tree or garland.
Store them carefully: Once dry, wrap each angel in tissue paper and place them in a small box so the wings and hanging loops stay neat from season to season.