
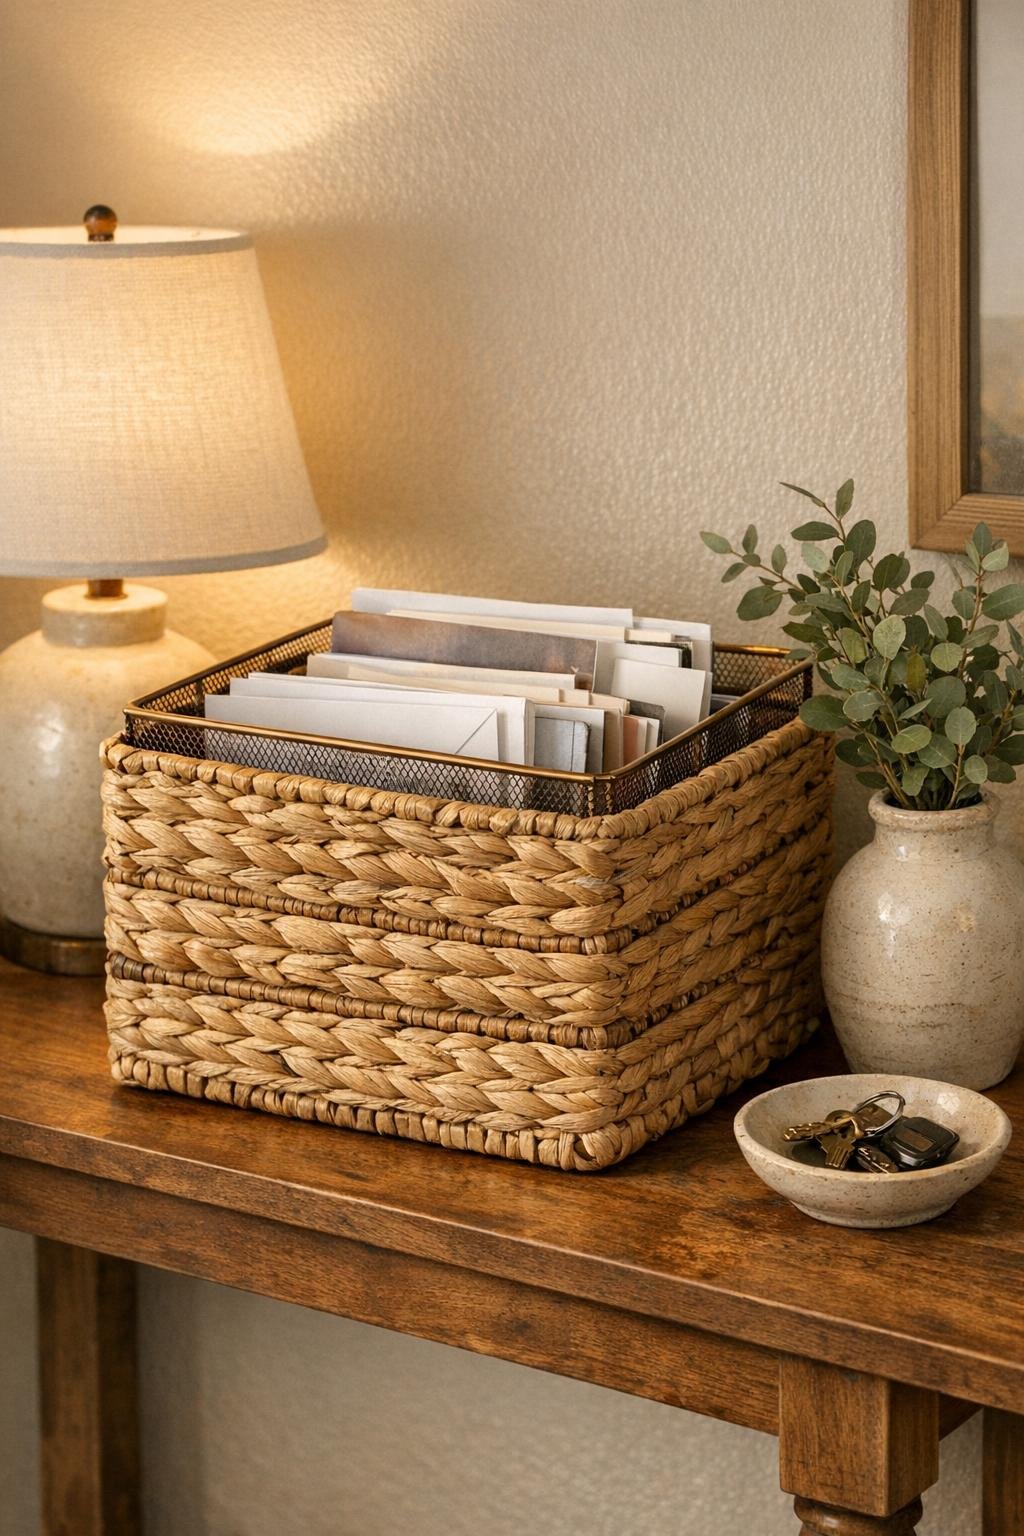
If your hallway tends to become the drop zone for mail, folders, and the random papers that follow everyone in from the car, this project is such a satisfying fix. I’m taking a stack of metal mesh desk trays and turning them into a big woven-look hallway basket that corrals the mess while still looking warm and intentional instead of office-supply awkward.
I love this kind of project because it gives you the structure of metal underneath, but with a softer basket finish that works with real home decor. It’s especially great if you want something roomy and sturdy without needing woodworking tools or a full afternoon of effort. I’d absolutely make this for an entry table, a hallway bench, or even a mudroom shelf where paperwork tends to pile up by Wednesday at my house.
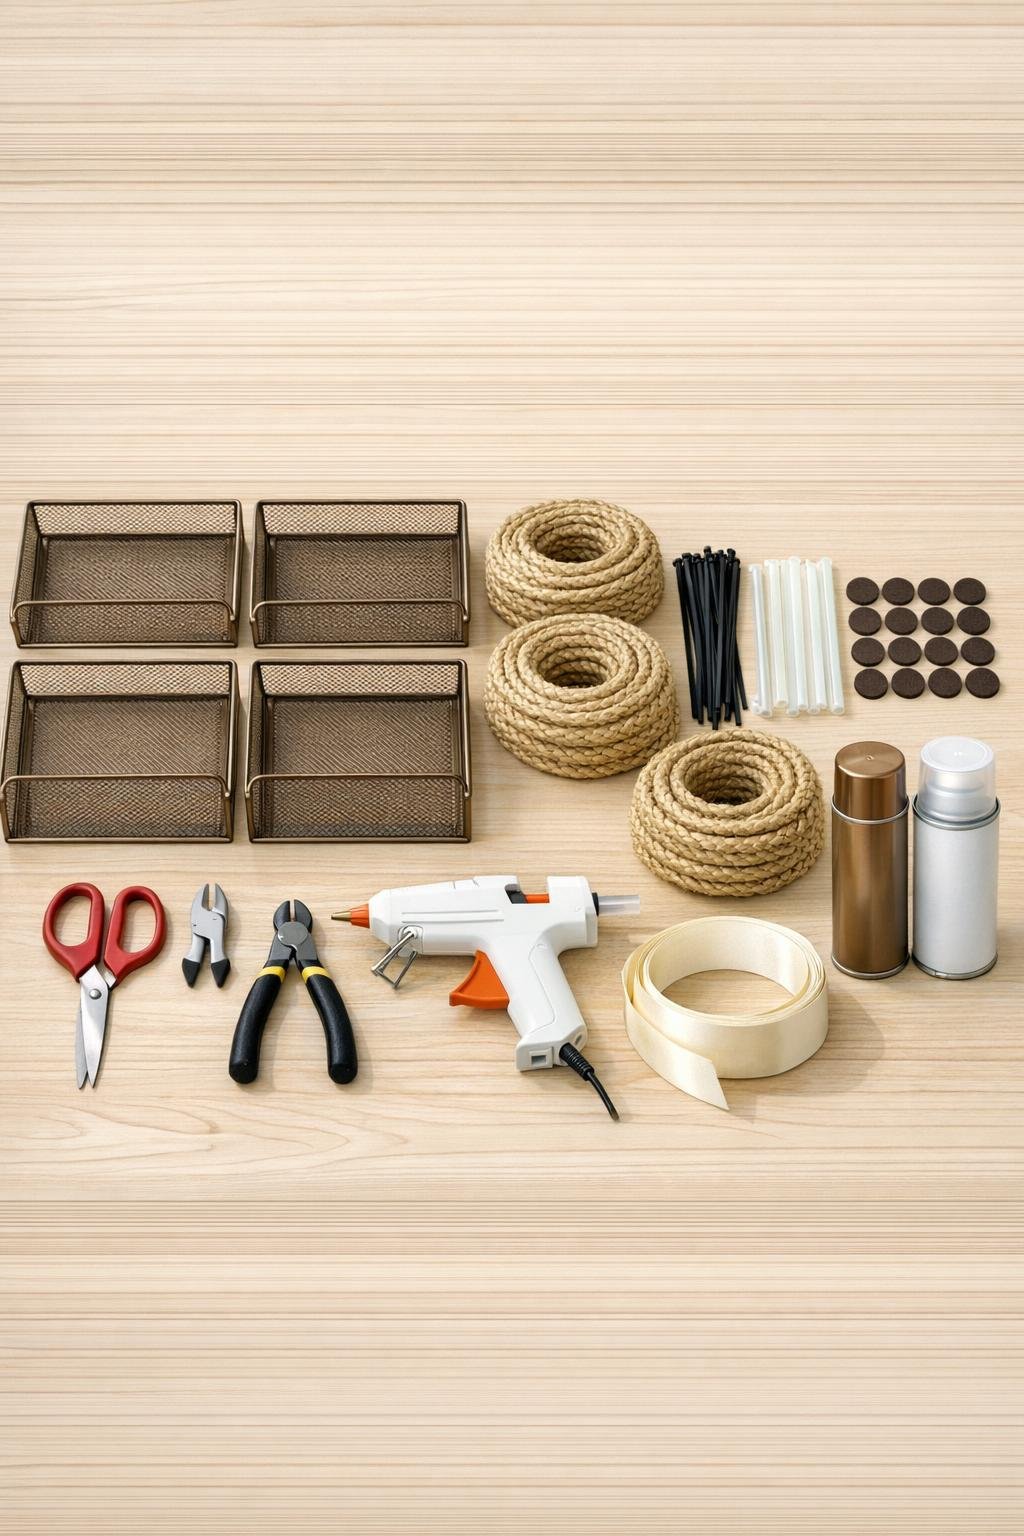
Materials
Instructions
1. Stack the four metal mesh desk trays directly on top of each other, lining up all edges so they form one tall rectangular basket shape about 10 inches high. Keep the open tops facing upward and make sure the front edges are flush.
2. Secure the trays together with zip ties at all four corners and at the center of the long sides, using 2 ties per connection point so the stack feels rigid. Snip the excess tails close so they won’t catch on the seagrass later.
3. If the tray finish is scratched or mismatched, lightly coat the outside with bronze spray paint and let it dry completely. This step helps the metal disappear behind the weave and gives the finished basket a more polished look.
4. Cut the cardboard to fit snugly inside the bottom tray, then wrap it with the tan fabric and glue the fabric neatly on the underside. Set this aside to become the finished basket base insert.
5. Start at the bottom outside edge and hot glue the end of the seagrass rope to the back corner, then begin wrapping it horizontally through and around the mesh. Pull the rope snug as you work so it sits tight against the metal and starts creating a true woven-basket look instead of loose stripes.
6. Continue wrapping row by row all the way around the basket, adding a dot of hot glue every few inches at the back and corners to lock the rope in place. Stagger any rope ends to the back side and overlap them by 1 inch so the joins stay hidden.
7. At every second or third row, weave the rope slightly in and out of the mesh openings so the surface looks fuller and more basket-like. This little variation is what gives the finished piece that woven texture instead of a plain coiled wrap.
8. When you reach the top, fold the final row neatly over the upper rim and glue it to cover the metal edge completely. Add one extra rope row just under the rim if you want a thicker, more finished basket lip.
9. Brush a light coat of craft glue over any lifted rope ends or fuzzy spots, then let everything dry for 20 to 30 minutes. Spray the outside with a very light coat of clear matte sealer to help reduce shedding and keep the basket looking tidy in a busy hallway.
10. Drop the wrapped cardboard base insert into the bottom so letters and small items don’t catch in the mesh. Press adhesive felt pads onto the underside corners to protect your console table, shelf, or bench.
11. Tie a simple bow from the jute or linen ribbon around one upper corner or through the front mesh if you want a softer entryway look. Keep it small and relaxed so it feels like a finishing touch, not a gift basket.
12. Fill the basket with mail, magazines, notepads, or outgoing envelopes, and place it in the hallway where clutter usually lands first. The finished size is generous enough to actually hold the weekly paper pile, which is exactly why I prefer making it tall and substantial.
Variations & Tips
Add dividers: Slide in 2 pieces of covered cardboard to create separate sections for incoming mail, outgoing mail, and magazines. I love this if you’re trying to keep household paper from turning into one giant chaotic stack.
Try a darker finish: If your hallway has black hardware or deeper wood tones, use black mesh trays and stain-toned rope or a darker ribbon accent. The shape stays the same, but the overall look becomes more modern.
Use twine for a tighter weave: Seagrass gives the fullest basket texture, but thick jute twine also works if that’s easier to find. Just plan on using a bit more glue and more rows for the same full coverage.
Make it extra sturdy: If your trays are flimsy, run a bead of hot glue where each tray touches the one above it before zip-tying. That extra bonding helps the stack act like one solid basket.
Keep the back simple: If the basket will sit against a wall, you can do a cleaner wrap with most rope joins hidden on the back panel. I do this a lot on decor pieces because it saves time while keeping the front looking high-end.
Clean it easily: Dust the basket with a dry microfiber cloth or a vacuum brush attachment on low suction. A sealed rope finish holds up much better in a hallway than raw natural fiber left untreated.