
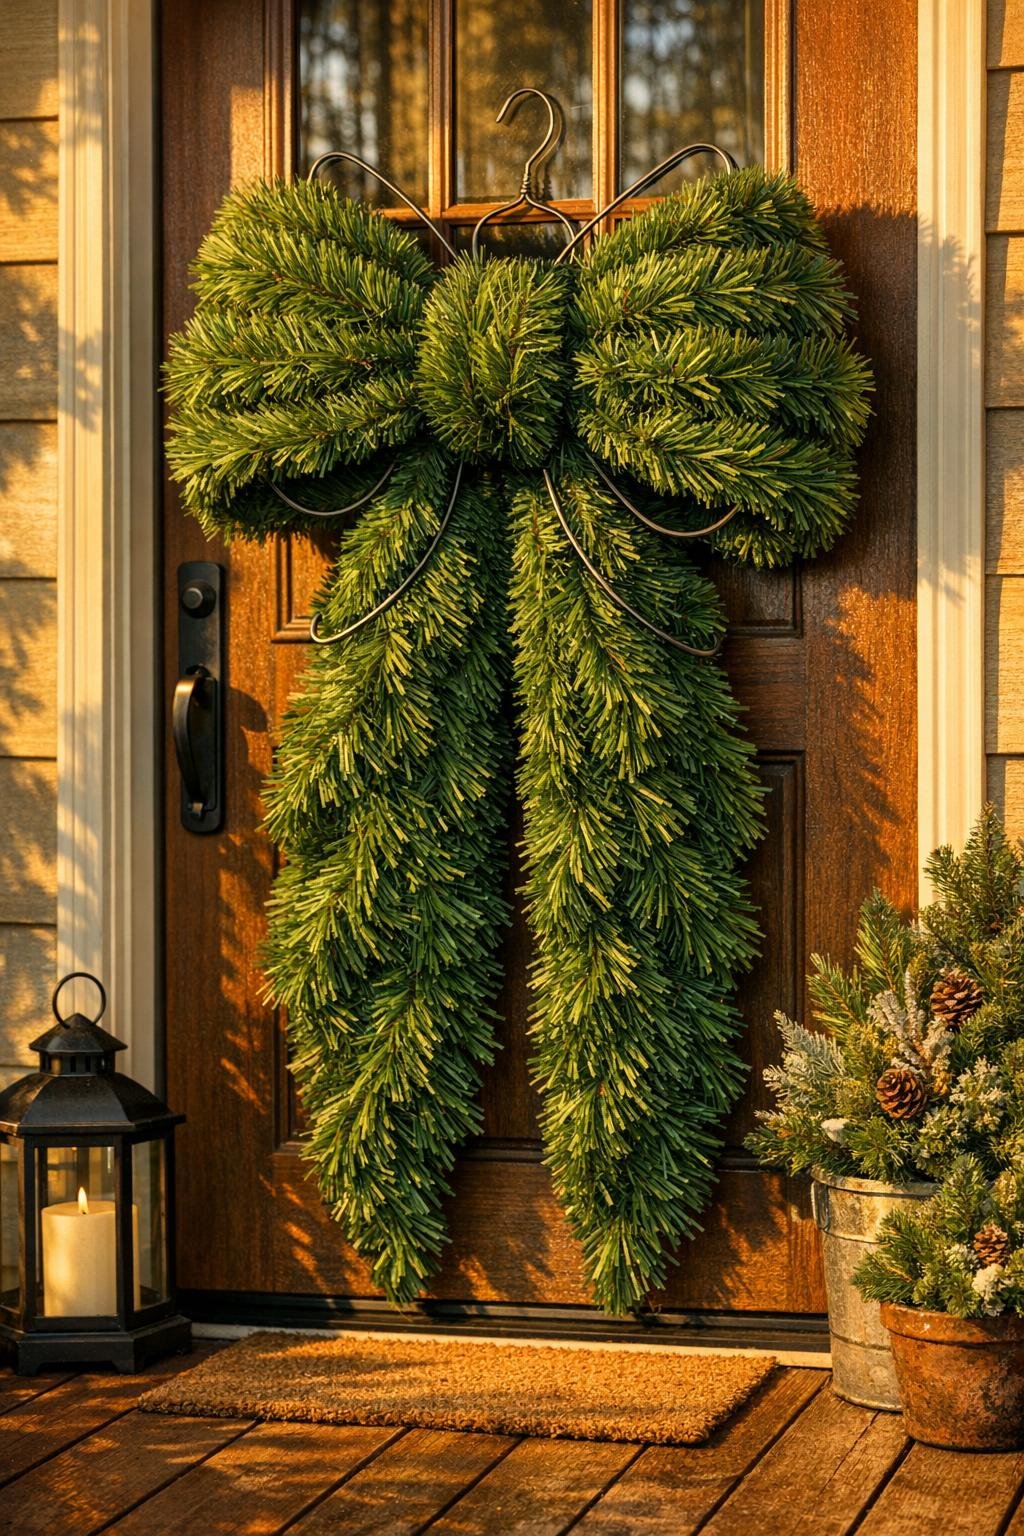
There’s something satisfying about saving the best parts of an old holiday decoration and turning them into something showy enough to stop folks on the sidewalk. Around here, I was raised to use things up proper before sending them off, and those bendable branches from an old artificial tree still have plenty of life in them. With a few wire hangers and a little hand strength, you can shape them into a front-porch piece that looks full, festive, and far more expensive than it is.
This is a good project for anyone who wants big holiday impact without fancy tools or fussy crafting. If you’ve got a tired fake tree tucked in the shed and a porch that needs a little winter cheer, this is exactly the sort of practical makeover I love—simple bones, sturdy materials, and a finish that looks polished once it’s fluffed and wired into place.

Materials
Instructions
1. Sort your 20 branches into three groups: 8 fuller branches for the two loops, 8 for the tail sections, and 4 fluffier pieces for the center knot and filling. If any branch tips are mashed flat from storage, spread them now so you can see the finished volume better.
2. Use pliers to pull apart and straighten the three wire hangers, then bend each one into a long teardrop shape. Make two matching loops about 18 inches wide and 26 inches tall, and shape the third hanger into a narrower center support about 10 inches wide and 20 inches tall.
3. Twist the bottoms of the two large teardrop shapes together so they meet at one center point, then wire the smaller support piece across that middle section. Tighten the joints with floral wire and reinforce each connection with a zip tie so the frame stays rigid.
4. Lay four evergreen branches along the left loop frame, spacing them from the center outward and slightly overlapping their stems. Attach each branch tightly with floral wire first, then add a zip tie at the stem base for extra hold.
5. Repeat on the right loop with four more branches, angling the tips to follow the curve of the hanger form. Fluff and fan the greenery as you go so the loop looks full instead of flat.
6. Build the tails by pairing four branches for each side, overlapping the stem ends by 3 to 4 inches and wiring them together into two long swags. Bend each tail slightly inward at the top so it looks like it falls naturally from the center of the bow.
7. Wire the two tail sections to the center point behind the loops, letting them hang at even angles. Trim off the extra ends of the zip ties with wire cutters so nothing pokes out from the front.
8. Take the remaining four branches and bundle them around the middle joint to create a thick center knot. Wrap floral wire around the bundle several times, pulling snug so it hides the hanger twists and gives the bow that finished, gathered look.
9. Stand the piece upright and bend the loop frames gently with your hands until both sides match and look rounded. Spread the branch tips forward, outward, and slightly upward on the loops, then downward along the tails, until the whole shape looks lush and balanced.
10. Add extra bits from any leftover trimmings into thin spots with short pieces of floral wire, especially near the center and along the inside curves. This is the step that makes it look generous and porch-worthy instead of skimpy.
11. Create a hanging loop at the back top with a doubled 12-inch length of floral wire, twisting it tightly around the frame. Test the balance by lifting it before you hang it on a porch hook, nail, or wreath hanger.
12. Give it one last fluff once it’s in place, bending the tails so they drape with a little movement and shaping the loops broad and proud. Tuck in any visible wire ends toward the back so the front reads as all greenery.
Variations & Tips
Add a classic center accent: If you want a dressier finish, tie a wide red velvet ribbon or burlap ribbon around the middle after the greenery is secured. I like this because it hides every last bit of mechanics and gives the whole piece that old-fashioned department-store look.
Use mixed greenery: Branches from different fake trees work beautifully together. Pine, cedar, and fir textures mixed in the same bow make it look richer and more natural, much the way winter hedgerows around our place never come in just one shade of green.
Make it sturdier for wind: For a very exposed porch, add two extra zip ties where the tails join the center and another loop of floral wire around each large bow side. A windy farmhouse porch will test any decoration, and a little reinforcement goes a long way.
Fill sparse areas smartly: If one side looks thin, don’t rebuild the whole thing—just wire in a short branch clipping pointing across the gap. I’ve done that more times than I can count, and nobody can spot the patch once it’s fluffed.
Freshen an older tree: Dusty branches can be wiped with a barely damp cloth and left to dry before building. Clean greenery catches the light better and keeps the finished piece from looking tired.
Scale it to your space: For a narrow door, shorten the tails by 4 to 6 inches before attaching them; for a wide porch post, keep them long and dramatic. The prettiest version is the one that looks generous in proportion to where it hangs.