
I love a project that rescues something most of us already have stuffed in a garage bin, and this one does exactly that. If you’ve got a pile of tired artificial wreaths that are too flattened for the front door but still have plenty of life left in them, you can turn them into a tall, eye-catching porch accent with just a few basic supports and a little shaping.
What makes this build so satisfying is the payoff-to-effort ratio. You’re not remaking greenery from scratch or fussing with complicated carpentry; you’re simply stacking, securing, fluffing, and lighting what you already own into something full and dramatic enough to anchor an entryway. It’s a great weekend project for anyone who wants a big seasonal look on a small budget.
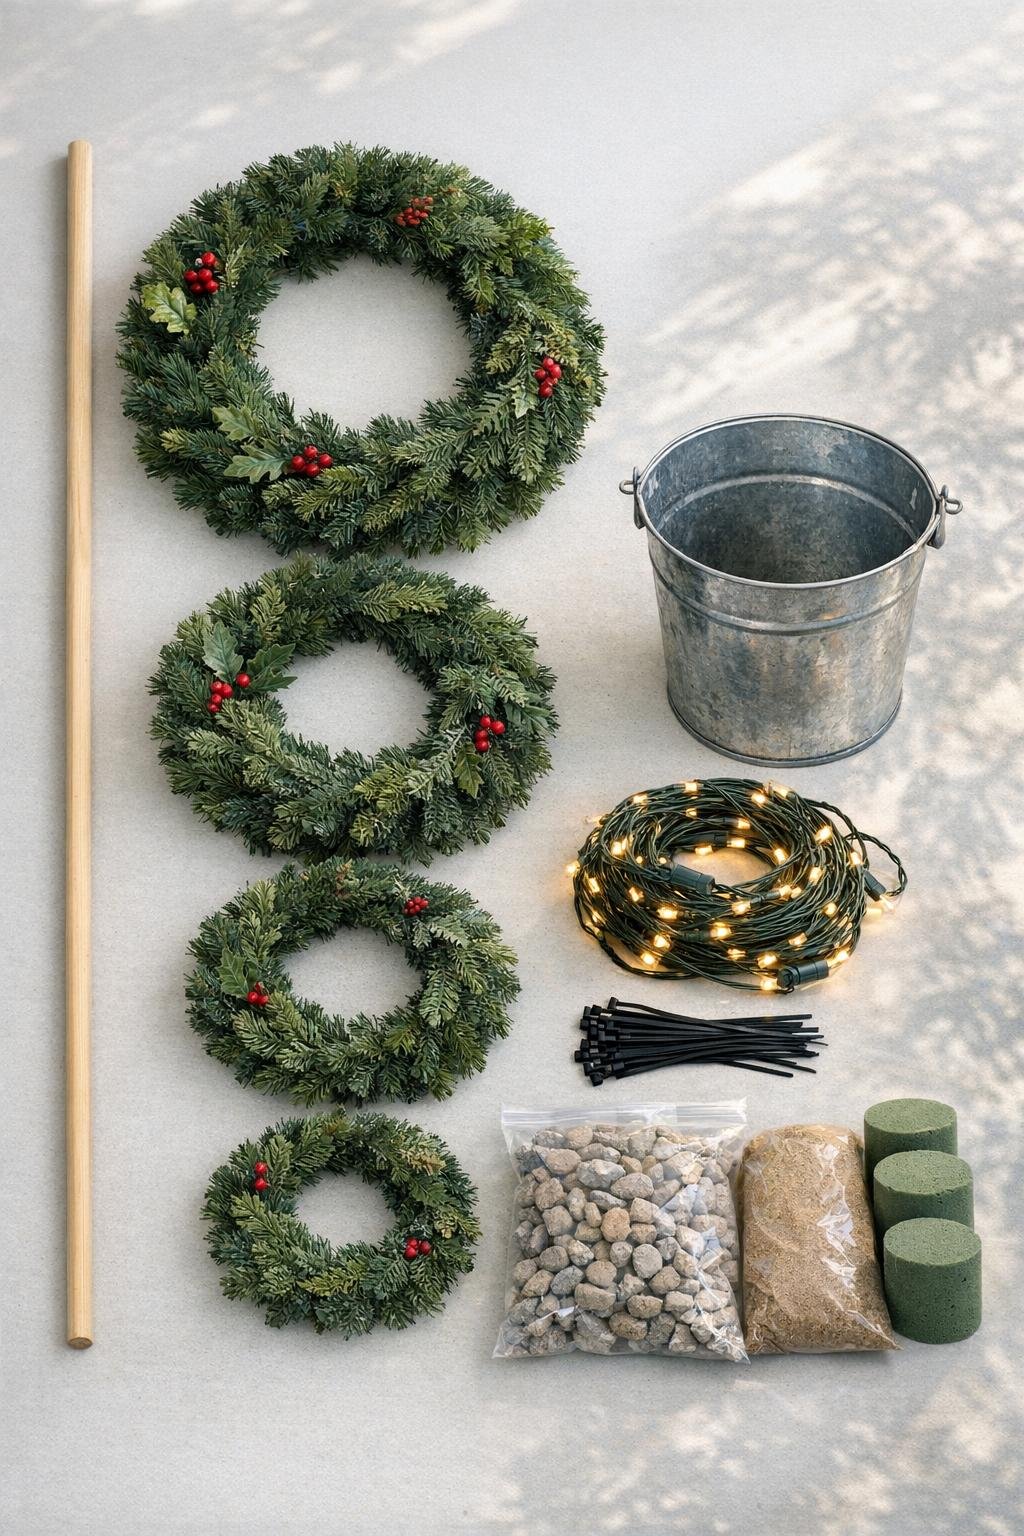
Materials
Instructions
1. Sort the five wreaths from largest to smallest and spend a few minutes fluffing each one so the branches spread evenly all the way around.
2. Anchor the wooden dowel upright in the center of the bucket with quick-set concrete, or pack it tightly with gravel and brace it with bricks; let it set firmly before stacking anything onto it.
3. Slide the largest wreath down the dowel first and rest it near the bucket rim, then add the second-largest wreath above it, keeping both as level as possible.
4. Continue stacking the remaining three wreaths in descending size order so the overall form tapers upward like a full tree instead of a narrow pole.
5. Pull each wreath slightly away from the one below it and secure it to the dowel with two medium zip ties placed opposite each other so the stack stays balanced.
6. Use additional zip ties to fasten the edges of neighboring wreaths together in 3 or 4 places per layer, which creates a fuller silhouette and keeps the tree from shifting in wind.
7. Step back and rotate the bucket as needed, fluffing branches outward and upward to hide gaps and blend the seam lines between wreaths.
8. Tuck faux berry picks, pine picks, or decorative stems into thin spots, concentrating extra fullness around the middle and lower sections for a generous shape.
9. Wrap the string lights from top to bottom in a loose spiral, pushing the wire slightly into the greenery so the bulbs sit forward while the cord disappears.
10. Secure the light strand in a few hidden spots with small zip ties or floral tape, then place the battery pack or cord neatly at the back of the bucket.
11. Add a ribbon bow or topper at the peak, and if the dowel shows above the smallest wreath, cover that bit with extra greenery or ribbon loops.
12. Fill the top of the bucket with shredded paper, moss, pinecones, or spare greenery to hide the concrete or gravel and give the base a finished look.
13. Move the piece to your porch, covered stoop, or entry corner and do one last fluffing pass so the profile reads full from the front and both sides.

Variations & Tips
Use matching greenery: If your old wreaths are all different, put the fullest and darkest ones at the bottom and the airier ones near the top so the shape still looks intentional.
Make it taller: For a more dramatic porch piece, use a 60-inch dowel and space the wreaths slightly farther apart, then fill the gaps heavily with picks so it keeps a lush profile.
Add color by season: I like red berries and plaid ribbon for winter, soft florals for spring, lemons or lavender stems for summer, and deep leaves with mini pumpkins nearby for fall.
Stabilize for weather: If your porch gets wind, use concrete instead of gravel and add a few extra zip ties where each wreath meets the dowel and the wreath above it.
Hide the mechanics: Green or brown zip ties disappear best, and a quick final tuck of stray branches over every tie makes the whole project look much more polished.
Light placement tip: Wrap more lights on the outer front half than the back half so the finished piece glows richly from the curb without using a second strand.
Budget trick: When a wreath has a bare section, turn that side toward the center or back before securing it; that’s an old kitchen-style efficiency habit of mine, and it works just as well in decorating as it does in cooking.