
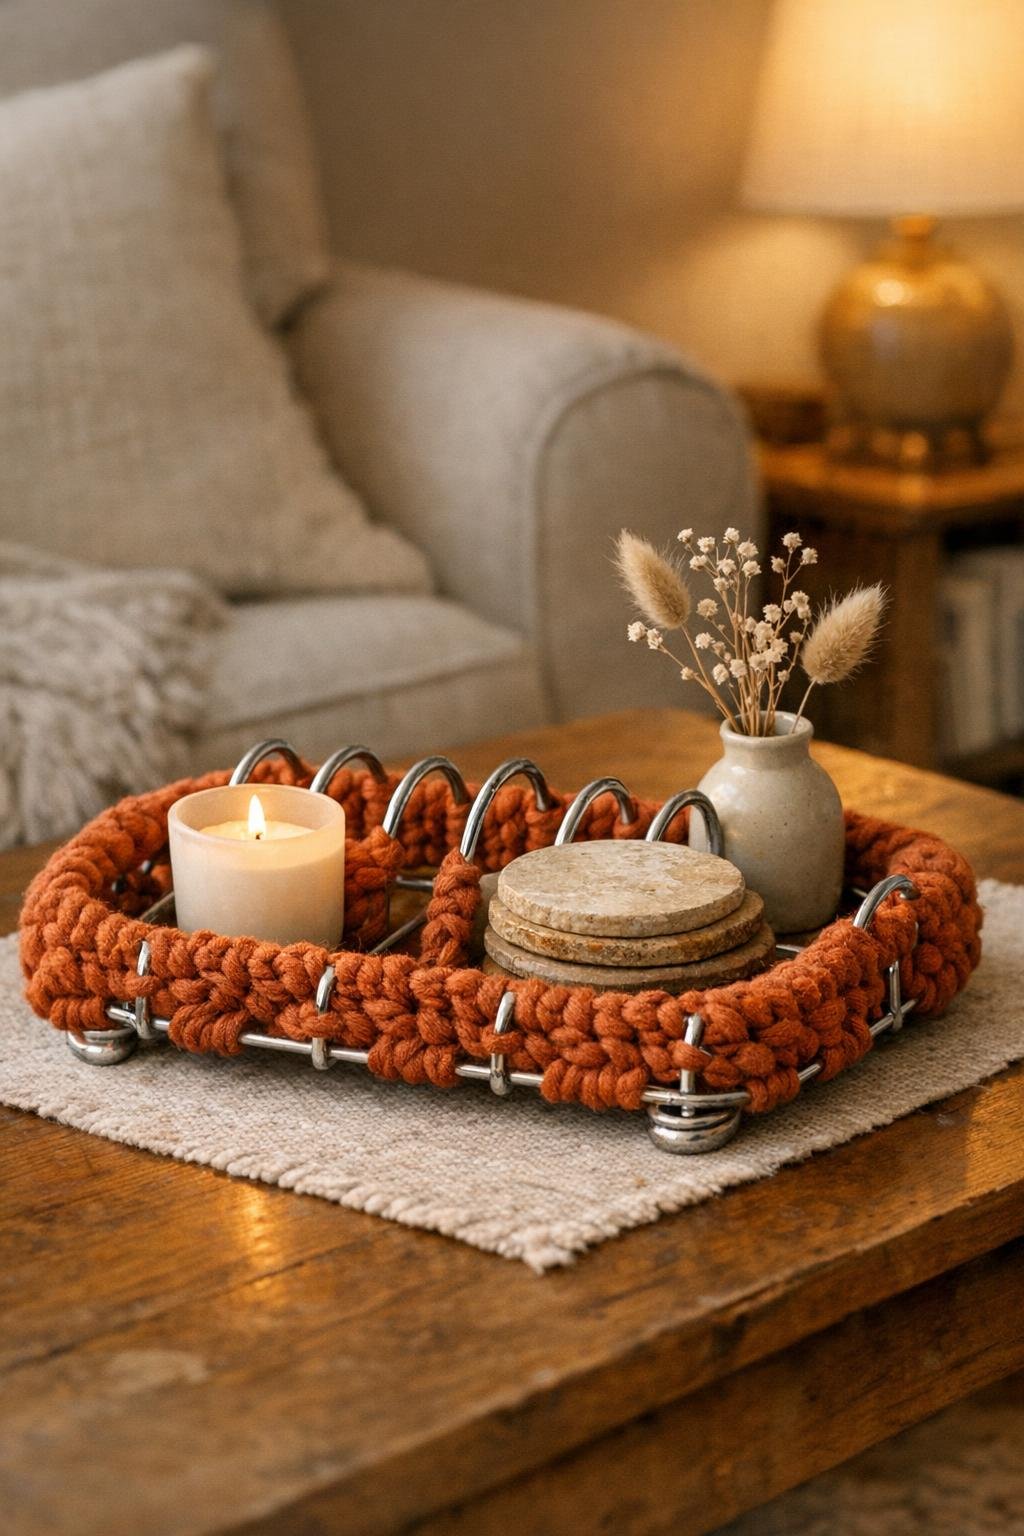
I’m a big fan of thrift-store finds that are pretty but not especially useful in modern life, and vintage toast racks are exactly that kind of piece. They have great lines, sturdy wire construction, and just enough structure to turn into something surprisingly practical. By crocheting chunky burnt sienna yarn straight through the wire slots, you can transform one into a warm, textured decorative tray that still clearly looks like the original rack—just much prettier and far more usable.
This is a wonderful project if you know a few basic crochet stitches and want a fast, satisfying make that feels a little clever. I love projects like this on a busy weeknight because they don’t require a huge setup, and the end result looks polished enough to leave out on a coffee table, entry console, or kitchen counter.
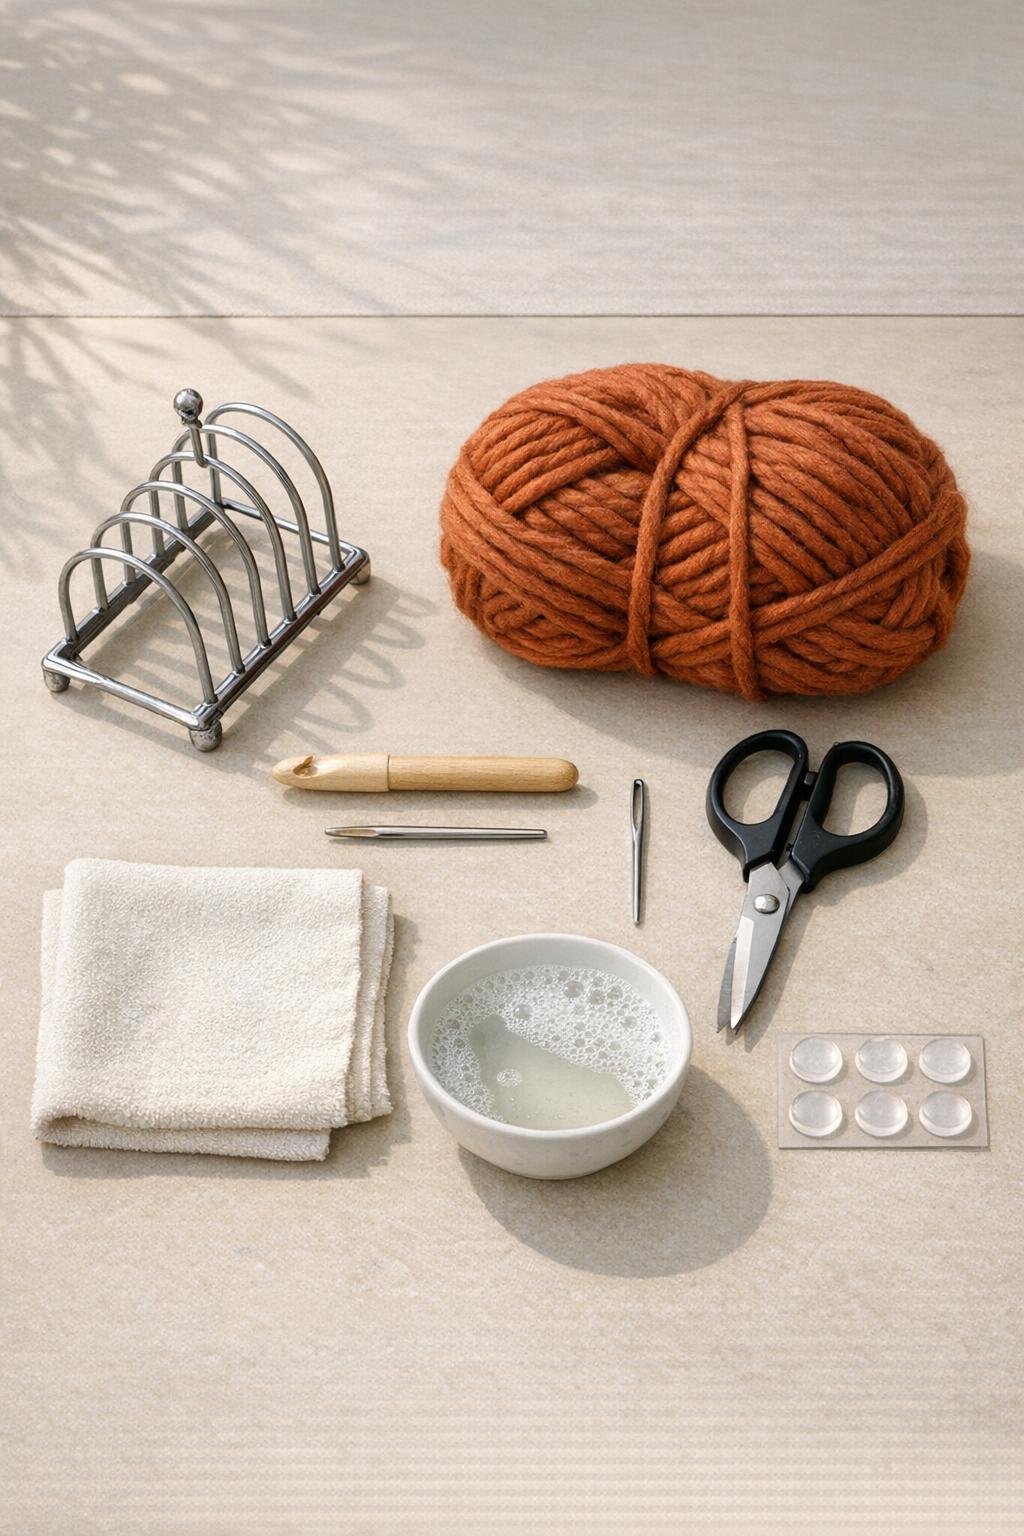
Materials
Instructions
1. Wash the toast rack in warm soapy water, rinse it well, and dry it completely so the yarn stays clean and the stitches grip the metal nicely.
2. Cut a starting tail about 8 inches long and tie the yarn securely around one outer bar near the base of the rack, keeping the knot on the underside where it won’t show.
3. Single crochet around the bottom outer rail from one end to the other, working tightly so the metal starts to disappear under the burnt sienna yarn.
4. Work up the first end panel by crocheting around each vertical wire section, using snug single crochet stitches to build a padded edge that makes the tray feel finished instead of scratchy.
5. Begin weaving through the interior slots by pulling the yarn through one slot, wrapping around the wire divider, and crocheting back through the next opening so the center starts to fill with thick, basket-like texture.
6. Continue across all the slots, packing the stitches closely together and gently nudging them side by side with your fingers so the tray base looks dense and generously covered.
7. When you reach the opposite side, crochet around the outer rail just as you did on the first side, anchoring the woven center firmly to the frame.
8. Cover the second end panel with single crochet around each wire section, matching the first end so the whole rack has an even, balanced look.
9. Add a final round of single crochet or slip stitch around the top edges and handle curves, if your rack has them, to soften any exposed metal and create a smooth border.
10. Cut the yarn with another 8-inch tail, thread it onto a yarn needle, and weave the end tightly through several stitches on the underside before trimming it close.
11. Check for any loose gaps, then use small leftover lengths of yarn to fill sparse spots with a few extra wrap stitches so the tray looks full and intentional.
12. Stick one clear felt pad under each corner or contact point on the base to protect tabletops and keep the tray from sliding around.
Variations & Tips
Use a simpler stitch: If you’re newer to crochet, single crochet is more than enough here. The chunky yarn and the wire frame do most of the visual work for you.
Choose the right rack: I look for toast racks with sturdy welded joints and fairly even slot spacing. A slightly wider rack gives you more room for a tray that can actually hold keys, wrapped candy, napkins, or tea packets.
Adjust the coverage: For a more open look, leave a little silver wire peeking through the center sections. For a fuller, cozier look, pack the stitches tightly and add extra wraps around each divider.
Make it kitchen-friendly: I love this tray near the coffee station for sugar packets or spoons, but if you’re using it in the kitchen, keep it for dry items only since yarn can absorb moisture.
Swap the yarn carefully: Bulky cotton-blend yarn works too, but a soft chunky acrylic or acrylic blend is usually easier to slide through tight metal slots and gives that plush, cushioned finish.
Try a polished accent: If your toast rack has little feet or a decorative top loop, leave those small details visible for charm. That mix of silver metal and burnt sienna texture is what makes the thrifted piece still feel special.